
How to Use Natural Light in Photography: Tips for Outdoor Shoots
Photography is an art that requires a combination of technical skills and creativity. One of the key elements that contribute to the success of a photograph is lighting. While artificial lighting can be used to create stunning images, natural light is often preferred by photographers for its unique qualities and ability to create a more natural look and feel.
Why is natural light important in photography?
Natural light is important in photography because it can enhance the mood and atmosphere of a photograph. It can also create depth, texture, and dimension in an image, making it more visually appealing.
Additionally, natural light is readily available and free, making it an accessible option for photographers who may not have access to expensive lighting equipment. With the right techniques and knowledge, natural light can be used to capture stunning photographs in any outdoor setting.
Benefits of using natural light in photography
- Natural light can create a more natural and authentic look in photographs
- It can enhance the mood and atmosphere of a photograph
- Natural light is readily available and free
- It can create depth, texture, and dimension in an image
- Using natural light can save time and money on expensive lighting equipment
Whether you are a professional photographer or just starting out, understanding how to use natural light in your photography can take your images to the next level. In the following sections of this article, we will explore tips and techniques for using natural light in outdoor photography.
Understanding Natural Light
Natural light is one of the most important elements in photography. Understanding the different types, directions, and qualities of natural light is crucial to capturing stunning outdoor photos.
Types of Natural Light
The two main types of natural light are direct and diffused. Direct light comes straight from the source, such as the sun, and creates harsh shadows and highlights. Diffused light, on the other hand, is scattered and creates softer shadows and highlights.
Another type of natural light is reflected light, which bounces off surfaces such as water, walls, or buildings. Reflected light can add a warm or cool tone to photos, depending on the surface it reflects off of.
Direction of Natural Light
The direction of natural light can greatly affect the mood and atmosphere of a photo. Front lighting, where the light source is in front of the subject, creates even lighting and minimizes shadows. Backlighting, where the light source is behind the subject, creates a dramatic effect and highlights the subject’s silhouette. Side lighting, where the light source is to the side of the subject, creates depth and texture.
Quality of Natural Light
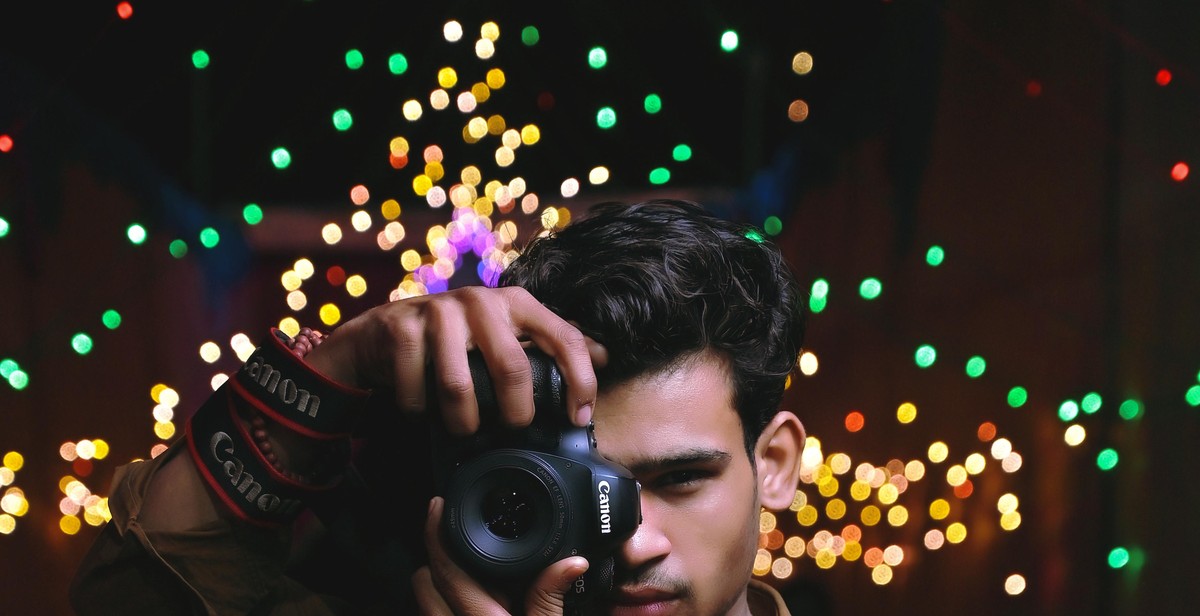
The quality of natural light refers to its intensity and color temperature. The time of day and weather conditions can greatly affect the quality of natural light. Golden hour, the hour after sunrise and before sunset, creates warm and soft light. Blue hour, the hour before sunrise and after sunset, creates cool and moody light. Midday light, when the sun is directly overhead, creates harsh and bright light.
Understanding the different types, directions, and qualities of natural light can help you create stunning outdoor photos. Experiment with different lighting techniques to find the best one for your desired effect.
Planning Your Outdoor Shoot
When it comes to outdoor photography, planning is essential to achieve the best results. Here are some important factors to consider:
Choosing the Right Time of Day
The time of day you choose to shoot can greatly affect the quality of your photos. The best times to shoot are during the “golden hours,” which are the first hour after sunrise and the last hour before sunset. During these times, the sun is low in the sky, creating a soft, warm light that is perfect for outdoor photography. Avoid shooting during midday when the sun is high and the light is harsh.
Scouting the Location
Before your shoot, it’s important to scout the location to get a feel for the lighting and potential angles. Look for areas with interesting textures, colors, and natural elements that can enhance your photos. Consider the time of day you’ll be shooting and how the light will interact with the location.
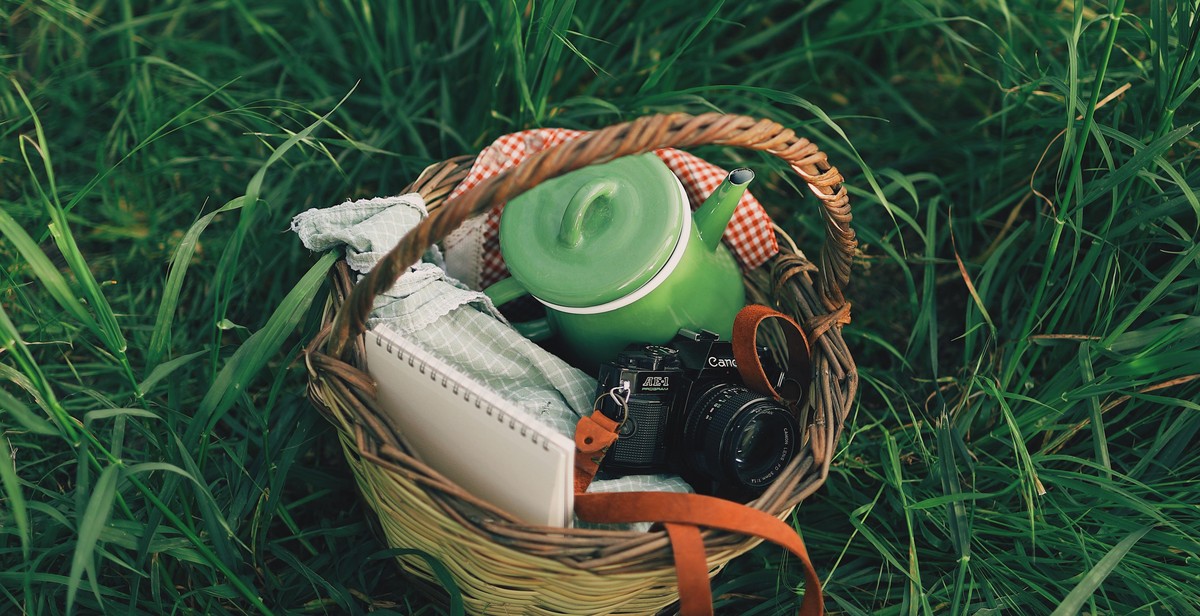
Preparing Your Equipment
Make sure your equipment is ready to go before heading out for your shoot. Clean your lenses and check your camera settings to ensure you’re prepared for the lighting conditions. Bring extra batteries and memory cards, and consider packing a tripod to stabilize your shots.
By considering these factors and planning ahead, you’ll be well on your way to capturing stunning outdoor photos that showcase the beauty of natural light.

Tips for Shooting in Natural Light
Shooting in natural light can be challenging, but with a few tips and tricks, you can capture stunning outdoor photographs. Here are some tips for shooting in natural light:
Use a Reflector to Bounce Light
One of the best ways to enhance natural light is to use a reflector. Reflectors can be used to bounce light onto your subject and fill in any shadows. You can purchase a reflector or create your own using a white sheet or foam board. Position the reflector opposite the light source to bounce light onto the subject’s face or body.
Find Interesting Angles and Composition
When shooting in natural light, it’s important to find interesting angles and composition. Look for natural frames, such as trees or archways, to frame your subject. You can also experiment with different angles, such as shooting from a low angle or using a wide-angle lens to capture more of the scene.
Adjust Your Camera Settings for the Best Exposure
Adjusting your camera settings is crucial when shooting in natural light. Start by setting your ISO to the lowest possible setting to reduce noise. Then, adjust your aperture and shutter speed to achieve the best exposure. Use a wide aperture (low f-stop) for a shallow depth of field and a fast shutter speed to freeze motion. Alternatively, use a narrow aperture (high f-stop) and a slower shutter speed to capture more of the scene and create a blurred background.
By following these tips, you can create stunning outdoor photographs using natural light. Remember to experiment and have fun!
Dealing with Challenging Lighting Conditions
While natural light can produce stunning results in photography, it can also present some challenging lighting conditions. Here are some tips for shooting in different lighting scenarios:
Shooting in Harsh Sunlight
Shooting in direct sunlight can create harsh shadows and blown-out highlights that can ruin an otherwise great shot. To combat this, consider shooting in the early morning or late afternoon when the sun is lower in the sky and the light is softer. You can also try using a diffuser or reflector to soften the light or fill in shadows.
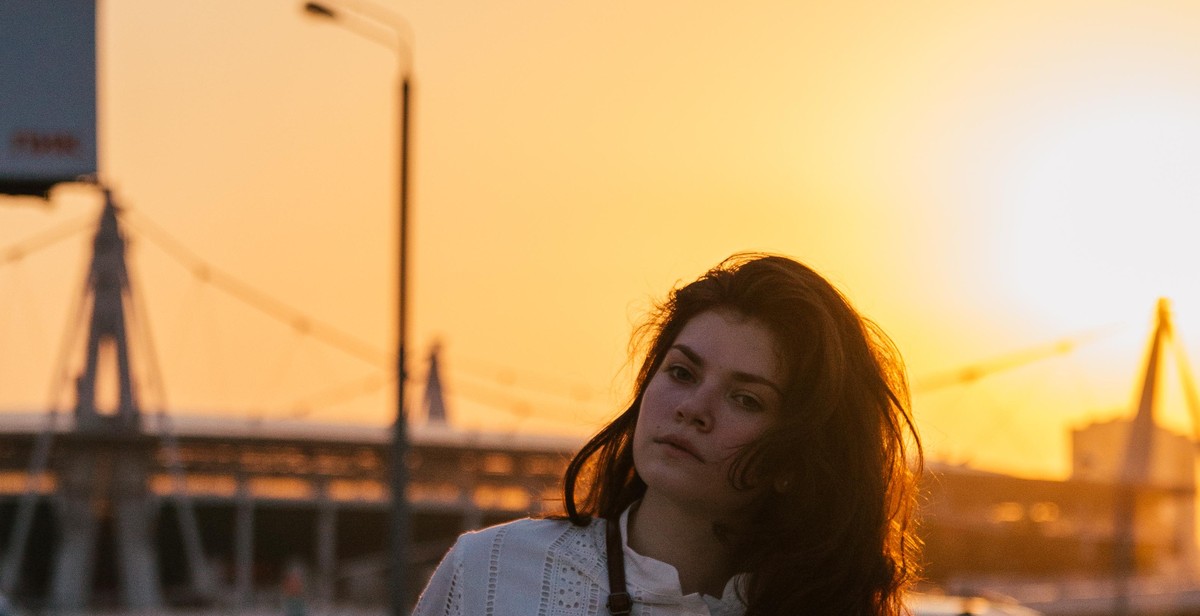
Shooting During Golden Hour
The golden hour, which occurs during the first hour after sunrise and the last hour before sunset, is a photographer’s dream. The light is soft, warm, and diffused, creating a beautiful glow that can make any subject look stunning. To make the most of this light, position your subject so that the light is hitting them at an angle, and consider using a reflector to bounce light back onto their face.
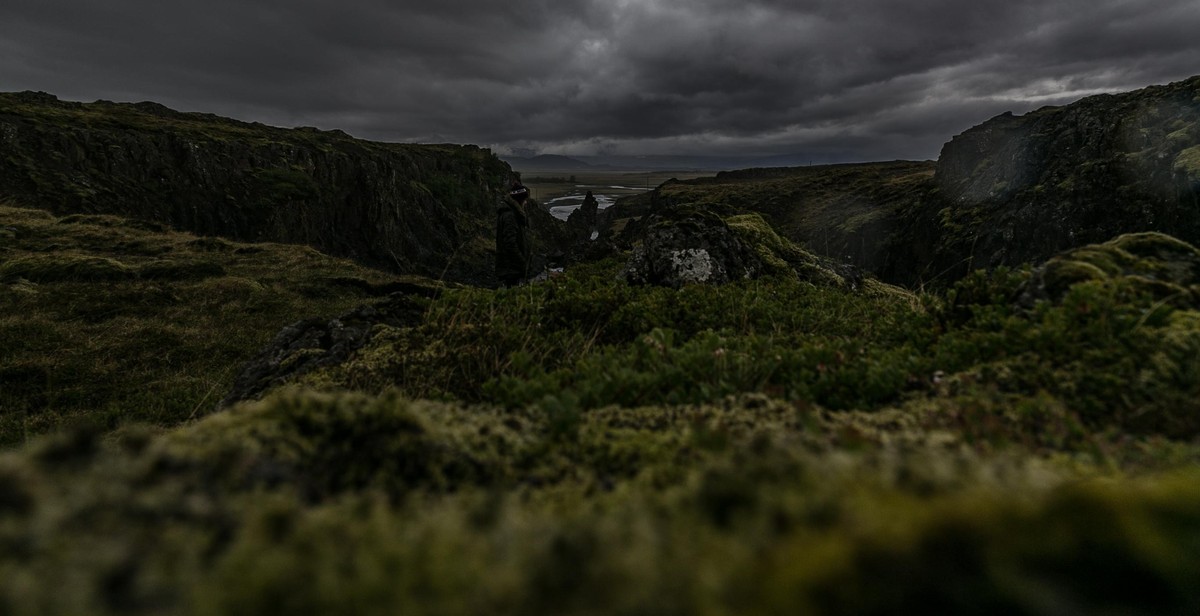
Shooting in Overcast Conditions
Overcast conditions can seem like a photographer’s nightmare, but they can actually be ideal for certain types of photography, like portraits or close-ups. The soft, diffused light can create a natural-looking glow and eliminate harsh shadows and highlights. To make the most of this light, position your subject so that they are facing the light source, and consider using a reflector to bounce light back onto their face.
By understanding how to deal with challenging lighting conditions, you can make the most of natural light in your photography and create stunning images.

Post-Processing Your Natural Light Photographs
After capturing your natural light photographs, the next step is to post-process them to achieve the desired results. Here are some tips on how to post-process your natural light photographs:
Editing for exposure and color
The first step in post-processing your natural light photographs is to adjust the exposure and color. You can use software like Adobe Lightroom or Photoshop to adjust these settings. Adjust the exposure to make the image brighter or darker, depending on the desired effect. You can also adjust the color temperature to make the image warmer or cooler. This helps to enhance the natural colors of the scene.
Cropping and straightening
Cropping and straightening can help to improve the composition of your natural light photographs. You can crop the image to remove any unwanted elements or to focus on a specific subject. Straightening the image can also help to improve the overall composition. Use the crop and straighten tools in your post-processing software to make these adjustments.
Enhancing details and textures
Finally, you can enhance the details and textures in your natural light photographs to make them more visually appealing. You can use the sharpening tool to make the details in the image more pronounced. You can also use the clarity tool to enhance the textures in the image. Be careful not to overdo these adjustments, as it can make the image look unnatural.
By following these tips, you can post-process your natural light photographs to achieve the desired results. Remember to keep the adjustments subtle and natural-looking.
Conclusion
Using natural light in photography can take your outdoor shoots to the next level. With the right techniques and equipment, you can create stunning images that capture the essence of your subject and the environment around them.
Tips to remember:
- Understand the direction and quality of light
- Use reflectors and diffusers to control light
- Adjust your camera settings to suit the lighting conditions
- Consider the time of day for the best lighting
- Experiment with different angles and compositions
By following these tips, you can make the most of natural light in your photography. Remember, practice makes perfect, so don’t be afraid to try new things and refine your skills over time.
Key takeaways:
- Natural light is a powerful tool in outdoor photography
- Understanding and controlling light is key to creating stunning images
- Experimentation and practice are essential for improving your skills
| Author: | John Doe |
| Date: | June 1, 2021 |
Overall, using natural light in photography requires patience, skill, and creativity. With the right approach, you can produce images that are truly breathtaking and capture the beauty of the world around us.