
Introduction
Contouring and highlighting are makeup techniques used to enhance facial features and create a more sculpted look. These techniques have gained immense popularity over the years, thanks to the rise of social media and beauty influencers. Contouring involves using a darker shade of makeup to create shadows and define the natural contours of the face, while highlighting involves using a lighter shade of makeup to bring out the high points of the face.
While the concept of contouring and highlighting may seem intimidating to beginners, achieving a natural-looking result is easier than you may think. With the right tools and techniques, you can enhance your bone structure and create a more defined and radiant look that complements your natural beauty.
What is Contouring and Highlighting?
Contouring and highlighting are techniques that involve using makeup to create the illusion of shadows and light on the face, respectively. By strategically placing darker and lighter shades of makeup on specific areas of the face, you can enhance your features and create a more sculpted and defined look.
Contouring is typically done using a matte bronzer or contour powder, while highlighting is done using a shimmery highlighter. Both techniques require blending to create a seamless and natural-looking result.
In the next sections, we will discuss in detail how to achieve a natural-looking contour and highlight, including the tools and products you will need and step-by-step instructions on how to apply them.
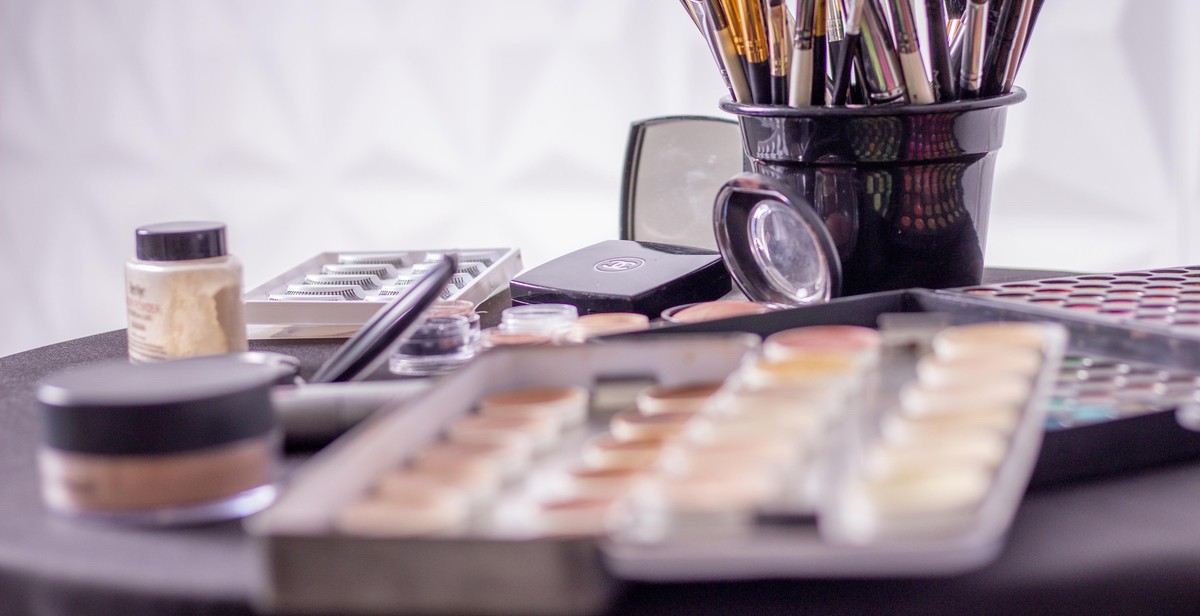
Choosing the Right Products
When it comes to achieving a natural-looking contour and highlight, choosing the right products is key. Here are some tips to help you find the perfect shades for your skin tone:
Understanding Your Skin Tone
Before choosing any contour or highlight products, it’s important to understand your skin tone. Skin tones can be classified as warm, cool, or neutral. Warm skin tones have a yellow or golden undertone, while cool skin tones have a pink or blue undertone. Neutral skin tones have a balance of both warm and cool undertones.
To determine your skin tone, look at the veins on the inside of your wrist. If they appear green, you likely have a warm skin tone. If they appear blue, you likely have a cool skin tone. If they appear to be a mix of green and blue, you likely have a neutral skin tone.
Finding the Right Shades
Once you’ve determined your skin tone, you can begin to look for contour and highlight shades that will complement your complexion. For warm skin tones, look for contour shades with a warm, golden undertone and highlight shades with a peachy or golden shimmer. For cool skin tones, look for contour shades with a cool, ashy undertone and highlight shades with a pink or silvery shimmer. For neutral skin tones, look for contour and highlight shades with a balance of warm and cool undertones.
When selecting products, it’s also important to consider the intensity of the shades. If you have fair skin, choose lighter shades to avoid an overly dramatic look. If you have deeper skin, opt for darker shades to ensure that the contour and highlight show up on your complexion.
| Warm Skin Tones | Cool Skin Tones | Neutral Skin Tones |
|---|---|---|
| Contour: Warm, golden undertones | Contour: Cool, ashy undertones | Contour: Balance of warm and cool undertones |
| Highlight: Peachy or golden shimmer | Highlight: Pink or silvery shimmer | Highlight: Balance of warm and cool undertones |
By understanding your skin tone and selecting the right shades for your complexion, you can achieve a natural-looking contour and highlight that enhances your features and complements your natural beauty.

Preparing Your Skin
Before you begin the process of contouring and highlighting, it’s important to prepare your skin properly. This will ensure that your makeup goes on smoothly and lasts throughout the day. There are three main steps to preparing your skin: cleansing, moisturizing, and priming.
Cleansing and Moisturizing
The first step in preparing your skin is to cleanse and moisturize it. This is important because it removes any dirt, oil, or makeup residue that may be on your skin and helps to hydrate it. Use a gentle cleanser that is appropriate for your skin type and follow it up with a moisturizer that is also appropriate for your skin type.
If you have oily skin, look for a cleanser that is oil-free and a moisturizer that is lightweight and non-greasy. If you have dry skin, look for a cleanser that is gentle and moisturizing, and a moisturizer that is rich and hydrating. If you have combination skin, look for a cleanser that is gentle and a moisturizer that is lightweight but still provides enough hydration.
Priming Your Skin
Once your skin is clean and moisturized, the next step is to prime it. A primer is a product that is applied to the skin before makeup to help it go on smoothly and last longer. It also helps to blur imperfections and create a smooth canvas for your contour and highlight.
Choose a primer that is appropriate for your skin type and concerns. If you have oily skin, look for a mattifying primer that will help to control oil throughout the day. If you have dry skin, look for a hydrating primer that will help to smooth out any dry patches. If you have uneven skin tone or texture, look for a primer that is color-correcting or has a blurring effect.
- Cleanse your skin with a gentle cleanser appropriate for your skin type
- Moisturize with a moisturizer appropriate for your skin type
- Prime your skin with a primer appropriate for your skin type and concerns
Contouring Techniques
Contouring is all about defining and enhancing your natural bone structure. Here are some techniques to help you achieve a natural-looking contour:
Mapping Your Face
Before you start contouring, it’s important to map out your face. This involves identifying your cheekbones, jawline, and forehead. Use a mirror and natural lighting to help you determine the areas you want to contour.
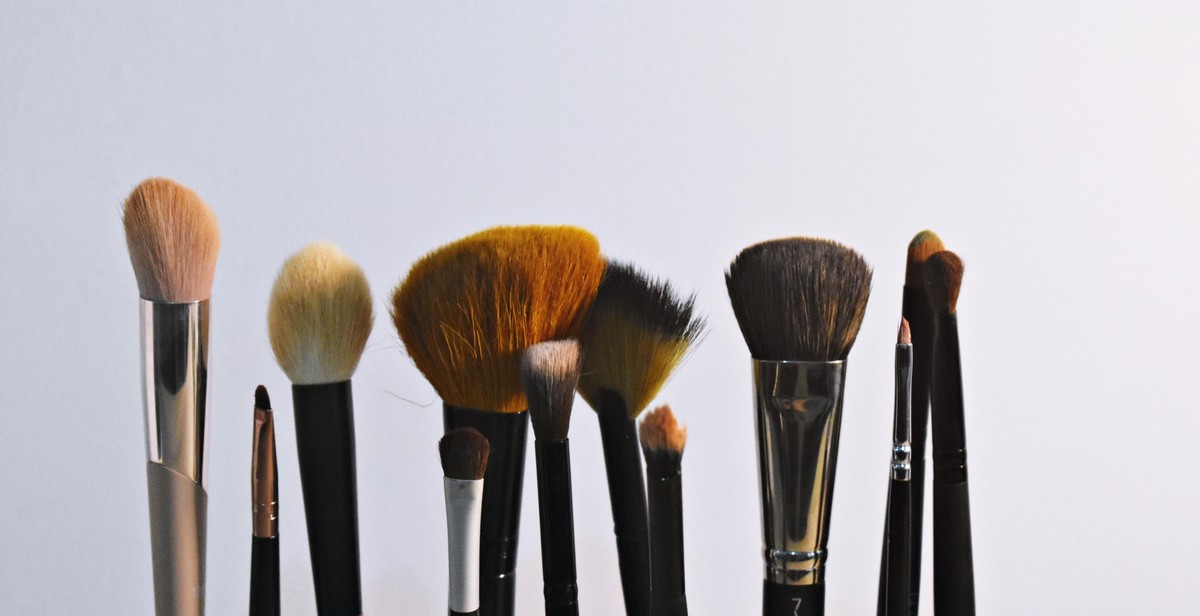
Choosing the Right Brush
Choosing the right brush is essential for achieving a natural-looking contour. A small and fluffy brush with a tapered tip is ideal for precise application. Use a synthetic brush for cream products and a natural hair brush for powder products.
Applying Contour
When applying contour, start with a light hand and build up the product gradually. Use a shade that is one to two shades darker than your natural skin tone. Apply the contour in the areas you mapped out earlier, focusing on the hollows of your cheeks, temples, and jawline. Blend the product using circular motions to avoid any harsh lines.
Remember, less is more when it comes to contouring. The key is to enhance your natural features, not to completely change your face shape.
| Do: | Don’t: |
|---|---|
|
|
Highlighting Techniques
Highlighting is a crucial step in achieving a natural-looking contour. It helps to accentuate the high points of your face and create a glowing complexion. Here are some highlighting techniques to help you achieve the perfect look:
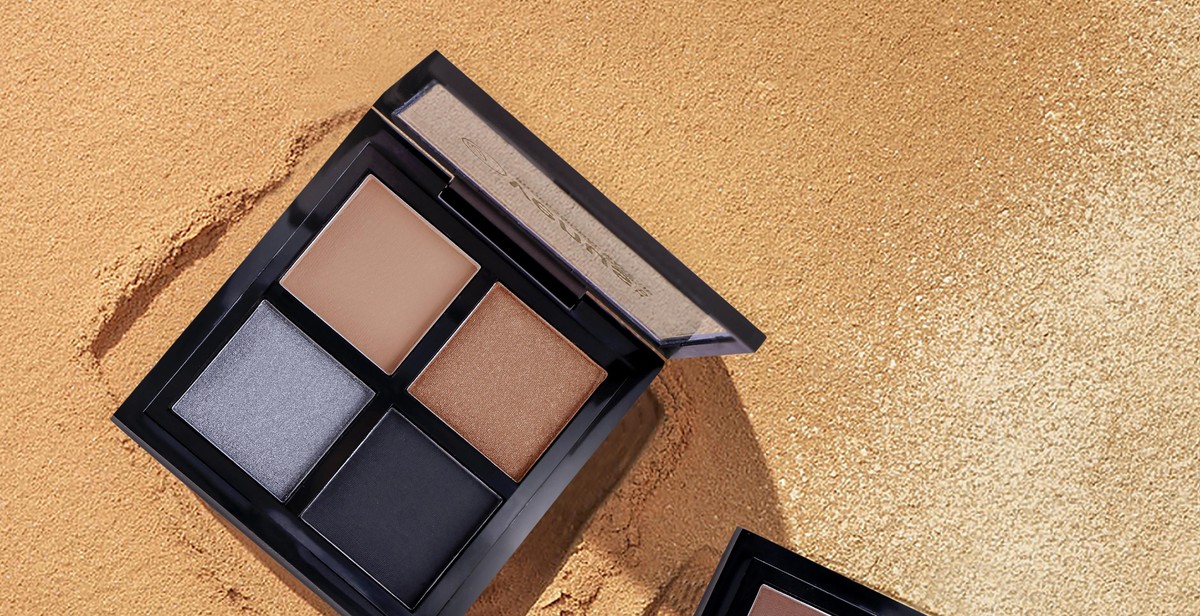
Choosing the Right Highlighter
Choosing the right highlighter is essential in creating a natural-looking contour. You want to select a shade that complements your skin tone and blends seamlessly with your foundation. There are different types of highlighters available, including powder, cream, and liquid. Powder highlighters are great for oily skin, while cream and liquid highlighters work well for dry skin.
When selecting a highlighter, consider your skin’s undertone. If you have warm undertones, choose a highlighter with a gold or peachy hue. If you have cool undertones, opt for a highlighter with a pink or silvery undertone.
Applying Highlight
When applying highlight, focus on the high points of your face, including the cheekbones, brow bone, cupid’s bow, and the bridge of your nose. Use a small brush to apply the highlighter to these areas and blend well with a blending sponge or brush.
If you are using a powder highlighter, apply it using a fan brush or a small fluffy brush. For cream or liquid highlighters, use your fingers or a damp beauty blender for a seamless blend.
Remember, less is more when it comes to highlighting. Start with a small amount and build up if necessary. You want to achieve a subtle glow, not a disco ball effect.
Conclusion
By choosing the right highlighter and applying it correctly, you can achieve a natural-looking contour that enhances your features and gives you a glowing complexion.
Blending and Finishing
Blending is the key to achieving a natural-looking contour and highlight. Start by using a damp beauty sponge or a dense brush to blend out the contour and highlight. Make sure to blend in a circular motion to avoid harsh lines and create a seamless blend.
Blending Contour
When blending out the contour, focus on the edges and corners to create a soft transition between the contour and your natural skin tone. Use a lighter hand when blending around the hairline and jawline to avoid a harsh and unnatural appearance.
Remember to blend the contour down towards your neck to avoid any visible lines or patches of color on your face.
Blending Highlight
When blending out the highlight, focus on the high points of your face such as the cheekbones, brow bone, and cupid’s bow. Use a lighter hand when blending around the edges to avoid an obvious highlight line.
Blend the highlight in a circular motion to create a natural-looking glow. If the highlight appears too intense, use a clean beauty sponge to blend out the excess product.
Setting Your Makeup
To ensure your contour and highlight lasts all day, set your makeup with a translucent powder. Use a fluffy brush to lightly dust the powder over your face, focusing on the areas where you applied the contour and highlight.
For an extra boost of hydration and staying power, use a setting spray to lock in your makeup. Hold the spray bottle a few inches away from your face and mist lightly over your entire face. Allow the spray to dry before touching your face or applying any additional products.

Conclusion
Contouring and highlighting are essential techniques in makeup application that can help you achieve a natural-looking, sculpted face. With the right products, tools, and techniques, you can enhance your features, define your face shape, and create a flawless, radiant complexion.
When contouring, always remember to choose a shade that is two shades darker than your skin tone and apply it on the areas where you want to create shadows and depth. For highlighting, choose a shade that is two shades lighter than your skin tone and apply it on the high points of your face to create a luminous, glowing effect.
It’s important to blend your contour and highlight well to avoid harsh lines and achieve a seamless, natural finish. Use a blending brush or sponge to blend out the product and create a soft, diffused effect.
Remember that less is more when it comes to contouring and highlighting. Start with a light hand and build up the intensity gradually. Don’t overdo it, or you risk looking too made up and unnatural.
With practice and patience, you can master the art of contouring and highlighting and achieve a natural-looking, sculpted face that enhances your natural beauty.
So go ahead and experiment with different techniques and products, and have fun creating your own unique look!