
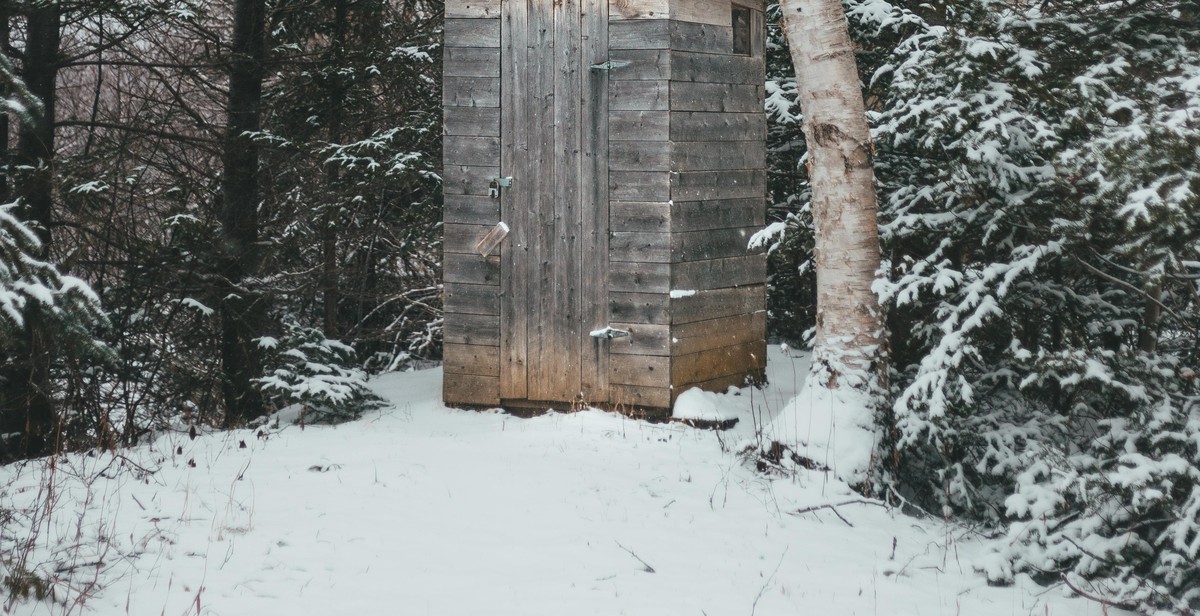
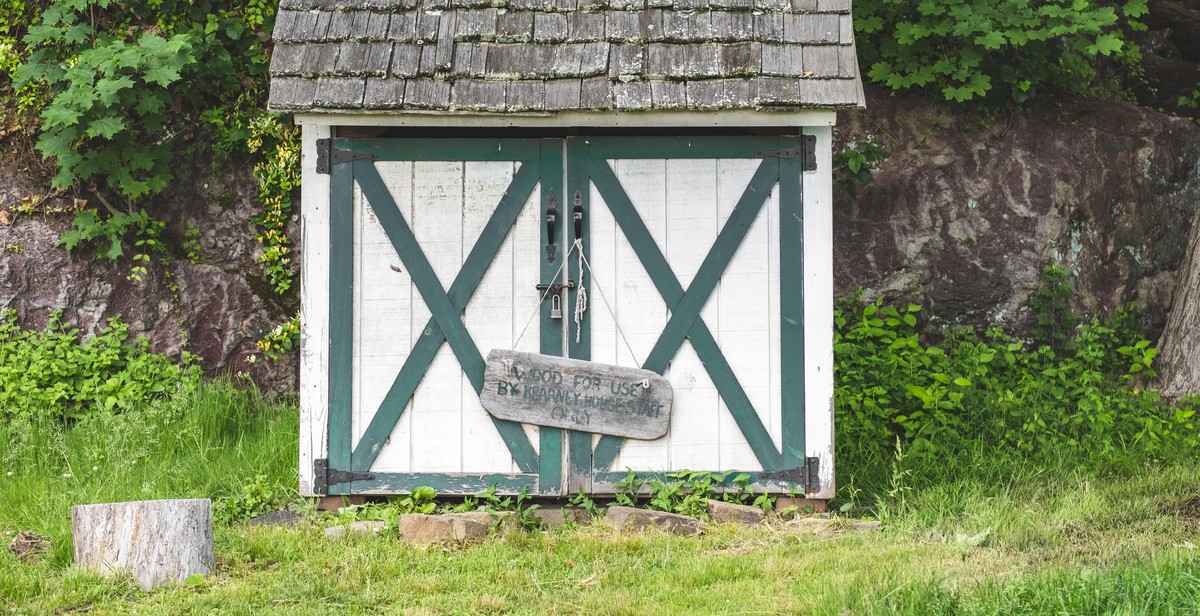
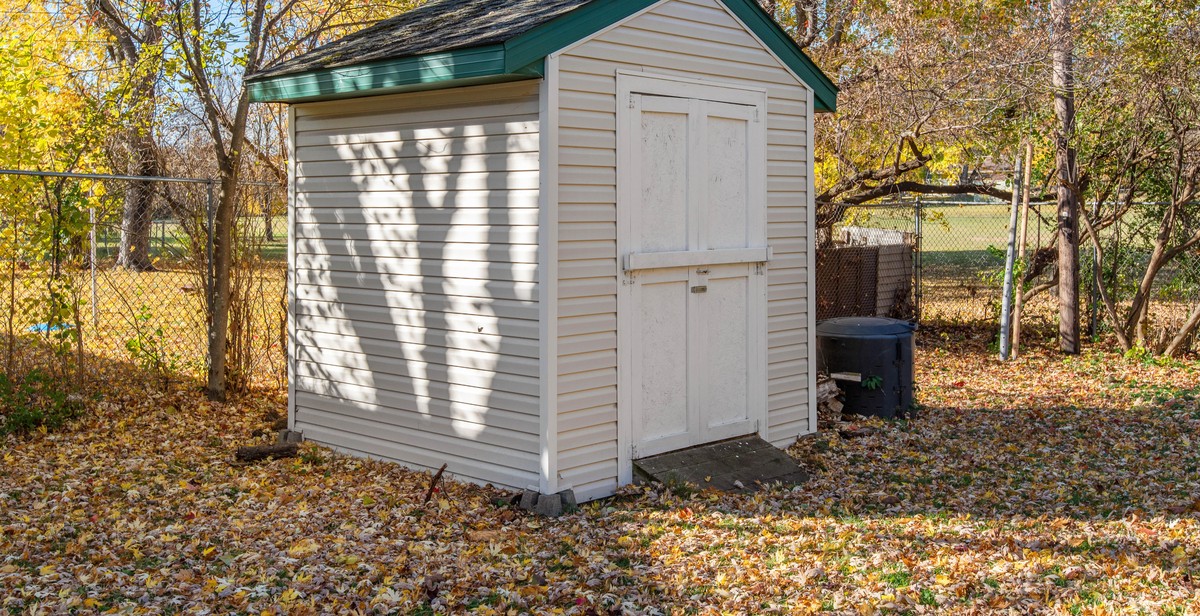
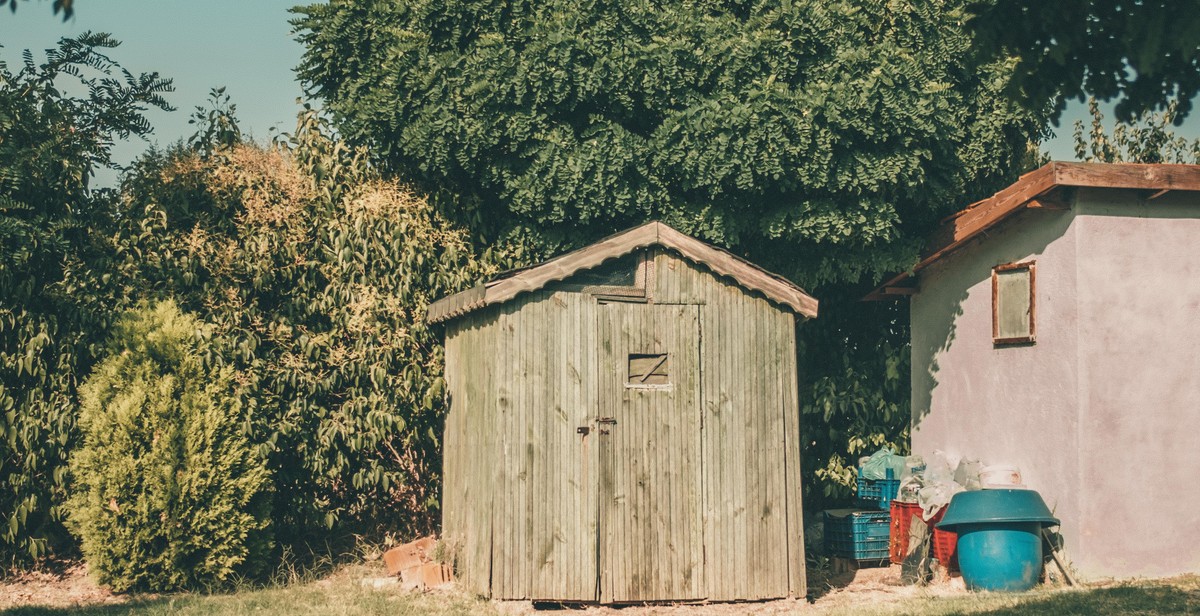
How to Build a Storage Shed for Garden Tools and Equipment
Are you tired of tripping over your garden tools and equipment every time you step into your backyard? Or maybe you’re tired of having to move them around every time you need to mow the lawn or tend to your plants. Whatever the reason, building a storage shed for your garden tools and equipment is a great solution.
Not only will a storage shed keep your backyard organized and clutter-free, but it will also protect your tools and equipment from the elements, extending their lifespan. Plus, having a dedicated space for your gardening supplies will make it easier to find what you need when you need it.
Why Build a Storage Shed for Garden Tools and Equipment?
There are many reasons why building a storage shed for your garden tools and equipment is a smart investment:
- Keeps your backyard organized and clutter-free
- Protects your tools and equipment from the elements
- Extends the lifespan of your tools and equipment
- Makes it easier to find what you need when you need it
- Can add value to your property
Ready to get started on building your own storage shed for your garden tools and equipment? Keep reading for step-by-step instructions and tips.
Step 1: Planning and Preparation
Before you start building a storage shed for your garden tools and equipment, it is important to plan and prepare properly. This will ensure that you have a clear idea of what you want to achieve and that you have all the necessary materials and tools at hand.
Choosing the Right Location
The first step in planning for your storage shed is to choose the right location. The location should be easily accessible and close to your garden. It should also be on a level surface and not in a low-lying area where water can collect. Consider the direction of the sun and the wind to ensure that the shed is not exposed to too much sunlight or wind.
Designing the Shed
Once you have chosen the location, the next step is to design the shed. You can either buy pre-designed shed plans or create your own. The design should be based on the size of the shed, the materials you plan to use, and the purpose of the shed.
Creating a Materials List
After designing the shed, create a materials list. This list should include all the materials you will need to build the shed, such as lumber, roofing materials, nails, screws, and paint. Make sure to include the quantity of each item needed to avoid running out of materials halfway through the project.
| Materials | Quantity |
|---|---|
| Lumber | 20 pieces |
| Roofing materials | 3 sheets |
| Nails | 1 box |
| Screws | 2 boxes |
| Paint | 2 gallons |
By following these steps, you can ensure that your storage shed project is well-planned and prepared for. This will save you time and money in the long run and ensure that your shed is built to last.
Step 2: Building the Foundation
Before you start building your storage shed, it is important to prepare the site properly. This will ensure that your shed is stable and will last for many years.
Preparing the Site
The first step in preparing the site is to clear the area of any debris, rocks, or vegetation. You should also ensure that the ground is level. If the ground is not level, you will need to level it using a shovel and a level. Once the ground is level, you should mark out the area where you want to build your shed using stakes and string.
Building the Base
The base of your shed is the foundation that will support the weight of the shed and everything inside it. There are several options for building the base, including using concrete slabs, wooden beams, or cinder blocks. Whichever option you choose, make sure that the base is level and square. You can use a level and a square to ensure that the base is level and square.
Concrete Slabs
Concrete slabs are a popular option for building the base of a shed. To build a concrete slab, you will need to dig a hole that is slightly larger than the size of your shed. You will then need to pour a layer of gravel into the hole and level it. Next, you will need to build a frame using wooden boards and pour the concrete into the frame. Once the concrete has dried, you can remove the frame and your shed will have a solid base.
Wooden Beams
Wooden beams are another option for building the base of a shed. To build a base using wooden beams, you will need to lay the beams on the ground and ensure that they are level and square. You can then attach the beams to each other using screws or bolts. Once the beams are attached, you can add a layer of gravel or crushed stone to the base to improve drainage.
Cinder Blocks
Cinder blocks are a cost-effective option for building the base of a shed. To build a base using cinder blocks, you will need to lay the blocks on the ground in a square or rectangular shape. You can then add a layer of gravel or crushed stone to the base to improve drainage.
Adding Supports
Once the base is in place, you can add supports to ensure that the shed is stable. This can be done by attaching wooden posts or beams to the base using screws or bolts. The posts or beams should be placed at each corner of the shed and at intervals along the sides. Once the supports are in place, you can start building the walls of your shed.

Step 3: Framing the Walls and Roof
Now that the foundation is set, it’s time to start framing the walls and building the roof frame. This step is crucial as it will give your shed its shape and structure.
Framing the Walls
Start by measuring and cutting the lumber for the walls according to the shed’s blueprint. Use a level and a square to ensure that the walls are straight and square. Nail the studs together and attach them to the bottom plate and the top plate. Make sure to leave space for the door and windows.
Building the Roof Frame
Once the walls are up, it’s time to build the roof frame. Measure and cut the lumber according to the blueprint. Use a level and a square to ensure that the roof frame is straight and square. Attach the roof frame to the top plate of the walls.
Adding Roof Sheathing
After building the roof frame, add the roof sheathing. Use plywood or OSB sheets to cover the roof frame. Make sure to leave space for the roof vents. Nail the sheathing to the roof frame and make sure it’s secure.
Once the walls and roof are framed and sheathed, your shed is starting to take shape. The next step is to add siding and roofing materials to complete the exterior.
Step 4: Installing Siding and Roofing
After constructing the frame, the next step is to install the siding and roofing. This is an essential part of the building process as it protects the contents of the shed from the elements. Here are some tips on how to install siding and roofing on your shed:
Choosing the Right Siding and Roofing Materials
The first step is to choose the right siding and roofing materials. There are many options available, including wood, vinyl, metal, and composite materials. Consider the climate in your area and the durability of the materials before making a decision.
Installing Siding
Start by measuring the length and width of each wall to determine the amount of siding needed. Install the bottom piece of siding first, making sure it is level. Then, work your way up, overlapping each piece of siding and nailing it in place. Cut the siding to fit around windows and doors.
Installing Roofing
Begin by installing the underlayment, which helps to prevent leaks. Then, lay the roofing material starting at the bottom of the roof and working your way up. Use roofing nails to secure each piece in place. Cut the roofing material to fit around any vents or openings on the roof.
Once the siding and roofing are installed, your shed is almost complete. The final step is to add any finishing touches, such as trim or paint.

Step 5: Adding Doors and Windows
Adding doors and windows to your storage shed is an important step in completing the project. Not only do they provide ventilation and natural light, but they also make accessing your tools and equipment much easier. Here are some tips for choosing and installing doors and windows:
Choosing the Right Doors and Windows
When choosing doors and windows for your storage shed, consider the size and style of your shed, as well as your personal preferences. For doors, you can choose from a single or double door, and opt for a sliding or hinged door. Windows can be fixed or operable, and come in different shapes and sizes.
Installing Doors
Before installing your doors, make sure the door frame is square and level. Attach the hinges to the door first, then position the door in the frame and screw in the hinges. Make sure the door swings freely and closes properly. You may also want to install a latch or lock for added security.
Installing Windows
Installing windows is similar to installing doors. Make sure the window frame is square and level, then attach the hinges or hardware to the window. Position the window in the frame and screw in the hinges. Make sure the window opens and closes smoothly. You can also add trim around the window for a finished look.
Overall, adding doors and windows to your storage shed is a great way to improve its functionality and appearance. By following these tips, you can ensure that your doors and windows are installed correctly and will last for years to come.

Step 6: Adding Finishing Touches
Now that you have completed the major construction of your storage shed, it’s time to add the finishing touches that will make it functional and visually appealing. Here are some important steps to consider:
Painting and Staining
Painting or staining your storage shed not only adds a decorative touch, but it also protects the wood from weather damage. Choose a paint or stain that is specifically designed for outdoor use and follow the manufacturer’s instructions for application. You may also want to consider adding a clear sealant over the paint or stain for extra protection.
Adding Shelving and Storage
To maximize the storage space in your shed, consider adding shelving and storage units. This will help keep your tools and equipment organized and easily accessible. You can purchase pre-made shelving units or build your own customized shelves to fit your specific needs.
Decorating the Shed
Finally, add some decorative elements to your storage shed to make it a visually appealing addition to your garden. Consider adding window boxes or flower pots, hanging a decorative sign, or adding a unique door handle. These small touches can make a big difference in the overall look and feel of your shed.
With these finishing touches, your storage shed will be a functional and attractive addition to your garden.
Conclusion
Building a storage shed for your garden tools and equipment is a great way to keep your yard organized and free of clutter. It also provides a secure and dry space to store your valuable gardening tools and equipment.
When building a storage shed, it is important to consider the size, location, and materials. Make sure to choose a location that is easily accessible and level. Choose materials that are durable and weather-resistant, such as pressure-treated lumber or vinyl siding.
Before starting the construction process, it is important to have a solid plan and gather all necessary materials and tools. Take the time to measure and cut materials accurately, and always follow safety precautions when using power tools.
Once your storage shed is complete, be sure to organize your tools and equipment in a way that makes them easily accessible and easy to find. Consider adding shelves, hooks, and other storage solutions to maximize space and keep everything in order.
In conclusion, building a storage shed for your garden tools and equipment is a worthwhile investment that will provide you with years of use and enjoyment. With careful planning and attention to detail, you can create a functional and attractive space that will enhance the beauty and functionality of your yard.