
How to Photograph Night Landscapes: Capturing the Beauty of the Dark
Night landscapes have a unique beauty that is often overlooked. The darkness of the night can add a sense of mystery and drama to a landscape, making it a perfect subject for photography. Capturing the beauty of the dark can be challenging, but with the right techniques and equipment, you can create stunning images that will leave your viewers in awe.
Why Photograph Night Landscapes?
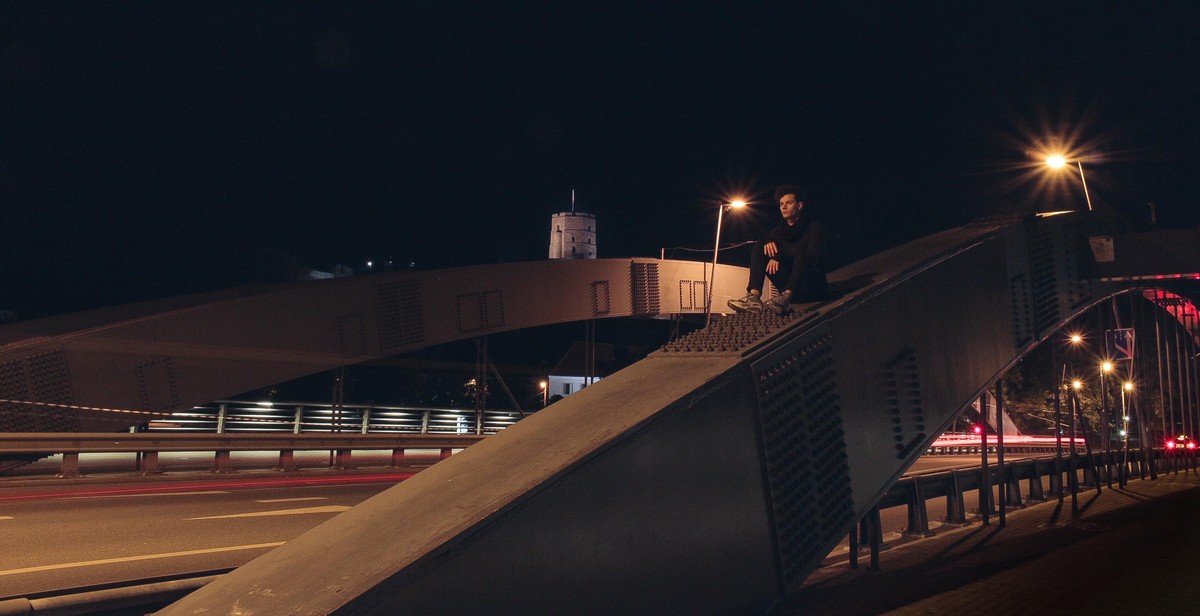
Night landscapes offer a unique challenge for photographers. The darkness of the night can create a range of interesting lighting effects, from the soft glow of the moon to the bright lights of a city skyline. Photographing at night also allows you to capture a different mood and atmosphere than you would during the day. Night landscapes can be serene and peaceful, or they can be full of energy and excitement.
Additionally, photographing at night can offer a break from the crowds and noise of the day. Many popular tourist destinations are less crowded at night, making it easier to find a peaceful spot to set up your camera and capture the beauty of the landscape.
In this article, we will explore the techniques and equipment you need to capture stunning night landscapes. We will cover everything from camera settings to composition, and provide tips and tricks to help you get the most out of your night photography.
Equipment Needed
Photographing night landscapes requires a specific set of equipment to capture the beauty of the dark. Here are the essential tools you’ll need:
Camera
The camera is the most crucial piece of equipment for night landscape photography. A camera with manual controls and a large sensor size is ideal. A full-frame camera such as the Canon EOS R5 or Nikon Z7II is perfect for capturing clear and detailed night landscapes.
Tripod
A sturdy tripod is essential for keeping your camera steady during long exposure shots. A carbon fiber tripod like the Manfrotto MT055CXPRO4 is lightweight yet durable, making it easy to transport and set up in any location.
Remote Shutter Release
A remote shutter release allows you to trigger your camera without touching it, minimizing the risk of camera shake. A wireless remote like the Vello Wireless ShutterBoss III is an excellent choice for night photography, as it has a range of up to 250 feet, allowing you to trigger your camera from a safe distance.
Flashlight
A flashlight is essential for illuminating your camera controls and finding your way around in the dark. A small, powerful flashlight like the Fenix PD35 TAC is perfect for night landscape photography, as it has a maximum output of 1000 lumens and a beam distance of up to 656 feet.
| Equipment | Model |
|---|---|
| Camera | Canon EOS R5 or Nikon Z7II |
| Tripod | Manfrotto MT055CXPRO4 |
| Remote Shutter Release | Vello Wireless ShutterBoss III |
| Flashlight | Fenix PD35 TAC |
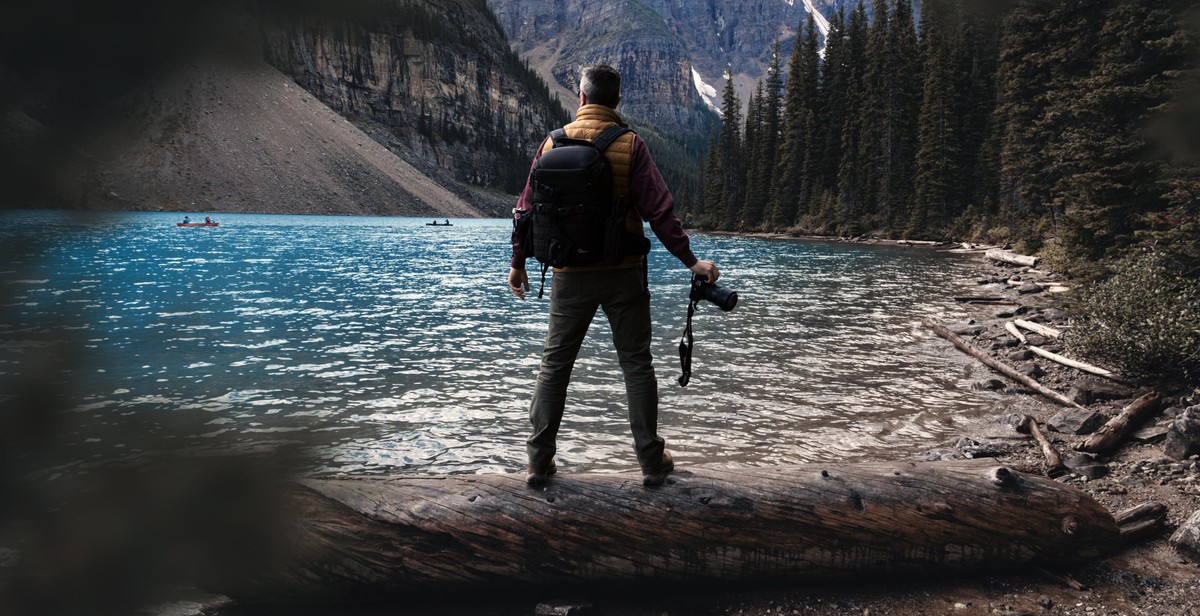
Choosing the Right Location
When it comes to photographing night landscapes, choosing the right location is crucial. Here are some factors to consider:
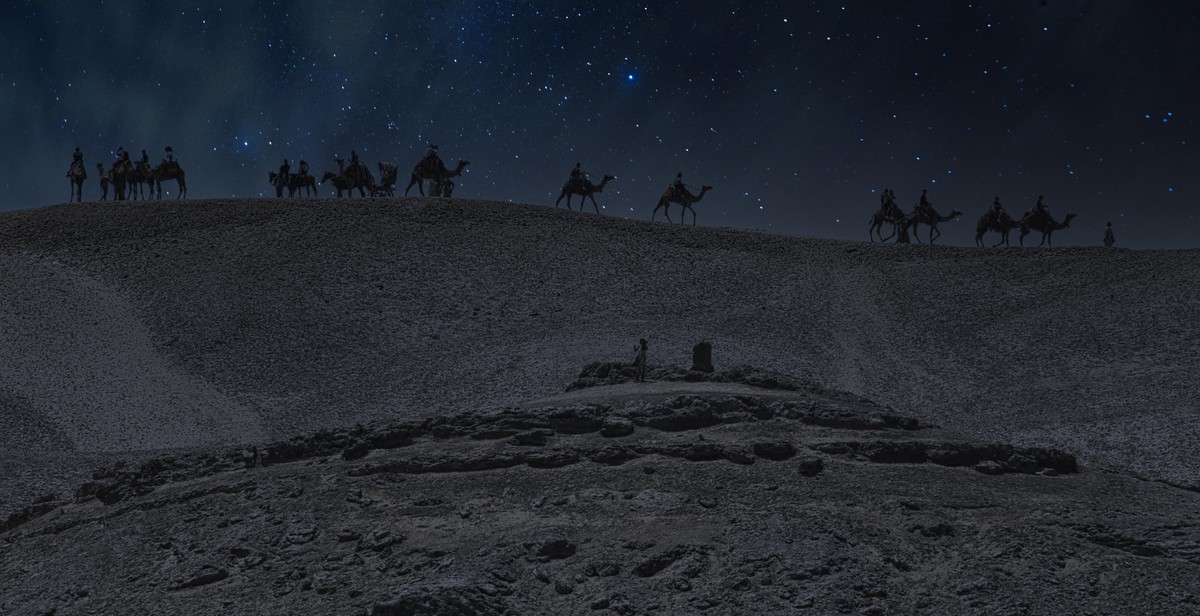
Dark Sky Areas
Look for areas designated as Dark Sky Parks or Reserves. These areas are specifically designated for their lack of light pollution and are ideal for capturing stunning night landscapes. You can find a list of Dark Sky Parks and Reserves on the International Dark-Sky Association website.
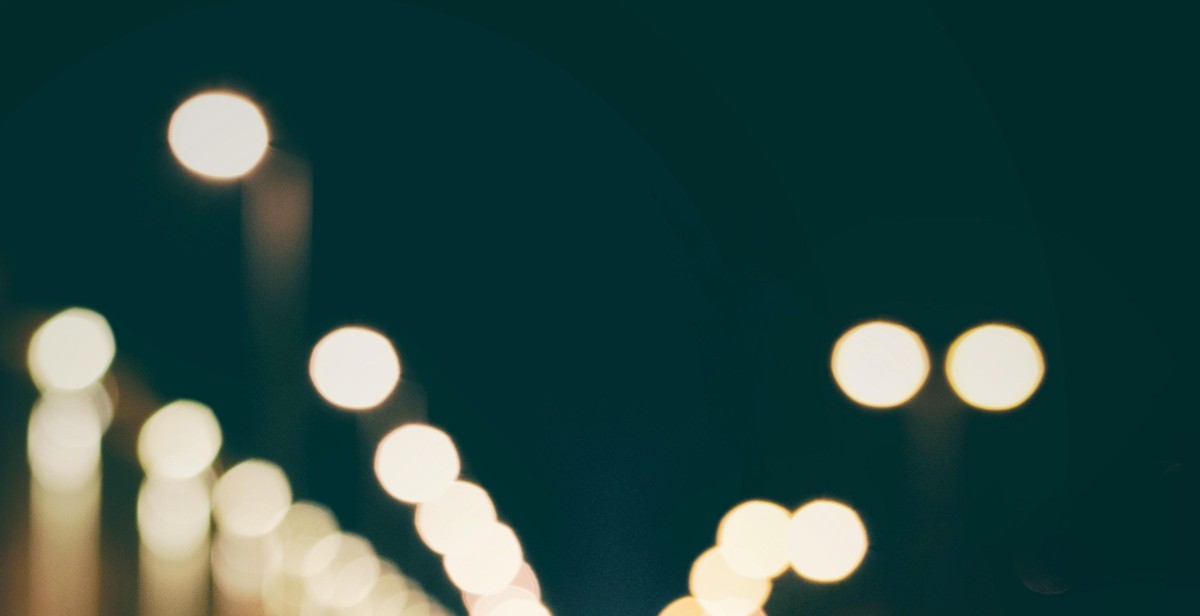
Cityscapes
If you prefer to capture the beauty of a city skyline at night, look for locations with a high vantage point. Rooftops, observation decks, and hills are great options. Make sure to research the best times to capture the city lights and avoid areas with too much light pollution.
Natural Landscapes
For natural landscapes, look for areas with interesting features such as mountains, waterfalls, or rock formations. Research the best time of year to capture the Milky Way or other celestial events in the area.
Safety
Always prioritize safety when choosing a location for night landscape photography. Avoid areas with dangerous wildlife or steep drop-offs. Bring a friend or let someone know where you will be shooting and when you plan to return.
Accessibility
Consider the accessibility of a location, especially if you will be carrying a lot of equipment. Look for areas with easy access to parking and trails, and consider bringing a headlamp or flashlight for navigating in the dark.
Camera Settings
When it comes to photographing night landscapes, the right camera settings are crucial. Here are some tips on how to adjust your camera settings to capture the beauty of the dark.
ISO
ISO determines the sensitivity of your camera’s sensor to light. In low light situations, you’ll need to increase your ISO to capture more light. However, keep in mind that increasing your ISO can also increase the amount of noise in your images. Start with an ISO of around 800 and adjust as needed.
Aperture
Aperture, or the size of the opening in your lens, determines how much light enters your camera. A wider aperture (lower f-stop number) will let in more light, but will also result in a shallower depth of field. For night landscapes, you’ll want a narrower aperture (higher f-stop number) to keep everything in focus. Start with an aperture of around f/8 and adjust as needed.
Shutter Speed
Shutter speed determines how long your camera’s sensor is exposed to light. A longer shutter speed will let in more light, but can also result in motion blur if there’s any movement in the scene. For night landscapes, you’ll need a longer shutter speed to capture enough light. Start with a shutter speed of around 20-30 seconds and adjust as needed.
| ISO | Aperture | Shutter Speed |
|---|---|---|
| 800 | f/8 | 20-30 seconds |
Remember, these settings are just a starting point. Adjust as needed based on the specific lighting conditions and the look you’re trying to achieve.
Focusing in the Dark
One of the biggest challenges when photographing night landscapes is achieving sharp focus. This is particularly difficult because autofocus systems often struggle in low light conditions. Here are some tips to help you focus your camera in the dark:
Use Manual Focus
Switch your lens to manual focus mode and use the focus ring to adjust the focus yourself. This gives you more control over the focus and allows you to fine-tune it to get the sharpest possible image.
Use Live View
Live view mode is a useful tool for focusing in the dark. It allows you to see what the camera sees on the LCD screen, which makes it easier to adjust the focus manually. You can also zoom in on the image to check the focus more closely.
Use a Flashlight
If you’re struggling to see the subject in the dark, use a flashlight to illuminate it. This will make it easier to focus manually and ensure that you’re focusing on the right part of the scene.
Focus on the Stars
Another option is to focus on a bright star in the sky. This will help you achieve sharp focus for the entire scene. Use the manual focus ring to adjust the focus until the star appears as a pinpoint of light.
Remember, achieving sharp focus is crucial for capturing stunning night landscapes. Take your time and experiment with different focusing techniques until you find the one that works best for you.
Composition Tips
When photographing night landscapes, composition is key to capturing the beauty of the dark. Here are some tips to help you create visually stunning images:
Foreground Interest
Adding foreground interest to your night landscape photos can create a sense of depth and draw the viewer’s eye into the image. Look for interesting elements such as rocks, trees, or water that can be used to create a strong foreground. Try to position your camera low to the ground to emphasize the foreground and create a more immersive experience for the viewer.
Rule of Thirds
The rule of thirds is a fundamental principle of composition in photography. Divide your image into thirds vertically and horizontally, and position your subject or key elements along these lines or at the intersections of the lines. This helps to create a balanced composition and adds visual interest to your image.
Leading Lines
Leading lines are a powerful tool for guiding the viewer’s eye through your image. Look for natural lines such as roads, rivers, or fences that can be used to create a sense of movement and direction in your photo. Position your camera in a way that emphasizes these lines and draws the viewer’s eye into the image.
| Tip | Description |
|---|---|
| Use a tripod | Shooting at night requires longer exposures, so using a tripod is essential to avoid camera shake and ensure sharp images. |
| Experiment with exposure settings | Play around with different shutter speeds, apertures, and ISO settings to achieve the desired effect. Don’t be afraid to try long exposures to capture star trails or light painting. |
By incorporating these composition tips into your night landscape photography, you can create stunning and visually engaging images that capture the beauty of the dark.
Post-Processing Night Landscapes
After capturing your night landscape photos, it’s time to enhance them to make them even more stunning. Here are some post-processing techniques to consider:
Noise Reduction
Noise reduction is crucial when working with night landscapes because the high ISO settings used to capture the scene can result in a lot of noise. To reduce noise, use a noise reduction tool in your editing software. Be careful not to overdo it, as too much noise reduction can result in a loss of detail.
White Balance
Adjusting the white balance can make a big difference in the final look of your night landscape. Sometimes the camera’s auto white balance setting can result in a yellow or blue cast. To fix this, adjust the temperature and tint sliders in your editing software until the colors look natural.
Contrast and Saturation
Increase the contrast and saturation to make the colors in your night landscape pop. This can be done using the sliders in your editing software. Be careful not to overdo it, as too much contrast and saturation can result in an unnatural-looking image.
Exporting
When exporting your final image, make sure to save it in a high-quality format such as TIFF or JPEG. This will ensure that the image retains its sharpness and detail.
By using these post-processing techniques, you can take your night landscape photos to the next level and create stunning images that capture the beauty of the dark.