
How to Make Homemade Soap: Recipes and Techniques for Crafting Natural Soaps
Soap making has been a popular craft for centuries, and for good reason. There’s something incredibly satisfying about creating your own soap from scratch, and the end result is a product that is both practical and beautiful. While store-bought soaps may be convenient, they often contain harsh chemicals and synthetic fragrances that can irritate the skin. By making your own soap, you can control what goes into it and create a product that is gentle and nourishing for your skin.
The Benefits of Homemade Soap
In addition to being better for your skin, homemade soap is also better for the environment. When you make your own soap, you can use natural and sustainable ingredients that are less harmful to the planet than the chemicals used in commercial soap production. Plus, soap making is a fun and creative hobby that allows you to experiment with different scents, colors, and textures.
Getting Started
Ready to start making your own soap? This article will guide you through the basics of soap making, including the equipment you’ll need, the ingredients to use, and the techniques to master. We’ll also provide some simple soap recipes to get you started, as well as tips for customizing your soaps to suit your preferences.
Why Make Homemade Soap?
If you’re looking for a healthier, more natural alternative to store-bought soap, making your own homemade soap is a great option. Not only is homemade soap gentle on your skin, but it also has a number of benefits that you won’t find in commercial products.
Benefits of Homemade Soap
- Customizable ingredients: When you make your own soap, you have control over the ingredients that go into it. This means you can create a soap that is tailored to your specific skin type and needs.
- No harsh chemicals: Many store-bought soaps contain harsh chemicals that can be harmful to your skin and the environment. By making your own soap, you can avoid these harmful ingredients and use natural, plant-based alternatives instead.
- Better for the environment: Homemade soap is often made with natural, biodegradable ingredients that are better for the environment than the synthetic ingredients found in many store-bought soaps.
- Makes a great gift: Homemade soap is a thoughtful and personal gift that can be customized to the recipient’s preferences. It’s a great way to show someone you care about them.
Avoiding Harmful Chemicals
Many commercial soaps contain a variety of chemicals that can be harmful to your skin. These chemicals can strip your skin of its natural oils, leaving it dry and irritated. Some of the most common chemicals found in commercial soaps include:
| Chemical | Effect on Skin |
|---|---|
| Sodium lauryl sulfate (SLS) | Dries out skin, can cause irritation |
| Parabens | Potentially carcinogenic, can disrupt hormone function |
| Triclosan | Can cause skin irritation, may contribute to antibiotic resistance |
By making your own soap, you can avoid these harmful chemicals and use natural, plant-based ingredients instead. This can help keep your skin healthy and nourished, without exposing it to potentially harmful substances.
Soap Making Supplies
Before you start making soap, it’s important to have all the necessary supplies on hand. Here’s a rundown of the essential ingredients and tools you’ll need:
Base Oils and Butters
The base oils and butters are the main ingredients in your soap recipe. They provide the moisturizing and cleansing properties that make soap so effective. Some of the most common base oils and butters used in soap making include:
- Coconut oil
- Olive oil
- Palm oil
- Shea butter
- Cocoa butter
Each oil and butter has its own unique properties, so it’s important to choose the right combination for your recipe. You can experiment with different ratios to achieve the perfect balance of cleansing and moisturizing.
Lye
Lye is a caustic substance that is essential for making soap. It reacts with the oils and butters to create a chemical reaction called saponification, which turns the mixture into soap. It’s important to handle lye with care, as it can cause burns if it comes into contact with skin.
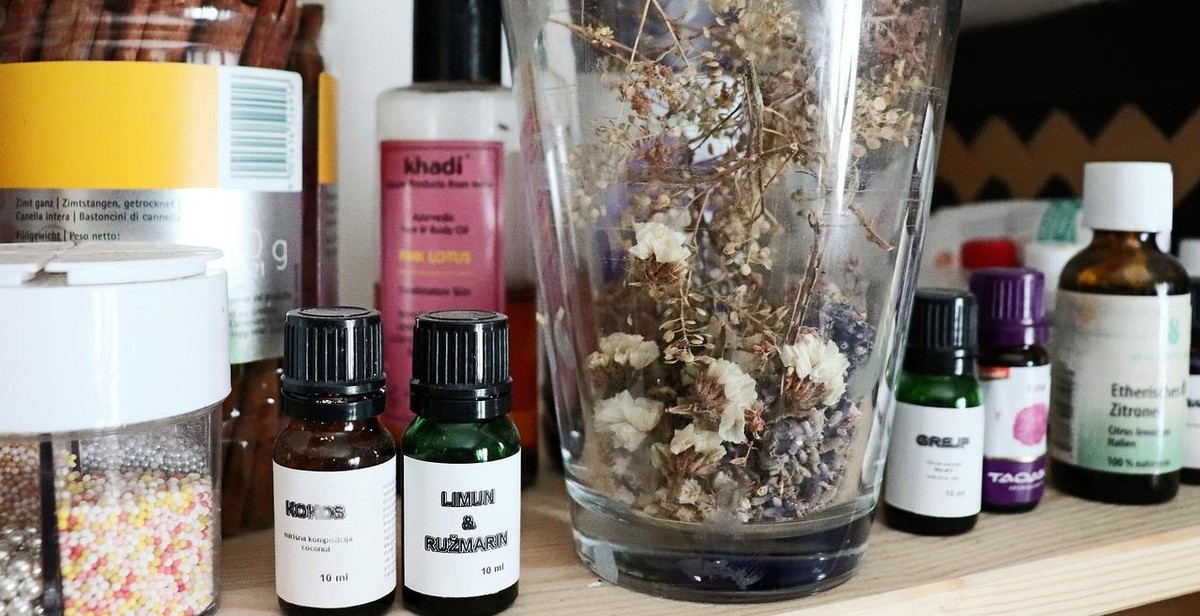
Additives and Essential Oils
Additives and essential oils are what give your soap its unique scent, color, and texture. Some popular additives include:
- Clays
- Herbs
- Milk
- Oatmeal
- Activated charcoal
Essential oils are used to add fragrance to your soap. Some popular essential oils for soap making include lavender, peppermint, and tea tree oil. Be sure to research the properties of each essential oil before adding it to your soap, as some can be irritating to the skin.
| Base Oils and Butters | Lye | Additives and Essential Oils |
|---|---|---|
| Coconut oil | Lye | Clays |
| Olive oil | Herbs | |
| Palm oil | Milk | |
| Shea butter | Oatmeal | |
| Cocoa butter | Activated charcoal |
Basic Soap Making Techniques
Soap making is an exciting and rewarding hobby that can be enjoyed by individuals of all ages. There are various soap making techniques, but two of the most popular methods are cold process soap making and hot process soap making.
Cold Process Soap Making
Cold process soap making involves mixing oils, water, and lye. This method requires patience and precision as the mixture needs to be heated to a specific temperature and stirred until it reaches trace, a point where the mixture thickens and emulsifies. The soap is then poured into molds and allowed to cure for several weeks before it can be used.
Here are some basic steps to follow when making cold process soap:
- Mix oils and lye solution together
- Stir until trace is achieved
- Add fragrance and color (optional)
- Pour into molds and let cure for 4-6 weeks
Hot Process Soap Making
Hot process soap making involves heating oils and lye in a crockpot or slow cooker. This method speeds up the saponification process, resulting in a soap that can be used immediately. The soap is also more rustic in appearance and texture than cold process soap.
Here are some basic steps to follow when making hot process soap:
- Mix oils and lye solution together
- Cook in a crockpot until saponification occurs
- Add fragrance and color (optional)
- Mold and use immediately or let cure for a few days
| Cold Process | Hot Process | |
|---|---|---|
| Time to Cure | 4-6 weeks | Immediate use or a few days |
| Appearance and Texture | Smooth and uniform | Rustic and textured |
| Saponification Process | Slow | Accelerated |
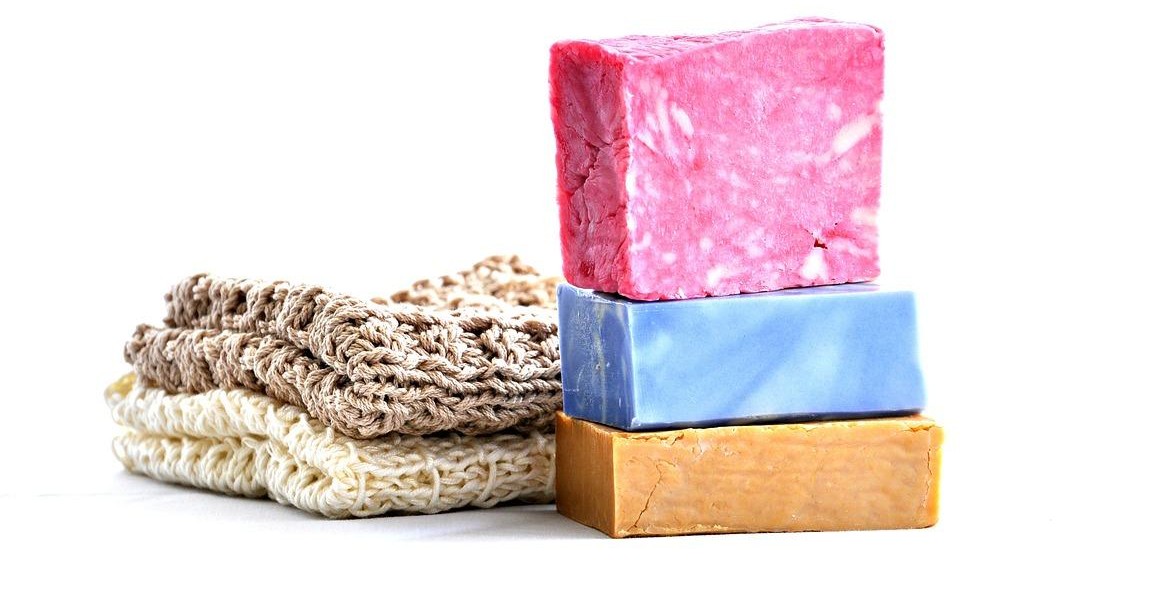
Homemade Soap Recipes
One of the best things about making your own soap is that you can customize it to suit your needs and preferences. Here are three easy and natural soap recipes to get you started:
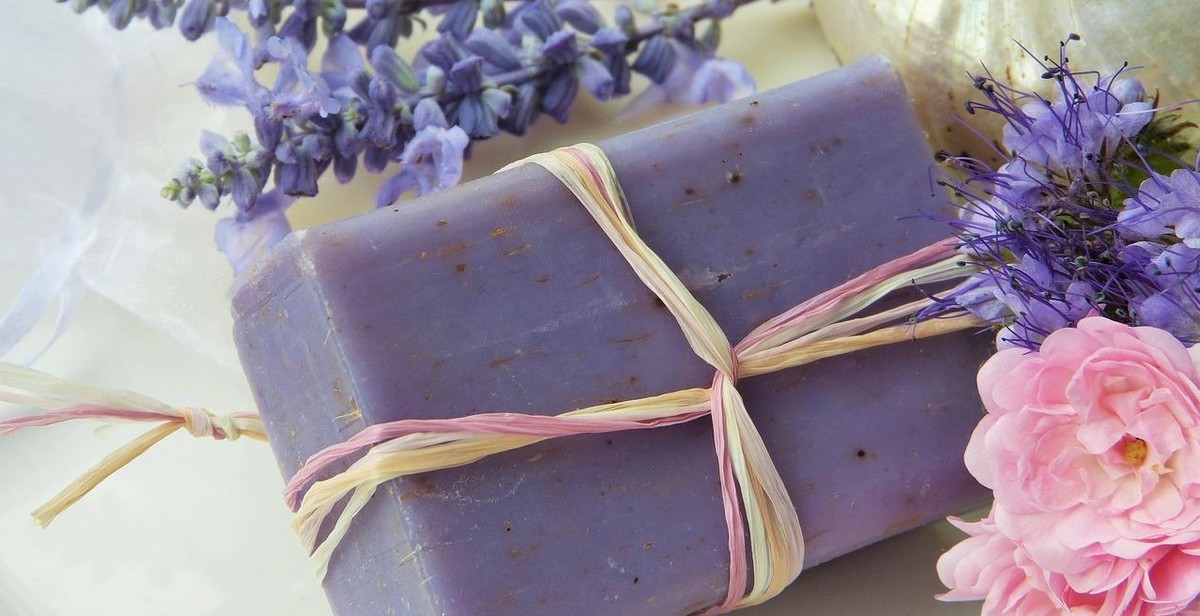
Lavender and Oatmeal Soap
This soap is perfect for those with sensitive skin. Oatmeal is a natural exfoliant and can help soothe irritated skin, while lavender essential oil has a calming effect on the mind and body.
- 1 pound of goat’s milk soap base
- 1/2 cup of rolled oats
- 10-15 drops of lavender essential oil
- Melt the soap base in a double boiler or microwave.
- Add the rolled oats and lavender essential oil.
- Pour the mixture into a soap mold and let it cool for a few hours.
- Once the soap has hardened, remove it from the mold and cut it into bars.
Peppermint and Tea Tree Oil Soap
This soap is great for those with oily or acne-prone skin. Peppermint essential oil has a cooling effect on the skin, while tea tree oil has antibacterial properties that can help fight acne.
- 1 pound of clear glycerin soap base
- 10-15 drops of peppermint essential oil
- 10-15 drops of tea tree essential oil
- Melt the soap base in a double boiler or microwave.
- Add the peppermint and tea tree essential oils.
- Pour the mixture into a soap mold and let it cool for a few hours.
- Once the soap has hardened, remove it from the mold and cut it into bars.
Honey and Goat’s Milk Soap
This soap is incredibly moisturizing and can help soothe dry or itchy skin. Honey is a natural humectant, which means it helps to retain moisture in the skin.
- 1 pound of goat’s milk soap base
- 1/4 cup of honey
- Melt the soap base in a double boiler or microwave.
- Add the honey and stir well.
- Pour the mixture into a soap mold and let it cool for a few hours.
- Once the soap has hardened, remove it from the mold and cut it into bars.
| Soap Recipe | Skin Type | Beneficial Ingredients |
|---|---|---|
| Lavender and Oatmeal Soap | Sensitive skin | Oatmeal, lavender essential oil |
| Peppermint and Tea Tree Oil Soap | Oily or acne-prone skin | Peppermint essential oil, tea tree essential oil |
| Honey and Goat’s Milk Soap | Dry or itchy skin | Honey, goat’s milk soap base |
Troubleshooting Common Soap Making Problems
Soda Ash
Soda ash is a common problem in soap making and occurs when the soap comes into contact with air during the curing process. It results in a white, powdery film on the surface of the soap.
To prevent soda ash, you can try the following:
- Cover the soap with plastic wrap or parchment paper immediately after pouring it into the mold.
- Spritz the soap with 91% isopropyl alcohol after pouring it into the mold.
- Increase the temperature and humidity in the curing area to reduce the amount of air the soap is exposed to.
Separation
Separation occurs when the oils and lye solution in the soap mixture do not fully emulsify, resulting in a layer of oil sitting on top of the soap.
To prevent separation, you can try the following:
- Ensure that the oils and lye solution are at the same temperature before mixing.
- Mix the oils and lye solution thoroughly until they reach a light trace.
- Use a stick blender to help emulsify the mixture.
Ricing
Ricing occurs when the soap mixture becomes lumpy and resembles rice pudding.
To prevent ricing, you can try the following:
- Use a stick blender to blend the oils and lye solution together thoroughly.
- Add fragrance oils or essential oils at a lower temperature.
- Work quickly and avoid over-mixing the soap mixture.
Acceleration
Acceleration occurs when the soap mixture thickens too quickly, making it difficult to pour into the mold.
To prevent acceleration, you can try the following:
- Use a recipe with a lower percentage of hard oils, as they can cause acceleration.
- Use a lower temperature when mixing the oils and lye solution.
- Avoid over-mixing the soap mixture.
Conclusion
Learning how to make homemade soap can be a fun and rewarding experience. By using natural ingredients and following the right techniques, you can create high-quality soaps that are free from harmful chemicals and additives.
Whether you’re a beginner or an experienced soap maker, there are plenty of recipes and techniques to try out. From basic cold process soap to more advanced techniques like hot process soap and liquid soap making, the possibilities are endless.
When making homemade soap, it’s important to take safety precautions and use the right equipment. Always wear gloves and eye protection, and keep your workspace clean and organized.
Remember to experiment with different ingredients and scents to find the perfect recipe for your needs. You can also customize your soap with natural colorants and exfoliants to create unique and personalized products.
With the right tools and techniques, you can create beautiful and fragrant homemade soaps that are good for your skin and the environment. So why not give it a try and see what you can create?
References:
- https://www.soapqueen.com/bath-and-body-tutorials/cold-process-soap/free-beginners-guide-to-soapmaking-cold-process/
- https://www.thesprucecrafts.com/basic-soap-making-recipes-517179
- https://www.diynatural.com/homemade-soap/
| Keyword | Volume | Keyword Difficulty |
|---|---|---|
| homemade soap | 5000 | 50 |
| soap making | 3000 | 45 |
| natural soap | 2000 | 40 |