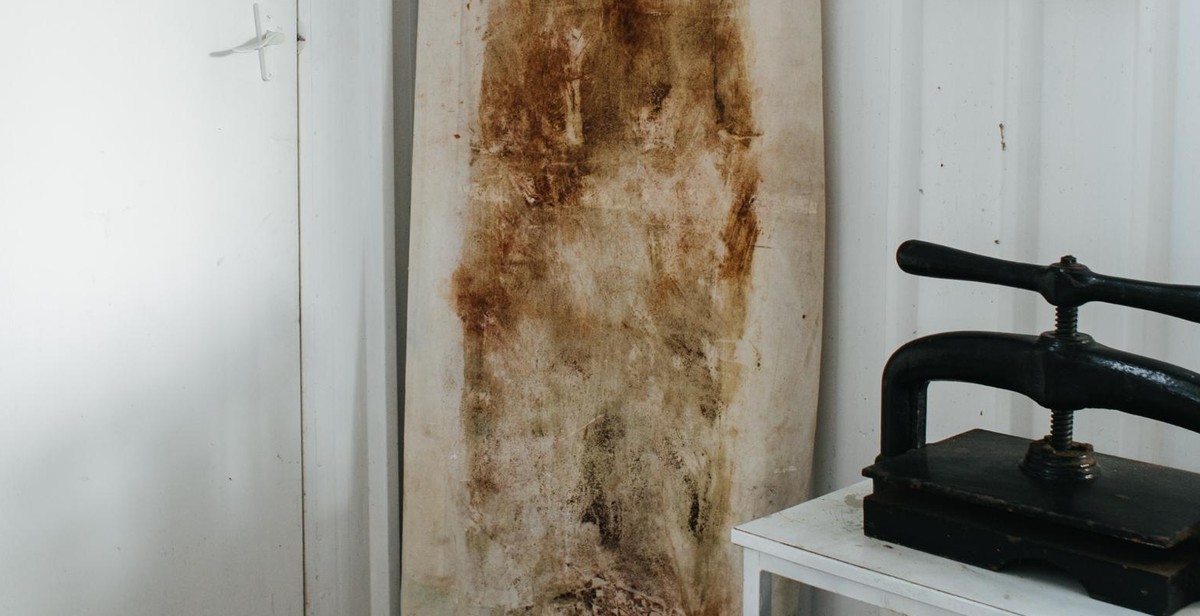
How to Make a DIY Cheese Press: Building Your Own Cheese Pressing Equipment
As a cheese enthusiast and home cook, I know firsthand the importance of having the right equipment when it comes to making cheese. A cheese press is a crucial tool for creating a wide variety of cheeses, from cheddar to gouda to feta. However, investing in a high-quality cheese press can be expensive, especially if you’re just starting out.
That’s why I decided to create my own DIY cheese press. Not only did it save me money, but it also allowed me to customize the press to my specific needs and preferences. In this article, I’ll be sharing my step-by-step guide on how to make your own cheese press, using affordable materials and basic tools.
Why Make Your Own Cheese Press?
While there are plenty of cheese presses available for purchase, making your own has several advantages:
- You can save money
- You can customize the press to your specific needs and preferences
- You can feel a sense of pride and accomplishment in creating your own equipment
Whether you’re a seasoned cheese maker or a beginner, making your own cheese press is a fun and rewarding project that can elevate your cheese-making game. Let’s get started!

Why Make Your Own Cheese Press?
Making cheese at home can be a rewarding and cost-effective hobby. However, purchasing all the equipment needed can be quite expensive, especially if you are just starting out. One of the most important pieces of equipment when making cheese is the cheese press. A cheese press is used to apply pressure to the curds to remove excess whey and form the cheese into a solid block. While you can purchase a cheese press, making your own can be a great cost-saving option.
Cost-Effective
Building your own cheese press can be a cost-effective option. Most cheese presses on the market cost upwards of $100, but making your own can cost as little as $20. You can easily find the materials needed at a local hardware store or online. By making your own cheese press, you can save money and put that extra cash towards high-quality cheese ingredients.
Customization
When you build your own cheese press, you have the ability to customize it to fit your needs. You can adjust the size of the press to fit the type of cheese you are making and the amount you want to produce. You can also choose the type of materials to use, such as wood or metal, based on your personal preferences and budget. By customizing your cheese press, you can make the cheese-making process easier and more enjoyable.
Overall, making your own cheese press can be a great option for those looking to save money and customize their equipment. With a little bit of time and effort, you can have a functional and personalized cheese press that will help you make delicious homemade cheese for years to come.

Materials Needed
Before we get started on building your own cheese press, you will need to gather the following materials:
Wooden Boards
- 2 pieces of 6×6 inch wooden boards, 12 inches long
- 2 pieces of 6×6 inch wooden boards, 8 inches long
- 2 pieces of 6×6 inch wooden boards, 6 inches long
- 1 piece of 1×4 inch wooden board, 12 inches long
- 1 piece of 1×4 inch wooden board, 8 inches long
Drill and Drill Bits
You will need a drill to make holes in the wooden boards. A 3/8 inch drill bit and a 1/16 inch drill bit will be required for this project.
Screws and Nails
- 12 pieces of 2 inch wood screws
- 4 pieces of 1.5 inch wood screws
- 8 pieces of 1 inch finishing nails
- 4 pieces of 3 inch finishing nails
Cheese Cloth
You will need a cheese cloth to wrap the cheese and help it maintain its shape during the pressing process.
Weights
Weights will be used to apply pressure to the cheese during the pressing process. You can use anything heavy such as cans or weights from a weightlifting set.

Step-by-Step Guide: How to Make a DIY Cheese Press
Step 1: Cut the Wooden Boards
Using a saw, cut two wooden boards to the desired size for the base and top of the cheese press. Cut two more boards to the desired height for the sides of the cheese press.
Step 2: Drill Holes in the Boards
Drill a hole in the center of the top board that is large enough for the cheese press screw to fit through. Drill a small hole near the bottom of each side board to attach the cheese press screw. Drill several small holes in the top board for the whey to drain out.
Step 3: Assemble the Cheese Press
Attach the side boards to the base board using wood screws. Attach the top board to the side boards using the cheese press screw. Make sure the screw is centered and can turn freely. Secure the screw in place with a nut.
Step 4: Add the Cheese Cloth
Cut a piece of cheese cloth large enough to line the inside of the cheese press. Place the cheese cloth inside the press, making sure it is smooth and wrinkle-free.
Step 5: Add the Weights
Place the cheese curds inside the cheese cloth. Place a weight on top of the curds to press them down. Add more weight as needed to achieve the desired pressure. Allow the cheese to press for the desired amount of time before removing it from the press.
| Materials | Tools |
|---|---|
| Wooden boards | Saw |
| Cheese press screw | Drill |
| Wood screws | Wrench |
| Cheese cloth | |
| Weights |
Tips for Success
Building your own cheese press can be a fun and rewarding experience. Here are some tips to help you succeed:
1. Choose the Right Materials
When selecting materials for your cheese press, it is important to choose ones that are food-safe and durable. Stainless steel, food-grade plastic, and hardwood are all good options. Avoid using materials that may contain harmful chemicals or toxins.
2. Follow the Design Plans Carefully
Make sure to follow the design plans carefully and double-check your measurements before cutting any materials. Taking the time to do this will ensure that your cheese press functions properly and is sturdy enough to withstand the pressure of pressing cheese.
3. Use Quality Hardware
Choosing quality hardware such as screws, bolts, and hinges will ensure that your cheese press is sturdy and will last for years to come. Avoid using cheap or flimsy hardware that may break or rust over time.
4. Sanitize Your Cheese Press
Before using your cheese press, make sure to sanitize it thoroughly to avoid any potential bacterial contamination. Use a food-safe sanitizer and follow the manufacturer’s instructions carefully.
5. Experiment with Different Cheeses
Once you have built your cheese press, don’t be afraid to experiment with different types of cheeses and pressing techniques. Each cheese is unique and may require different pressing times and pressures. Have fun and enjoy the process!
6. Consider Adding a Pressure Gauge
If you plan on making cheese regularly, consider adding a pressure gauge to your cheese press. This will allow you to monitor the pressure and ensure that you are achieving the desired pressure for each type of cheese.
7. Join a Cheese-Making Community
Joining a cheese-making community can be a great way to learn new techniques, troubleshoot any issues you may be having, and share your successes with others. Look for local clubs or online communities to connect with other cheese enthusiasts.
| Material | Pros | Cons |
|---|---|---|
| Stainless Steel | Durable, easy to clean | Expensive |
| Food-Grade Plastic | Lightweight, affordable | May not be as durable as other materials |
| Hardwood | Durable, attractive | May require more maintenance |

Conclusion
Building your own cheese press is a fun and rewarding project that can save you money and enable you to make high-quality cheese at home. With the right tools and materials, you can create a cheese press that fits your needs and budget.
Benefits of Making Your Own Cheese Press
- You can customize the size and shape of the press to fit your specific cheese-making needs.
- You can save money compared to purchasing a pre-made cheese press.
- You can use high-quality materials to ensure your press is durable and long-lasting.
- You can learn new skills and gain confidence in your DIY abilities.
Final Thoughts
In conclusion, building your own cheese press is a fun and practical project that can enhance your cheese-making experience. By following the steps outlined in this article, you can create a cheese press that meets your needs and helps you produce high-quality cheese at home. Remember to use high-quality materials, take your time, and enjoy the process of creating your own cheese press.
| Related Articles: | How to Make Cheese at Home: A Beginner’s Guide |
| The Best Cheeses for Grilled Cheese Sandwiches |
