
How to Shoot Stunning Macro Photography: Capturing Small Details Up Close
Macro photography is a fascinating genre of photography that involves capturing small details up close. It is all about capturing the intricate beauty of the tiniest subjects, from the petals of a flower to the wings of a butterfly. Macro photography allows you to see the world from a different perspective and appreciate the beauty of small things that often go unnoticed.
To capture stunning macro photographs, you need to have the right equipment, techniques, and a keen eye for detail. This article will guide you through the steps to shoot stunning macro photography, from choosing the right equipment to mastering the right techniques.
What is Macro Photography?
Macro photography is a type of photography that involves capturing small subjects at a magnification ratio of 1:1 or higher. This means that the subject is captured at life-size or larger, revealing details that are not visible to the naked eye.
Macro photography is often used to capture the beauty of nature, from flowers and insects to the intricate patterns of leaves and rocks. It is also used in product photography, where small details are important to showcase the quality and craftsmanship of a product.
To capture stunning macro photographs, you need to have the right equipment, techniques, and a keen eye for detail. This article will guide you through the steps to shoot stunning macro photography, from choosing the right equipment to mastering the right techniques.
Equipment
Macro photography requires specific equipment to achieve the best results. Here are some of the essential pieces of equipment you need:
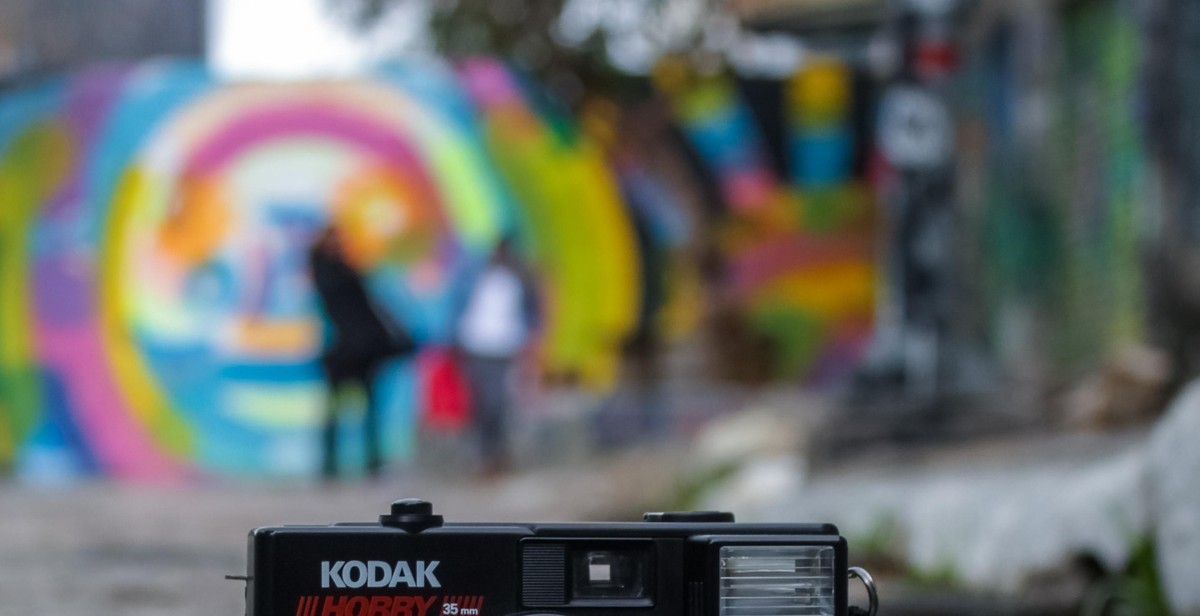
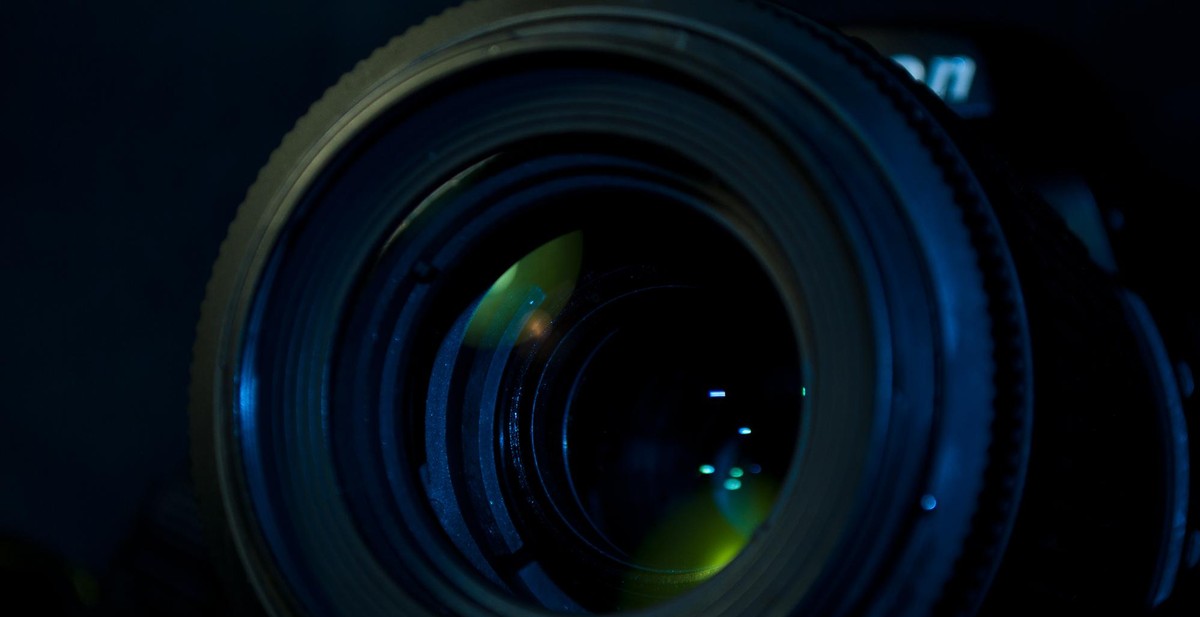
Camera and Lens
The camera and lens are arguably the most important pieces of equipment for macro photography. A camera with a high-resolution sensor and manual controls is ideal. A lens with a 1:1 magnification ratio or greater is also necessary. Macro lenses are specifically designed for close-up photography and have a longer focal length than standard lenses. They allow you to focus on subjects as close as a few centimeters away while maintaining sharpness and clarity.
Tripod
A sturdy tripod is essential for macro photography. It provides stability and helps prevent camera shake, which can result in blurry images. Look for a tripod with a center column that can be adjusted to different heights. A tripod with a ball head allows for easy adjustments and precise positioning of the camera.
Remote Shutter Release
A remote shutter release is a useful accessory for macro photography. It allows you to trigger the camera without touching it, which can reduce camera shake. A wired or wireless remote shutter release is available, and both work well for macro photography.
Lighting
Good lighting is essential for macro photography. Natural light can work well, but it can be unpredictable. A ring flash or a macro flash is an excellent option for macro photography. These types of flashes provide even lighting and are specifically designed for close-up photography.
| Equipment | Description |
|---|---|
| Camera and Lens | A high-resolution camera with manual controls and a macro lens with a 1:1 magnification ratio or greater. |
| Tripod | A sturdy tripod with a center column that can be adjusted to different heights. |
| Remote Shutter Release | A wired or wireless remote shutter release to trigger the camera without touching it. |
| Lighting | A ring flash or macro flash for even lighting specifically designed for close-up photography. |
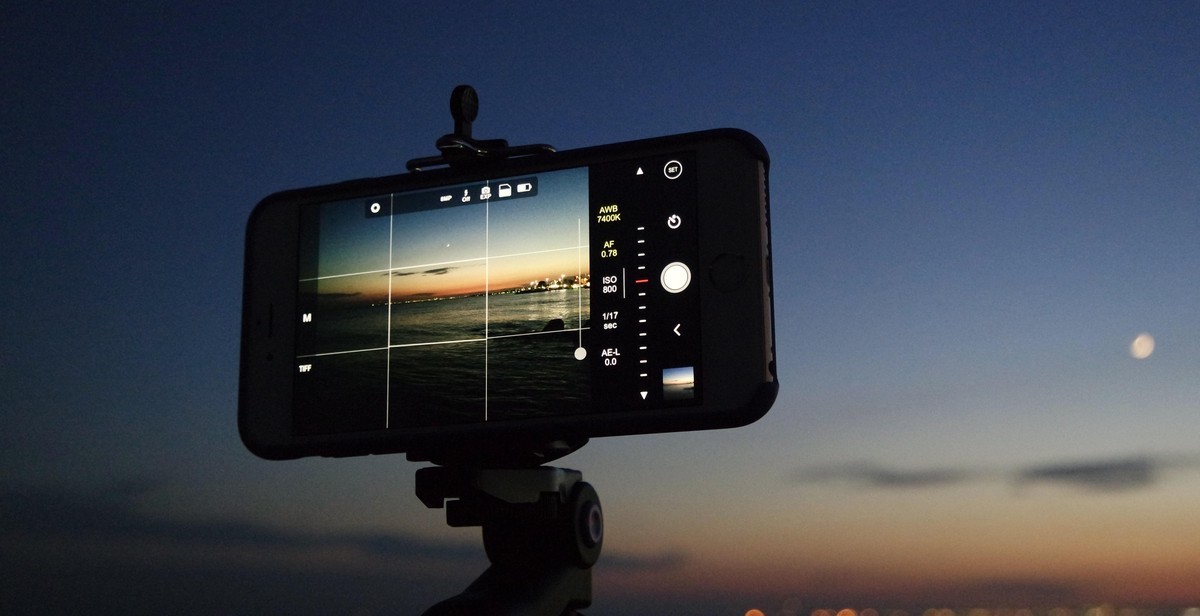
Settings for Macro Photography
When it comes to capturing stunning macro photography, the right camera settings can make all the difference. Here are some settings to consider:
Aperture
The aperture setting determines the depth of field in your macro shots. For a shallow depth of field and a beautiful bokeh effect, use a wide aperture (such as f/2.8 or f/4). This will blur the background and make your subject stand out. However, if you want a larger area of your subject in focus, use a smaller aperture (such as f/8 or f/11). Keep in mind that a smaller aperture will require more light, so you may need to adjust your other settings accordingly.
Shutter Speed
When shooting macro photography, it’s important to use a fast shutter speed to avoid motion blur. This is especially true if you’re photographing a moving subject, such as an insect. A good rule of thumb is to use a shutter speed that is at least as fast as your focal length. For example, if you’re using a 100mm lens, use a shutter speed of 1/100 or faster.
ISO
The ISO setting determines the sensitivity of your camera’s sensor to light. A higher ISO can be useful in low light situations, but it can also introduce noise into your photos. For macro photography, it’s best to use the lowest ISO possible to avoid noise and maintain image quality. However, if you’re shooting in low light and need to use a higher ISO, try to keep it below 800 to minimize noise.
White Balance
Don’t forget to adjust your white balance to ensure accurate colors in your macro shots. You can use the auto white balance setting, but it’s often better to manually adjust it based on your lighting conditions. For example, if you’re shooting in natural daylight, use the daylight or cloudy white balance setting.
Focus
Finally, make sure your focus is spot-on when shooting macro photography. Use manual focus if possible, and take your time to ensure your subject is sharp and in focus. You can also use focus stacking techniques to capture multiple images at different focus points and combine them in post-processing for a sharper final image.
By adjusting your camera settings and taking your time to focus, you can capture stunning macro photography that showcases the small details of your subject up close.
Composition
When it comes to macro photography, composition is key to creating stunning images. Here are some tips for framing and focusing your shots, controlling depth of field, and choosing the right backgrounds:
Framing and Focus
When framing your shot, consider the rule of thirds. Divide your frame into thirds both horizontally and vertically, and place your subject at one of the four intersections. This creates a more visually interesting composition than simply centering your subject.
When it comes to focus, use manual focus rather than autofocus. This gives you more control over which part of the subject is in focus. Focus on the part of the subject that is closest to the camera, and use a small aperture to increase the depth of field and keep more of the subject in focus.
Depth of Field
Depth of field is crucial in macro photography, as it can make or break your shot. Use a small aperture (large f-number) to increase the depth of field and keep more of the subject in focus. However, be careful not to use too small an aperture, as this can result in diffraction and a loss of sharpness.
Another way to control depth of field is to use selective focus. Choose one part of the subject to be in focus, while allowing the rest of the image to blur out. This can create a more artistic and visually interesting image.
Backgrounds
The background of your macro shot can make a big difference in the overall look and feel of the image. Choose a background that complements the subject and adds to the story you are trying to tell. Avoid busy or distracting backgrounds that take away from the subject.
One way to control the background is to use a shallow depth of field. By using a large aperture (small f-number), you can blur out the background and create a more visually pleasing image. Alternatively, you can use a solid-colored background or a piece of colored paper to create a clean and simple background.
Techniques for Shooting Stunning Macro Photography
Macro photography is all about capturing small details up close. But to do this successfully, you need to use the right techniques. Here are three key techniques that will help you shoot stunning macro photos:
Focus Stacking
Focus stacking is a technique that involves taking multiple photos of the same subject, each with a different focus point. You then combine these photos in post-processing to create a final image that is sharp from front to back.
To do focus stacking, you’ll need a camera that allows you to shoot in manual focus mode and a tripod to keep your camera steady. Start by setting your camera to aperture priority mode and choosing an aperture that will give you the depth of field you want. Then, take a series of photos, adjusting the focus point slightly for each one. You can use software like Adobe Photoshop or Helicon Focus to combine the photos into a single image.
Bracketing
Bracketing is a technique that involves taking multiple photos of the same subject at different exposures. This is especially useful when shooting in challenging lighting conditions, such as bright sunlight or low light.
To do bracketing, you’ll need a camera that allows you to shoot in manual exposure mode and a tripod to keep your camera steady. Set your camera to aperture priority mode and choose an aperture that will give you the depth of field you want. Then, take a series of photos, adjusting the exposure settings slightly for each one. You can use software like Adobe Lightroom or Photomatix to combine the photos into a single image.
Manual Focus
Manual focus is essential for macro photography because it allows you to focus on the exact point you want. Autofocus can struggle with small subjects and may focus on the wrong part of the image.
To use manual focus, you’ll need to switch your camera to manual focus mode. Then, use the focus ring on your lens to adjust the focus until your subject is sharp. You can also use magnification or live view mode to help you get the focus just right.
| Technique | Equipment Needed | Steps |
|---|---|---|
| Focus Stacking | Camera with manual focus mode, tripod | Set camera to aperture priority mode, take multiple photos with different focus points, combine in post-processing |
| Bracketing | Camera with manual exposure mode, tripod | Set camera to aperture priority mode, take multiple photos with different exposure settings, combine in post-processing |
| Manual Focus | Camera with manual focus mode | Switch camera to manual focus mode, adjust focus ring until subject is sharp |
Conclusion
Macro photography is a fascinating genre that allows us to capture the intricate and beautiful details of the world around us. With the right equipment and techniques, anyone can create stunning macro photographs that showcase the beauty of even the smallest subjects.
When shooting macro photography, it’s important to remember that patience, practice and persistence are key. Don’t be afraid to experiment with different techniques, lighting setups and compositions in order to find what works best for you.
Remember to always use a tripod to keep your shots steady, and to use manual focus for greater control over your depth of field. Additionally, try using a remote shutter release or a self-timer to avoid camera shake and ensure sharp, clear images.
Finally, don’t forget to have fun with macro photography! It’s a genre that offers endless possibilities for creativity and exploration. So grab your camera, head outside, and start capturing the beauty of the world up close.
Key Takeaways
- Macro photography is all about capturing small details up close.
- Use a macro lens or extension tubes to get closer to your subject.
- Control your depth of field to create stunning bokeh effects.
- Use a tripod and manual focus for sharp, clear images.
- Experiment with different lighting setups and compositions to find what works best for you.
- Have fun and don’t be afraid to try new things!
Further Reading
If you’re interested in learning more about macro photography, here are some great resources to check out:
- Macro Photography for Beginners – a comprehensive guide to getting started with macro photography
- What is Macro Photography? – an in-depth explanation of the genre and its techniques
- 10 Tips for Stunning Macro Photography – a helpful list of tips and tricks for taking better macro photos