
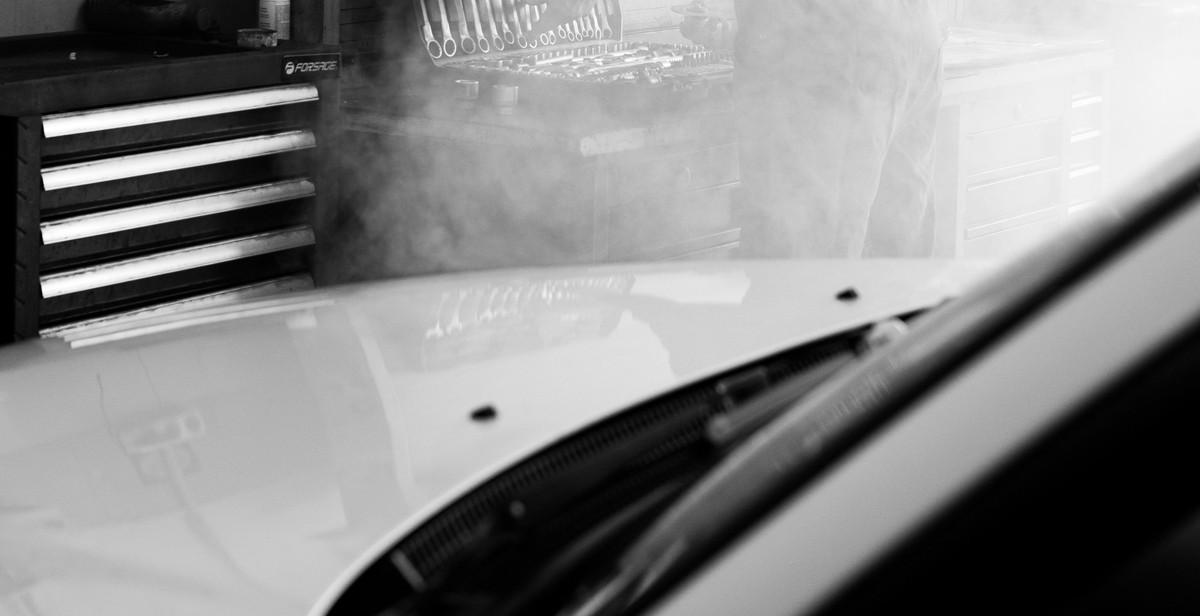
Introduction: How to Perform a DIY Car Dent Repair
Car dents can be frustrating and unsightly, but taking your vehicle to a professional for a repair can be costly. Fortunately, performing a DIY car dent repair can be a cost-effective solution that can save you both time and money.
Why Perform a DIY Car Dent Repair?
Performing a DIY car dent repair can be a practical solution for several reasons. Firstly, it can save you money on professional repairs that can be costly. Secondly, it can be a time-saving solution, as you can perform the repair at your own convenience without having to wait for an appointment or for the repair shop to complete the job. Additionally, it can be a satisfying experience to fix the dent yourself and take pride in the outcome.
While there are several methods for performing a DIY car dent repair, it is important to note that not all dents can be repaired using this method. Some dents may be too severe or located in areas that are difficult to access, and in such cases, it may be best to seek professional help.
In this article, we will explore the different methods and tools you can use to perform a successful DIY car dent repair.

Assessing the Damage
Before attempting to repair a car dent, it’s important to assess the damage to determine the best method for repair. There are two key factors to consider when assessing a dent: the size and location of the dent.
Identifying the Size of the Dent
The size of the dent will determine the complexity of the repair process. Small dents, such as those caused by hail or minor fender benders, can often be repaired using DIY methods. However, larger dents may require professional assistance.
One way to determine the size of the dent is to measure it. Place a ruler or measuring tape over the center of the dent and measure from one edge to the other. If the dent is less than 2 inches in diameter, it may be possible to repair it using DIY methods. However, if the dent is larger than 2 inches, it may require professional assistance.
Determining the Best Method for Repair
Once you have identified the size of the dent, you can determine the best method for repair. There are several methods for repairing car dents, including:
- DIY methods using household items such as a plunger or vacuum cleaner
- Using a dent repair kit, which typically includes a specialized tool and instructions for use
- Professional dent repair services, which may involve using specialized tools and techniques
The location of the dent is also important when determining the best method for repair. Dents on the hood or trunk of a car may be more difficult to repair using DIY methods due to their location and shape. Similarly, dents on the edges of panels or near creases may require professional assistance to avoid causing further damage.
| Size of Dent | DIY Repair Methods | Professional Repair Methods |
|---|---|---|
| Small (less than 2 inches in diameter) | Plunger, vacuum cleaner, dent repair kit | Specialized tools and techniques |
| Large (more than 2 inches in diameter) | May not be possible to repair using DIY methods | Specialized tools and techniques |
Overall, assessing the size and location of a car dent is an important first step in determining the best method for repair. By considering these factors, you can make an informed decision about whether to attempt a DIY repair or seek professional assistance.
Preparing for Repair
Before you begin repairing the dent on your car, you need to gather the necessary tools and materials. This will ensure that the repair process goes smoothly and efficiently.
Gathering the Necessary Tools and Materials
The tools and materials required for a DIY car dent repair include:
- Dent removal tool kit
- Hot glue gun
- Hot glue sticks
- Clean microfiber cloth
- Isopropyl alcohol
- Hairdryer or heat gun
- Paintless dent repair tool
- Suction cup dent puller
Make sure to have all these tools and materials ready before starting the repair process. You can purchase these tools and materials from your local auto parts store or online.
Cleaning the Area Around the Dent
Once you have gathered all the necessary tools and materials, the next step is to clean the area around the dent. Use a clean microfiber cloth and isopropyl alcohol to clean the area thoroughly. This will remove any dirt, debris, or wax buildup that may be present on the surface of the car.
It is important to clean the area around the dent before starting the repair process as any dirt or debris can hinder the repair process and make it difficult to achieve a smooth finish. Additionally, cleaning the area around the dent will ensure that the hot glue sticks properly, and the suction cup dent puller adheres firmly to the surface of the car.
By gathering the necessary tools and materials and cleaning the area around the dent, you will be better prepared to perform a DIY car dent repair. These steps will ensure that the repair process goes smoothly and efficiently, and you achieve a professional-looking finish.
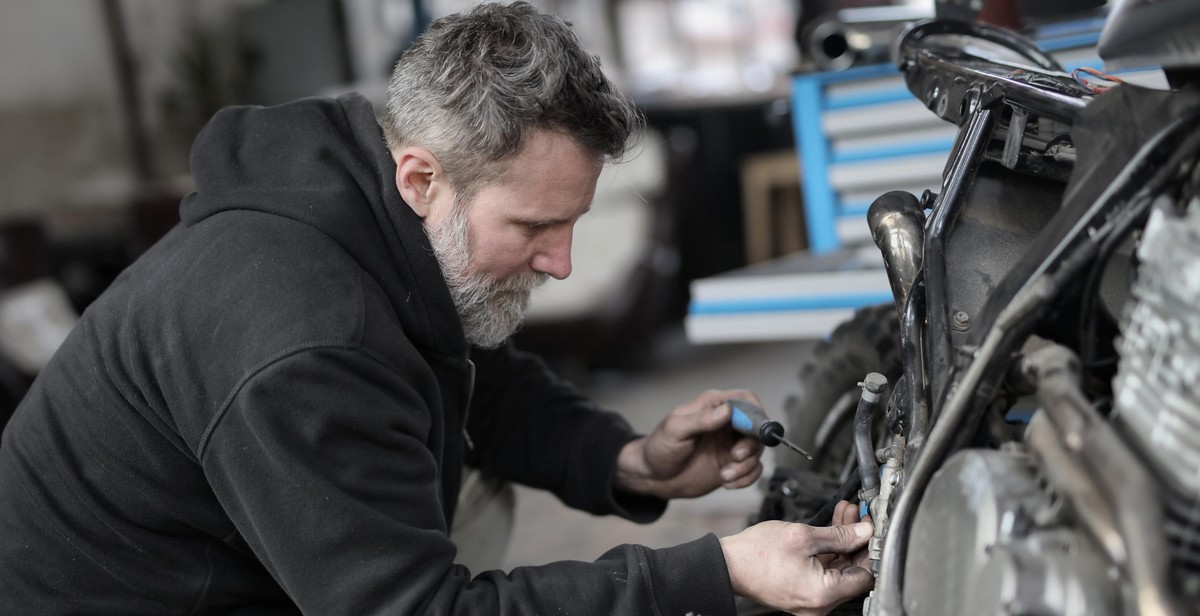
Performing the Repair
Now that you have assessed the damage and gathered the necessary tools, it’s time to perform the repair. There are two main methods for repairing car dents: paintless dent repair and traditional dent repair.
Using Paintless Dent Repair
Paintless dent repair is a technique used to remove minor dents from a car without the need for repainting. This method involves using specialized tools to massage the dent out from the inside of the panel. Here’s how to perform a paintless dent repair:
- Locate the back of the dent by looking for access points such as window openings, door panels, or trunk lids.
- Insert the specialized tool behind the dent and use it to massage the dent out from the inside.
- Continue massaging the dent until it is completely removed.
Paintless dent repair is a great option for small dents and dings. However, it may not be suitable for larger dents or those that have damaged the paint.
Using Traditional Dent Repair Methods
For larger dents or those that have damaged the paint, traditional dent repair methods may be necessary. Here’s how to perform a traditional dent repair:
- Clean the damaged area thoroughly to remove any dirt or debris.
- Apply body filler to the dent and surrounding area. Smooth it out using a putty knife.
- Allow the filler to dry completely, then sand it down until it is smooth and even with the surrounding area.
- Prime the repaired area and allow it to dry.
- Sand the primed area until it is smooth and even with the surrounding area.
- Apply paint to the repaired area and allow it to dry.
- Apply a clear coat to the repaired area to protect the paint.
Traditional dent repair methods can be more time-consuming and labor-intensive than paintless dent repair, but they are necessary for larger or more severe dents.
| Paintless Dent Repair | Traditional Dent Repair |
|---|---|
| Quick and easy | Time-consuming |
| Less expensive | More expensive |
| Only suitable for small dents | Suitable for all types of dents |
| No need for repainting | May require repainting |

Finishing Touches
After performing a DIY car dent repair, there are a couple of finishing touches that you can do to make your car look as good as new. These include painting the repaired area, polishing, and waxing the car.
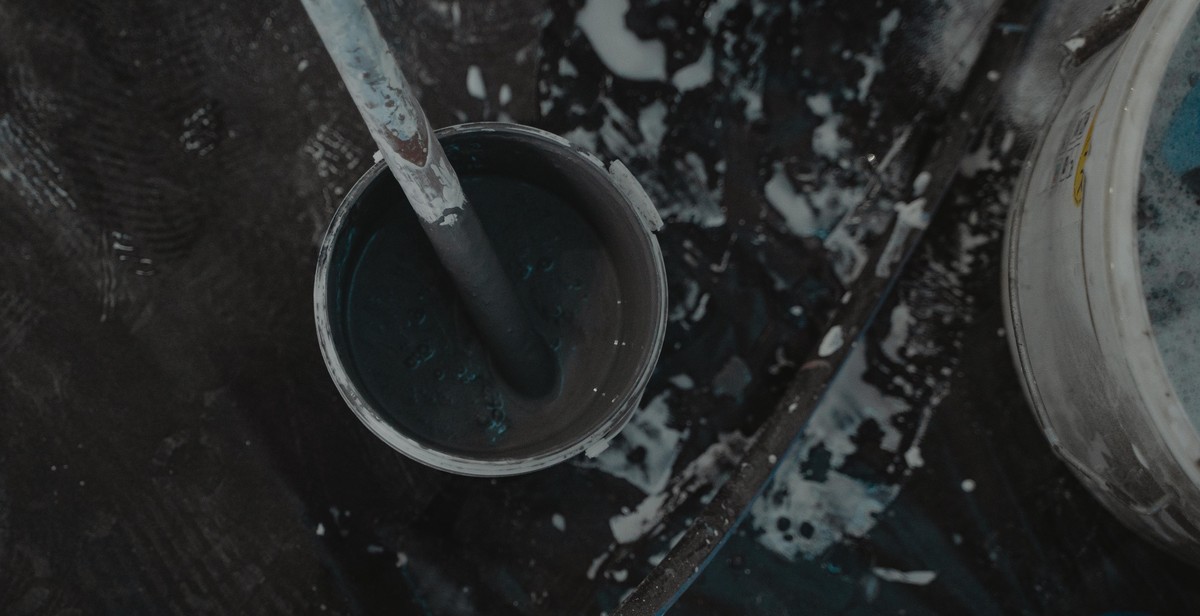
Painting the Repaired Area
If the dent was significant and required filling, sanding, and priming, you will need to paint the repaired area to match the rest of the car’s color. You can purchase automotive paint that matches your car’s color from an auto parts store or online.
Before painting, ensure that the repaired area is clean and dry. Apply the paint in thin coats, allowing each coat to dry before applying the next. After the final coat, let the paint dry for at least 24 hours before polishing and waxing the car.
Polishing the Car
Polishing your car after repairing a dent can help restore its shine and remove any scratches or swirl marks that may have occurred during the repair process. You can use a dual-action polisher or a microfiber cloth to polish your car.
Apply a small amount of polishing compound to the polisher or cloth and work in small sections, buffing the surface until it shines. Repeat the process until you have polished the entire car.
Waxing the Car
Waxing your car after polishing can help protect the paint and give it a glossy finish. You can choose from a range of car waxes, including liquid, paste, and spray-on waxes.
Apply the wax in small circular motions, working in sections until you have covered the entire car. Allow the wax to dry for a few minutes before buffing it off with a microfiber cloth.
By following these simple steps, you can restore your car’s appearance and protect it from further damage. Performing a DIY car dent repair is a cost-effective way to maintain the value of your car and keep it looking great for years to come.
Conclusion
Performing a DIY car dent repair can save you a lot of money and time. With the right tools and techniques, you can fix minor dents and dings on your car without having to take it to a professional auto body repair shop.
Tips to remember:
- Always start with the least invasive method first, such as using a plunger or boiling water.
- Be patient and take your time when working on the dent.
- Use proper safety equipment, such as gloves and eye protection.
- Don’t attempt to repair a dent that is too deep or extensive.
- If you’re unsure about your ability to fix the dent, it’s best to seek professional help.
Benefits of DIY car dent repair:
Aside from the cost savings, performing a DIY car dent repair can also give you a sense of accomplishment and pride. It’s a great way to learn more about your car and its mechanics, and it can also help you develop new skills.