
Introduction: How to Paint a Realistic Still Life with Acrylic Pouring
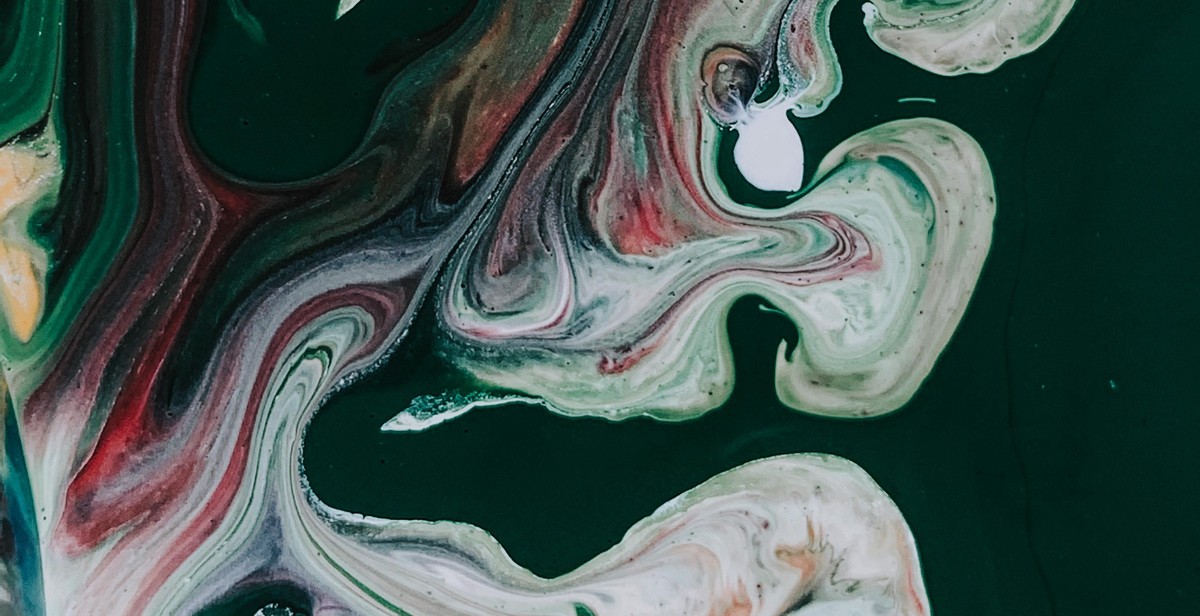
Acrylic pouring is a unique and exciting painting technique that involves pouring acrylic paint onto a canvas or other surface to create stunning patterns and designs. This technique is becoming increasingly popular among artists and art enthusiasts, as it offers endless possibilities for creativity and experimentation.
What is Acrylic Pouring?
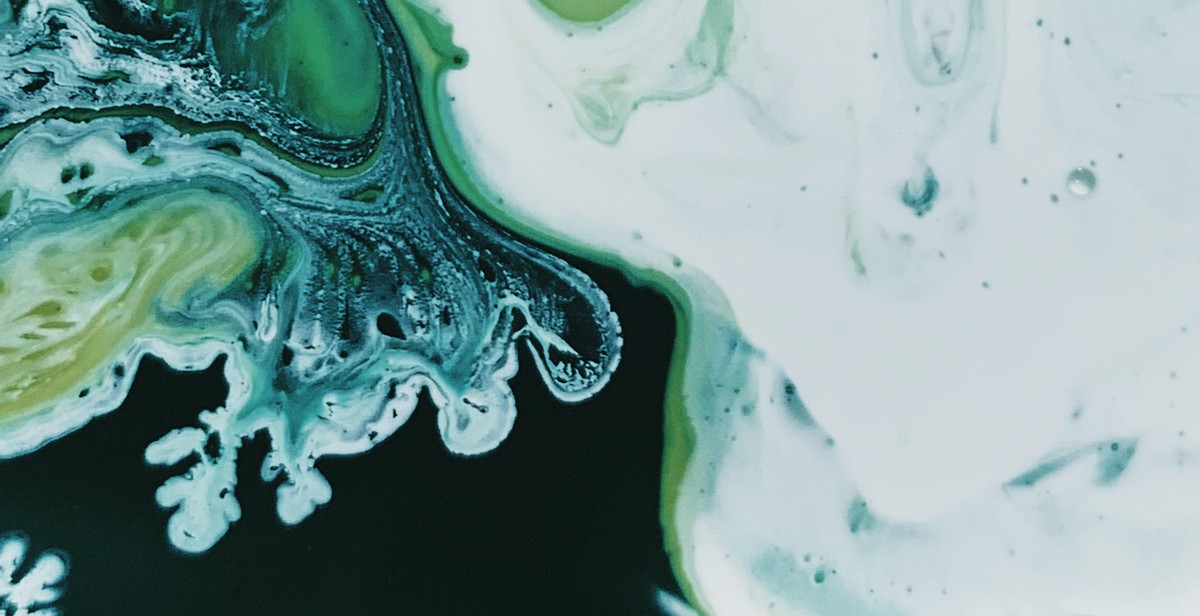
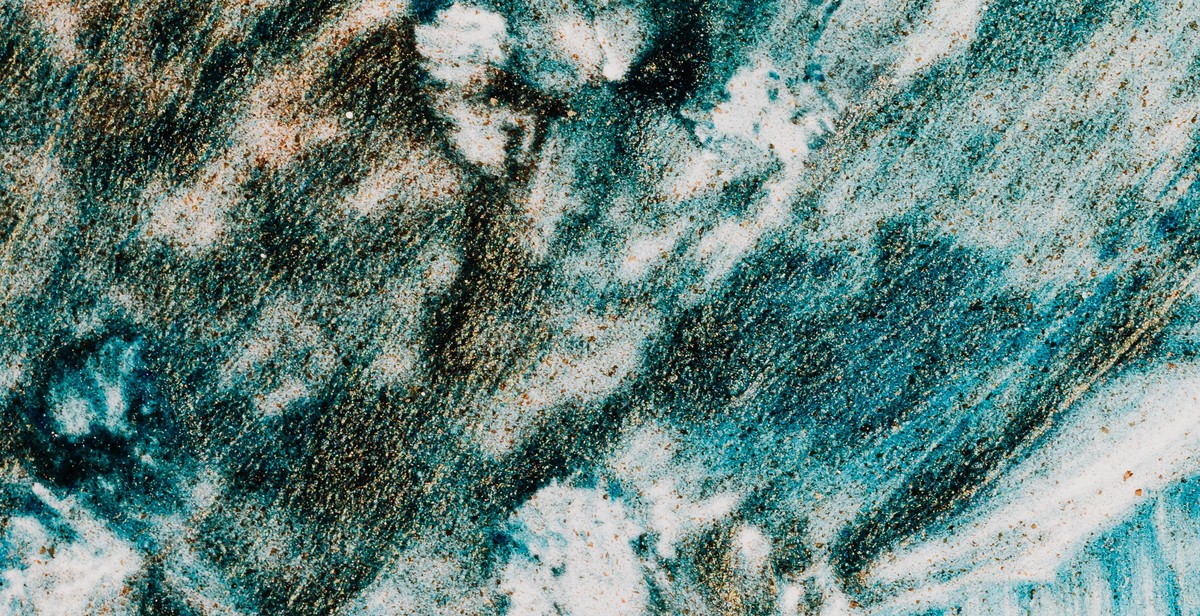
Acrylic pouring is a form of abstract art that uses acrylic paint mixed with various mediums to create a fluid, liquid-like consistency. The paint is then poured onto a canvas or other surface and manipulated to create a variety of patterns and designs.
One of the unique aspects of acrylic pouring is that it produces unpredictable results, making each painting one-of-a-kind. The colors blend and interact with each other in unexpected ways, creating stunning visual effects.
In this article, we will explore how to use acrylic pouring to create a realistic still life painting. We will cover the materials and techniques needed to achieve this style of painting, as well as tips and tricks for creating a successful piece of art.
- Materials needed for acrylic pouring
- Techniques for creating a realistic still life painting
- Tips and tricks for successful acrylic pouring
By the end of this article, you will have a better understanding of how to use acrylic pouring to create a unique and beautiful piece of art.
Choosing Your Subject
Choosing the right subject for your still life painting is an important first step. A good still life subject should be visually interesting, have a variety of shapes and textures, and be able to hold your interest for the duration of the painting process. Here are some tips to help you choose the perfect subject:
What Makes a Good Still Life Subject?
A good still life subject should have the following characteristics:
- Interesting composition: Look for subjects that have a variety of shapes and textures. A mix of organic and geometric shapes can create a visually interesting composition.
- Contrast: Look for subjects that have a range of light and dark values. This will add depth and dimension to your painting.
- Color: Look for subjects that have a range of colors. This will make your painting more visually appealing and interesting.
- Meaning: Look for subjects that have personal meaning to you. Painting objects that have sentimental value can add emotional depth to your work.
Gathering Your Materials
Once you have chosen your subject, it’s time to gather your materials. Here’s what you’ll need:
| Acrylic Paints: | Choose a range of colors that match your subject. Look for high-quality paints that are lightfast and have good pigment saturation. |
| Paint Brushes: | Choose a variety of brush sizes and shapes. Look for brushes made from high-quality materials that will hold their shape and last a long time. |
| Canvas or Painting Surface: | Choose a canvas or painting surface that is appropriate for acrylic paints. Look for a surface that is primed and ready to use. |
| Palette: | Choose a palette that is large enough to hold all of your paint colors. Look for a palette that is easy to clean and won’t stain. |
| Water and Paper Towels: | You’ll need water to clean your brushes and thin your paint. Paper towels are useful for wiping excess paint off your brushes. |
Now that you have your subject and materials ready, it’s time to start painting!
Preparing Your Canvas
Before you start painting a realistic still life with acrylic pouring, you need to prepare your canvas. This involves priming your canvas, choosing your colors, and mixing your colors.
Primig Your Canvas
Priming your canvas is an important step in preparing it for painting. Priming helps to create a smooth surface for your paint to adhere to, and prevents the paint from soaking into the canvas fibers. There are several types of primers available, including gesso, which is a popular choice for acrylic paintings.
To prime your canvas with gesso, you will need to:
- Clean your canvas with a damp cloth to remove any dust or debris.
- Apply a thin layer of gesso to the canvas using a brush or roller.
- Allow the gesso to dry completely before painting.
Choosing Your Colors
Choosing the right colors for your still life painting is crucial for creating a realistic and visually appealing composition. When selecting your colors, consider the subject matter of your still life, as well as the mood or atmosphere you want to convey.
Acrylic paints come in a wide range of colors, and can be mixed to create an almost infinite number of shades and hues. Some popular colors for still life paintings include:
- Reds, oranges, and yellows for warm colors
- Blues, greens, and purples for cool colors
- Earthy tones like browns, grays, and greens for natural subjects
Mixing Your Colors
Mixing your colors is an essential part of creating a realistic still life painting. To mix colors, you will need to have a basic understanding of color theory, which involves understanding the relationships between primary, secondary, and tertiary colors.
When mixing colors, start with a small amount of paint and gradually add more until you achieve the desired shade. It’s always a good idea to mix more paint than you think you will need, as it can be difficult to recreate the exact same color if you run out.
You can mix colors on a palette or directly on your canvas. Experiment with different combinations of colors to create unique and interesting shades.
Creating Your Pouring Medium
Acrylic pouring is all about creating stunning and unique art pieces using a pouring medium. A pouring medium is a substance used to thin down acrylic paint to a pourable consistency. It helps the paint flow smoothly and evenly across the canvas, creating a beautiful and mesmerizing pattern. Here’s what you need to know about creating your pouring medium.
What is a Pouring Medium?
A pouring medium is a substance that is mixed with acrylic paint to make it more fluid and easier to pour. It also helps to improve the drying time of the paint and creates a glossy finish when dry. A good pouring medium should be able to mix well with acrylic paint and not affect the color or consistency of the paint.
Making Your Own Pouring Medium
While there are various pouring mediums available in the market, you can also make your own at home using simple ingredients. Here’s how:
- Start by mixing equal parts of water and white PVA glue in a container. For example, if you use 1 cup of water, add 1 cup of white PVA glue.
- Stir the mixture well, making sure that the glue is completely dissolved in the water. You can use a whisk or a wooden stick to mix the solution.
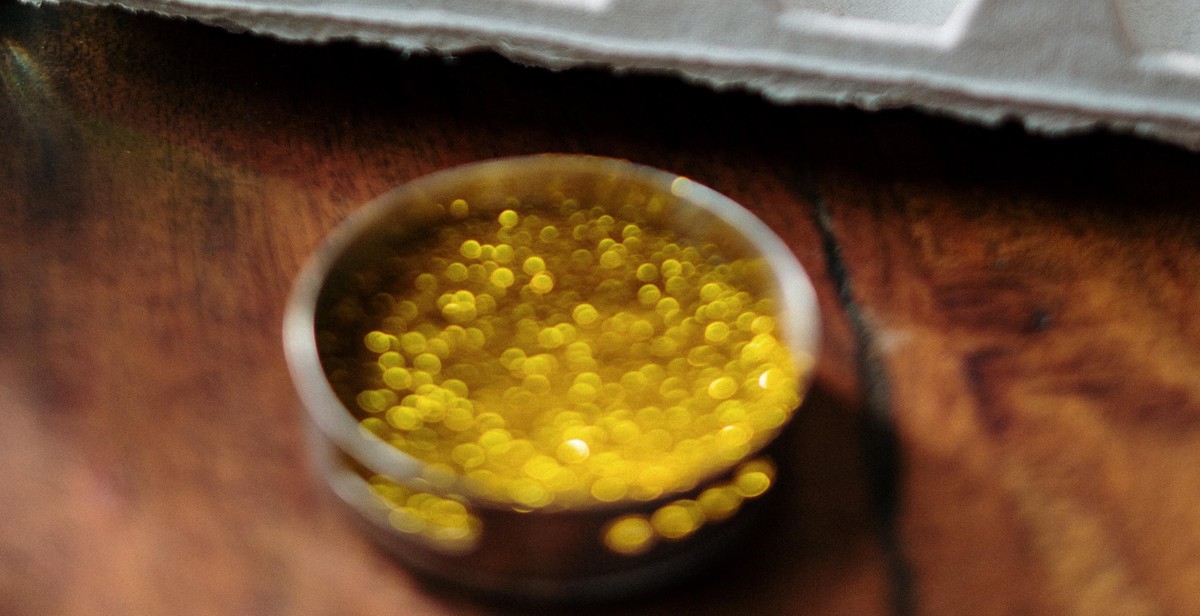
- Add a few drops of silicone oil to the mixture. This will help to create cells in your acrylic pour painting.
- Mix the solution well and let it sit for a few minutes to allow any air bubbles to escape.
- Your pouring medium is now ready to use. You can add this mixture to your acrylic paint to create a fluid consistency for your pour painting.
You can also experiment with different ratios of water and glue to create your desired consistency. Remember to mix the solution well before each use to ensure that the ingredients are well combined.
| Pros | Cons |
|---|---|
| Cost-effective | May not work as well as commercial pouring mediums |
| Easy to make at home | May affect the color and consistency of the paint |
| Can be customized to your desired consistency | May not provide a consistent finish |
Overall, creating your pouring medium can be a fun and cost-effective way to experiment with acrylic pouring. However, it is important to note that commercial pouring mediums are specifically designed for this purpose and may provide better results. It is up to you to decide which option works best for you and your art.
Preparing Your Paints
Before you start painting your still life with acrylic pouring, it is important to prepare your paints properly. Here are some tips to help you get started:
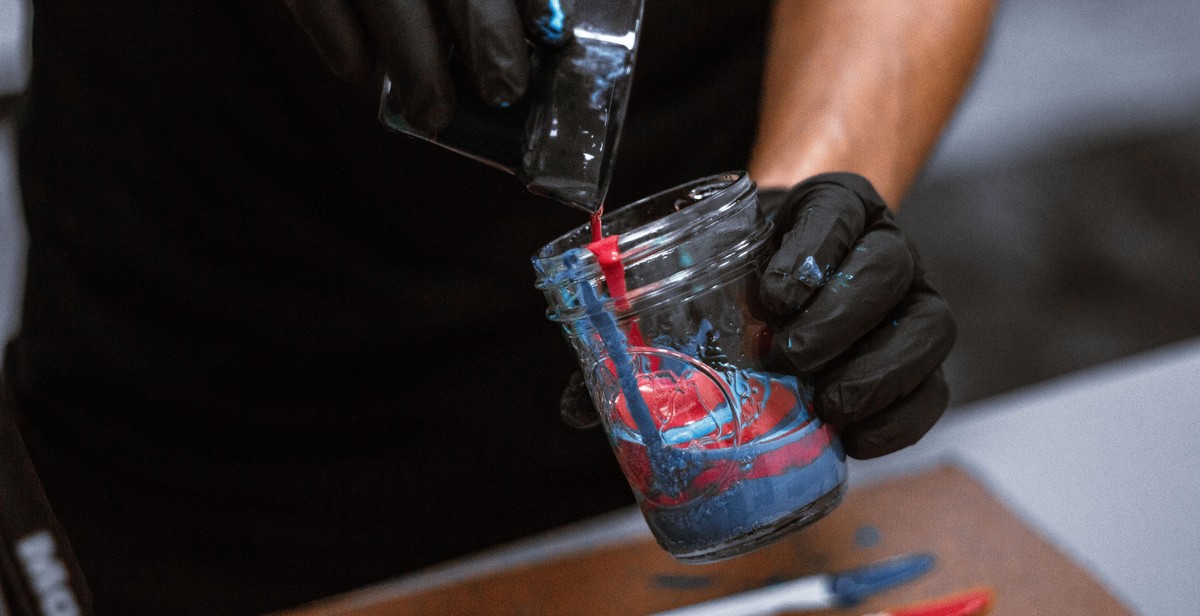
Mixing Your Paints with the Pouring Medium
The first step in preparing your paints is mixing them with the pouring medium. The pouring medium is a liquid that is added to the paint to make it more fluid and easier to pour. It also helps the paint to dry evenly and reduces cracking.
To mix your paints with the pouring medium, simply pour the desired amount of paint into a mixing cup and add the pouring medium in a 1:1 ratio. Mix the paint and pouring medium thoroughly with a stir stick or paintbrush until the mixture is smooth and free of lumps.
It is important to note that different brands of pouring medium may have different instructions for mixing. Always follow the manufacturer’s instructions for best results.
Adding Silicone or Other Additives
Once you have mixed your paints with the pouring medium, you can add other additives to create unique effects. Silicone is a popular additive that creates cells in the paint. To add silicone, simply mix a few drops of silicone oil into your paint mixture and stir.
Other additives that can be used include alcohol, which can create interesting patterns and textures, and water, which can be used to thin out the paint if it is too thick.
It is important to note that adding too much additive can affect the drying time and durability of the paint. Always use additives in moderation and experiment with different ratios to achieve the desired effect.
Storing Your Paints
Once you have prepared your paints, you can store them in airtight containers for future use. It is important to label your containers with the color and brand of paint, as well as the date it was mixed.
When storing your paints, keep them in a cool, dry place away from direct sunlight. Do not store them in freezing temperatures as this can damage the paint.
Conclusion
Preparing your paints properly is an important step in creating a realistic still life with acrylic pouring. By mixing your paints with the pouring medium and adding additives in moderation, you can create unique effects and achieve the desired results. Remember to store your paints properly to ensure they stay fresh and usable for future projects.

Setting Up Your Still Life
Before you start painting your still life, you need to set it up properly. A well-planned composition and good lighting are key to creating a realistic painting.
Choosing Your Composition
The first step in setting up your still life is to choose your composition. Think about what objects you want to include and how you want to arrange them. Consider the size, shape, color, and texture of each object, and how they will look together in your painting.
When choosing your composition, it’s important to think about the focal point of your painting. This is the area that will draw the viewer’s eye and should be the most detailed and interesting part of the painting. You can use the rule of thirds to help you place your focal point in the right spot.
- Divide your canvas into thirds both horizontally and vertically.
- Place the focal point at one of the four points where the lines intersect.
Once you have chosen your composition, you can start setting up your still life.
Setting Up Your Lighting
Good lighting is crucial for creating a realistic painting. You want to make sure that your still life is evenly lit and that there are no harsh shadows that will obscure important details.
You can use natural light or artificial light, but make sure that the light source is consistent throughout your painting process. If you are using natural light, try to set up your still life near a window that gets plenty of light. If you are using artificial light, use a soft light source like a lamp or a diffuser to create even lighting.
When setting up your lighting, consider the direction of the light source. You can use front lighting, where the light is coming from directly in front of the still life, or side lighting, where the light is coming from the side. Side lighting can create more interesting shadows and highlights, but it can also make it harder to see details in the shadows.
Once you have set up your composition and lighting, you are ready to start painting your still life.
Pouring Your Paints
Once you have prepared your canvas and gathered your supplies, it’s time to start pouring your paints. This section will cover the two main aspects of pouring: choosing your pouring technique and applying your paints.
Choosing Your Pouring Technique
There are several pouring techniques you can use to create a realistic still life with acrylic pouring. Here are a few popular techniques:
- Dirty Pour: This technique involves layering different colors of paint in a cup and then pouring the cup onto the canvas.
- Flip Cup: Similar to the dirty pour, the flip cup technique involves layering different colors of paint in a cup, but then flipping the cup onto the canvas and letting the paint flow out.
- Swipe: This technique involves pouring a base color onto the canvas and then using a tool, such as a palette knife or credit card, to swipe a contrasting color over the base color.
Experiment with different techniques to find the one that works best for your painting.
Applying Your Paints
Once you have chosen your pouring technique, it’s time to start applying your paints. Here are some tips:
- Layer your paints: To create depth and dimension, layer your paints by pouring one color on top of another.
- Use a variety of colors: Don’t be afraid to mix and match different colors to create a realistic still life.
- Control the flow: Use a palette knife or other tool to control the flow of your paints and create the desired effect.
- Be patient: Let each layer of paint dry before adding the next layer to prevent blending and muddiness.
Remember, practice makes perfect. Don’t be discouraged if your first attempt doesn’t turn out exactly as planned. Keep experimenting and refining your technique until you achieve the desired result.

Creating Details and Highlights
After completing the initial acrylic pouring process and allowing the painting to dry, it’s time to add details and highlights to enhance the realism of the still life. This can be achieved through the use of brushes and palette knives.
Adding Details with a Brush
Using a small brush, begin by adding details to the objects in the still life. Start with the foreground objects and work your way back. Use a combination of light and dark colors to create depth and dimension. Pay attention to the edges of the objects and add highlights and shadows to create a three-dimensional effect.
When adding details, it’s important to remember to keep the brush strokes light and delicate. Too much pressure can cause the paint to smear or blend together, resulting in a muddy appearance.
Creating Highlights with a Palette Knife
Palette knives are an excellent tool for creating highlights in a painting. To create highlights, load the palette knife with a small amount of paint and apply it to the areas of the painting that you want to highlight. Use a light touch and drag the palette knife across the surface of the painting to create a thin layer of paint.
When creating highlights, it’s important to think about the direction of the light source. The highlights should be placed in the areas where the light would naturally hit the objects in the still life. This will create a realistic and believable effect.
Combining Brushwork and Palette Knife Techniques
To create a truly realistic still life, it’s important to use a combination of brushwork and palette knife techniques. Use the brush to add details and create depth, and the palette knife to add highlights and texture.
Experiment with different brush sizes and palette knife shapes to achieve the desired effect. Remember to keep the brush strokes light and delicate and use a light touch with the palette knife to avoid overworking the paint.
| Object | Brushwork | Palette Knife Highlights |
|---|---|---|
| Apple | Add details to the skin using a small brush | Add highlights to the top and sides using a palette knife |
| Bowl | Add texture and shadow to the sides using a medium brush | Add highlights to the rim using a palette knife |
| Tablecloth | Add wrinkles and folds using a large brush | Add highlights to the edges using a palette knife |
Finishing Your Painting
After completing your realistic still life painting with acrylic pouring, it is important to finish it properly to protect it and give it a professional look. Here are two important steps to consider:
Sealing Your Painting
Sealing your painting is an important step to protect it from dust, moisture, and other environmental factors that can damage it over time. There are different types of sealers you can use, such as varnish, wax, or spray.
If you choose varnish, make sure to select a non-yellowing and UV-resistant one to prevent discoloration or fading over time. Apply it with a brush or roller in thin and even coats, following the manufacturer’s instructions. Let it dry completely between coats, and sand lightly with fine-grit sandpaper between the last two coats for a smoother finish.
If you prefer wax, apply it with a soft cloth or brush in circular motions, and buff it gently after it dries. Wax can give a matte or satin finish, but it may require more maintenance than varnish.
Spray sealers are easy to apply, but they may not provide as durable or even a finish as varnish or wax. Choose a spray sealer that is compatible with acrylic paint, and apply it in a well-ventilated area, following the safety precautions on the label.
Framing Your Painting
Framing your painting can enhance its visual impact and protect it even further. There are many types of frames you can choose, from simple and modern to ornate and traditional. Consider the style and color of your painting, as well as the decor of the room where it will be displayed, when selecting a frame.
You can also choose different types of glass or acrylic to cover your painting, such as non-glare, UV-resistant, or museum-grade. Make sure to clean the glass or acrylic regularly to prevent dust or dirt from accumulating.
- Choose a frame that fits your painting’s dimensions and style.
- Secure your painting in the frame with acid-free tape or hangers.
- Add a wire or hook to the back of the frame for easy hanging.
With these simple steps, you can finish your realistic still life painting with acrylic pouring and enjoy it for many years to come!