
How to Paint a Realistic Still Life with Oil Colors
Painting a still life is a classic art form that has been practiced for centuries. It involves arranging and painting objects such as fruits, flowers, and everyday objects in a way that captures their essence and beauty. Still life paintings are a great way for artists to hone their skills and learn techniques that can be applied to other types of paintings.
What is a Still Life?
A still life is a painting or drawing of inanimate objects arranged in a particular way. These objects can be anything from fruits and vegetables to flowers, vases, books, and other household items. The arrangement of these objects is carefully planned to create a visually appealing composition that captures the essence of the objects and their relationship to each other.
Why Paint a Still Life?
Painting a still life can be a great way to improve your painting skills and learn new techniques. It allows you to study and capture the intricacies of objects in a controlled setting, without the distractions of movement or changing light. Still life paintings can also be a great way to express your creativity and explore different color palettes and compositions.
Additionally, still life paintings have been popular throughout art history and continue to be a favorite among collectors and art enthusiasts. They can be displayed in a variety of settings and can add a touch of elegance and sophistication to any room.
Materials Needed
Before you start painting a realistic still life with oil colors, you need to gather the necessary materials. Here are the essential items you will need:
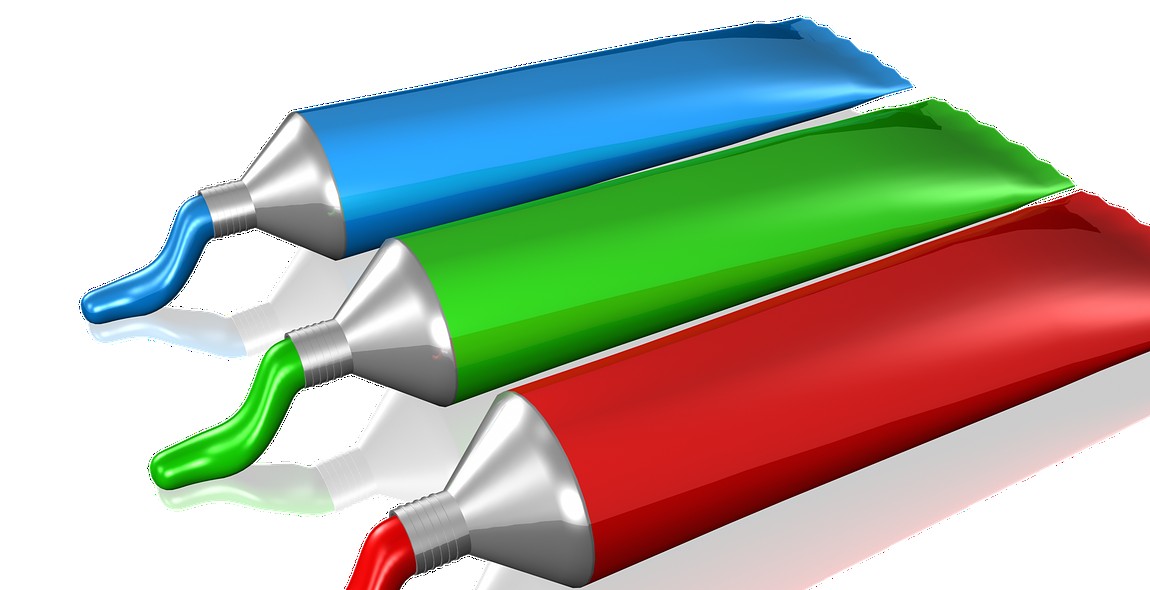
Oil Paints
The first thing you need is a set of oil paints. Oil paints are great for still life paintings because they dry slowly, giving you enough time to blend and manipulate the colors on the canvas. You can choose from a wide variety of colors, but it’s best to start with a basic set of colors and gradually add more as you gain experience. Some of the essential colors you will need include:
- Titanium White
- Yellow Ochre
- Cadmium Yellow
- Cadmium Red
- Alizarin Crimson
- Ultramarine Blue
- Viridian Green
- Burnt Umber
- Ivory Black
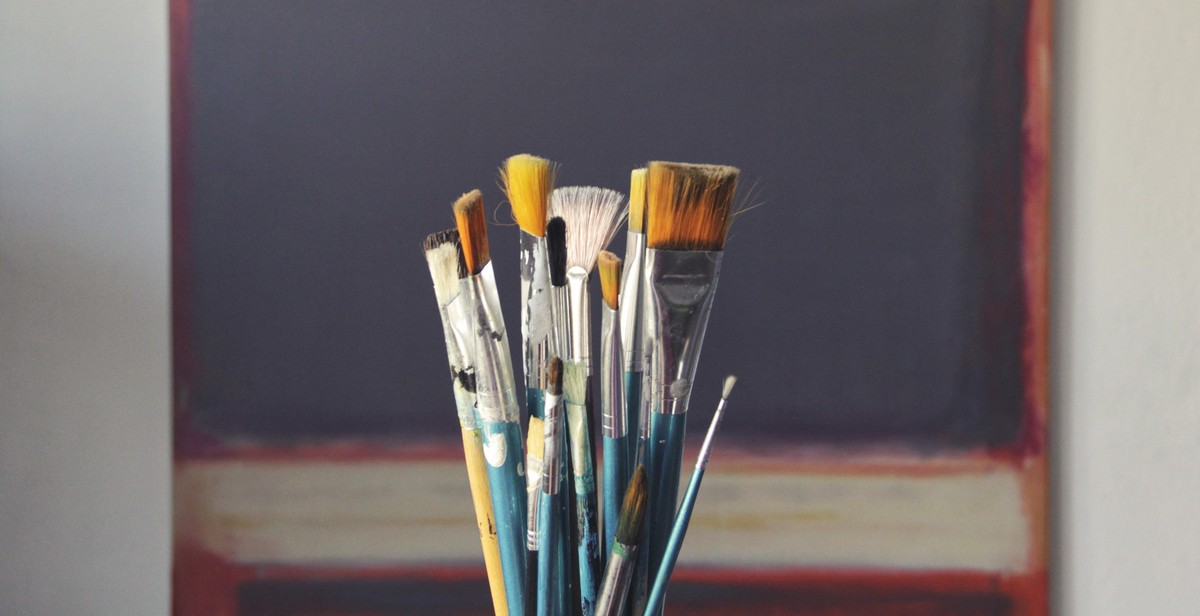
Brushes
You also need a set of brushes to apply the paint to the canvas. Different brushes are suitable for different techniques, so it’s best to have a variety of brushes in different sizes and shapes. Some of the essential brushes you will need include:
- Flat Brushes
- Round Brushes
- Fan Brushes
- Detail Brushes
Canvas or Painting Surface
You need a canvas or painting surface to paint on. You can choose from a variety of surfaces, including canvas boards, stretched canvas, or wooden panels. It’s best to choose a surface that’s suitable for oil paints and has a textured surface to hold the paint better.
Palette
A palette is essential for mixing and blending colors. You can choose from a variety of palettes, including plastic, glass, or wooden palettes. It’s best to choose a palette that’s easy to clean and has a large mixing area.
Easel
An easel is essential for holding the canvas or painting surface while you work. You can choose from a variety of easels, including table easels, floor easels, or studio easels. It’s best to choose an easel that’s sturdy and adjustable to your preferred working height.
| Materials | Essential Items |
|---|---|
| Oil Paints | Basic set of colors |
| Brushes | Flat, round, fan, and detail brushes |
| Canvas or Painting Surface | Canvas boards, stretched canvas, or wooden panels |
| Palette | Plastic, glass, or wooden palette |
| Easel | Table easel, floor easel, or studio easel |
Choosing a Subject
Choosing the right subject is the first step towards creating a realistic still life painting with oil colors. Here are some tips to help you choose the perfect subject:
Consider Your Interests
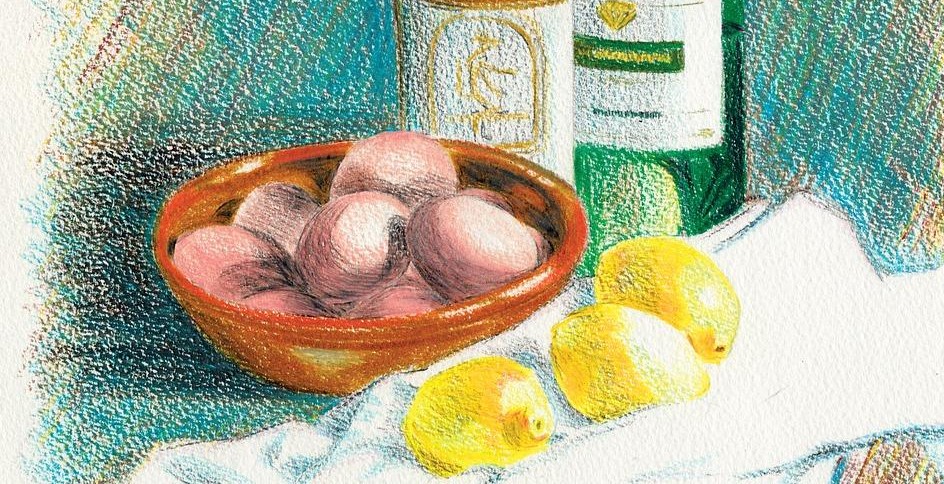
Think about what interests you the most. If you are passionate about flowers, consider using them as your subject. If you love food, consider painting a bowl of fruit or a plate of your favorite cuisine.
Look for Interesting Textures and Shapes
Look for objects that have interesting textures and shapes. This will add depth and dimension to your painting. For example, a vase with intricate designs or a piece of fruit with a unique shape can make for an interesting subject.
Choose a Simple Composition
When choosing a subject, it is important to keep the composition simple. A cluttered composition can be overwhelming and difficult to paint. Choose a few objects that complement each other and arrange them in a visually pleasing way.
Consider the Lighting
Lighting plays a crucial role in still life painting. Consider the direction of the light source and how it affects the shadows and highlights on your subject. This will add depth and realism to your painting.
Experiment with Different Setups
Don’t be afraid to experiment with different setups. Try arranging your subject in different ways and from different angles. This will help you find the perfect composition for your painting.
By considering these factors, you can choose the perfect subject for your still life painting and create a realistic masterpiece with oil colors.

Setting Up the Still Life
The first step in painting a realistic still life with oil colors is to set up the scene properly. This involves two main aspects: lighting and composition.
Lighting
Lighting is a crucial factor in creating a realistic still life. Ideally, you should set up your still life in a well-lit area with natural light. This will help you to achieve a more accurate representation of colors and shadows.
If natural light is not available, you can use artificial light. Make sure that the light source is positioned in such a way that it illuminates the still life from one side. This will create shadows and add depth to your painting.
Composition
The composition of your still life is also important. You should arrange your objects in a way that is visually appealing and balanced. There are several composition techniques that you can use:
- Rule of thirds: divide your canvas into thirds both horizontally and vertically, and place your objects at the intersections of the lines.
- Golden ratio: use the golden ratio to place your objects in a way that is visually pleasing.
- Leading lines: use lines within your still life to lead the viewer’s eye around the painting.
- Symmetry: create a symmetrical composition by placing objects in a mirror-image arrangement.
Experiment with different compositions until you find one that works well for your painting. Remember to consider the size and shape of your canvas when arranging your objects.
Conclusion
By setting up your still life properly, you will be able to create a more realistic and visually appealing painting. Pay attention to lighting and composition, and don’t be afraid to experiment until you find a setup that works well for you.
Sketching the Still Life
Before starting to paint a still life, it is important to have a good sketch of the objects you want to include. A sketch will help you to define the composition, proportions, and details of the objects in a way that will make the painting process much easier. In this section, we will discuss the steps to sketch a still life.
Blocking in Shapes
The first step in sketching a still life is to block in the shapes of the objects. This means that you should draw the basic shapes of each object, without worrying about the details. This will help you to establish the composition and the proportions of the objects, and to make sure that they fit well together.
When blocking in the shapes, it is important to use light lines that can be easily erased if necessary. You can use a pencil or charcoal to make the sketch, depending on your preference. Start by drawing the largest objects first, and then add the smaller ones.
Pay attention to the negative spaces between the objects, as they are as important as the objects themselves. Negative spaces are the areas around and between the objects, and they help to define the shapes and the composition of the still life.
Refining the Sketch
Once you have blocked in the shapes of the objects, you can start refining the sketch by adding more details. This means that you should start to draw the contours and the edges of each object, and to add the shadows and highlights.
When refining the sketch, it is important to use darker and firmer lines that will not be erased easily. You can use a darker pencil or charcoal, or a pen if you prefer. Start by drawing the contours and edges of the largest objects, and then add the smaller ones.
Pay attention to the details of each object, such as the texture, the reflections, and the highlights. These details will help to make the still life more realistic and interesting.
Once you have refined the sketch, you can start painting the still life with oil colors. The sketch will serve as a guide for the painting process, and will help you to avoid mistakes and to achieve a more accurate and realistic result.
Mixing Colors
One of the most important skills for painting a realistic still life with oil colors is the ability to mix colors effectively. Understanding color theory basics is crucial for achieving the right color palette for your painting.
Color Theory Basics
Color theory is the study of how colors interact with each other. It involves understanding the color wheel, which is a visual representation of the primary, secondary, and tertiary colors.
The primary colors are red, blue, and yellow, and they cannot be created by mixing other colors. Secondary colors are created by mixing two primary colors, such as orange (red and yellow), green (yellow and blue), and purple (red and blue). Tertiary colors are created by mixing a primary color with a secondary color, such as yellow-green or red-purple.
Another important aspect of color theory is understanding warm and cool colors. Warm colors, such as red and orange, create a sense of energy and excitement. Cool colors, such as blue and green, create a sense of calm and relaxation.
Mixing Colors for Shadows and Highlights
When painting a still life, it’s important to create depth and dimension by using shadows and highlights. Mixing colors for shadows and highlights requires understanding the color temperature and value.
For shadows, you’ll want to use cooler colors with a lower value. This means mixing in more blue or green to your base color, and adding a touch of black or gray to darken it. For highlights, you’ll want to use warmer colors with a higher value. This means mixing in more yellow or orange to your base color, and adding a touch of white to lighten it.
It’s important to remember that shadows and highlights should be subtle and blend seamlessly with the rest of the painting. Avoid using pure black or white, as they can make the painting look flat and unrealistic.
| Base Color | Shadows | Highlights |
|---|---|---|
| Red | Purple or dark red | Orange or pink |
| Yellow | Green or brown | Light yellow or cream |
| Blue | Blue-green or navy | Light blue or sky blue |
By understanding color theory basics and mixing colors effectively, you can create a realistic still life painting that captures the essence of your subject. Practice mixing colors and experimenting with different shades and tones to find the perfect color palette for your painting.

Painting the Still Life
After completing the underpainting, it is time to start building layers of color on top. This is where the painting really starts to come to life.
Building Layers
The first step in building layers is to mix the colors you will need. Look at your still life and decide which colors you need to match. Try to mix your colors as accurately as possible.
Once you have your colors mixed, start applying them to your canvas. Start with the darker colors and work your way up to the lighter colors. Use a small brush and work slowly.
As you add each layer, pay attention to the details in your still life. Look at the shadows and highlights and try to match them as closely as possible.
Keep building layers until you are happy with the overall look of your still life. Remember to step back and take breaks to look at your painting from a distance. This will help you see the overall picture and make adjustments as needed.
Adding Detail
Once you have built up your layers, it is time to start adding detail. This is where your painting will really start to look realistic.
Use a smaller brush and add details to your still life. Look closely at your subject and try to match the details as closely as possible. Pay attention to the way the light hits your still life and try to match it in your painting.
Don’t be afraid to go back and add more layers of color if needed. Remember, it is better to take your time and get it right than rush and end up with a painting you are not happy with.
Keep adding detail until you are happy with the overall look of your painting.
Conclusion
Painting a realistic still life with oil colors takes time and patience. By following these steps, you can create a beautiful painting that captures the essence of your subject. Remember to take your time, pay attention to details, and have fun!
Finishing Touches
After spending hours creating a realistic still life painting with oil colors, it’s important to apply the finishing touches to protect and enhance the artwork. The two final steps in the process are varnishing and signing the painting.
Varnishing
Varnishing is a crucial step in protecting your oil painting from dust, dirt, and UV rays. It also enhances the colors and adds a glossy finish to the painting. There are two types of varnish: removable and non-removable. Removable varnish can be removed without damaging the paint layer, while non-removable varnish is permanent. It’s important to choose a high-quality varnish that is compatible with oil paints.
Before applying varnish, make sure the painting is completely dry. This can take several days or even weeks depending on the thickness of the paint layers. Once dry, apply the varnish with a clean, soft-bristled brush in thin, even layers. Allow each layer to dry completely before applying the next. It’s recommended to apply at least two to three layers of varnish for optimal protection and enhancement.
Signing the Painting
Signing the painting is the final step in the process. It’s important to sign the painting in a discreet location, such as the bottom right corner, using a fine-tipped brush and paint that matches the colors in the painting. This not only adds a personal touch but also helps to authenticate the artwork.
When signing the painting, use your full name or initials. If you prefer to use a pseudonym, make sure it’s consistent across all your artworks. It’s also recommended to include the date the painting was completed.
Conclusion
By following these steps, you can ensure that your realistic still life painting with oil colors is protected and enhanced for years to come. Remember to choose high-quality varnish and sign the painting in a discreet location using your full name or initials and the date completed.
Conclusion
Painting a realistic still life with oil colors can be a challenging but rewarding experience. By following the steps outlined in this article, you can create a beautiful and lifelike painting that showcases your skills as an artist.
Remember to take your time and be patient throughout the process. Don’t rush and try to finish the painting in one sitting. Instead, take breaks and step back to evaluate your progress. This will help you identify areas that need improvement and make necessary adjustments.
Additionally, make sure to use high-quality materials, including oil paints, brushes, and canvas. This will ensure that your painting looks professional and lasts for years to come.
Finally, don’t be afraid to experiment and try new techniques. Painting is a creative process, and there is always room for innovation and exploration. With practice and dedication, you can become an expert in painting realistic still lifes with oil colors.
- Take your time and be patient throughout the process
- Use high-quality materials
- Experiment and try new techniques
By following these tips and techniques, you can create stunning still life paintings that will leave a lasting impression on your audience. So, pick up your brushes and start painting today!