How to Paint a Lake Scene: Step-by-Step Landscape Painting Tutorial
Painting a lake scene can be a challenging task for even the most experienced artists. The natural beauty of a lake, with its reflections, ripples, and changing colors, can be difficult to capture on canvas. However, with the right techniques and a bit of practice, you can create a stunning landscape painting that truly captures the essence of a lake.
Materials Needed
Before you begin painting, you will need to gather the necessary materials. Here is a list of what you will need:
- Canvas or painting surface
- Paintbrushes (various sizes)
- Acrylic paints (blue, green, white, black, and any other colors you wish to use)
- Palette
- Water container
- Paper towels or rags
Step-by-Step Tutorial
Follow these steps to paint a beautiful lake scene:
- Sketch the basic outline of the scene onto your canvas using a pencil. This will serve as a guide for your painting.
- Begin by painting the sky. Use a light blue color and blend it with white to create a gradient effect.
- Paint the trees and foliage around the lake using various shades of green and brown.
- Paint the lake using a base color of blue. Add white to the blue to create lighter shades for the ripples and reflections.
- Add details to the painting, such as rocks, boats, or a dock.
- Finish the painting by adding highlights and shadows to create depth and dimension.
With these simple steps, you can create a stunning lake scene painting that will impress your friends and family. Practice makes perfect, so don’t be afraid to experiment with different techniques and colors until you find the perfect combination for your painting.

Materials Needed
Paints
For this project, you will need the following colors of acrylic paint:
- Ultramarine Blue
- Cerulean Blue
- Phthalo Green
- Burnt Umber
- Titanium White
- Cadmium Yellow
- Cadmium Red
Brushes
You will need a variety of brushes for this project. Here are the recommended sizes:
- Large flat brush (for background and large areas)
- Medium round brush (for details and blending)
- Small round brush (for fine details and highlights)
- Fan brush (for creating texture and blending)
Canvas
You will need a canvas that is at least 16×20 inches. A stretched canvas or canvas board will work well for this project.
Palette
You will need a palette to mix your paint on. A disposable palette or a traditional wooden palette will work well for this project.
| Materials | Recommended Brands |
|---|---|
| Acrylic Paint | Golden, Liquitex, Winsor & Newton |
| Brushes | Princeton, Winsor & Newton, Robert Simmons |
| Canvas | Winsor & Newton, Fredrix, Blick |
| Palette | Masterson, New Wave, Art Alternatives |
Step 1: Sketch the Scene
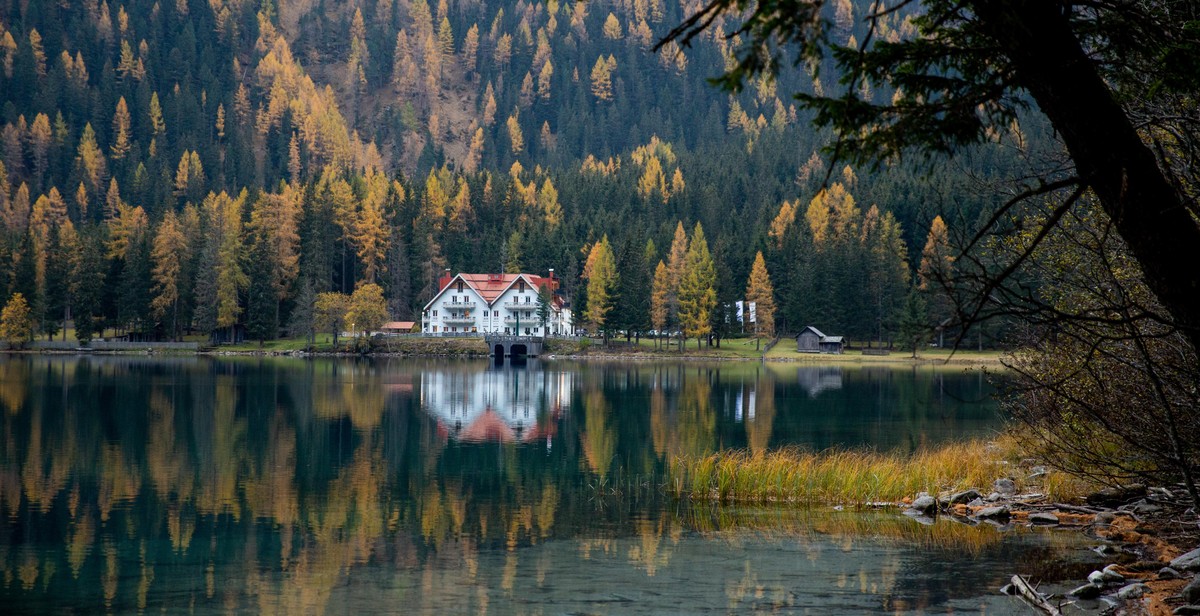
Before starting to paint a lake scene, it is important to plan out the composition of the painting. This can be done through sketching the scene on paper. The sketch will help to determine the placement of the elements in the painting and the overall composition of the scene.
Materials Required:
- Pencil
- Paper
Steps:
- Begin by selecting a reference photo of a lake scene.
- Use a pencil to lightly sketch the basic outline of the scene on a piece of paper. This can include the shoreline, trees, mountains, and any other elements present in the scene.
- Pay attention to the placement of the elements in the scene and the overall composition. The composition should be balanced and visually pleasing.
- Once the basic outline is complete, add more detail to the sketch. This can include the texture of the trees, the reflections on the water, and any other important details.
- Use shading to create depth and dimension in the sketch. This will help to create a more realistic and visually interesting painting.
- Take some time to evaluate the sketch and make any necessary adjustments before moving on to the painting stage.
Overall, the sketching stage is an important step in creating a successful lake scene painting. It allows for planning and experimentation, and can help to ensure that the final painting is visually appealing and well-composed.
Step 2: Paint the Sky
After you have sketched your scene, the next step is to paint the sky. The sky is an important element of your painting, and it sets the mood and tone of your entire artwork. Here are the steps to paint the sky:
Mix the Colors
Before you start painting, you need to mix the colors for your sky. You can use a palette or a mixing tray to mix the colors. For a typical lake scene, you will need blue, white, and a touch of yellow or orange.
Start by adding blue paint to your palette or mixing tray. Then add white paint to the blue paint to create a lighter shade of blue. Keep adding white paint until you get the desired shade of blue for your sky. If you want to add a touch of warmth to your sky, you can add a small amount of yellow or orange paint to the blue and white mixture.
Paint the Sky
Once you have mixed your colors, you can start painting the sky. Here are the steps to follow:
- Start by wetting your brush in water and then dip it into the blue and white mixture. Make sure your brush is evenly coated with paint.
- Paint the top of the canvas with the blue and white mixture. Use horizontal strokes and blend the colors together to create a smooth transition from blue to white.
- As you move down the canvas, add more white paint to the blue mixture to create a lighter shade of blue. Keep blending the colors together to create a smooth transition.
- Continue painting the sky until you reach the horizon line. At the horizon line, the sky should be the lightest shade of blue.
Don’t worry if your sky doesn’t look perfect at first. You can always make adjustments and add more layers of paint to achieve the desired effect. Remember to step back and look at your painting from a distance to see how it looks as a whole.
Now that you have painted the sky, you can move on to the next step of your lake scene painting.
Step 3: Paint the Background
Now that you have your sketch ready and have mixed the colors for your lake scene, it’s time to start painting the background. The background will set the tone for your painting, so it’s important to take your time and get it right.
Mix the Colors
Before you start painting, you’ll need to mix the colors for your background. The colors you choose will depend on the time of day you want to depict in your painting. If you want to show a sunrise or sunset, you’ll want to use warm colors like reds, oranges, and yellows. If you want to show a midday scene, you’ll want to use cooler colors like blues and greens.
Start by mixing your colors on your palette. Use a large brush to mix your colors together until you have the shade you want. Remember to mix enough paint to cover the entire background of your painting.
Paint the Background
Once you have your colors mixed, it’s time to start painting the background. Use a large brush to apply the paint to your canvas. Start at the top of your canvas and work your way down, using long, smooth strokes.
As you paint, be sure to blend your colors together to create a smooth transition between each color. You can do this by using a dry brush to blend the colors together or by using a wet brush to blend the paint while it’s still wet.
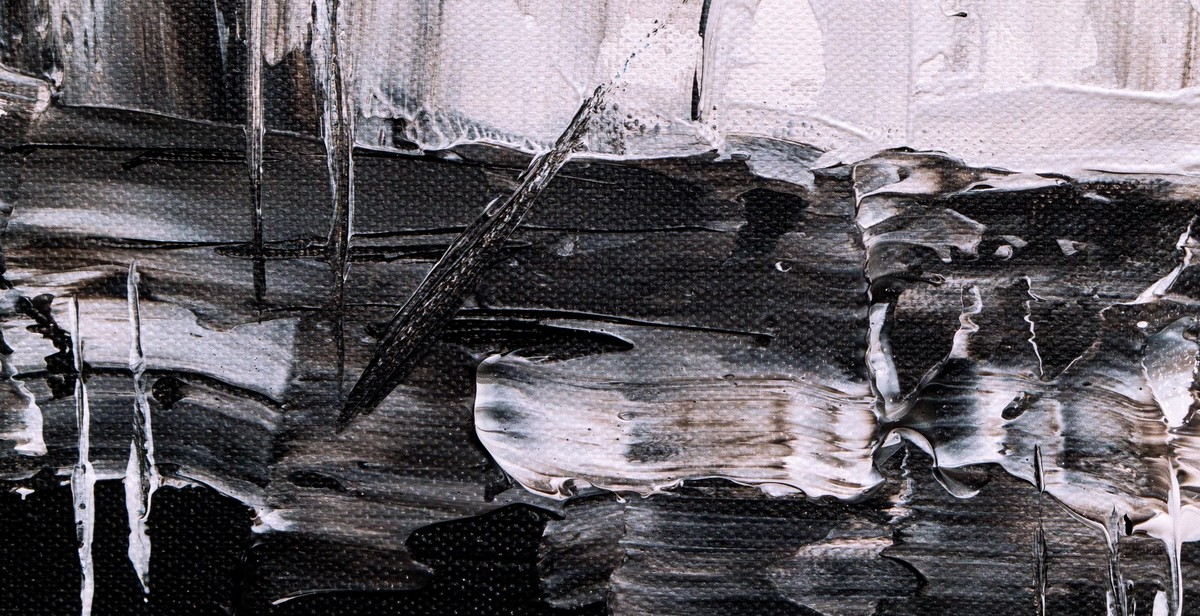
If you want to create texture in your background, you can use a palette knife or a dry brush to create strokes in the paint. This will give your painting a more realistic look and feel.
Remember to take your time when painting the background. It’s important to get it right, as it will set the tone for the rest of your painting.
Pro Tip:
If you’re having trouble blending your colors together, try adding a bit of medium or water to your paint. This will help the colors flow together more easily and create a smoother transition.
| Materials: | Colors: |
|---|---|
| Canvas | Blue |
| Paint Brushes | Green |
| Palette | Yellow |
| Palette Knife | Orange |
| Acrylic Paints | Red |

Step 4: Paint the Foreground
Now that the background and mid-ground have been painted, it’s time to move on to the foreground. This is the area closest to the viewer and typically includes the shoreline and any objects or vegetation in the immediate vicinity.
Mix the Colors
Before starting to paint, it’s important to mix the appropriate colors. The colors used in the foreground will depend on the specific scene being painted. Typically, a mix of greens, browns, and blues will be used to represent grass, trees, and water.
Start by mixing a dark green for the trees and bushes. Use a combination of blue and yellow paint to create a deep, rich green. For the grassy areas, mix a lighter green by adding more yellow to the mix. Finally, mix a brown color for any dirt or rocks in the scene.
Paint the Foreground
Begin by painting the shoreline. Use a small brush to add texture to the shoreline, creating small waves or ripples in the water. Use the brown color to paint any rocks or dirt along the shore.
Next, start painting the trees and bushes. Use the dark green color to paint the trunks and branches, then switch to a lighter green for the leaves. Use short, quick strokes to create a textured look for the foliage.
Finally, paint the grassy areas. Use the lighter green color to create a base layer of grass, then add texture by using a small brush to create individual blades of grass. Use the brown color to add any dirt or rocks in the grassy areas.
- Use a variety of brush sizes to create a range of textures and details in the foreground.
- Step back from the painting frequently to ensure that the foreground is balanced with the rest of the scene.
With the foreground complete, the lake scene painting is almost finished. The final step is to add any finishing touches or details as needed.
Step 5: Paint the Water
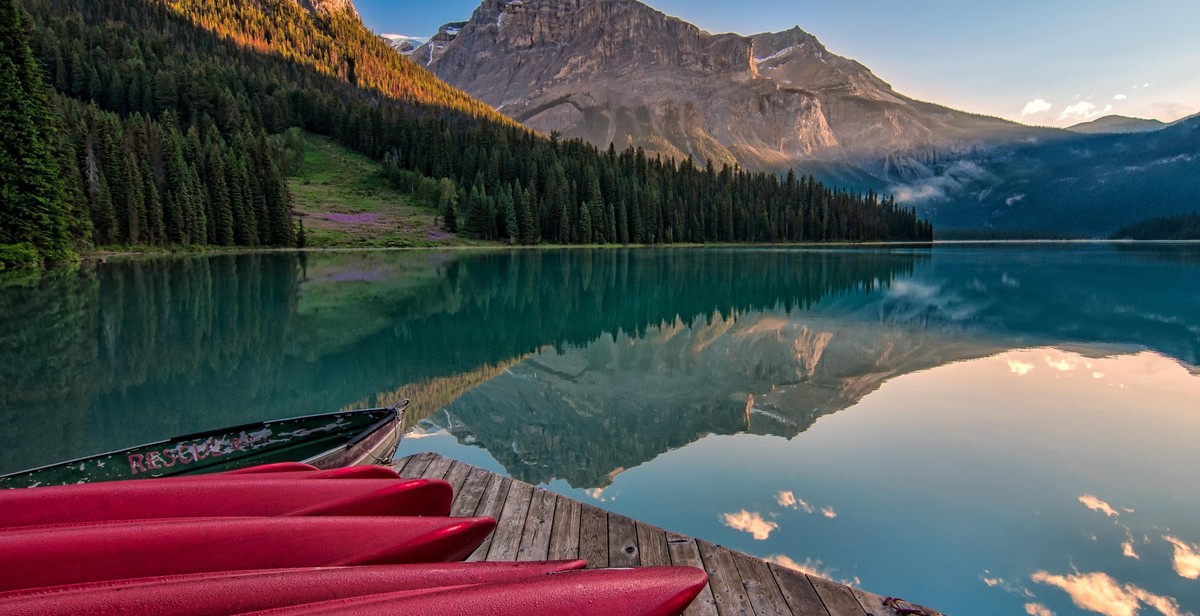
Now that you have painted the sky and the mountains, it’s time to move on to the water. Painting water can be challenging, but with the right techniques, you can create a realistic and beautiful lake scene.
Mix the Colors
Before you start painting the water, you need to mix the colors. The colors you use will depend on the time of day and the reflection of the sky. For a midday scene, you can use a combination of blues and greens. For a sunset scene, you can use oranges, yellows, and pinks.
Start by mixing a light blue color for the base of the water. Add a small amount of green to the mix to create a greenish-blue color. You can also add a touch of white to lighten the color.
Next, mix a darker blue color for the shadows in the water. You can add a small amount of black to the mix to darken the color.
Finally, mix a light yellow or white color for the highlights in the water.
Paint the Water
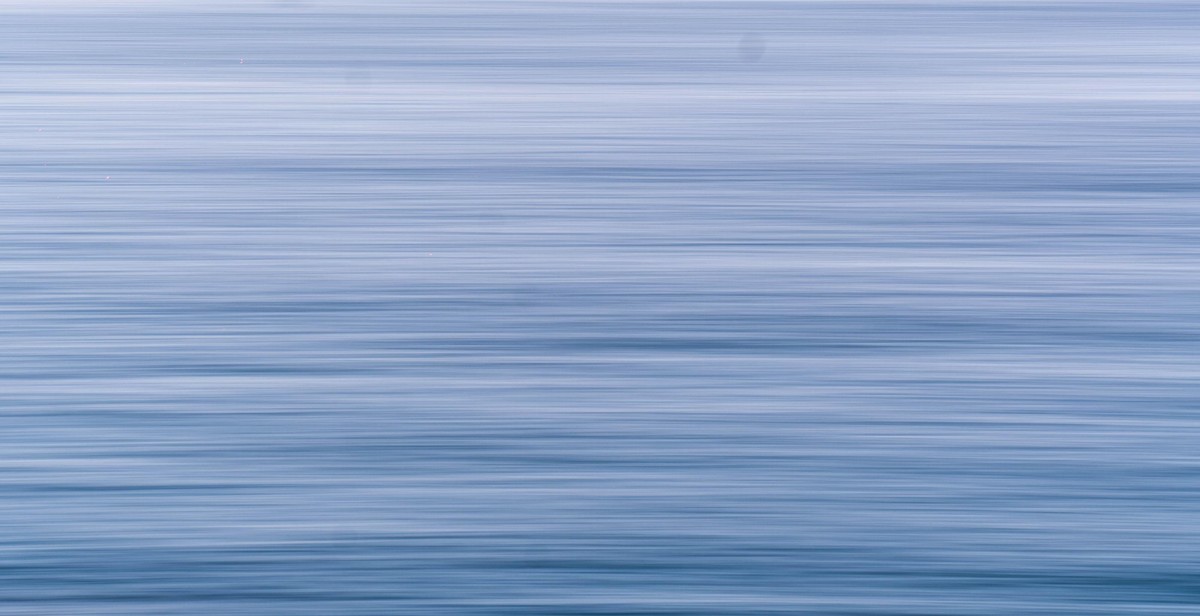
Start by painting the base color of the water. Use broad horizontal strokes to create the illusion of movement in the water.
Next, add the darker blue color to the areas where the water is deeper or where there are shadows. Use a smaller brush and paint in a circular motion to create the ripples in the water.
Finally, add the highlights to the water. Use a small brush and paint thin lines in the direction of the light source. Blend the highlights with the base color to create a smooth transition.
Remember to paint the reflection of the sky in the water. Use the same colors you used for the sky and paint them upside down in the water.
Tips:
- Use a reference photo to help you paint the water accurately.
- Don’t overwork the water. Keep the brushstrokes loose and free to create a natural look.
- Use a dry brush technique to create the illusion of waves.
| Color | Use |
|---|---|
| Light Blue | Base color for the water |
| Greenish-Blue | Combination of blue and green for the water |
| Darker Blue | Shadows and ripples in the water |
| Light Yellow/White | Highlights in the water |
Step 6: Add Details
Now that you have completed the basic elements of your lake scene, it’s time to add some details. This step will bring your painting to life and make it more realistic. Here are some tips on how to add details to your painting:
Paint the Trees
The trees are an important part of your lake scene. Start by painting the trunk and branches of the trees with a small brush. Use a dark shade of brown or black for the trunk and branches. Then, add some green to your brush and paint the leaves of the trees. Use short strokes to create the texture of the leaves. You can also add some highlights to the leaves by mixing a lighter shade of green with the original color.
Add Highlights
Highlights are areas of your painting that catch the light and appear brighter than the rest. To add highlights to your lake scene, use a small brush and a lighter shade of the color you are using. For example, if you are painting the water, use a lighter shade of blue or white to create the highlights. Paint the highlights in areas where the sun would naturally hit, such as the tops of waves or the edges of rocks.
Add Shadows
Shadows are areas of your painting that are darker than the rest. To add shadows to your lake scene, use a small brush and a darker shade of the color you are using. For example, if you are painting the trees, use a darker shade of green or brown to create the shadows. Paint the shadows in areas where the sun would not hit, such as the underside of leaves or the side of a rock facing away from the sun.
Remember to step back from your painting every once in a while to see how it looks from a distance. This will help you identify areas that need more details or highlights. Once you are satisfied with your painting, let it dry completely before moving on to the next step.
Conclusion
Painting a lake scene can be a rewarding experience for both beginners and experienced artists. By following the step-by-step guide outlined in this tutorial, you can create a beautiful landscape painting that captures the serene beauty of a lake.
Remember to start with a sketch and use the right materials for your painting. You can use a variety of techniques, such as wet-on-wet, dry brushing, and layering, to create depth and texture in your painting. Don’t forget to add highlights and shadows to create a realistic effect.
When painting a lake scene, it’s important to pay attention to the reflections and the color of the water. By using the right colors and techniques, you can create a realistic reflection of the sky and surrounding landscape in the water.
Whether you’re painting for fun or as a professional artist, the key to success is practice. The more you paint, the more you’ll develop your skills and your own unique style. So, grab your paintbrushes and start creating your own masterpiece!
| Pros | Cons |
|---|---|
| Easy to follow step-by-step guide | Requires some basic painting skills |
| Uses simple materials that are easy to find | May not be suitable for advanced artists |
| Can be customized to fit your own style and preferences | Requires patience and attention to detail |
Overall, painting a lake scene is a fun and creative way to express yourself and capture the beauty of nature. With the right materials, techniques, and practice, you can create a stunning masterpiece that you’ll be proud to display.
