
Introduction: Why Artisanal Sourdough Bread?
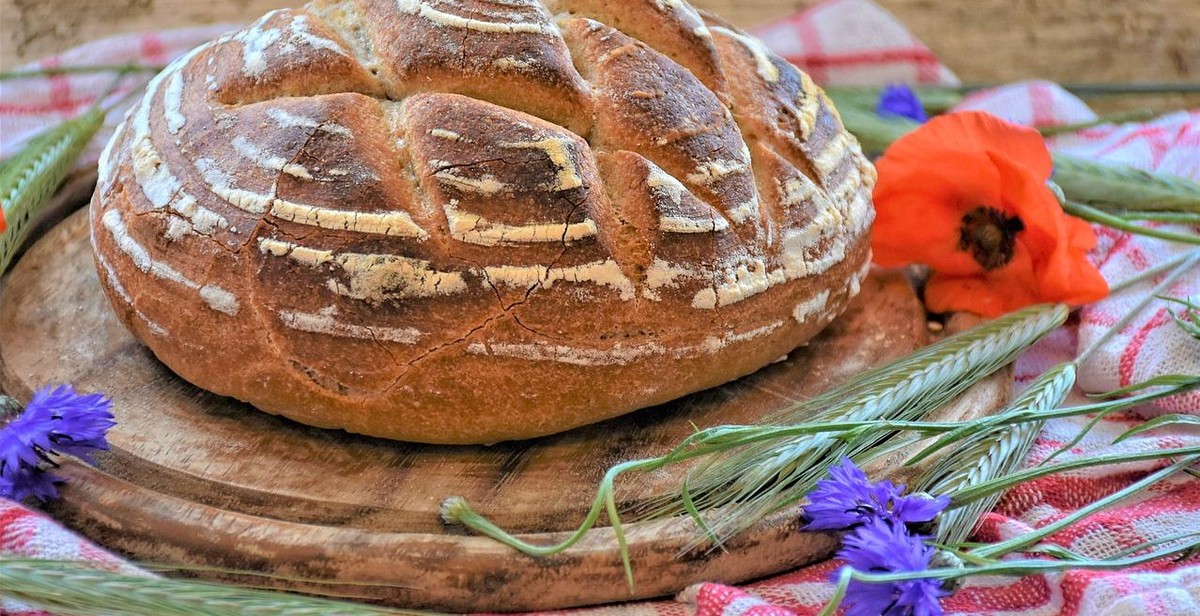
There is something special about the taste and texture of artisanal sourdough bread. Made using traditional techniques and natural ingredients, this type of bread has a distinct tangy flavor, a chewy crust, and a moist crumb. As a professional baker and sourdough enthusiast, I can attest to the fact that making artisanal sourdough bread is both an art and a science.
But why choose artisanal sourdough bread over other types of bread? For one, sourdough bread has a number of health benefits. It is easier to digest and has a lower glycemic index than other breads, which means it won’t cause a spike in blood sugar levels. Additionally, sourdough bread contains beneficial bacteria and natural yeasts, which can help support a healthy gut microbiome.
But beyond its health benefits, artisanal sourdough bread is simply delicious. It has a complex flavor profile that is hard to replicate with other types of bread. And because sourdough bread is made using a natural fermentation process, each loaf is unique, with its own flavor and texture.
In this article, I’ll share some of my favorite techniques for making artisanal sourdough bread at home. Whether you’re a seasoned baker or a beginner, these tips will help you achieve that perfect crust and crumb that makes sourdough bread so special.
Getting Started with Sourdough
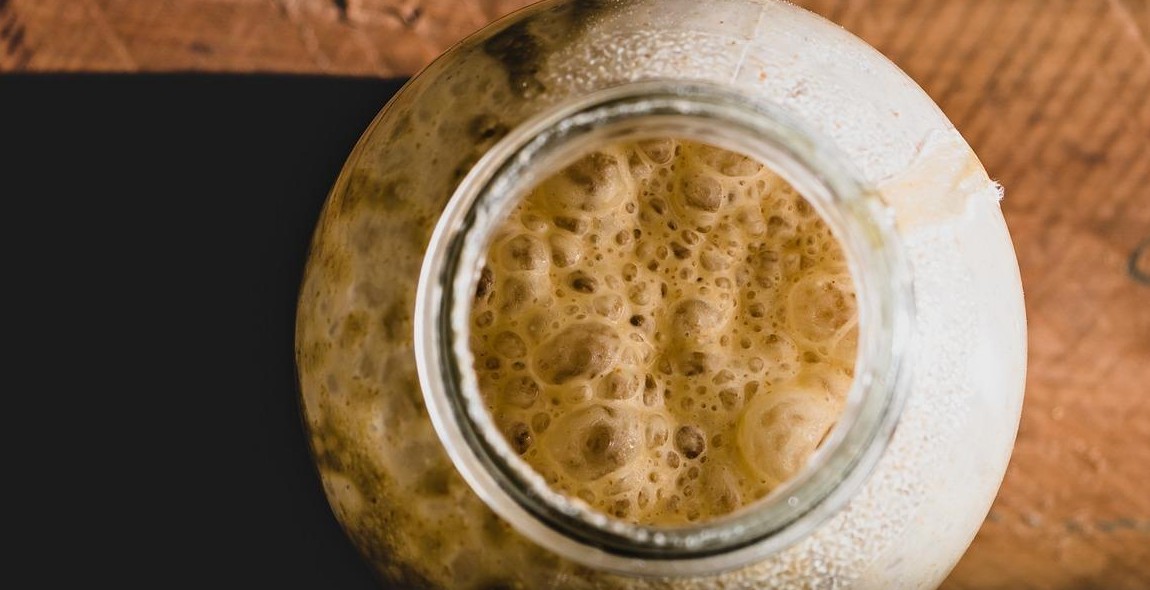
Are you ready to start baking delicious artisanal sourdough bread? The first step is to create a sourdough starter. This is a mixture of flour and water that naturally ferments and creates the leavening agent for your bread. Here’s how to get started:
Creating a Sourdough Starter
To create your sourdough starter, you’ll need:
- 1 cup of flour (all-purpose or bread flour)
- 1/2 cup of water (non-chlorinated)
- Mix the flour and water in a glass jar or container.
- Cover the jar with a cloth or paper towel and secure it with a rubber band.
- Let the mixture sit at room temperature for 24 hours.
- After 24 hours, discard half of the mixture and add another 1/2 cup of flour and 1/4 cup of water. Mix well and cover again.
- Repeat this process every 24 hours for the next 5-7 days, or until your starter is bubbly and active.
Congratulations, you now have a sourdough starter! But your work isn’t done yet. You’ll need to feed your starter regularly to keep it alive and active.
Feeding Your Starter
To feed your starter, you’ll need to:
- Discard half of your starter (or use it to make bread or pancakes).
- Add 1/2 cup of flour and 1/4 cup of water to the remaining starter.
- Mix well and cover again.
- Repeat this process every 12 hours if you keep your starter at room temperature, or every week if you keep it in the fridge.
Feeding your starter regularly will keep it alive and active, and ready to leaven your bread.
Understanding Your Starter
It’s important to understand your starter so you can use it effectively. Here are a few things to keep in mind:
| Starter Behavior | What it Means |
|---|---|
| Bubbly and Active | Your starter is ready to use for baking. |
| Smells Like Acetone | Your starter is hungry and needs to be fed. |
| Gray or Pinkish Hue | Your starter has gone bad and needs to be discarded. |
Now that you have a basic understanding of how to create and maintain a sourdough starter, you’re ready to start baking delicious artisanal sourdough bread. Let’s get started!
Mixing and Fermenting the Dough
Measuring and mixing ingredients for sourdough bread is a crucial step that determines the final outcome of the bread. Precision is key, and even small variations in measurements can significantly affect the dough’s texture and rise. Here are the steps to follow:
Measuring and Mixing Ingredients
First, measure out the flour, water, and starter using a kitchen scale. It’s essential to use a scale for accuracy instead of relying on measuring cups.
Next, mix the ingredients in a large mixing bowl until the dough comes together. The dough should be sticky, but not too wet or too dry. If the dough is too dry, add a little water, and if it’s too wet, add a little flour.
Once the dough is mixed, cover the bowl with a damp cloth or plastic wrap and let it rest for 30 minutes. This resting period is called autolyse and helps the dough develop gluten and improve texture.
Bulk Fermentation
After the autolyse, it’s time for bulk fermentation. This is the process where the dough rises and develops flavor. Place the dough in a warm spot, away from drafts, and let it rest for 4-6 hours. During this time, the dough should double in size.
It’s essential to monitor the dough during bulk fermentation. Check on it every hour or so and give it a fold. Gently lift the dough from one side and fold it over itself. This process helps strengthen the gluten and redistribute the yeast.
Shaping the Dough
Once the dough has doubled in size, it’s time to shape it. Turn the dough out onto a floured surface and gently stretch it out into a rectangle. Then, fold the dough into thirds like a letter. Next, roll the dough into a tight ball, making sure to seal the edges.
Place the dough in a floured proofing basket or a bowl lined with a floured cloth. Cover the dough with a damp cloth or plastic wrap and let it rest for another 2-4 hours. During this time, the dough will rise again and take on the shape of the basket or bowl.
Finally, it’s time to bake the bread. Preheat the oven and a Dutch oven or baking stone to 450°F. Carefully place the dough into the Dutch oven or onto the baking stone and bake for 30-40 minutes.
Remove the bread from the oven and let it cool on a wire rack for at least 30 minutes before slicing and serving.
Table: Mixing and Fermenting the Dough
| Step | Time |
|---|---|
| Measuring and Mixing Ingredients | 10 minutes |
| Autolyse | 30 minutes |
| Bulk Fermentation | 4-6 hours |
| Shaping the Dough | 15 minutes |
| Proofing | 2-4 hours |
| Baking | 30-40 minutes |
Baking the Bread
Now that you have prepared your sourdough dough and let it rise, it’s time to bake the bread. Here are some important steps to follow for a successful bake:
Preheating the Oven
Preheating your oven is crucial for a good bake. Set your oven to 450°F (230°C) and allow it to preheat for at least 30 minutes before baking. This will ensure that your oven is at the right temperature and that your bread will get that delicious crust.
Scoring the Dough
Scoring your dough is an important step that allows your bread to rise properly in the oven. Use a sharp knife or a bread lame to make a few shallow cuts on the surface of the dough, about 1/4 inch deep. This will help the bread expand and prevent it from bursting while baking.
Baking the Bread
Place your dough in the oven and bake for 30-35 minutes. You can also use a baking stone or a Dutch oven to create steam and get that perfect crust. If using a baking stone, preheat it in the oven for at least 30 minutes before baking. If using a Dutch oven, preheat it in the oven for 20 minutes before placing the dough inside.
After 20 minutes of baking, remove the lid of the Dutch oven to allow the bread to brown. If using a baking stone, you can also spray water inside the oven to create steam and get a crispy crust. Bake for an additional 10-15 minutes, or until the crust is golden brown.
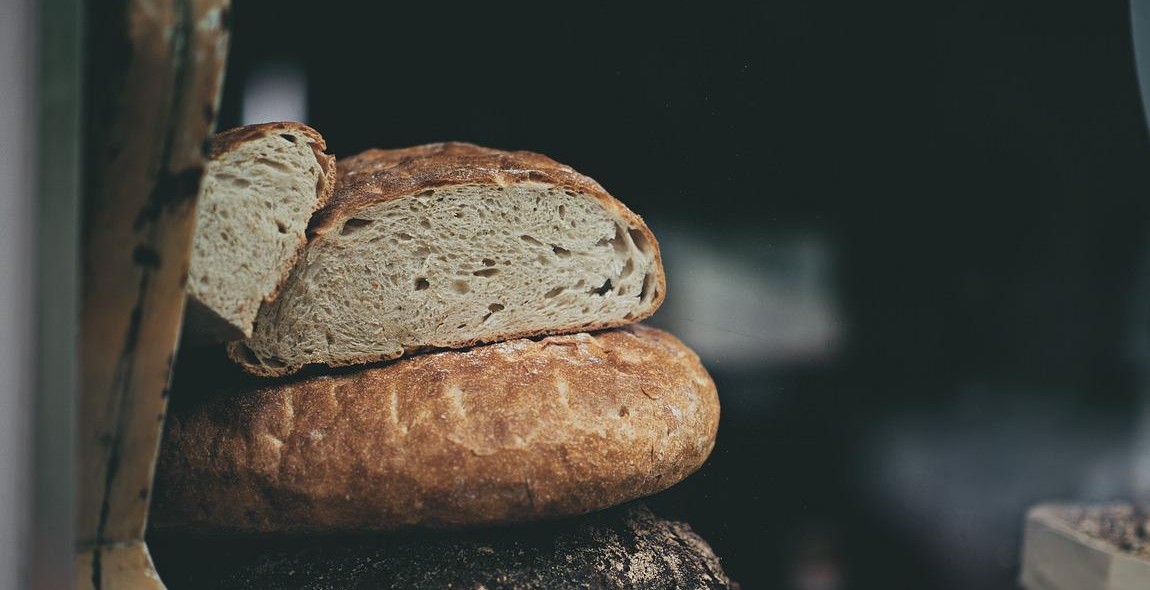
Once your bread is done, remove it from the oven and let it cool on a wire rack for at least 30 minutes before slicing. Enjoy your freshly baked artisanal sourdough bread!

Conclusion
Now that you have learned the techniques for baking traditional sourdough bread, it’s time to enjoy the fruits of your labor. Nothing beats the satisfaction of slicing into a freshly baked loaf of artisanal sourdough bread that you made from scratch.
Tips for Enjoying Your Artisanal Sourdough Bread
- Store your sourdough bread in a paper bag or bread box to keep it fresh.
- Slice the bread when it’s cooled down to room temperature to prevent squishing.
- Toast or grill your sourdough bread to enhance its flavor and texture.
- Pair your sourdough bread with your favorite spreads, cheeses, and meats for a delicious snack or meal.
Final Thoughts
Baking artisanal sourdough bread requires patience, practice, and dedication. But the end result is worth it. With the right ingredients, techniques, and equipment, you can bake a delicious loaf of sourdough bread that will impress your friends and family.
| Ingredient | Brand | Where to Buy |
|---|---|---|
| Bread flour | King Arthur Flour | Online or at select grocery stores |
| Whole wheat flour | Bob’s Red Mill | Online or at select grocery stores |
| Water | N/A | Your tap or filtered water |
| Salt | Diamond Crystal Kosher Salt | Online or at select grocery stores |
| Sourdough starter | King Arthur Flour | Online or at select grocery stores |
Experiment with different flours, hydration levels, and fermentation times to find your signature sourdough bread recipe. And don’t forget to share your creations with others. Happy baking!