
How to Create a Nighttime Photography Series: Capturing the Mystique of the Dark
Photography is an art that has no boundaries. With the advancement of technology, capturing stunning images has become easier than ever. One genre of photography that has gained immense popularity in recent years is nighttime photography. There is something magical and mysterious about the darkness that makes nighttime photography so fascinating.
Why Nighttime Photography Is So Fascinating
Unlike daytime photography, nighttime photography offers a unique opportunity to capture the world in a different light. The darkness provides a canvas for photographers to experiment with light and shadows, and create stunning images that are both creative and artistic. Nighttime photography allows you to capture the mood and atmosphere of a scene in a way that is impossible during the day.
The Challenge of Nighttime Photography
While nighttime photography can be incredibly rewarding, it also comes with its own set of challenges. Low light conditions make it difficult to focus and capture sharp images. The use of long exposures can introduce noise and blur in the images. Additionally, the lack of light requires photographers to be creative with their lighting solutions, such as using artificial light sources or capturing the natural light of the moon and stars.
Despite these challenges, with the right techniques and equipment, anyone can create a stunning nighttime photography series that captures the mystique of the dark. In this article, we will explore the tips and tricks to help you create a successful nighttime photography series that will leave your audience in awe.
Planning Your Nighttime Photography Series
Creating a nighttime photography series can be a daunting task, but with proper planning and execution, it can result in stunning and captivating images. The following are essential steps to consider when planning your nighttime photography series:
Choosing Your Subjects
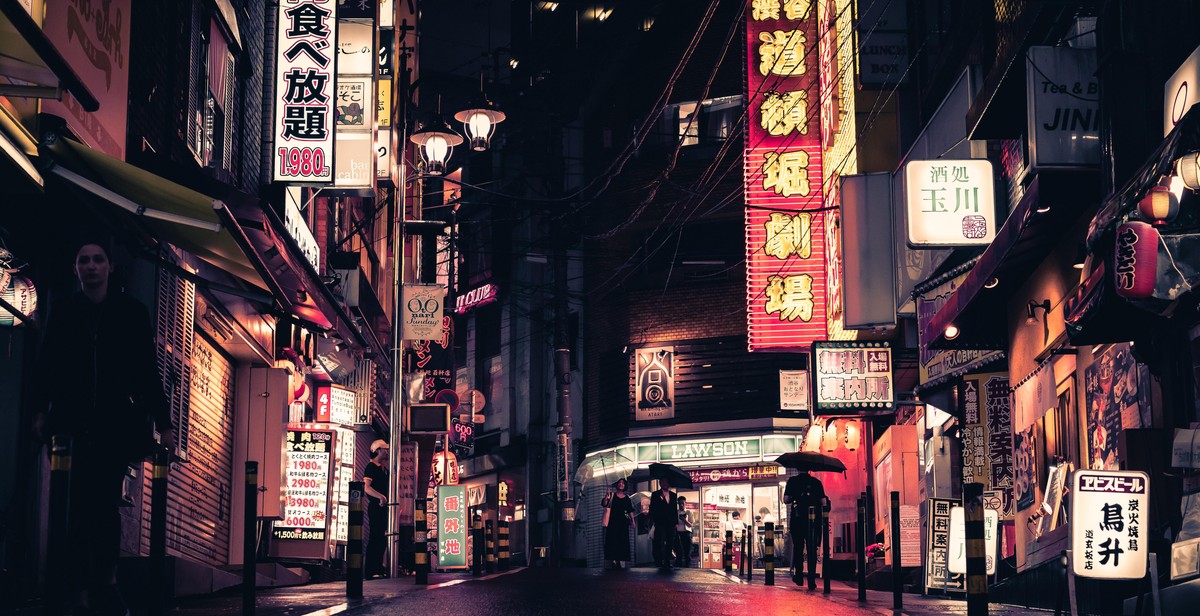
The first step in planning your nighttime photography series is to choose your subjects. Whether it’s cityscapes, landscapes, or portraits, the subjects you choose will determine the mood and atmosphere of your series. It’s essential to choose subjects that are visually appealing and can create a strong emotional connection with your audience.
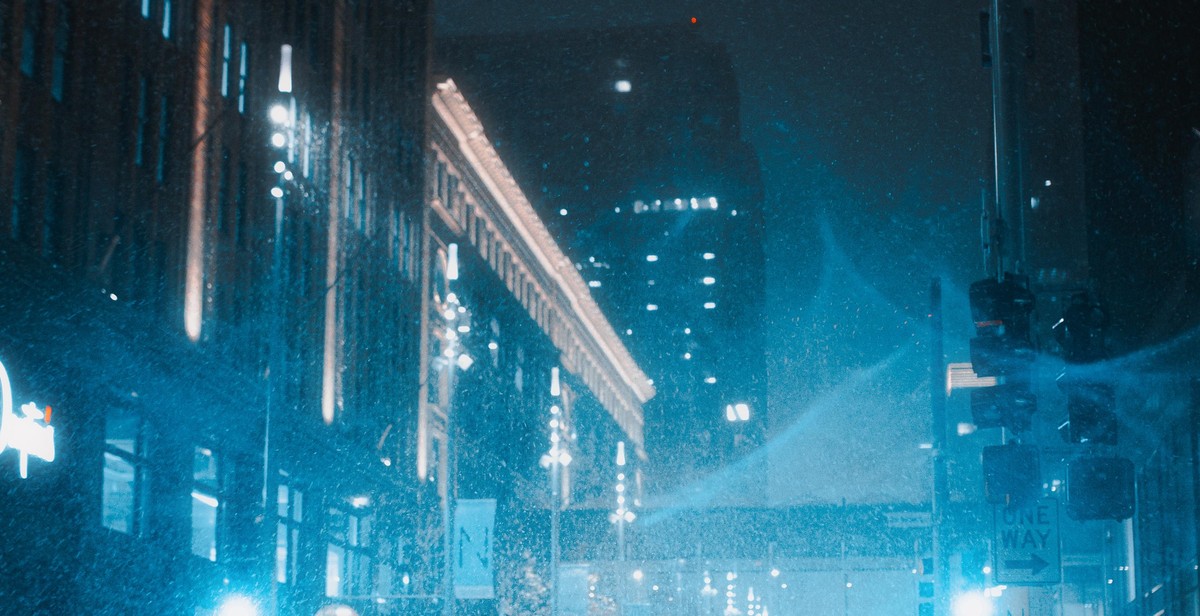
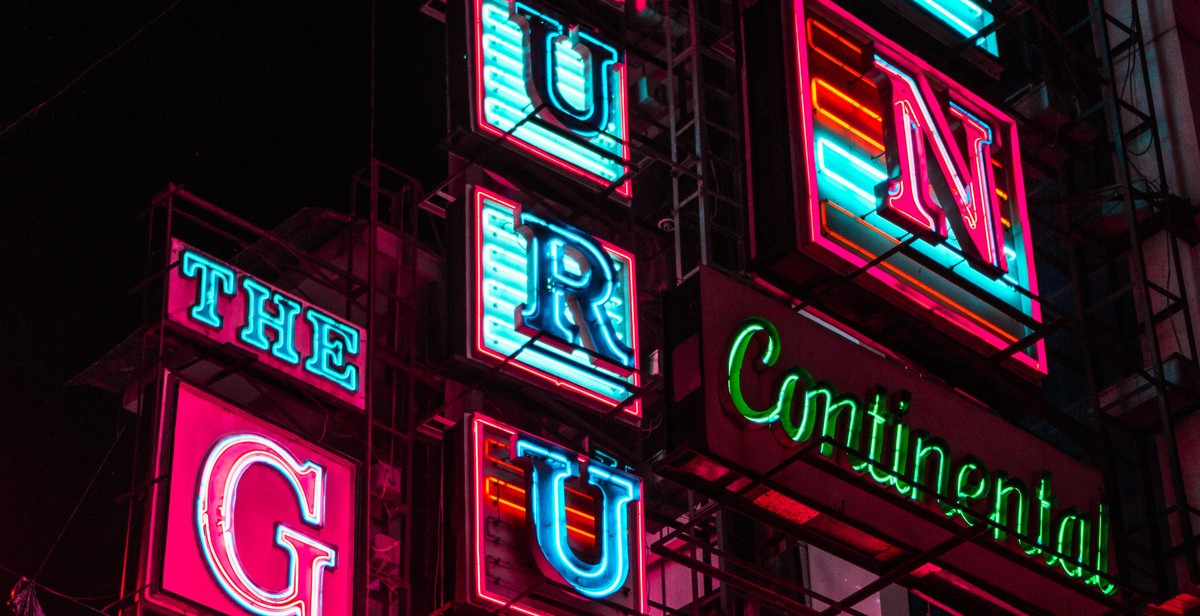
When choosing your subjects, consider their light sources and how they will appear at night. For example, cityscapes with neon lights or street lamps can create a vibrant and energetic atmosphere, while landscapes with a starry sky can evoke a sense of tranquility and peace.
Scouting Locations
Once you have chosen your subjects, the next step is to scout locations for your nighttime photography series. Visit your chosen locations during the day and take note of potential angles and compositions that can be used at night. Look for elements that can add interest and depth to your images, such as reflections, leading lines, and foreground elements.
It’s also essential to consider the safety of your chosen locations. Make sure to research the area and take precautions to ensure your safety and the safety of your equipment.
Researching the Best Time to Shoot
Timing is everything in nighttime photography. Researching the best time to shoot can make a significant difference in the quality of your images. Consider the time of year, weather conditions, and the moon phase when planning your shoot.
During the full moon, the sky can be too bright, making it challenging to capture the night sky’s stars. On the other hand, a new moon can provide a pitch-black sky, allowing for more vibrant stars and a clearer view of the Milky Way.
It’s also essential to consider the weather conditions. Cloudy nights can create a soft and moody atmosphere, while clear nights can provide a more vibrant and colorful sky.
Overall, proper planning and execution are essential in creating a successful nighttime photography series. By choosing your subjects, scouting locations, and researching the best time to shoot, you can create stunning and captivating images that will leave a lasting impression on your audience.
Preparing for Your Nighttime Photography Series
Nighttime photography can be a thrilling and challenging experience. To capture the perfect shot, you need to be well-prepared with the right gear and camera settings. Here are some tips to help you prepare for your nighttime photography series:
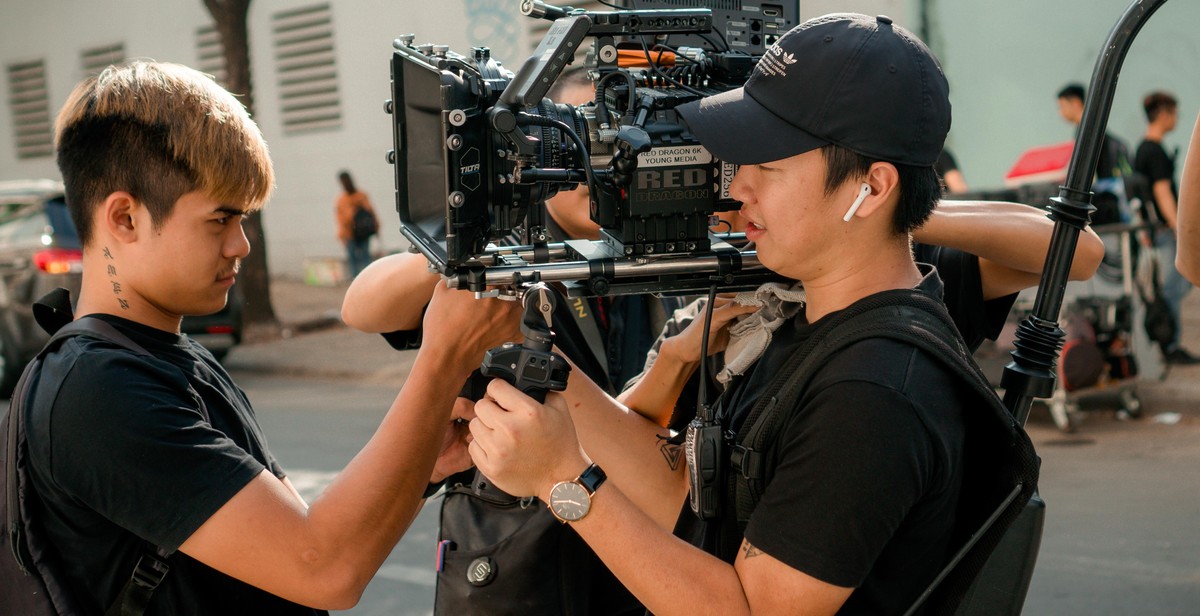
Gathering Your Gear
When it comes to nighttime photography, having the right gear is essential. Here are some items you should consider bringing:
- A camera with manual settings
- A wide-angle lens
- A tripod
- A remote shutter release
- A flashlight or headlamp
- Spare batteries and memory cards
Make sure to pack your gear in a sturdy backpack or camera bag that can withstand the elements. You don’t want to risk damaging your equipment while out in the field.
Mastering Your Camera Settings
Before heading out to shoot, it’s important to familiarize yourself with your camera’s manual settings. Here are some settings to consider:
| Setting | Description |
|---|---|
| ISO | Use a low ISO (e.g. 100-400) to reduce noise in your images. |
| Aperture | Use a wide aperture (e.g. f/2.8-f/4) to let in more light. |
| Shutter Speed | Use a slow shutter speed (e.g. 15-30 seconds) to capture more light and create long exposures. |
| White Balance | Set your white balance to match the lighting conditions (e.g. tungsten, fluorescent, or daylight). |
Experiment with different settings to achieve the desired effect. Take test shots and adjust your settings as needed.
Using a Tripod and Remote Shutter Release
One of the biggest challenges with nighttime photography is keeping your camera steady. A tripod is essential for keeping your camera stable during long exposures. A remote shutter release allows you to trigger the shutter without touching the camera, minimizing camera shake.
When using a tripod, make sure to set it up on stable ground and use the leveling bubble to ensure your camera is straight. Use the remote shutter release to trigger the shutter and avoid touching the camera.
By following these tips, you’ll be well-prepared to capture stunning nighttime photos for your series.
Techniques for Capturing the Mystique of the Dark
Creating a nighttime photography series requires a different set of skills and techniques than daytime photography. The darkness of the night provides a unique canvas for photographers to capture the beauty and mystique of the night. Here are some techniques to help you capture the essence of the dark:
Playing with Light and Shadow
Light and shadow play a crucial role in nighttime photography. The contrast between light and dark can create a dramatic effect in your photos. To capture the interplay between light and shadow, try shooting in areas with different sources of light, such as streetlights, neon signs, or car headlights. Experiment with the placement of your subject in relation to the light source to create a sense of depth and dimensionality in your photos.
Using Long Exposures
Long exposures can be used to capture the movement of light in your photos. This technique is especially useful for capturing the trails of car lights or the movement of stars in the night sky. To achieve a long exposure, you will need a tripod to keep your camera steady during the exposure. Experiment with different shutter speeds to achieve the desired effect.
Experimenting with White Balance
The white balance setting on your camera can have a significant impact on the color temperature of your photos. In nighttime photography, the color temperature can vary greatly depending on the light source. Experiment with different white balance settings to achieve the desired effect. For example, setting your white balance to tungsten can create a warm, orange glow in your photos, while setting it to fluorescent can create a cool, blueish tone.
By using these techniques, you can capture the beauty and mystique of the dark in your nighttime photography series.
Post-Processing Your Nighttime Photography Series
After capturing your nighttime photography series, the next step is to post-process your images to enhance their quality and bring out the best in them. Here are some tips on how to post-process your nighttime photography series:
Choosing the Right Software
The first step in post-processing your nighttime photography series is to choose the right software. Some of the popular software for post-processing include Adobe Lightroom, Adobe Photoshop, and Capture One. These software have advanced features for adjusting exposure, contrast, color correction, and noise reduction.
Adjusting Exposure and Contrast
One of the key aspects of post-processing your nighttime photography series is adjusting the exposure and contrast. This will help you to bring out the details and colors in your images. You can use the exposure and contrast sliders in your software to adjust the brightness and contrast of your images. This will help to create a more dynamic and visually appealing image.
Color Correction
Color correction is another important aspect of post-processing your nighttime photography series. You can use the color correction tools in your software to adjust the white balance, hue, and saturation of your images. This will help you to create a more balanced and visually appealing image.
Noise Reduction
Noise reduction is a crucial step in post-processing your nighttime photography series. As you shoot in low light conditions, your images are prone to noise and grain. You can use noise reduction tools in your software to reduce the noise in your images. This will help you to create a cleaner and sharper image.
By following these tips, you can create a stunning nighttime photography series that captures the mystique of the dark. Remember to experiment with different settings and techniques to find what works best for you and your style.