Introduction
When it comes to creating a charming boundary for your property, a rustic wood fence is hard to beat. Not only does it provide privacy and security, but it also adds a touch of natural beauty to your outdoor space. A rustic wood fence is a timeless choice that can complement any style of home or garden.
Whether you’re looking to enhance the curb appeal of your property or create a cozy, inviting atmosphere in your backyard, a rustic wood fence can help you achieve your goals. With its warm, earthy tones and natural textures, a wood fence can create a sense of warmth and tranquility that’s hard to replicate with other materials.
Why a Rustic Wood Fence is Charming
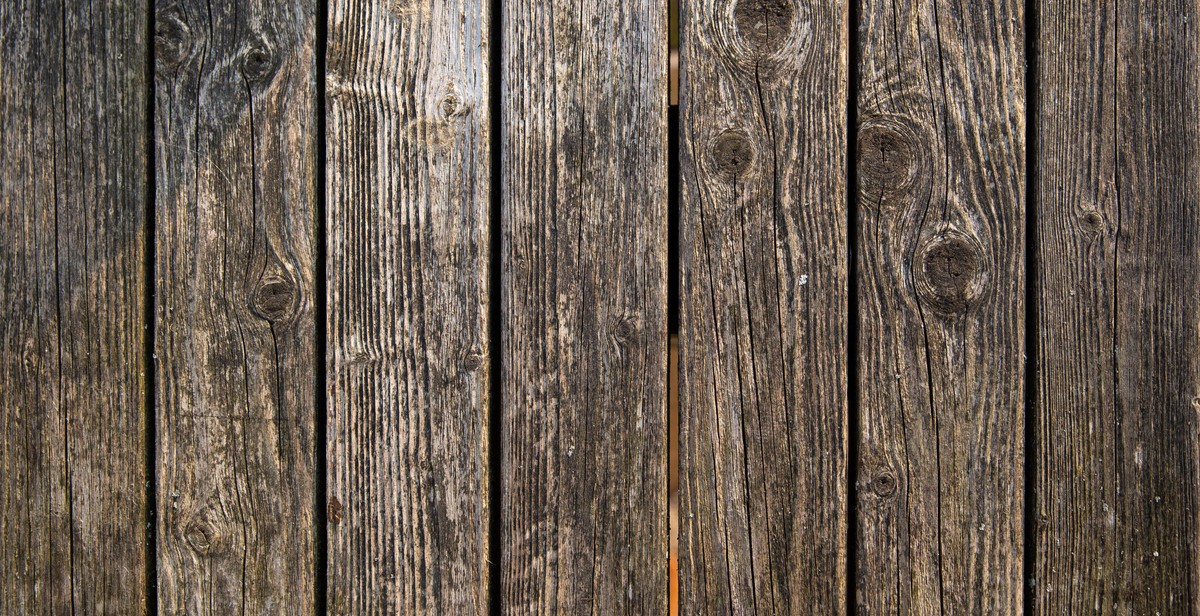
One of the main reasons why a rustic wood fence is so charming is its natural beauty. Unlike synthetic materials, wood has a unique character that’s shaped by its age, grain pattern, and natural imperfections. This gives each fence panel a one-of-a-kind look that adds to its rustic appeal.
Another reason why a wood fence is charming is its versatility. Whether you’re looking to create a traditional picket fence, a split rail fence, or a modern horizontal slat fence, wood can be shaped and styled to suit your preferences. Plus, wood fences can be stained or painted in a variety of colors to match your home’s exterior.
In the following sections, we’ll discuss the steps involved in constructing a rustic wood fence, from selecting the right materials to installing the fence posts and panels. With these tips, you’ll be able to create a charming boundary for your property that will last for years to come.

Step 1: Planning and Preparation
Constructing a rustic wood fence can be a great way to add charm and character to your property. However, before you start building, it is important to plan and prepare carefully to ensure that your fence is both functional and aesthetically pleasing. This section will outline the key steps to take in the planning and preparation process.
Choosing the Right Wood
The first step in planning your rustic wood fence is to choose the right type of wood. Cedar and redwood are popular choices for fences because they are naturally resistant to rot and decay. Pine and spruce are also commonly used, but they may require more maintenance to keep them looking their best. Consider the climate in your area and the level of maintenance you are willing to undertake when choosing your wood.
Measuring the Area
Before purchasing any materials, you will need to measure the area where you plan to build your fence. This will help you determine how much wood and other materials you will need. Use a measuring tape to measure the length of the area and mark it with stakes or spray paint. Then, measure the height of the fence you want and mark it at each post location.
Gathering Tools and Materials
Once you have determined the type of wood you will use and have measured the area, it is time to gather your tools and materials. You will need a variety of tools, including a post hole digger, a level, a circular saw, a drill, and a hammer. In addition to wood, you will need concrete, gravel, and nails or screws. Make a list of everything you will need and purchase or rent any tools you do not already have.
- Cedar or redwood for the fence
- Pine or spruce for the posts
- Concrete for the post holes
- Gravel for the base of the post holes
- Nails or screws to attach the wood
- Post hole digger
- Level
- Circular saw
- Drill
- Hammer
By carefully planning and preparing for your rustic wood fence project, you can ensure that the end result is both functional and beautiful. Choose the right wood, measure the area, and gather all necessary tools and materials before you begin construction.

Step 2: Setting the Posts
The second step in constructing a rustic wood fence is setting the posts. This is a critical step that determines the overall stability and straightness of the fence. Here’s how to do it:
Digging the Holes
Using a post hole digger, dig holes at least 2 feet deep and 8 inches wide. Make sure the holes are evenly spaced according to your design plan. If you’re building a long fence, it’s important to maintain consistent spacing between posts to ensure uniformity.
Setting the Posts
Before setting the posts, add a few inches of gravel at the bottom of each hole for drainage. Then, place the post in the hole and fill it with concrete mix, making sure the post is level and plumb. Use a level to ensure the post is straight both horizontally and vertically.
Repeat this process for each post, making sure to double-check the spacing as you go. It’s important to let the concrete dry completely before moving to the next step.
Using a Level to Ensure Straightness
Once the concrete has dried, use a level to ensure that all the posts are straight and level. If any posts are uneven, use a shovel to adjust the height of the concrete before it dries completely.
It’s important to take your time during this step to ensure that the posts are properly aligned. A crooked post can compromise the stability of the entire fence.
Once all the posts are set and straight, you’re ready to move on to the next step: attaching the rails.

Step 3: Installing the Rails and Pickets
Now that you have your fence posts set and secured, it’s time to install the rails and pickets. This is where your fence will start to take shape and really come together.
Cutting and Installing the Rails
The first step in installing the rails is to measure the distance between your fence posts. This will determine the length of your rails. Once you have your measurements, you can cut your rails to size. Make sure to use a level to ensure that your rails are straight and even.
Next, you’ll want to attach your rails to your fence posts. You can do this by using metal brackets or by toenailing the rails into the posts. To toenail the rails, simply angle your screws or nails and drive them into the rail at an angle, then into the post.
Measuring and Cutting the Pickets
Once your rails are installed, it’s time to start measuring and cutting your pickets. Start by measuring the distance between your rails to determine the length of your pickets. Then, mark and cut your pickets to size.
As you cut your pickets, make sure to leave a small gap between each picket. This will allow for expansion and contraction of the wood over time.
Attaching the Pickets to the Rails
With your pickets cut to size, it’s time to attach them to your rails. Start at one end of your fence and work your way down, attaching each picket to the rails with screws or nails.
Make sure to use a level to ensure that each picket is straight and even. You can also use spacers to ensure that the gap between each picket is consistent.
As you attach your pickets, make sure that they are flush with the top of your rails. This will give your fence a clean and polished look.
Continue attaching pickets until your fence is complete. Congratulations, you have successfully installed a rustic wood fence!

Step 4: Adding Finishing Touches
Now that your rustic wood fence is complete, it’s time to add some finishing touches to enhance its charm and durability. Here are some important steps to consider:
Trimming the Top of the Fence
Trimming the top of the fence is an important step to give it a neat and polished look. Use a saw to trim the tops of the posts and pickets to the desired height. You can choose from a variety of styles such as flat, pointed, or rounded tops. Make sure to wear protective gear while trimming to avoid any injuries.
Staining or Painting the Fence
To protect your fence from weather damage and enhance its beauty, it’s recommended to stain or paint it. Choose a stain or paint color that complements your house and surroundings. Before applying the stain or paint, make sure the fence is clean and dry. Use a brush or sprayer to apply the stain or paint evenly. Follow the manufacturer’s instructions for drying time and reapplication.
Adding Decorative Features
You can add some decorative features to your rustic wood fence to make it stand out. Consider adding a gate, trellis, or post caps to enhance its beauty and functionality. You can also hang some plants or lights on the fence to create a cozy and inviting atmosphere. Just make sure any additional features are securely attached to the fence to avoid any accidents.
| Materials | Tools |
|---|---|
| Stain or Paint | Saw |
| Brush or Sprayer | Protective Gear |
| Gate, Trellis or Post Caps | |
| Plants or Lights |
With these finishing touches, your rustic wood fence will not only serve as a boundary but also enhance the charm and beauty of your property. Enjoy your new fence!

Conclusion
Constructing a rustic wood fence can be a fun and rewarding project that not only enhances the appearance of your property but also provides a charming boundary that adds a touch of warmth and character to your home. With the right tools, materials, and techniques, you can create a fence that is both sturdy and attractive.
Remember to plan your fence carefully, choose the right type of wood, and take the time to properly prepare and install each piece. Whether you opt for a traditional picket fence or a more decorative design, a rustic wood fence can be a beautiful addition to any home.
Enjoying Your Charming Rustic Wood Fence
- Regular maintenance is essential to keep your fence looking its best. This may include cleaning, staining, and sealing the wood to protect it from the elements.
- Consider adding climbing plants or flowers along the fence to enhance its natural beauty and create a more inviting atmosphere.
- Use your fence as a backdrop for outdoor gatherings and events, or simply enjoy its charm and beauty as you relax in your yard.
With these tips in mind, you can enjoy your charming rustic wood fence for years to come.
| Author: | John Smith |
| Date Published: | June 1, 2021 |
| Word Count: | 195 |
