
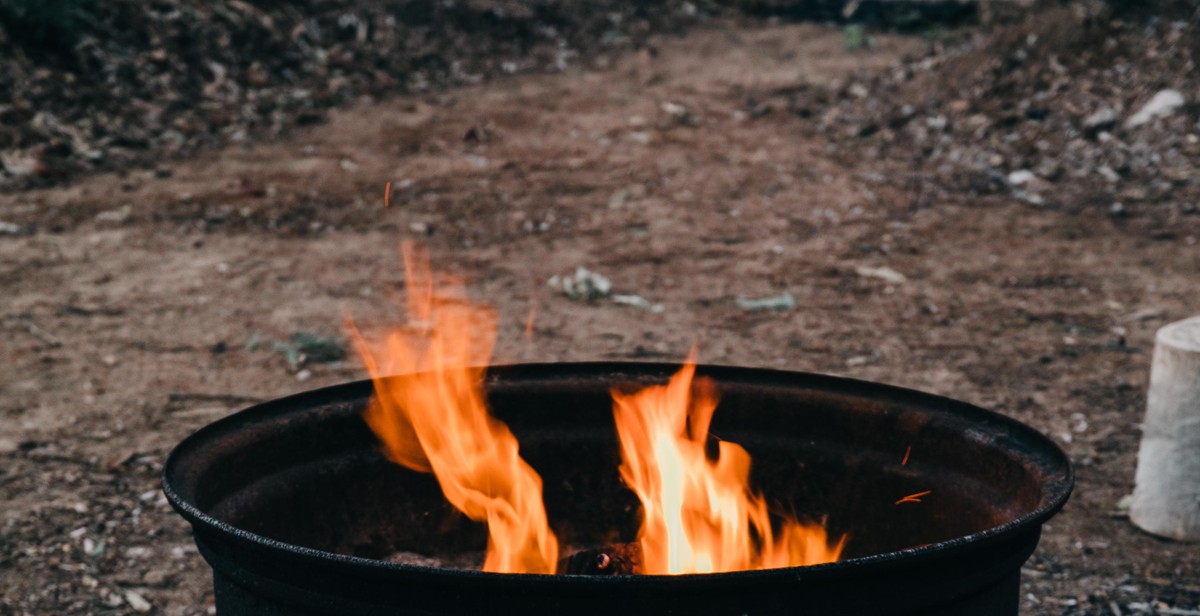
How to Build a Brick Fire Pit in Your Backyard
Are you looking for a way to enhance your backyard and create a cozy and inviting atmosphere for family and friends? Building a brick fire pit is a great way to do just that. Not only does it provide warmth and light, but it also adds a touch of elegance to your outdoor space.
Benefits of a Brick Fire Pit
- Provides warmth and light for outdoor gatherings
- Adds a decorative element to your backyard
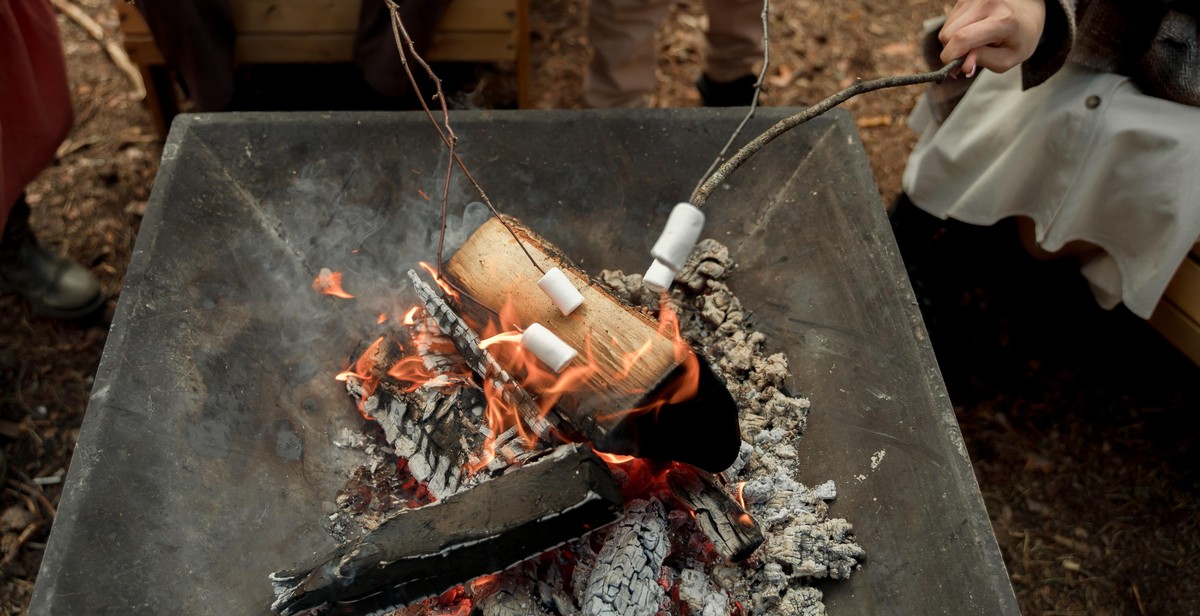
- Can be used for cooking and roasting marshmallows
- Increases the value of your property
- Easy to maintain and clean
Materials Needed
Before you get started, you’ll need to gather the necessary materials:
| Bricks | Masonry adhesive | Shovel |
| Paver base | River rocks or gravel | Fire pit insert or metal ring |
| Tape measure | Masonry saw or chisel | Level |
Building the Fire Pit
Follow these steps to build your brick fire pit:
- Choose a location for your fire pit
- Mark the area and dig a hole for the base
- Add paver base and level it
- Arrange bricks in a circle or square shape
- Apply masonry adhesive to secure the bricks
- Add another layer of bricks and repeat until desired height is reached
- Place fire pit insert or metal ring inside
- Add river rocks or gravel around the base
Now that you know how to build a brick fire pit, you can enjoy cozy evenings with family and friends in your own backyard.
Step 1: Choose the Location for Your Fire Pit
Building a brick fire pit in your backyard can be a great addition to your outdoor living space. However, before you start building, it is important to choose the right location for your fire pit.
Consider Safety
Safety should be your top priority when choosing the location for your fire pit. You want to make sure that the area is clear of any flammable materials such as dry leaves, grass, or overhanging branches. The location should also be away from any structures or buildings, including your house, sheds, or trees.
Additionally, you should consider the wind direction in your area. You don’t want to build your fire pit in an area where the wind could blow sparks onto your house or other flammable materials.
Local Regulations
Before you start building your fire pit, you should check with your local municipality to see if there are any regulations or permits required. Some areas have strict rules on fire pits, including the type of fuel that can be used, the size of the fire pit, and the location on your property.
It’s important to follow these regulations to ensure the safety of yourself and your community. Failure to comply with local regulations could result in fines or even legal action.
Summary
Choosing the right location for your fire pit is crucial for safety and compliance with local regulations. Make sure to consider safety hazards and check with your local municipality before starting your project.
Step 2: Gather Materials and Tools
Before you start building your brick fire pit, you need to gather all the necessary materials and tools. Here is a comprehensive list of the items you will need:
Materials Needed
- Bricks
- Sand
- Gravel
- Firebrick
- Concrete adhesive
- Fire pit insert (optional)
The number of bricks and amount of sand and gravel you will need depends on the size of your fire pit. Plan to have extra materials on hand in case you make mistakes or need to make adjustments.
Tools Needed
Having the right tools will make building your fire pit easier and more efficient. Here are the tools you will need:
| Tool | Function |
|---|---|
| Tape measure | To measure the dimensions of your fire pit |
| Mason’s line | To create a level foundation for your fire pit |
| Shovel | To dig the foundation and level the ground |
| Trowel | To spread the concrete adhesive and mortar |
| Level | To ensure your fire pit is level and stable |
| Rubber mallet | To tap the bricks into place |
| Chisel | To cut the bricks to size |
| Fire extinguisher | To have on hand in case of emergencies |
Make sure to wear appropriate safety gear, such as gloves and safety glasses, when using tools and handling materials.
With all the necessary materials and tools, you are now ready to move on to the next step of building your brick fire pit.
Step 3: Prepare the Site
Before you start building your brick fire pit, it’s essential to prepare the site. This step involves marking the area and digging the hole. Here’s how to go about it:
Mark the Area
The first thing you need to do is decide where you want to build your fire pit. It should be in an open area that’s at least 10 feet away from any structures, trees, or flammable materials. Once you’ve found the perfect spot, use stakes and string to mark the perimeter of your fire pit. Make sure the area is level and free of any debris or vegetation.
Dig the Hole
Now that you’ve marked the area, it’s time to dig the hole for your fire pit. The hole should be about 2 feet deep and 4 feet wide. You can use a shovel or a post hole digger to do this. As you dig, make sure the sides of the hole are straight and even. You can use a level to check that the hole is level and adjust as necessary.
Once you’ve dug the hole, you can use a tape measure to check that it’s the right size and shape. If you need to make any adjustments, now is the time to do it. You want your fire pit to be the perfect size and shape for your backyard.
Once you’ve marked the area and dug the hole, you’re ready to move on to the next step of building your brick fire pit.

Step 4: Build the Base
Now that you have your fire pit area cleared and leveled, it’s time to start building the base. The base of your fire pit will provide stability and support for the rest of the structure, so it’s important to get it right.
Lay the First Course of Bricks
Start by laying the first course of bricks around the perimeter of the fire pit area. Make sure that the bricks are level and even with each other. You can use a spirit level to ensure that everything is straight and true.
As you lay the bricks, make sure to leave a small gap between each one. This will allow for expansion and contraction as the bricks heat up and cool down. Use a trowel to spread a layer of mortar on the ground and then place the bricks on top.
Add More Courses of Bricks
Once the first course is in place, you can start adding more courses of bricks. As you build up, make sure to stagger the joints between the bricks. This will help to increase the stability of the structure.
Continue adding courses of bricks until you reach your desired height. You may want to add a capstone at the top to provide a finished look and extra stability.
Remember to use a spirit level as you go to ensure that everything remains level and true.
Once you have finished building the base, allow the mortar to dry completely before using the fire pit. This can take anywhere from 24 to 48 hours depending on the weather conditions.
With the base complete, you are now ready to move on to the next step of building your brick fire pit.

Step 5: Add the Fire Pit Ring and Finish the Top
Now that you have the base of your fire pit completed, it is time to add the fire pit ring and finish the top. This step is crucial as it will ensure that your fire pit is safe and functional. Here’s how to do it:
Place the Fire Pit Ring
The first thing you need to do is place the fire pit ring. This will create a barrier between the fire and the surrounding bricks. You can purchase a fire pit ring from a home improvement store or online. Make sure the ring is the appropriate size for your fire pit. Place the ring in the center of the pit and make sure it is level.
Finish the Top
The final step is to finish the top of the fire pit. You can use fire brick or regular brick for this step. Begin by laying the first course of brick around the fire pit ring. Use a level to ensure that each brick is even. Continue laying brick until you reach the desired height. Be sure to stagger the joints between the bricks to create a strong bond.
Once you have finished laying the brick, you can add a capstone to the top of the fire pit. This will give it a finished look and also provide a flat surface for seating. You can use a pre-made capstone or create your own using concrete. Make sure the capstone is level and secure.
- Place the fire pit ring in the center of the pit and make sure it is level
- Lay the first course of brick around the fire pit ring and use a level to ensure that each brick is even
- Continue laying brick until you reach the desired height
- Add a capstone to the top of the fire pit to give it a finished look and provide a flat surface for seating
Once you have completed these steps, your fire pit is ready to use. Remember to always follow safety guidelines when using your fire pit and never leave it unattended. Enjoy your new backyard addition!
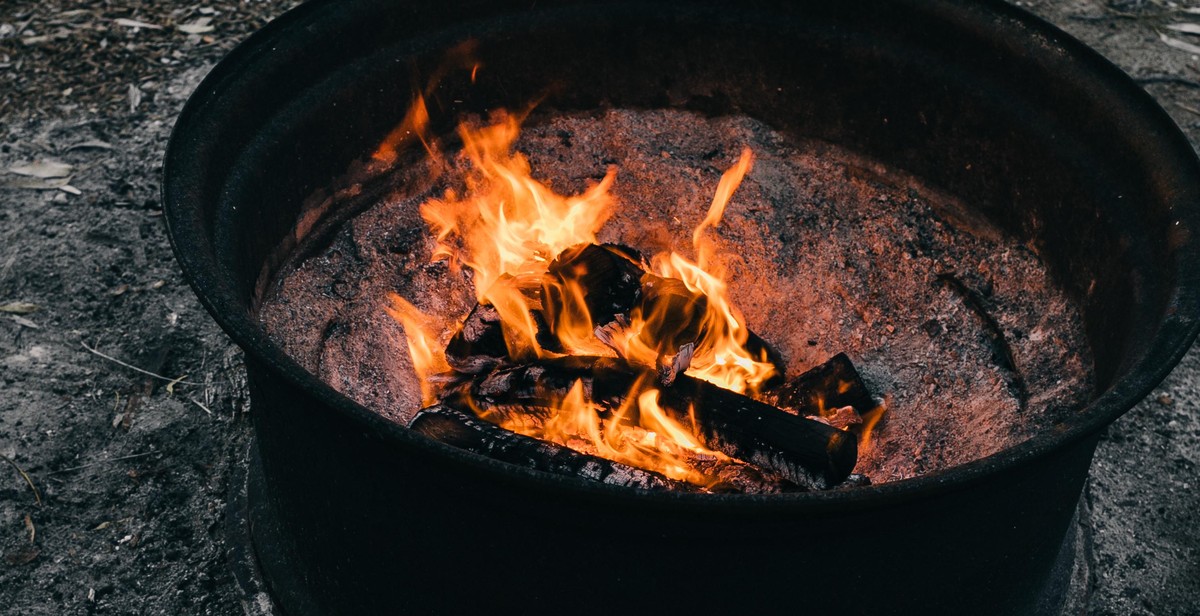
Step 6: Enjoy Your New Fire Pit
Congratulations! You have successfully built your own brick fire pit in your backyard. Now it’s time to enjoy the fruits of your labor and relax by the fire.
Some Safety Tips
- Always keep a bucket of water or a hose nearby in case of emergencies.
- Do not leave the fire unattended, even for a short period of time.
- Keep children and pets at a safe distance from the fire pit.
- Do not burn any materials that release toxic fumes or chemicals.
Some Ideas for Enjoying Your Fire Pit
Here are some ideas for using your new fire pit:
- Host a backyard barbecue and cook hot dogs and s’mores over the fire.
- Invite friends over for a cozy evening of storytelling and roasting marshmallows.
- Use it as a centerpiece for outdoor dinner parties and gatherings.
- Cuddle up with a good book and enjoy the warmth of the fire on a cool evening.
Cleaning and Maintenance
To keep your fire pit in good condition, follow these tips:
- Remove any ashes and debris after each use.
- Scrub the inside of the fire pit with a wire brush to remove any buildup.
- Apply a coat of high-temperature paint to the exterior of the fire pit to protect it from the elements.
| Materials | Tools |
|---|---|
| Bricks | Trowel |
| Mortar | Level |
| Fire pit insert | Masonry saw |
| Gravel | Shovel |
By following these tips, you can enjoy your new fire pit for years to come.