
How to Carve a Wood Sculpture: Tools, Safety, and Techniques
Wood carving is a fascinating and rewarding hobby that allows you to create beautiful sculptures and artworks from a simple piece of wood. However, carving wood is not as easy as it may seem, and it requires skill, patience, and the right tools to achieve the desired results. Whether you’re a beginner or an experienced woodworker, learning how to carve a wood sculpture can be an exciting and fulfilling experience.
The Right Tools for the Job
One of the most important aspects of wood carving is having the right tools for the job. The basic tools you’ll need for carving wood include a carving knife, a gouge, a chisel, and a mallet. Each tool has its own unique purpose and can be used to create different effects and textures on the wood.
Safety First
Carving wood can be dangerous, so it’s essential to take the necessary safety precautions before you start. Always wear protective gear such as gloves, eye protection, and a dust mask to prevent injuries and health hazards. Additionally, make sure your workspace is well-ventilated and free of clutter to avoid accidents.
Techniques for Carving Wood
There are several techniques you can use when carving wood, including relief carving, chip carving, and carving in the round. Each technique requires a different approach and set of skills, so it’s essential to choose the one that best suits your project and level of expertise.
With the right tools, safety precautions, and techniques, you can create beautiful wood sculptures that will last for generations. So, grab your carving tools and let’s get started!
Tools Needed
When it comes to carving a wood sculpture, having the right tools is essential. Here are the tools you’ll need for this project:
1. Carving Knife
A carving knife is a sharp, pointed tool used for carving fine details and shaping the wood. It’s important to choose a knife that feels comfortable in your hand and has a sharp blade that can be easily sharpened when needed. A good carving knife will help you achieve precise and intricate cuts.
2. Gouges
Gouges are curved chisels that come in a variety of shapes and sizes. They are used for removing larger areas of wood and creating curved or concave shapes. Gouges are also helpful for creating texture and adding detail to your sculpture.
3. Chisels
Chisels are flat, sharp tools that are used for removing larger areas of wood and creating straight edges. They come in a variety of sizes and shapes, with some having a straight edge and others having a curved edge. Chisels are also useful for creating flat surfaces and smoothing out rough areas.
4. Mallet
A mallet is a hammer-like tool that is used to strike the carving tools. It’s important to choose a mallet that is the right weight for the tools you’ll be using. A heavier mallet is better for larger tools, while a lighter mallet is better for smaller tools. Using a mallet will help you achieve a consistent and controlled cut.
With these tools in hand, you’ll be ready to start carving your wood sculpture. Always remember to use caution and follow proper safety precautions when working with sharp tools.
Safety Tips
Wood carving is a rewarding and enjoyable activity that can also be dangerous if proper safety precautions are not taken. Here are some safety tips to keep in mind when carving a wood sculpture:
Wear Protective Gear
Wearing protective gear is crucial when carving wood. Make sure to wear safety glasses or goggles to protect your eyes from flying debris and dust. Use a dust mask or respirator to prevent inhaling wood particles that can cause respiratory problems. Wear gloves to protect your hands from sharp tools and splinters.
Keep Your Tools Sharp
Sharp tools are safer to use than dull ones. Dull tools can slip and cause injuries. Keep your tools sharp by using a sharpening stone or a honing guide. If you are not confident in your ability to sharpen your tools, consider taking a class or seeking advice from a professional.
Use a Secure Work Surface
Make sure your work surface is secure and stable. A wobbly or unstable work surface can cause accidents and injuries. Use clamps to secure your workpiece to the work surface, and make sure the work surface is at a comfortable height and angle to prevent strain on your back and shoulders.
By following these safety tips, you can enjoy the art of wood carving while minimizing the risk of injury. Remember to always use caution and common sense when working with sharp tools and equipment.

Choosing the Right Wood
Choosing the right wood is crucial when it comes to carving a wood sculpture. The type of wood you choose will determine the ease of carving, the final finish, and the longevity of the sculpture. Here are some of the best wood types for carving:
- Basswood: Basswood is a popular choice for beginners as it is soft and easy to carve. It has a fine grain and is perfect for intricate details.
- Butternut: Butternut is another softwood that is great for carving. It has a warm color and a straight grain, making it ideal for larger sculptures.
- Cherry: Cherry is a hardwood that is great for carving due to its fine texture and beautiful grain patterns. It is perfect for creating detailed sculptures with a smooth finish.
- Walnut: Walnut is a hardwood that is known for its rich color and beautiful grain patterns. It is slightly harder than cherry, but still easy to carve.
- Maple: Maple is a hardwood that is very hard and dense, making it ideal for creating durable sculptures. It has a fine texture and a subtle grain pattern.
When choosing wood, it’s important to consider the size and complexity of your sculpture. Softwoods are easier to carve but may not be suitable for larger sculptures, while hardwoods are more durable but may be more difficult to carve. It’s also important to choose wood that is free of knots and defects, as these can cause problems during the carving process.
| Wood Type | Hardness | Texture | Grain Pattern |
|---|---|---|---|
| Basswood | Soft | Fine | Straight |
| Butternut | Soft | Coarse | Straight |
| Cherry | Hard | Medium | Straight |
| Walnut | Hard | Medium | Varied |
| Maple | Very Hard | Fine | Subtle |
Preparing the Wood
Before you can start carving your wood sculpture, you need to properly prepare the block of wood. Here are the steps you need to follow:
Choosing the Right Block of Wood
The first step is to choose the right block of wood for your project. You want a piece of wood that is free from knots and cracks, and has a consistent grain pattern. The type of wood you choose will also affect the outcome of your sculpture. Some popular choices for carving include basswood, butternut, and walnut.
Tracing Your Design onto the Wood
Once you have your block of wood, you need to transfer your design onto it. You can do this by drawing your design on paper and then using carbon paper to transfer the design onto the wood. Alternatively, you can print out your design and use spray adhesive to attach it to the wood.
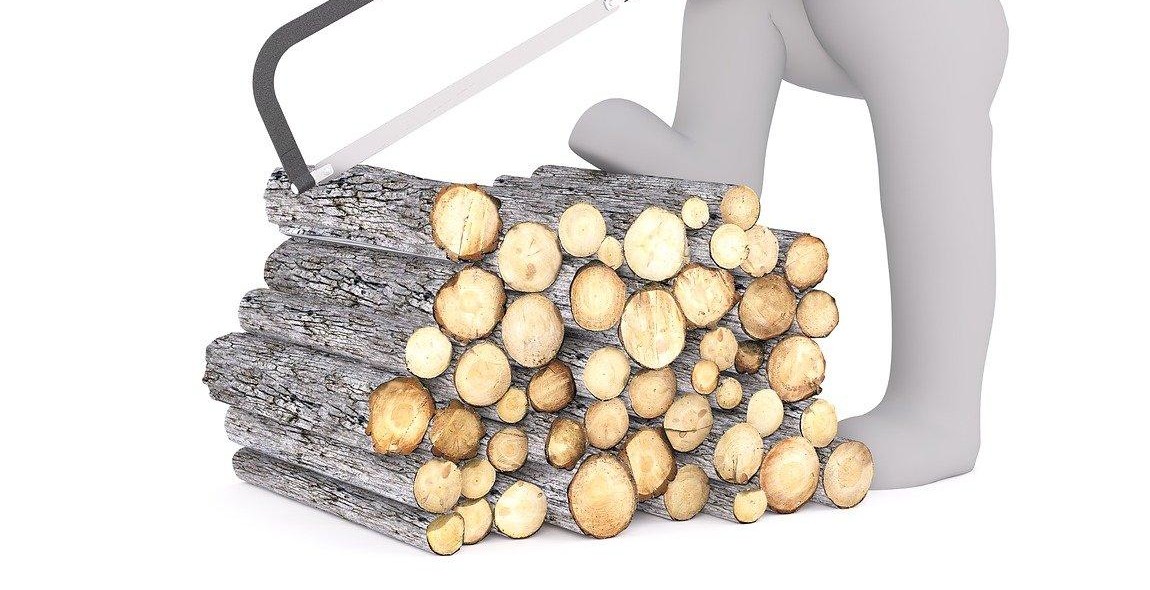
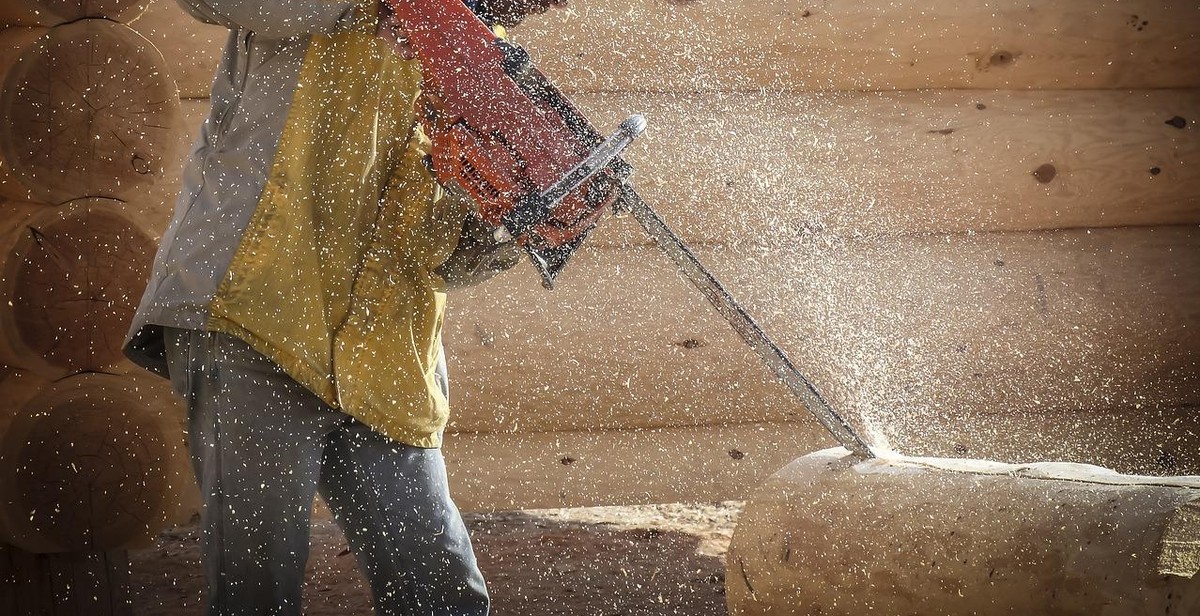
Roughing Out the Basic Shape
With your design traced onto the wood, you can now start roughing out the basic shape of your sculpture. Use a saw or carving knife to remove any excess wood that is outside the rough outline of your design. At this stage, you don’t need to worry about details or precision. Your goal is to create a rough shape that is close to your final design.
By following these steps, you will have a properly prepared block of wood that is ready for carving. Remember to take your time and be patient as you work on your sculpture. With practice and dedication, you will be able to create beautiful wood carvings that you can be proud of.
Carving Techniques
Making Basic Cuts
Before starting any wood carving project, it’s important to have a clear idea of the basic cuts you’ll need to make. These include:
- Straight cuts – made with the grain of the wood
- Curved cuts – made against the grain of the wood
- V-cuts – made at an angle to create a “V” shape
- Stop cuts – made to define the edge of a shape or area
It’s important to always use a sharp carving tool and to make cuts slowly and carefully, especially when making curved cuts. Additionally, wear protective gear such as gloves and eye goggles to prevent injuries.
Adding Detail and Texture
Once you’ve made the basic cuts, you can start adding detail and texture to your wood sculpture. This can be done using a variety of techniques, including:
- Chip carving – removing small chips of wood to create patterns and designs
- Relief carving – carving away the background to make the design stand out
- Incised carving – carving lines and shapes into the surface of the wood
- Texture carving – creating patterns and textures on the surface of the wood using various tools
Experiment with different techniques to achieve the desired effect, and remember to always work slowly and carefully to avoid mistakes.
Sanding and Finishing
Once your wood sculpture is complete, it’s time to sand and finish it. Sanding smooths out any rough edges and prepares the surface for finishing. Use a fine-grit sandpaper and work in the direction of the grain.
For finishing, you can use a variety of products such as oil, wax, or varnish to protect the wood and enhance its natural beauty. Apply the finish in thin, even coats and allow each coat to dry completely before applying the next.
| Tip: | Always test the finish on a small, inconspicuous area of the wood before applying it to the entire sculpture to ensure it will achieve the desired effect. |
|---|
Conclusion
Carving a wood sculpture can be a fulfilling and rewarding experience. With the right tools, safety measures, and techniques, you can create beautiful pieces of art that will last for generations. It’s important to remember that carving can be dangerous if proper safety precautions are not taken, so always wear protective gear and work in a well-ventilated area.
Choose the Right Tools
Investing in high-quality carving tools is essential for achieving the best results. Look for tools that are comfortable to hold, sharp, and durable. Take the time to learn about different types of tools and their uses to determine which ones will work best for your project.
Practice Patience and Persistence
Carving takes time and practice to master. Don’t get discouraged if your first few attempts don’t turn out the way you want them to. Keep practicing and experimenting with different techniques until you find what works best for you.
Find Inspiration
Whether you’re a beginner or an experienced carver, it’s important to find inspiration for your projects. Look for inspiration in nature, art, and other sources to spark your creativity and keep your passion for carving alive.
Share Your Work
Don’t be afraid to share your work with others. Join a carving club or attend a carving event to meet other carvers and gain feedback on your work. Sharing your work can also inspire others and help you grow as a carver.
In conclusion, carving a wood sculpture is a skill that can be developed with practice, patience, and persistence. By following the right safety measures, investing in quality tools, finding inspiration, and sharing your work, you can create beautiful pieces of art that will be cherished for years to come.