
How to Build a Cheese Aging Cave: DIY Guide for Creating an Ideal Cheese Aging Environment
As a professional cheese maker with over a decade of experience, I can tell you that aging cheese is a crucial part of the cheese-making process. Cheese aging allows the flavors and textures to develop, resulting in a more complex and delicious product. However, aging cheese requires a specific environment with controlled temperature, humidity, and airflow. To achieve the perfect aging conditions, many cheese makers turn to cheese aging caves.
What is a Cheese Aging Cave?
A cheese aging cave is a controlled environment that mimics the natural conditions of a cave. Caves are an ideal environment for aging cheese because they provide consistent temperature and humidity levels. A cheese aging cave can be as simple as a small converted refrigerator or as elaborate as a custom-built room. Regardless of the size or complexity, the key is to create an environment that allows the cheese to age properly.
Benefits of Building Your Own Cheese Aging Cave
Building your own cheese aging cave has several benefits. First, it allows you to control the aging process and create unique flavor profiles. Second, it can save you money in the long run, as you won’t have to pay for expensive cheese aging facilities. Finally, it can be a fun and rewarding DIY project for cheese enthusiasts.
In this article, I will provide a step-by-step guide on how to build your own cheese aging cave. From selecting the right location to choosing the best materials, I will cover everything you need to know to create an ideal cheese aging environment.

Step 1: Choosing the Right Location
When it comes to building a cheese aging cave, the first and most important step is choosing the right location. The ideal location will provide a stable environment with proper temperature and humidity levels to ensure the cheese is aged properly.
Finding the Right Space
When selecting a location for your cheese aging cave, there are a few factors to consider:
- The space should be cool, dark, and well-ventilated.
- A basement or cellar can be a good option, as they often provide the cool and damp environment necessary for cheese aging.
- If you don’t have a basement or cellar, consider using a spare room or closet that can be easily sealed off from the rest of the house.
Temperature and Humidity Considerations
Temperature and humidity are critical factors in cheese aging. The ideal temperature range for most cheeses is between 50-55°F (10-13°C), and humidity levels should be between 80-85%. However, different types of cheese may require slightly different temperature and humidity levels.
| Cheese Type | Ideal Temperature Range | Ideal Humidity Level |
|---|---|---|
| Soft Cheese | 50-55°F (10-13°C) | 80-85% |
| Hard Cheese | 50-55°F (10-13°C) | 75-80% |
| Blue Cheese | 45-50°F (7-10°C) | 90-95% |
It’s important to monitor the temperature and humidity levels regularly to ensure they remain within the ideal range. A digital thermometer and hygrometer can be useful tools for this.
By selecting the right location and ensuring proper temperature and humidity levels, you can create an ideal environment for aging your cheese to perfection.

Step 2: Building the Cheese Aging Cave
Now that you have chosen the perfect location for your cheese aging cave, it’s time to start building. Here are the materials and steps you will need to follow:
Materials Needed:
- Insulated cooler or refrigerator
- Temperature and humidity controller
- Thermometer and hygrometer
- Shelving
- Light bulb or ceramic heater
- Small fan or air circulation system
- Cheese ripening box
Construction Steps:
- Start by cleaning and sanitizing your insulated cooler or refrigerator. Make sure it is completely dry before proceeding.
- Install the temperature and humidity controller according to the manufacturer’s instructions. This will help you maintain the ideal conditions for cheese aging.
- Place the thermometer and hygrometer inside the cooler or refrigerator to monitor the temperature and humidity levels.
- Install the shelving inside the cooler or refrigerator. Make sure it is sturdy enough to hold the weight of your cheese.
- Install a light bulb or ceramic heater to provide warmth if necessary. A small fan or air circulation system will help maintain proper air flow.
- Place the cheese ripening box on the shelf and start aging your cheese.
Remember to monitor the temperature and humidity levels regularly and adjust the settings as needed. With a properly built cheese aging cave, you can enjoy delicious, perfectly aged cheese in no time.
Step 3: Installing the Cheese Aging Equipment
Now that you have built your cheese aging cave, it’s time to install the necessary equipment to create an ideal aging environment. The two main factors to consider are temperature and humidity control.
Cooling System
The cooling system is crucial for maintaining a consistent temperature throughout the cheese aging process. There are several options for cooling systems, such as a mini-fridge or a wine cooler. However, for larger cheese aging caves, a dedicated cooling unit may be necessary.
When selecting a cooling unit, consider the size of your cheese aging cave and the amount of cheese you plan to age. It’s important to choose a cooling unit that can handle the size of your cave and maintain the desired temperature range.
Once you have selected your cooling unit, follow the manufacturer’s instructions for installation. Make sure to place the unit in a location that allows for proper airflow and ventilation.
Humidity Control
Humidity control is equally important as temperature control in cheese aging. The ideal humidity range for cheese aging is between 80-85%.
To control humidity, you can use a humidifier or a dehumidifier depending on the current humidity level in your cheese aging cave. If the humidity is too low, a humidifier can be used to increase the humidity level. If the humidity is too high, a dehumidifier can be used to decrease the humidity level.
It’s important to monitor the humidity level regularly to ensure it remains within the desired range. You can use a hygrometer to measure the humidity level in your cheese aging cave.
| Cooling System | Humidity Control |
|---|---|
| Maintain a consistent temperature throughout the cheese aging process | Keep humidity levels between 80-85% |
| Use a mini-fridge, wine cooler, or dedicated cooling unit | Use a humidifier or dehumidifier to control humidity |
| Follow manufacturer’s instructions for installation | Monitor humidity levels regularly with a hygrometer |
By following these steps, you can create an ideal cheese aging environment that will result in delicious, perfectly aged cheese.

Step 4: Preparing the Cheese for Aging
Now that you have your cheese aging cave set up, it’s time to prep your cheese for the aging process. Here are the steps to follow:
Choosing the Right Cheese
Not all cheeses are suitable for aging. Choose a cheese that is known for its aging potential, such as cheddar, gouda, or parmesan. Make sure the cheese you choose is made from pasteurized milk, as raw milk cheeses can be dangerous to consume if not aged properly.
Prepping the Cheese
Before placing your cheese in the aging cave, you need to prep it properly. Here’s what you need to do:
- Wash the cheese with a brine solution to prevent mold growth. The brine should be made with non-iodized salt and water.
- Pat the cheese dry with a clean cloth or paper towel.
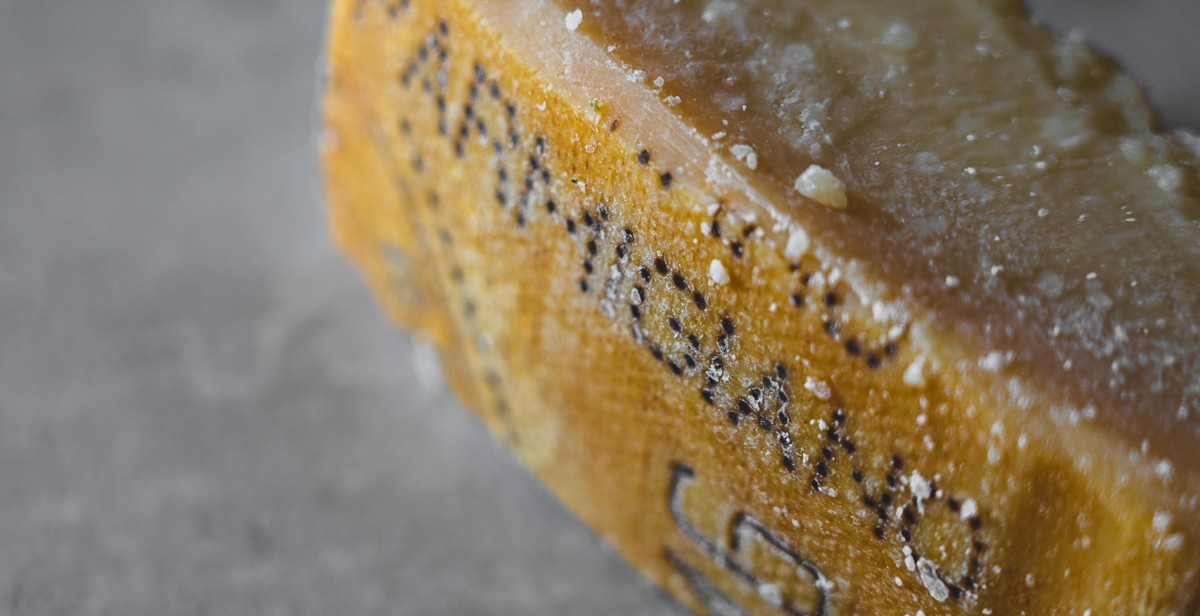
- Coat the cheese with a thin layer of wax or cheese coating to prevent moisture loss and protect it from mold growth.
- Label the cheese with the date it was made and any other relevant information, such as the type of cheese and the milk used.
Once your cheese is prepped and labeled, you can place it in your aging cave and start the aging process. Remember to check on your cheese regularly and adjust the temperature and humidity levels as needed to ensure optimal aging conditions.
Step 5: Aging the Cheese
Once you have prepared your cheese and stored it in your cheese aging cave, it is time to start the aging process. Aging cheese is a delicate process that requires attention to detail and careful monitoring. Here are some tips to help you age your cheese to perfection:
Aging Time and Temperature
The aging time and temperature will depend on the type of cheese you are making. Hard cheeses like cheddar and parmesan require longer aging times and cooler temperatures, while softer cheeses like brie and camembert require shorter aging times and warmer temperatures.
It is important to maintain a consistent temperature and humidity level in your cheese aging cave. A temperature range of 50-55°F (10-13°C) and a humidity level of 80-85% are ideal for most cheeses. You can use a thermometer and hygrometer to monitor the temperature and humidity levels in your cheese aging cave.
Caring for the Cheese
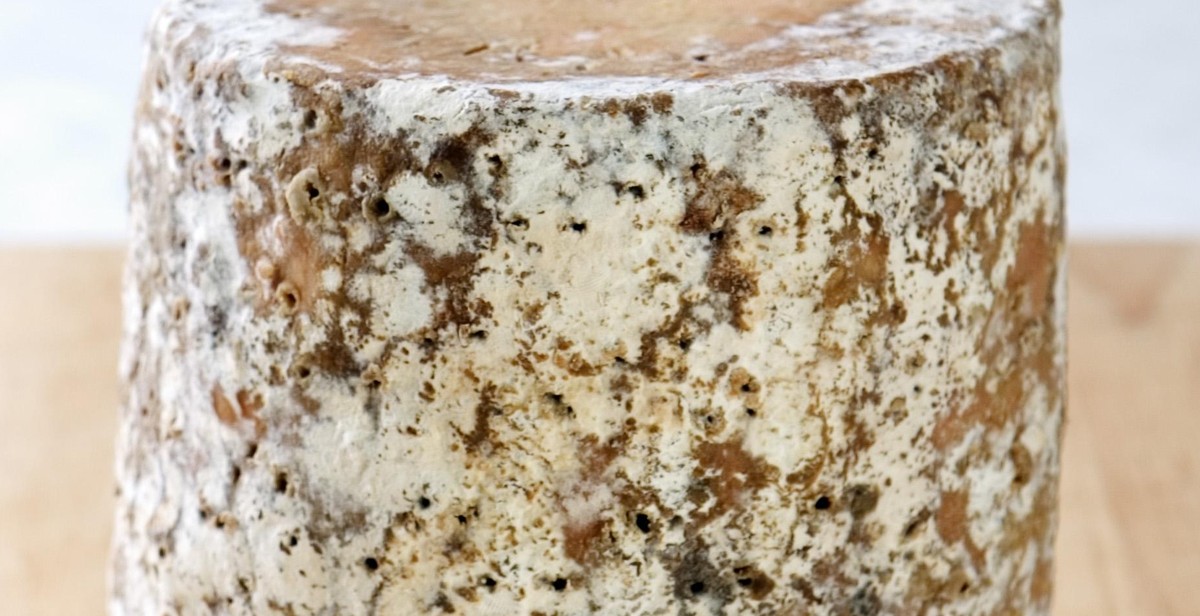
During the aging process, you will need to care for your cheese by turning it, wiping it down, and checking for any signs of mold or spoilage. Turn your cheese every few days to ensure even aging and prevent the development of uneven rinds. Wipe your cheese down with a damp cloth to remove any excess moisture or mold. If you notice any mold or spoilage, cut off the affected area and continue aging the rest of the cheese.
Conclusion
Aging cheese is a rewarding experience that requires patience and attention to detail. By following these tips, you can create the perfect aging environment for your cheese and enjoy delicious, homemade cheese that is full of flavor and character.
Conclusion
Building a cheese aging cave may seem like a daunting task, but with the right tools and knowledge, it can be a fun and rewarding DIY project. By following the steps outlined in this guide, you can create an ideal environment for aging your favorite cheeses.
Remember, the key to a successful cheese aging cave is maintaining consistent temperature and humidity levels. Whether you choose to use a converted refrigerator, wine cooler, or build a custom space, be sure to monitor and adjust these levels as needed.
Additionally, it’s important to consider the types of cheeses you plan to age and their specific needs. Soft cheeses require higher humidity levels, while hard cheeses prefer lower humidity. Research the optimal conditions for your desired cheese types and adjust your cave accordingly.
Lastly, don’t be afraid to experiment and try new things. Cheese aging is both an art and a science, and there’s always room for creativity and innovation. Enjoy the process and savor the delicious results!
- Remember to maintain consistent temperature and humidity levels
- Consider the specific needs of the cheeses you plan to age
- Experiment and enjoy the process!
With these tips and tricks, you’ll be well on your way to becoming a cheese aging expert. Happy building!