
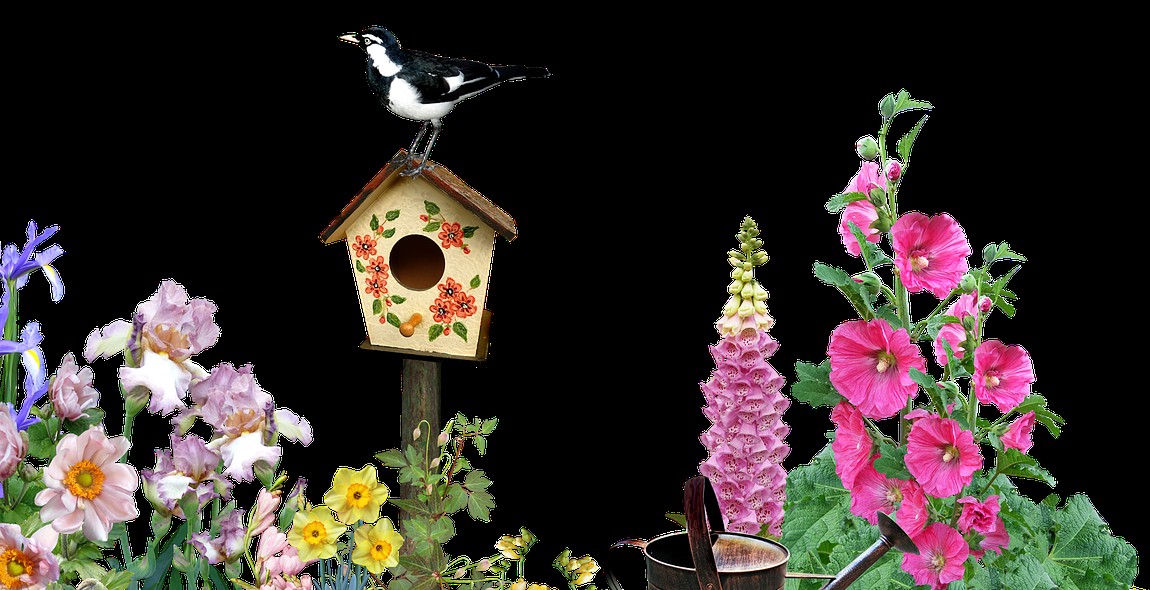
How to Build a Birdhouse: Step-by-Step Guide to Creating a Cozy Home for Birds
As a lifelong bird lover and experienced DIY enthusiast, I can attest to the joy that comes from building a birdhouse. Not only is it a fun and rewarding project, but it also provides a cozy home for our feathered friends.
Whether you are an avid bird watcher or just looking for a new DIY project, building a birdhouse is a great way to get creative and give back to nature. In this step-by-step guide, I will walk you through everything you need to know to build a birdhouse from scratch.
Materials You Will Need
Before diving into the building process, it is important to gather all the necessary materials. Here is a list of what you will need:
- Wood (cedar, pine, or redwood)
- Saw
- Drill
- Screws
- Nails
- Wood glue
- Roofing material (shingles or metal)
- Paint or stain
Step-by-Step Guide
Now that you have your materials, let’s get started on building your birdhouse. Follow these steps:
- Choose a birdhouse design and create a plan.
- Cut the wood according to your plan.
- Drill the entrance hole and ventilation holes.
- Assemble the birdhouse using screws and wood glue.
- Add the roofing material.
- Paint or stain the birdhouse.
With these simple steps, you can create a beautiful and functional birdhouse that will provide a cozy home for birds in your backyard. So, grab your materials and let’s get building!
Why Build a Birdhouse?
Building a birdhouse is a fun and rewarding experience that offers many benefits. As an avid bird watcher and nature lover, I have built several birdhouses over the years and have found the experience to be both enjoyable and fulfilling.
Personal Satisfaction
There is a great sense of satisfaction that comes from building something with your own hands. When you build a birdhouse, you get to see the fruits of your labor and know that you have created something that will be enjoyed by birds for years to come. It’s a great way to spend a weekend afternoon or to bond with family and friends over a common project.
Helping the Bird Population
Building birdhouses is also a great way to help the bird population. As natural habitats for birds continue to disappear, providing safe and cozy homes for them has become increasingly important. By building a birdhouse, you are doing your part to help birds thrive and survive in an ever-changing environment.
Overall, building a birdhouse is a fun and rewarding experience that offers personal satisfaction and helps the bird population. So why not give it a try?
Selecting a Birdhouse Plan
Before starting your birdhouse project, you need to select a birdhouse plan that suits your needs and preferences. Here are some factors to consider when choosing a birdhouse design:
Bird Species:
Each bird species has specific requirements for the size and shape of their birdhouse. For example, a bluebird house should have a 1.5-inch entrance hole, while a chickadee house should have a 1.125-inch hole. Research the bird species in your area and choose a plan that matches their needs.
Design:
Birdhouses come in various designs, from simple boxes to elaborate structures. Decide on the design that fits your skill level and aesthetic preferences. A simple design is easier to build, while an intricate design requires more time and skill.
Materials:
Choose the right materials for your birdhouse project. Cedar, pine, and redwood are popular choices for their durability and resistance to weather and insects. Avoid using pressure-treated wood, as it contains chemicals that can harm birds.
Once you have chosen a birdhouse plan, you can start gathering the necessary materials and tools for your project. In the next section, we will discuss the materials you need to build a birdhouse.
Gathering Tools and Materials
Before starting the construction of a birdhouse, it is essential to gather all the necessary tools and materials. Here is a list of items that you will need:
Tools:
- Handsaw or jigsaw
- Drill with drill bits
- Screwdriver
- Measuring tape
- Pencil
- Safety glasses
- Sandpaper or sander
Materials:
- Untreated lumber or plywood
- Wood glue
- Exterior screws or nails
- Hinges or hooks for the roof
- Roofing material (shingles, metal, or plastic)
- Paint or stain (optional)
When selecting the lumber, make sure it is untreated to avoid any harmful chemicals that may affect the birds. The thickness of the wood should be at least ¾ inch to provide insulation and protection to the birds.
It is also important to choose the right size and shape of the birdhouse. Different bird species have different preferences, so it is essential to research the species in your area to create a suitable home for them.
| Species | Entrance hole size | House dimensions |
|---|---|---|
| Chickadee | 1 1/8 inches | 5 x 5 x 8 inches |
| Wren | 1 1/8 inches | 6 x 6 x 6 inches |
| Bluebird | 1 1/2 inches | 5 x 5 x 9 inches |
By gathering all the necessary tools and materials and selecting the right size and shape, you can create a cozy home for birds and enjoy watching them thrive in your backyard.
Cutting the Birdhouse Pieces
Once you have your plan and measurements in hand, it’s time to start cutting the birdhouse pieces from your chosen wood. Here are the steps to follow:
1. Prepare Your Workstation
Before you start cutting, it’s important to ensure your workstation is set up correctly. Ensure that the saw blade is sharp and in good condition. A dull blade can cause rough cuts, which can ruin the appearance of your birdhouse.
2. Measure and Mark the Wood
Using a ruler or measuring tape, measure and mark the wood according to the plan. Double-check your measurements and marks before making any cuts. It’s better to be safe than sorry!
3. Cut the Pieces
Using a saw, carefully cut along the marked lines on the wood. Take your time and make sure your cuts are straight and even.
Remember to wear protective gear, such as safety goggles and gloves, while cutting the wood.
4. Sand the Edges
After cutting the pieces, use sandpaper to smooth out any rough edges. This will help ensure that the pieces fit together correctly and will make it easier to paint or stain the birdhouse later on.
Now that you have all the pieces cut, it’s time to start assembling your birdhouse!
Assembling the Birdhouse
Drilling the Entrance Hole
Before attaching the birdhouse pieces, you will need to drill a hole for the entrance. The size of the hole will depend on the type of bird you want to attract. For example, a hole size of 1 1/8 inches is suitable for chickadees, while bluebirds prefer a slightly larger hole of 1 1/2 inches.
Using a drill bit that matches the size of the hole you want to create, drill a hole in the front panel of the birdhouse. Make sure to drill the hole towards the top of the panel, leaving enough space for the bird to enter and exit comfortably.
Attaching the Birdhouse Pieces
Once you have drilled the entrance hole, it’s time to attach the birdhouse pieces together. Begin by applying wood glue to the edges of the panels that will be joined together. Then, using nails or screws, attach the panels together according to the birdhouse plan you are following.
- Start by attaching the front panel to one of the side panels.
- Next, attach the back panel to the same side panel.
- Attach the other side panel to the back panel.
- Finally, attach the roof panel to the top of the birdhouse.
Make sure that all edges are flush and that the birdhouse is secure and stable. Once the glue has dried, you can add any finishing touches, such as painting or decorating the birdhouse.
| TIP: | If you are using screws to attach the panels, make sure to countersink them so that they don’t protrude from the wood and create a hazard for the birds. |
Finishing Touches
Now that the birdhouse is constructed, it’s time to add the finishing touches. These final steps not only enhance the appearance of the birdhouse, but also help to protect it from the elements.
Sanding the birdhouse
Before painting or staining the birdhouse, it’s important to sand it down to create a smooth surface. Use fine-grit sandpaper to remove any rough edges or splinters. Be sure to sand both the inside and outside of the birdhouse, as birds prefer a smooth surface for their nests.
Painting or staining the birdhouse
The next step is to add some color to the birdhouse. Choose a paint or stain that is safe for birds and won’t harm them if they come into contact with it. Apply the paint or stain evenly, using a brush or spray can. Allow the birdhouse to dry completely before hanging it up.
If you’re feeling creative, you can also add decorative elements to the birdhouse, such as stenciled designs or decals. Just be sure to use non-toxic materials that won’t harm the birds.
By following these simple finishing touches, your birdhouse will not only look great but also provide a safe and cozy home for our feathered friends.
Placement and Maintenance
After you have built your birdhouse, it is important to choose the right location to place it. You want to make sure that the birds will be safe and comfortable in their new home. Here are some tips:
Choosing the Right Location
- Place the birdhouse in a shaded area to protect the birds from the hot sun.
- Make sure the birdhouse is sheltered from strong winds.
- Place the birdhouse at least 5 feet off the ground to keep it out of reach of predators.
- Choose a location that is easily accessible for the birds to fly in and out of the birdhouse.
- Position the birdhouse so that it is facing away from the prevailing winds.
Cleaning and Maintaining the Birdhouse
It is important to clean and maintain the birdhouse regularly to ensure that it remains a safe and comfortable home for the birds. Here are some tips:
- Clean the birdhouse at least once a year, preferably in the fall or winter.
- Remove any old nesting materials and debris from the birdhouse.
- Scrub the inside of the birdhouse with a solution of one part bleach to nine parts water.
- Rinse the birdhouse thoroughly with clean water and let it dry completely before putting it back up.
- Inspect the birdhouse regularly for any damage or signs of wear and tear.
- Make any necessary repairs to the birdhouse to ensure that it remains safe and secure for the birds.
| Tip: | Keep a journal of the birds that visit your birdhouse and note any changes you make to the placement or maintenance of the birdhouse. This will help you to determine what works best for your feathered friends. |
|---|