
How to Shoot Product Photography: Showcasing Products in the Best Light
When it comes to selling products online, high-quality product photography is essential. With so much competition in the e-commerce world, your product images need to stand out and catch the eye of potential customers. But taking great product photos is easier said than done. It requires the right equipment, lighting, composition, and editing skills to create images that truly showcase your products in the best light.
The Importance of Product Photography
Product photography is a crucial part of any e-commerce business. It is the first thing customers see when they are browsing your website, and it can make or break a sale. High-quality product photography can increase the perceived value of your products, build trust with customers, and ultimately lead to more sales.
The Basics of Product Photography
There are several key factors to consider when shooting product photography. These include the type of camera and lens you use, the lighting setup, the composition of the shot, and the post-processing techniques you employ. By understanding these basics and applying them to your product photography, you can create images that truly showcase your products and help your business succeed.
Why Product Photography Matters
First impressions matter, especially in the world of e-commerce. With so many options available to consumers, it is essential to make your products stand out from the competition. This is where product photography comes into play.
The Importance of First Impressions
When a potential customer visits your website, the first thing they will see is your product images. The quality of these images can either attract or repel a customer. In fact, studies have shown that 93% of consumers consider visual appearance to be the key deciding factor in a purchasing decision.
The Role of Product Photography in Marketing
Product photography plays a crucial role in marketing your products. It helps to showcase the features and benefits of your products, and creates an emotional connection with your target audience. Through high-quality product photography, you can convey the value of your products and differentiate them from your competitors.
The Impact of High-Quality Product Photography on Sales
High-quality product photography can have a significant impact on your sales. In fact, research has shown that products with high-quality images have a 63% higher conversion rate than those with low-quality images. This is because high-quality images create a sense of trust and credibility with your customers, which can lead to increased sales and revenue.
Overall, product photography is a critical component of any e-commerce business. It can help you make a great first impression, market your products effectively, and ultimately drive sales.

Preparing for a Product Photoshoot
Before you start shooting your products, it’s important to gather all the necessary materials and tools. This will help ensure that your photoshoot runs smoothly and that you capture the best possible images of your products.
Gathering Materials and Tools
Here are some of the materials and tools you’ll need:
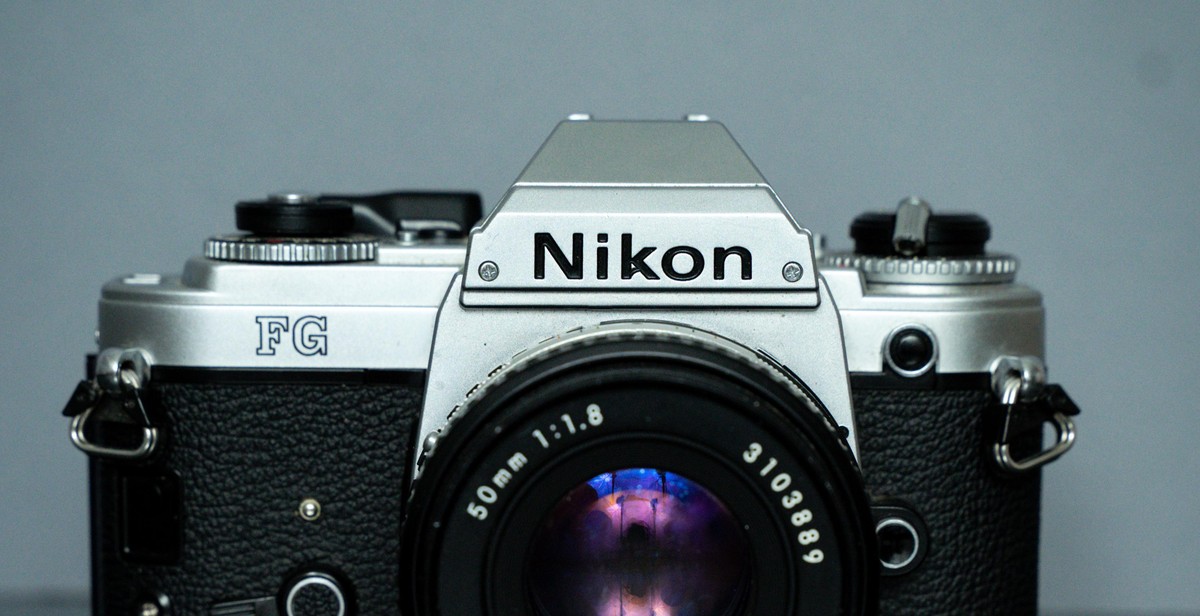
- A camera (preferably a DSLR camera) with a tripod
- Lighting equipment (such as softboxes or light reflectors)
- A computer with photo editing software
- Props and backgrounds
- Cleaning supplies (such as a microfiber cloth and cleaning solution)
Choosing the Right Background and Props
The background and props you choose can have a big impact on the overall look of your product photos. When selecting a background, consider the color and texture of your product. A neutral background, such as white or gray, can help your product stand out and make it easier to edit the photo later on. Alternatively, you can choose a background with a pattern or texture that complements your product.
Props can also add interest and context to your product photos. For example, if you’re shooting a product for a kitchen gadget, you might include other cooking utensils or ingredients in the shot.
Setting Up the Perfect Shot
When setting up your shot, make sure your product is clean and free of any fingerprints or dust. Position your product in the center of the frame and use the rule of thirds to create a visually pleasing composition. Adjust your lighting to eliminate any shadows or glare, and take test shots to make sure your settings are correct.
| Tips: |
|---|
| Shoot from different angles to capture your product’s features and details |
| Experiment with different lighting setups to find the one that works best for your product |
| Take multiple shots of each product to ensure you have plenty of options to choose from |

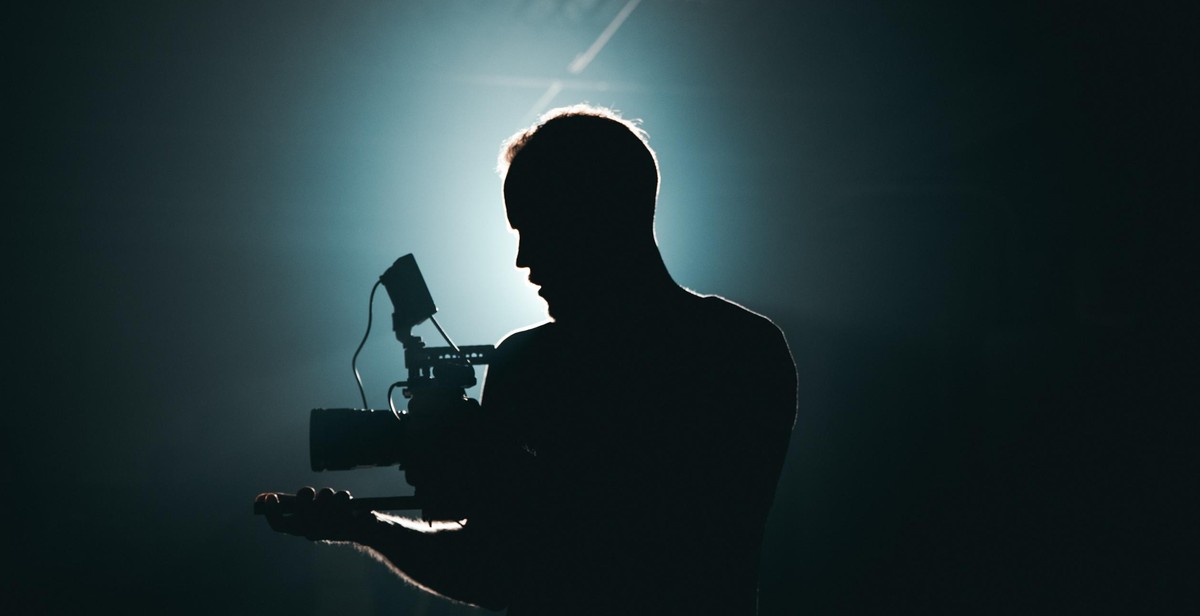
Lighting for Product Photography
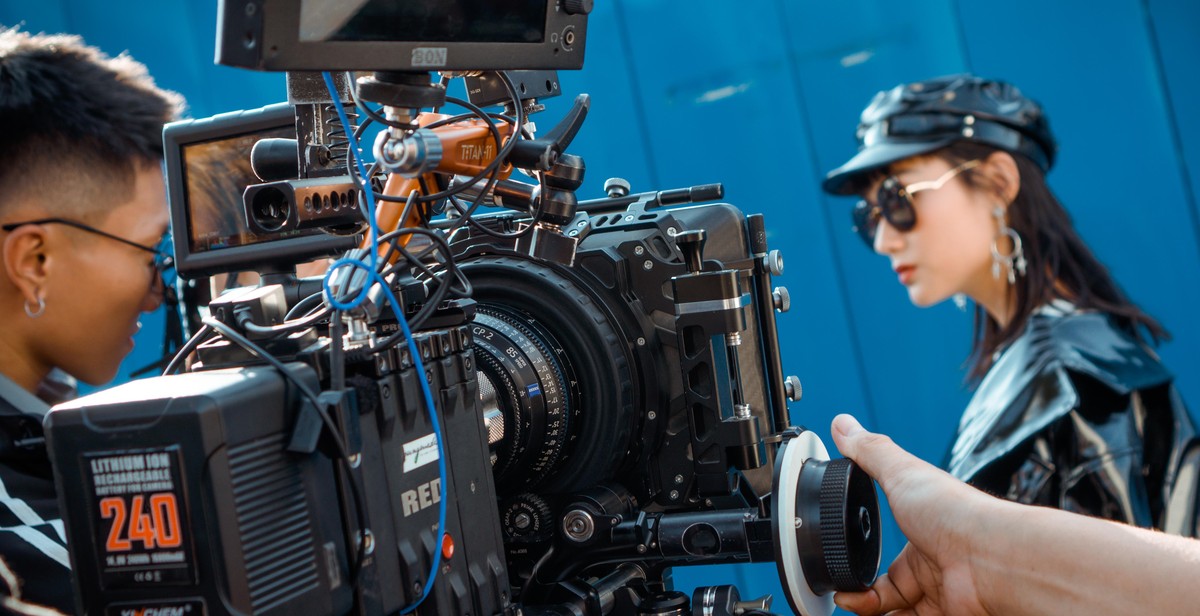
When it comes to product photography, lighting is one of the most important factors that can make or break your shot. The right lighting can showcase your product in the best light, while poor lighting can make even the best product look unappealing. In this section, we’ll discuss the different types of lighting, lighting equipment and positioning of lights for optimal results.
Natural vs. Artificial Light
Natural light can be a great option for product photography, as it provides a soft and diffused light that can highlight the details of your product. However, natural light is not always consistent and can vary depending on the time of day and weather conditions. Artificial light, on the other hand, provides a more consistent and controllable light source, making it a popular choice for product photography.
Lighting Equipment for Product Photography
There are several types of lighting equipment that can be used for product photography, including:
- Softbox – provides a soft and diffused light
- Umbrella – provides a broader and more even light
- Ring light – provides a direct and even light
- LED panels – provides a bright and consistent light
Positioning Lights for Optimal Results
The positioning of your lights is crucial for achieving the best results in product photography. The three-point lighting technique is a popular method that involves using three lights to highlight the subject and create depth:
- Key light – the main light source that highlights the subject
- Fill light – a secondary light source that fills in the shadows created by the key light
- Backlight – a light source placed behind the subject that creates separation from the background
Experimenting with different lighting techniques and equipment can help you achieve the desired look for your product photography. Remember to always keep in mind the product you are shooting and the message you want to convey through your photos.
Camera Settings for Product Photography
When it comes to product photography, choosing the right camera and lens is crucial. A camera with a high resolution and good dynamic range is ideal for capturing all the details and colors of the product. A lens with a low aperture (f/2.8 or lower) will help create a shallow depth of field, which can be used to highlight specific areas of the product.
Adjusting ISO, Aperture, and Shutter Speed
ISO, aperture, and shutter speed are the three main camera settings that affect the exposure of an image. For product photography, it’s important to balance these settings to achieve the desired look.
- ISO: Keep the ISO as low as possible to reduce noise and maintain image quality. Try to stay below ISO 800 if possible.
- Aperture: Use a low aperture (f/2.8 or lower) to create a shallow depth of field and blur the background. This will help the product stand out and draw the viewer’s attention.
- Shutter speed: Use a tripod or steady surface to keep the camera steady and use a slow shutter speed if necessary. This will help capture more light and create a brighter image.
Using White Balance for Accurate Colors
White balance is another important camera setting that affects the colors of the image. It’s important to set the white balance correctly to ensure accurate colors. You can set the white balance manually or use the auto white balance setting if your camera has one.
| White Balance Setting | Color Temperature | Effect |
|---|---|---|
| Daylight | 5,500K | Neutral |
| Cloudy | 6,500K | Warmer |
| Fluorescent | 4,000K | Cooler |
| Tungsten | 3,200K | Warmest |
By adjusting these camera settings, you can create stunning product photography that showcases your products in the best light.
Editing and Retouching Product Photos
After capturing product photos, the next step is to edit and retouch them to enhance their quality. Here are some tips on how to edit and retouch product photos:
Choosing the Right Editing Software
Choosing the right editing software is crucial in achieving high-quality product photos. Some of the popular editing software include Adobe Photoshop, Lightroom, and GIMP. Adobe Photoshop is a powerful tool that offers a wide range of features for editing and retouching photos. Lightroom is ideal for batch editing, while GIMP is a free alternative to Photoshop.
Cropping and Resizing Product Photos
Cropping and resizing product photos is essential to remove unwanted elements and adjust the image size. It is recommended to crop the photo based on the product’s aspect ratio and resize it according to the website’s requirements. This ensures that the product photos are consistent and aligned with the website’s layout.
Adjusting Exposure, Contrast, and Color Balance
Adjusting the exposure, contrast, and color balance of product photos is vital in achieving a natural and appealing look. Exposure adjustments can help brighten or darken the image, while contrast adjustments can enhance the photo’s details. Color balance adjustments can correct any color casts or balance the overall color of the image.
Overall, editing and retouching product photos require a keen eye for detail and a good sense of aesthetics. By following these tips, you can achieve high-quality product photos that showcase your products in the best light.
Conclusion
Product photography is an essential aspect of promoting your brand and products. By showcasing your products in the best light, you can attract more customers and increase sales. To achieve this, you need to have a good understanding of the basic principles of photography and lighting.
Start by selecting the right camera and lens for the job. Use a tripod and remote shutter release to minimize camera shake and ensure sharp images. Set up your lighting to create the desired effect, whether it’s soft and diffused or bright and dramatic.
Pay attention to the composition of your shots, and use props and backgrounds to add interest and context. Experiment with different angles and perspectives to create visual interest and highlight the unique features of your products.
Finally, take the time to edit your images to ensure they are polished and professional-looking. Use software like Adobe Photoshop or Lightroom to adjust the exposure, color balance, and sharpness of your images.
By following these tips, you can create stunning product photography that will help your brand stand out from the competition. Remember to keep your target audience in mind and tailor your images to their needs and preferences. With a little practice and patience, you can become a master of product photography and take your business to the next level.