
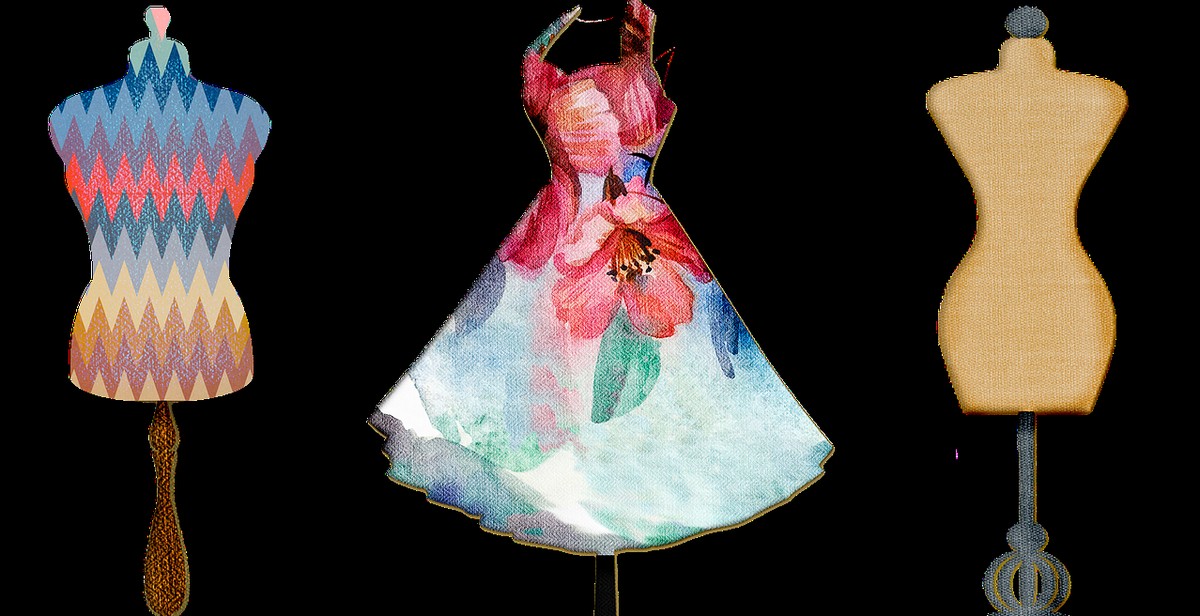
How to Sew a Dress: Step-by-Step Guide to Sewing Your Own Clothing
Sewing your own clothes can be a rewarding experience, especially when you create something that fits you perfectly and reflects your personal style. However, it can also be intimidating, especially if you’re a beginner. In this step-by-step guide, I will share my personal experience and tips on how to sew a dress from start to finish.
Why Sew Your Own Dress?
When you sew your own dress, you have complete control over the design, fabric, and fit. You can create something that is unique and reflects your personality. Additionally, you can save money by making your own clothes, especially if you choose high-quality fabrics and take good care of your garments.
What You Need
Before you start sewing, you need to gather some essential tools and materials, including:
- A sewing machine
- Fabric
- Thread
- Scissors
- Pins
- A measuring tape
- A dress pattern
Choosing a Dress Pattern
Choosing a dress pattern can be overwhelming, but it’s important to select one that matches your skill level. If you’re a beginner, look for patterns labeled “easy” or “beginner.” Additionally, consider the style of dress that you want to create, such as a maxi dress or a wrap dress.
In the next sections of this guide, I will walk you through the steps of sewing a dress, from preparing the fabric to finishing the hem.
Gathering Supplies
Before you start sewing your own dress, it’s important to gather all the necessary supplies. This includes choosing the right fabric, selecting a pattern, and gathering the necessary tools and notions.
Choosing the Right Fabric
The first step in sewing a dress is choosing the right fabric. You want to choose a fabric that is appropriate for the dress style you have in mind. If you’re making a formal dress, you may want to choose a silk or satin fabric. If you’re making a casual dress, cotton or linen may be a better choice.
When choosing your fabric, consider the weight, drape, and texture. A lightweight fabric will be easier to sew and will drape well, while a heavier fabric may be more difficult to work with. The texture of your fabric can also affect the overall look of your dress. A smooth fabric will give a more polished look, while a textured fabric can add interest and dimension.
Selecting a Pattern
Once you have your fabric, you’ll need to select a pattern. Patterns come in a variety of sizes and styles, so it’s important to choose one that fits your body type and the style of dress you want to make.
You can find patterns at your local fabric store or online. Make sure to read the instructions carefully and choose a pattern that matches your skill level. If you’re new to sewing, choose a pattern with simple instructions and fewer pieces.
Gathering Necessary Tools and Notions
Finally, you’ll need to gather the necessary tools and notions to sew your dress. This includes a sewing machine, thread, scissors, pins, and a measuring tape. You may also need a seam ripper, iron, and ironing board.
Make sure to purchase the correct type of thread for your fabric, and consider investing in quality scissors and pins. You’ll also need a dress form or a friend to help you with fittings.
| Tools | Notions |
|---|---|
| Sewing machine | Thread |
| Scissors | Pins |
| Measuring tape | Seam ripper |
| Dress form or friend for fittings | Iron and ironing board |
Gathering all the necessary supplies before you start sewing will make the process smoother and more enjoyable. With the right fabric, pattern, tools, and notions, you’ll be on your way to sewing your own beautiful dress.
Preparing the Fabric
Before you start sewing your dress, it’s essential to prepare the fabric properly. This step is crucial to ensure that your dress fits well and looks great when you wear it. In this section, we’ll discuss how to wash and iron the fabric and lay out and cut the pattern pieces.
Washing and Ironing the Fabric
The first step in preparing your fabric is to wash it. Most fabrics shrink when washed, so it’s essential to wash them before cutting and sewing to avoid any size discrepancies. Follow the washing instructions on the fabric label. If there are no instructions, you can hand wash the fabric or use a gentle cycle in the washing machine.
After washing, it’s time to iron the fabric. Ironing helps to remove any wrinkles and creases, making it easier to cut and sew the fabric. Use a hot iron and steam setting to get rid of any stubborn wrinkles.
Laying Out and Cutting the Pattern Pieces
Once your fabric is washed and ironed, it’s time to lay out and cut the pattern pieces. It’s essential to lay out the pattern pieces correctly to ensure that the fabric’s pattern or print is aligned correctly.
Start by laying out the fabric on a flat surface, making sure it’s wrinkle-free. Place the pattern pieces on the fabric, following the pattern layout instructions. Pin the pattern pieces to the fabric, making sure they don’t shift or move as you cut.
Use sharp fabric scissors to cut the pattern pieces. Take your time and cut slowly, following the pattern lines accurately. Make sure to cut all the notches and markings indicated on the pattern pieces.
Once you’ve cut out all the pattern pieces, remove the pins and set them aside. Your fabric is now ready to be sewn into your dress.
| Tip: | Always double-check the fabric’s pattern direction before cutting. You don’t want to cut your fabric pieces in the wrong direction, resulting in an uneven or misaligned pattern. |
|---|
Sewing the Dress
Sewing the Bodice
Now that you have cut out all the pieces of your dress, it’s time to start sewing. Begin with the bodice, which is the top portion of the dress. Follow these steps:
- Pin the front and back bodice pieces together at the shoulders, right sides facing each other.
- Sew the shoulder seams using a straight stitch and a 5/8-inch seam allowance.
- Press the seams open with an iron.
- Pin the side seams of the bodice, right sides facing each other.
- Sew the side seams using a straight stitch and a 5/8-inch seam allowance.
- Press the seams open with an iron.
Attaching the Skirt
Next, it’s time to attach the skirt to the bodice. Follow these steps:
- Pin the bodice to the top edge of the skirt, right sides facing each other.
- Sew the bodice to the skirt using a straight stitch and a 5/8-inch seam allowance.
- Press the seam up towards the bodice.
- Finish the seam by either serging the edges or sewing a zigzag stitch along the raw edge.
Completing the Dress
Finally, it’s time to complete the dress. Follow these steps:
- Attach any additional pieces, such as sleeves or a collar, according to the pattern instructions.
- Finish any raw edges that have not already been finished.
- Press the entire dress with an iron, making sure all seams are flat and any wrinkles are removed.
- Try on the dress and make any necessary adjustments, such as shortening the hem or taking in the sides.
Now that your dress is complete, you can wear it with pride knowing that you made it yourself!
Finishing Touches
Now that you have completed the main steps of sewing your dress, it’s time to add the finishing touches that will give your garment a professional look. Two important steps in finishing your dress are adding buttons, zippers, or other fasteners and hemming the dress.
Adding Buttons, Zippers, or Other Fasteners
Buttons, zippers, and other fasteners not only add functionality to your dress but also serve as a decorative element. Here’s how to add these fasteners:
- For buttons, mark where you want them to be placed and sew them on using a buttonhole stitch.
- If you’re using a zipper, mark where you want it to be placed and baste it in place before sewing it using a zipper foot.
- Other fasteners, such as snaps or hooks and eyes, can be sewn on using a simple whipstitch.
Hemming the Dress
Hemming your dress is the final step in finishing your garment. Here are the steps to follow:
- Try on your dress and mark where you want the hem to fall.
- Measure and mark the hemline around the entire dress.
- Using a straight stitch, sew along the marked hemline. You can also use a blind hem stitch for a more polished look.
- Cut off any excess fabric and press the hemline with an iron.
With these finishing touches, your dress is complete and ready to wear! Remember that practice makes perfect, and with each garment you sew, you’ll continue to improve your skills.
Conclusion
Learning how to sew a dress can be a fun and rewarding experience. Not only does it allow you to create unique and personalized clothing, but it also gives you the ability to tailor garments to fit your body perfectly. By following the step-by-step guide outlined in this article, you can confidently tackle your first dress sewing project.
Tips for Success
- Take your time and don’t rush the process. Sewing requires patience and attention to detail.
- Choose the right fabric for your project. Consider the weight, drape, and stretch of the fabric to ensure it will work well for the type of dress you want to make.
- Invest in quality tools and equipment. A good sewing machine, sharp scissors, and high-quality thread can make a big difference in the outcome of your project.
- Practice makes perfect. Don’t be discouraged if your first few projects don’t turn out exactly as you imagined. Keep practicing and refining your skills.
Start Sewing Today
With the right tools, materials, and guidance, anyone can learn how to sew a dress. Whether you’re a beginner or an experienced seamstress, there’s always room to improve and learn new techniques. So, what are you waiting for? Start sewing your own clothing today and experience the satisfaction of creating something truly unique.