
How to Repair a Damaged Fence: DIY Techniques for Fixing Common Fence Issues
Fences are an essential part of any property, providing privacy, security, and aesthetic appeal. However, they are subject to wear and tear, and damage over time is inevitable. A damaged fence not only looks unsightly but also compromises its functionality, leaving your property vulnerable to intruders and animals. Therefore, it is crucial to repair any fence damage as soon as possible to maintain its integrity and prolong its lifespan.
Why is it important to repair a damaged fence?
There are several reasons why repairing a damaged fence is essential:
- To maintain privacy and security: A damaged fence may have holes or gaps that compromise your privacy and allow intruders to access your property.
- To prevent accidents and injuries: A broken fence may have sharp edges or protruding nails that can cause injuries to people or animals.
- To enhance curb appeal: A well-maintained fence adds value and aesthetic appeal to your property, making it more attractive to potential buyers or renters.
- To save money: Repairing a damaged fence is often more cost-effective than replacing it entirely.
In this article, we will discuss some common fence issues and provide DIY techniques for fixing them. These techniques are easy to follow and require minimal tools and materials, making them suitable for both novice and experienced DIY enthusiasts.
Assessing the Damage
If you have a damaged fence, the first step is to assess the extent of the damage. This will help you determine whether you can repair the fence yourself or if you need to call in a professional.
Identifying the Type of Damage
There are several types of fence damage, including:
- Broken or cracked boards
- Loose or missing nails or screws
- Leaning or sagging fence posts
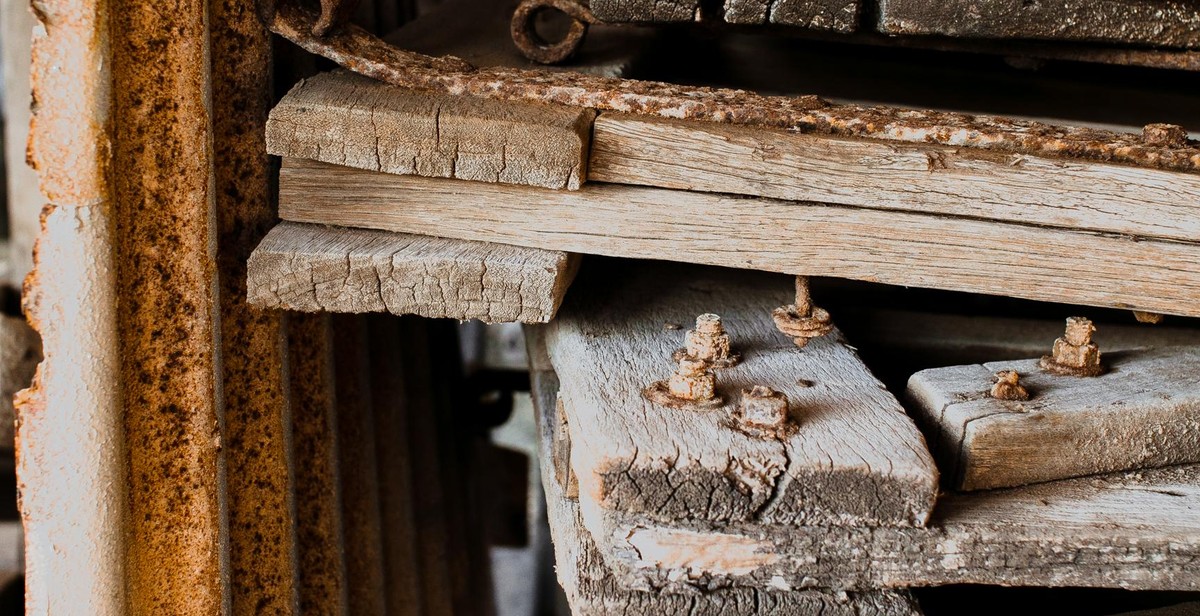
- Rotting or warped wood
- Damage caused by weather, such as wind or hail
Identifying the type of damage will help you determine the tools and materials you need to make the necessary repairs.
Tools Needed for Assessment
Before you can begin repairing your damaged fence, you’ll need to gather some tools to assess the damage. Here are some of the tools you’ll need:
| Tool | Purpose |
|---|---|
| Tape measure | To measure the length and width of the damaged area |
| Level | To check if the fence is level |
| Screwdriver | To remove screws or nails |
| Hammer | To remove nails or hammer in new ones |
| Saw | To cut new boards to size |
| Drill | To make new screw or nail holes |
| Wood glue | To repair cracked or broken boards |
Once you have gathered the necessary tools, you can begin assessing the damage to your fence. Take note of any broken or cracked boards, loose or missing nails or screws, leaning or sagging fence posts, or rotting or warped wood. Use your tape measure to measure the length and width of the damaged area, and use your level to check if the fence is level.
With the damage assessed, you can move on to the next step: repairing your damaged fence.
Repair Techniques
Repairing a damaged fence may seem daunting, but with the right techniques and tools, you can easily fix common issues. Here are some DIY techniques for fixing common fence problems:
Replacing Broken Boards
Broken boards can be a common issue with wooden fences. To replace a broken board, you will need a pry bar, a hammer, a saw, and a replacement board.
- Remove the damaged board using a pry bar and hammer.
- Measure the length and width of the removed board.
- Cut the replacement board to the same length and width as the removed board.
- Place the replacement board in the same spot as the removed board and nail it in place.
Fixing Loose or Sagging Fence Posts
Loose or sagging fence posts can cause your fence to lean or even collapse. To fix a loose or sagging fence post, you will need a shovel, gravel, a level, and concrete mix.
- Dig a hole around the fence post until you reach the bottom of the post.
- Pour gravel into the hole until it reaches about 6 inches from the top.
- Place the post back into the hole and use a level to ensure it is straight.
- Mix the concrete according to the package instructions and pour it into the hole until it covers the gravel and reaches the top of the hole.
- Allow the concrete to dry for at least 24 hours before attaching the fence panels back onto the post.
Mending Holes and Gaps
Holes and gaps in your fence can be unsightly and allow animals to enter your yard. To mend holes and gaps, you will need wood putty, a putty knife, sandpaper, and paint or stain.
- Clean the area around the hole or gap with a brush or cloth.
- Fill the hole or gap with wood putty using a putty knife.
- Allow the putty to dry according to the package instructions.
- Sand the area with sandpaper until it is smooth.
- Paint or stain the area to match the rest of the fence.
Dealing with Rot and Decay
Rot and decay can cause serious damage to your fence and require immediate attention. To deal with rot and decay, you will need a saw, a chisel, wood filler, sandpaper, and paint or stain.
- Cut away the rotted or decayed wood using a saw and chisel.
- Fill the area with wood filler using a putty knife.
- Allow the filler to dry according to the package instructions.
- Sand the area with sandpaper until it is smooth.
- Paint or stain the area to match the rest of the fence.
| Issue | Tools Needed |
|---|---|
| Replacing Broken Boards | Pry bar, hammer, saw, replacement board |
| Fixing Loose or Sagging Fence Posts | Shovel, gravel, level, concrete mix |
| Mending Holes and Gaps | Wood putty, putty knife, sandpaper, paint or stain |
| Dealing with Rot and Decay | Saw, chisel, wood filler, sandpaper, paint or stain |

Maintenance and Prevention
Regular cleaning and upkeep can go a long way in preventing fence damage. A clean fence is not only visually appealing, but it also prevents the buildup of dirt, debris, and moisture that can cause rot and other issues. Here are some tips for maintaining your fence:
- Regularly remove any debris or vegetation that has accumulated around the fence.
- Wash the fence with a mild detergent and water to remove dirt and grime.
- Inspect the fence for any signs of damage, such as loose boards or rusted nails.
- Make any necessary repairs as soon as possible to prevent further damage.
Protective measures against weather
The weather can be tough on fences, especially if they are made of wood. Here are some protective measures you can take:
- Apply a weather-resistant coating to the fence to protect it from the elements.
- Trim any nearby trees or bushes that may damage the fence during a storm.
- Remove any snow or ice that accumulates on the fence during the winter.
Protective measures against pests
Pests can damage fences in a variety of ways, from chewing on the wood to digging under the fence. Here are some protective measures you can take:
- Install a barrier, such as a chicken wire fence, to keep small animals from digging under the fence.
- Apply a pest repellent to the fence to deter pests from chewing on the wood.
- Regularly inspect the fence for any signs of pest damage, such as chew marks or burrows.
| Tip: | Regular maintenance and prevention measures can extend the life of your fence and save you money in the long run. |
|---|

Conclusion
Repairing a damaged fence may seem like a daunting task, but with the right tools and techniques, it can be a simple and rewarding DIY project. By following the steps outlined in this article, you can fix common fence issues like loose posts, broken boards, and damaged pickets.
Remember to always prioritize safety and wear protective gear like gloves and goggles when working with power tools. Take the time to properly assess the damage and plan out your repair strategy before beginning any work. And if you’re ever unsure about a particular step or technique, don’t hesitate to consult a professional.
Regular maintenance and upkeep of your fence can help prevent future damage and prolong its lifespan. Consider staining or sealing your fence to protect it from the elements and keep it looking its best.
With a little time and effort, you can restore your damaged fence to its former glory and enjoy the benefits of a sturdy and attractive boundary for your property.
| Key Takeaways: |
|---|
|