
How to Photograph Nighttime Cityscapes: Capturing the Vibrancy of Urban Nights
Cityscapes are always an exciting subject for photographers, but capturing the essence of a city at night is a unique challenge. Nighttime cityscapes offer a completely different perspective, with dazzling lights, bustling streets, and a vibrant energy that is hard to replicate during the day. With the right equipment and techniques, you can capture stunning images that showcase the beauty and vibrancy of urban nights.
Why Photograph Nighttime Cityscapes?
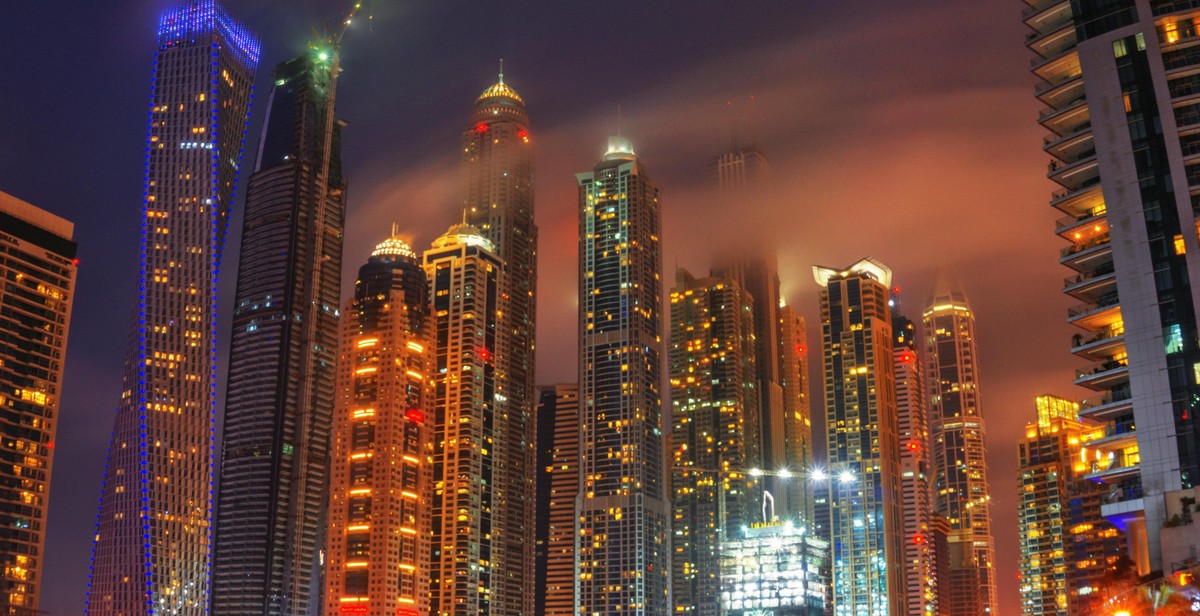
Photographing nighttime cityscapes can be a rewarding experience for many reasons. Firstly, the city takes on a completely different character after dark. The streets are lit up with a variety of colors, and the buildings and monuments are often illuminated in a way that is striking and dramatic. Secondly, the hustle and bustle of urban life continues into the night, providing a unique opportunity to capture the energy and movement of the city. Finally, nighttime photography can be a great way to challenge yourself and develop your skills as a photographer.
Equipment Needed
When it comes to photographing nighttime cityscapes, having the right equipment is essential. Here are some of the key items you’ll need:
- A camera with manual settings
- A sturdy tripod
- A fast lens with a wide aperture (f/2.8 or wider)
- A remote shutter release or cable release
- A flashlight or headlamp
With these items in your kit, you’ll be well-equipped to capture stunning nighttime cityscapes. In the next section, we’ll explore some tips and techniques for getting the most out of your equipment and capturing the vibrancy of urban nights.
Preparing for Your Shoot
Scouting Locations
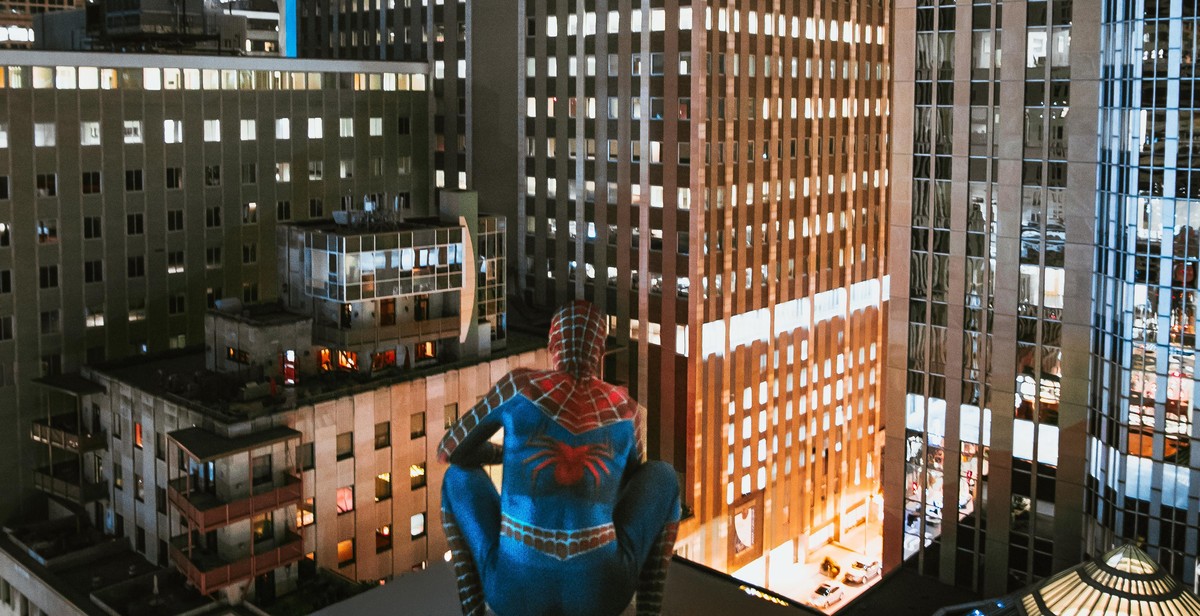
Before embarking on your nighttime cityscape photography journey, it’s important to scout out the perfect location to capture the vibrancy of urban nights. Look for high vantage points such as rooftops, hills, or bridges that offer a wide view of the city skyline. Consider the direction of the cityscape you want to capture and choose a location that offers an unobstructed view. You can also look for interesting foreground elements such as water bodies, parks, or buildings that can add depth and interest to your photographs.
Researching the location beforehand can also help you plan your shoot better. Look for images of the location on social media, photography blogs, and Google Maps to get an idea of what to expect. Check if the location is accessible at night and if any permits are required for photography. Also, consider the safety aspect of the location, especially if you plan to shoot alone.
Checking the Weather
Weather conditions can play a significant role in nighttime cityscape photography. Cloudy nights can add drama to your images, while clear nights can offer a sparkling view of the city lights. However, excessive cloud cover or rain can make it difficult to capture sharp and crisp images.
Check the weather forecast for the day of your shoot and plan accordingly. If the forecast predicts cloudy or rainy weather, consider rescheduling your shoot or choosing a location that offers shelter from the elements. If the forecast predicts clear skies, plan to arrive early to capture the blue hour before the city lights come on.
Additionally, check the wind speed and direction, especially if you plan to use a tripod. Strong winds can cause camera shake and affect the sharpness of your images. Consider using a sandbag or a heavy object to stabilize your tripod in windy conditions.
Conclusion
By scouting locations and checking the weather, you can prepare for your nighttime cityscape photography shoot and capture stunning images of the urban nightscape. Keep in mind the safety aspect of shooting at night and plan your shoot accordingly. In the next section, we will discuss the essential gear you need for nighttime cityscape photography.
Capturing the Shot
Now that you have set up your camera and tripod, it’s time to start capturing the vibrancy of nighttime cityscapes. Here are some tips on how to capture the perfect shot:
Playing with Light
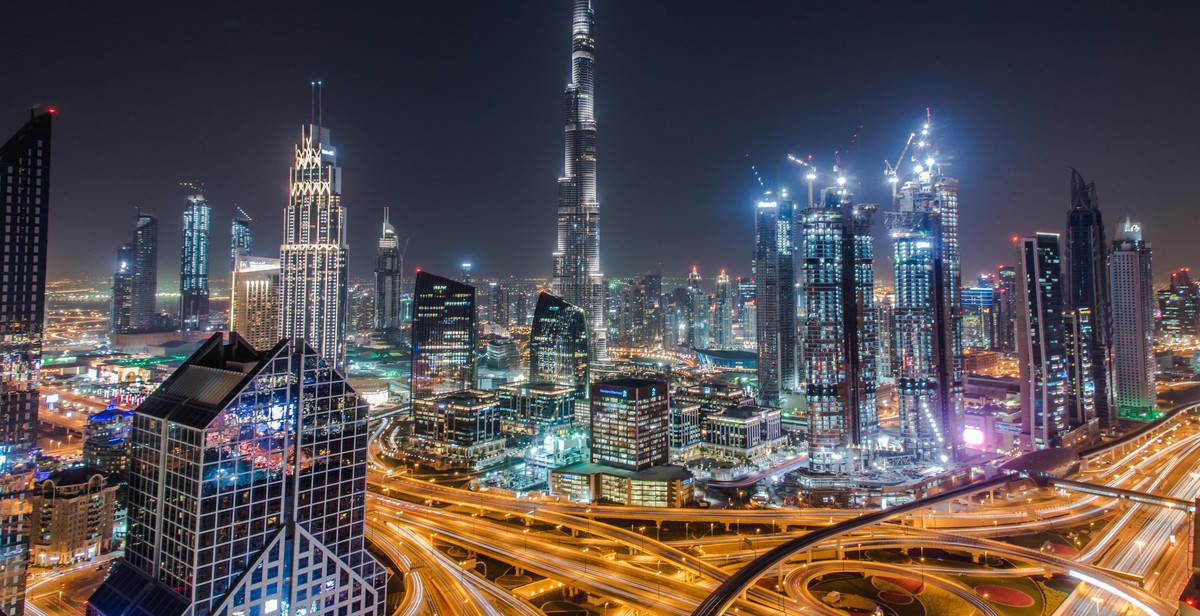
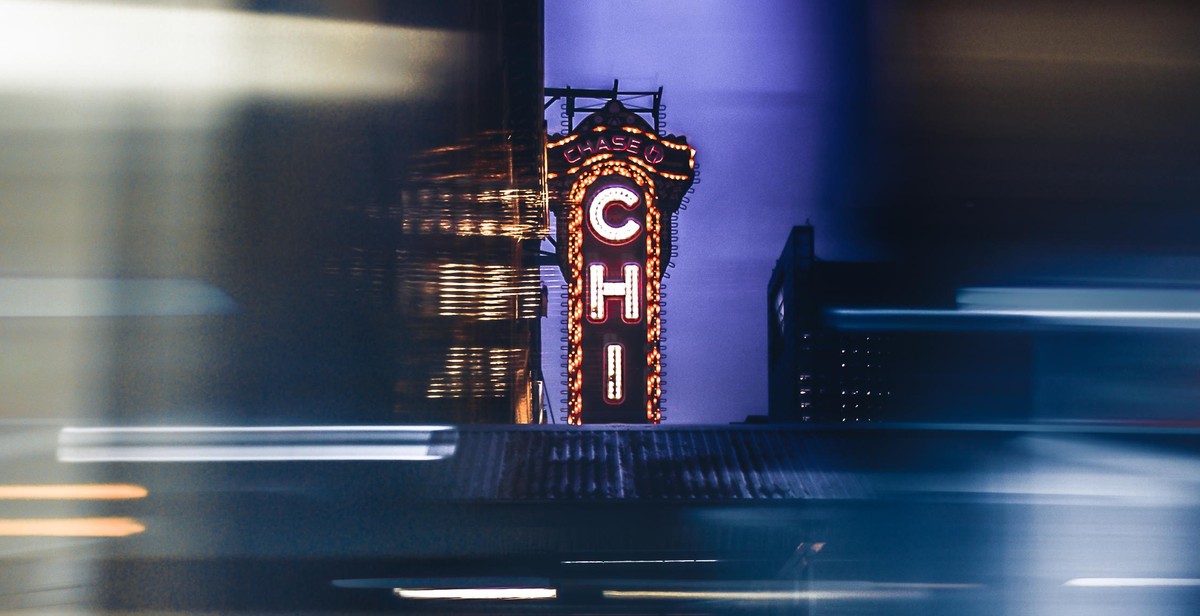
One of the best things about photographing cityscapes at night is the abundance of lights. Use the natural and artificial lights to your advantage. Experiment with different exposures and shutter speeds to capture the movement of light trails from cars or the flickering of street lamps. You can also try shooting during the “blue hour,” which is the time just after sunset when the sky turns a deep blue color, and the city lights are just starting to come on.
Composition
When composing your shot, think about what elements you want to include in your frame. Consider the foreground, middle ground, and background. Look for interesting shapes, lines, and patterns in the buildings and streets. Try to capture the essence of the city, its energy, and its unique character. Don’t be afraid to experiment with different angles and perspectives, such as shooting from a low angle or from a rooftop.
Using a Tripod
Using a tripod is essential for capturing sharp and clear nighttime cityscapes. It will help you stabilize your camera and prevent blurry images. When using a tripod, make sure to turn off any image stabilization settings on your camera, as they can interfere with the stability provided by the tripod. You can also use a remote shutter release or a self-timer to avoid camera shake.
Setting Up Your Camera
Before taking your shot, make sure to adjust your camera settings accordingly. Use a low ISO to reduce noise and a slow shutter speed to capture the movement of light. You can also use a wide aperture to create a shallow depth of field and blur the background. Don’t forget to shoot in RAW format to capture as much detail as possible and allow for more flexibility in post-processing.
By following these tips, you can capture stunning nighttime cityscapes that truly showcase the vibrancy of urban nights.
Post-Processing Your Images
Once you have captured your nighttime cityscape photographs, it’s time to edit them to make them look their best. Post-processing your images can help you to adjust exposure and contrast, correct white balance, and add creative effects to enhance the mood and atmosphere of your photographs.
Editing for Exposure and Contrast
When shooting at night, it can be challenging to get the exposure just right. Your camera’s metering system may struggle to accurately measure the available light, resulting in underexposed or overexposed images. Fortunately, you can adjust the exposure and contrast of your images in post-processing to bring out the details and colors of your nighttime cityscapes.
Use editing software like Adobe Lightroom or Photoshop to adjust the exposure and contrast of your images. Start by adjusting the exposure slider to brighten or darken your image until you achieve the desired brightness level. Then, adjust the contrast slider to increase or decrease the difference between the light and dark areas of your image.
Adjusting White Balance
At night, the color temperature of the light can vary greatly depending on the type of lighting used in the cityscape. This can result in images with a yellow or blue color cast. To correct the white balance of your images, you can use the white balance tool in your editing software.
Adjust the white balance until the colors in your image look natural and balanced. If you want to add a creative effect, you can adjust the white balance to create a warmer or cooler tone to your image.
Adding Creative Effects
Adding creative effects to your nighttime cityscape photographs can enhance the mood and atmosphere of your images. You can use editing software to add effects like vignettes, color grading, and noise reduction.
- A vignette is a darkening effect around the edges of your image that draws the viewer’s eye towards the center of the photograph.
- Color grading is the process of adjusting the colors in your image to create a specific look or mood.
- Noise reduction is the process of removing the digital noise that can appear in images taken at high ISO settings.
Experiment with different creative effects to find the ones that work best for your nighttime cityscape photographs.
| Editing Tip: | Save your original images before editing. This way, you can always go back to the original if you are not happy with the edited version. |
|---|
Conclusion
Photographing nighttime cityscapes can be a challenging but rewarding experience. By following the tips and techniques outlined in this article, you can capture the vibrancy and energy of urban nights and create stunning images that will leave a lasting impression.
Putting It All Together
When it comes to photographing nighttime cityscapes, it’s important to think about composition, lighting, and exposure. By finding interesting angles and incorporating elements such as reflections and leading lines, you can create unique and compelling images.
Experimenting with different exposure settings and shooting in RAW format can help you capture the full range of colors and details in your scene. And using a tripod and remote shutter release can ensure that your images are sharp and free of camera shake.
Final Thoughts
Remember that every cityscape is different, and there is no one-size-fits-all approach to nighttime photography. Don’t be afraid to experiment and try new things, and most importantly, have fun and enjoy the process!
With a little bit of practice and patience, you can capture stunning images of nighttime cityscapes that showcase the beauty and vibrancy of urban nights.