How to Photograph Lightning: Tips and Techniques for Capturing Striking Lightning Photos
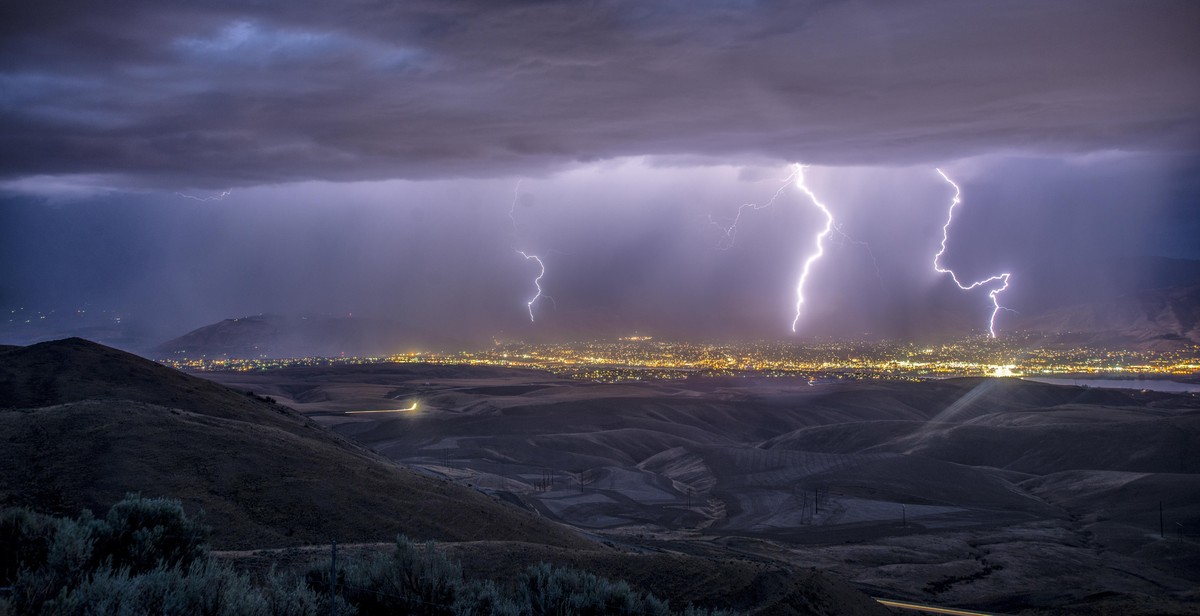
Lightning is one of the most spectacular natural phenomena that can be captured in a photograph. However, it can also be one of the most challenging. Photographing lightning requires a combination of skill, patience, and a bit of luck. In this article, I will share with you some tips and techniques that I have learned over the years as a professional photographer.
Equipment
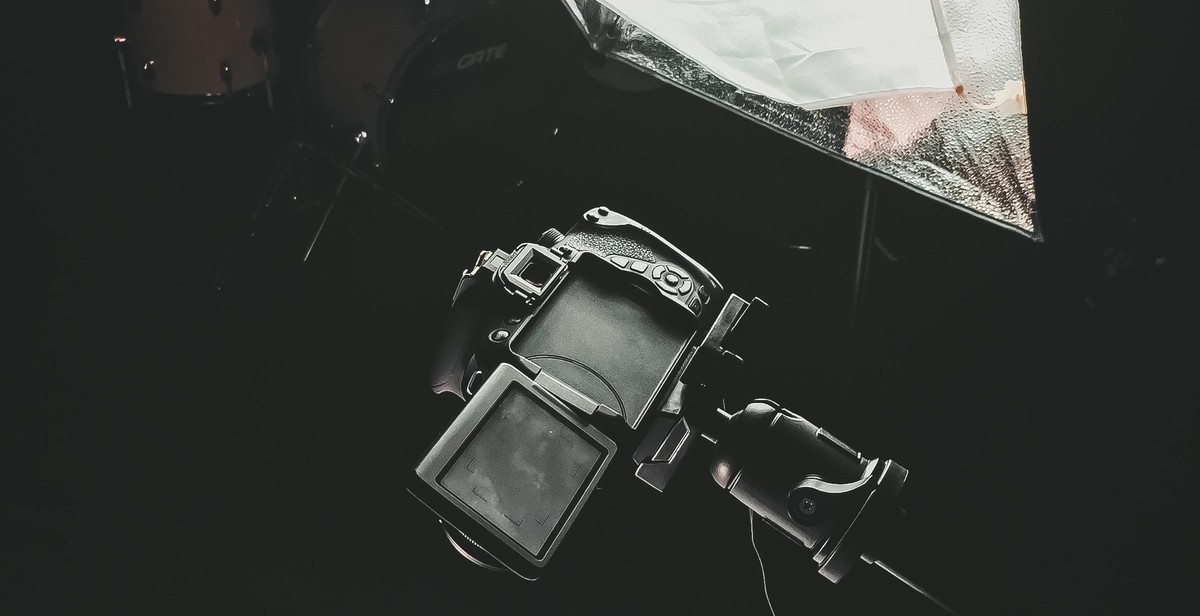
Before we dive into the techniques, let’s talk about the equipment you will need. First and foremost, you will need a camera that allows you to manually control the shutter speed and aperture. A tripod is also essential to keep the camera steady during long exposures. Additionally, you will need a remote shutter release to minimize camera shake.
Location
Choosing the right location is crucial when it comes to photographing lightning. Look for a spot with an unobstructed view of the sky and where you can safely set up your equipment. It’s also a good idea to scout out the location during the day to familiarize yourself with the surroundings.
Techniques
There are several techniques you can use to capture striking lightning photos. One of the most popular is to use a long exposure and wait for the lightning to strike. Another technique is to use a fast shutter speed to freeze the lightning in mid-air. Experiment with different techniques to find the one that works best for you.
- Use a tripod to keep your camera steady during long exposures
- Manually control the shutter speed and aperture of your camera
- Choose a location with an unobstructed view of the sky
- Experiment with different techniques to find the one that works best for you

Understanding Lightning
Before delving into the tips and techniques for capturing striking lightning photos, it’s important to understand the science behind this powerful natural phenomenon. Lightning is a discharge of static electricity that occurs during a thunderstorm. It’s caused by the buildup of a negative charge in the atmosphere, which is then discharged as a bolt of lightning.
Types of Lightning
There are several types of lightning, each with their own unique characteristics:
- Cloud-to-ground lightning: This is the most common type of lightning and occurs when the charge between the cloud and the ground is discharged.
- Cloud-to-cloud lightning: This occurs when the charge is discharged between two different clouds.
- Intra-cloud lightning: This occurs when the charge is discharged within a single cloud.
- Sheet lightning: This is a type of lightning that illuminates the sky without producing a visible bolt.
- Ball lightning: This is a rare type of lightning that appears as a glowing ball and can last for several seconds.
The Science Behind Lightning
Thunderstorms are formed when warm, moist air rises and cools, causing water vapor to condense and form clouds. As the storm develops, the rising and falling air currents cause a separation of positive and negative charges in the atmosphere.
When the difference in charge becomes great enough, a discharge occurs, resulting in a bolt of lightning. The lightning heats the air around it to thousands of degrees Celsius, causing it to expand rapidly and produce the sound we hear as thunder.
| Type of Lightning | Characteristics |
|---|---|
| Cloud-to-ground | Most common type, occurs when charge is discharged between cloud and ground |
| Cloud-to-cloud | Occurs when charge is discharged between two different clouds |
| Intra-cloud | Occurs when charge is discharged within a single cloud |
| Sheet lightning | Produces illumination without a visible bolt |
| Ball lightning | Rare type that appears as a glowing ball and can last for several seconds |
Understanding the science behind lightning can help you anticipate when and where lightning is likely to occur, which is essential for capturing striking lightning photos.

Preparing for a Lightning Shoot
Photographing lightning can be a thrilling experience, but it requires careful planning and preparation. Here are some tips on how to get ready for a lightning shoot:
Choosing the Right Equipment
Before heading out to capture lightning photos, it’s important to make sure you have the right equipment. Here are some essential items:
- Camera: A DSLR or mirrorless camera with manual controls is ideal for capturing lightning. Make sure your camera is fully charged and has enough space on the memory card.
- Lens: A wide-angle lens is the best choice for capturing the entire scene. A zoom lens can also be useful for getting closer shots of the lightning.
- Tripod: A sturdy tripod is essential to keep your camera steady during long exposures.
- Cable release: A cable release or remote trigger will help you avoid camera shake when taking long exposures.
- Protective gear: Make sure to bring a rain cover for your camera and yourself. You don’t want to get wet while trying to capture lightning.
Finding the Perfect Location
Choosing the right location is crucial to capturing stunning lightning photos. Here are some tips on finding the perfect spot:
- Scout the area: Look for potential locations ahead of time. Find a spot with a clear view of the sky and an interesting foreground.
- Stay safe: Avoid open fields, hilltops, and other high places during a thunderstorm. Stay away from metal objects and water sources.
- Consider the direction: Check the direction of the storm and position yourself accordingly. You want to capture the lightning as it strikes, not as it moves away.
- Be patient: Lightning can be unpredictable. Be prepared to wait for the right moment and don’t give up too soon.
By choosing the right equipment and finding the perfect location, you’ll be well on your way to capturing stunning lightning photos. But remember, safety should always come first. If you feel uncomfortable or threatened by a storm, it’s best to stay indoors.

Capturing Lightning
Photographing lightning can be a challenging and exciting experience. Here are some tips and techniques for capturing striking lightning photos.
Setting Up Your Camera
The first step in capturing lightning is to set up your camera on a tripod. This will ensure that your camera is steady and won’t shake during the exposure. You can also use a remote shutter release or the camera’s timer to avoid camera shake.
It’s also important to choose the right lens for the job. A wide-angle lens will allow you to capture more of the sky and the lightning strikes. However, if you want to capture a closer view of the lightning, you may want to use a telephoto lens.
Adjusting Your Settings
When it comes to camera settings, there are a few things to consider. First, you’ll want to set your ISO to a low value, such as 100 or 200. This will reduce the amount of noise in your photos. You’ll also want to use a small aperture, such as f/8 or f/11, to ensure that everything in your scene is in focus.
Next, you’ll need to set your shutter speed. This can be tricky, but a good starting point is to use a shutter speed of around 30 seconds. However, you may need to adjust this depending on the brightness of the lightning and the ambient light in your scene.
Framing Your Shot
Finally, you’ll need to frame your shot. Look for a good vantage point that will allow you to capture the lightning strikes in the sky. You may want to include other elements in your shot, such as buildings, trees, or mountains, to add interest to your photo.
Remember to be patient and keep shooting. Lightning strikes can be unpredictable, so it may take some time to capture the perfect shot. With practice and persistence, you’ll be able to capture stunning lightning photos that you can be proud of.

Post-Production: Editing Your Photos
Once you’ve captured some stunning lightning photos, it’s time to bring them to life through post-production. Editing your photos can help enhance the details and colors of your images, making them more visually appealing.
Adjusting Exposure and Contrast
One of the most important aspects of post-production is adjusting the exposure and contrast of your photos. Lightning photos can often come out too dark or too bright, so adjusting the exposure can help bring out the details in your images. You can also adjust the contrast to make your photos more dynamic and impactful.
Color Correction
Lightning can produce a wide range of colors, but sometimes your camera may not capture them accurately. Color correction can help bring out the true colors of your lightning photos, making them more vibrant and realistic.
Removing Distractions
During the process of taking lightning photos, you may have unintentionally captured some unwanted distractions in your images. Post-production editing can help remove these distractions, allowing your lightning to be the main focus of your photos.
Adding Special Effects
If you want to take your lightning photos to the next level, you can add special effects during post-production. Here are some popular effects:
- Black and White: Converting your lightning photos to black and white can add a dramatic and timeless feel to your images.
- Blurring: Adding a blur effect to your lightning photos can create a dreamy and surreal look.
- Lightning Trails: You can create lightning trails by stacking multiple lightning photos on top of each other, creating a stunning and dynamic effect.
Remember, post-production editing should enhance your lightning photos, not completely change them. Keep your edits subtle and true to the original image.
| Tip: | Save your original lightning photos before making any edits. This way, you can always go back to the original image if you’re not happy with your edits. |
|---|

Conclusion
Photographing lightning can be an exciting and rewarding experience for any photographer. With the right equipment, techniques, and safety precautions, capturing striking lightning photos is within reach.
Remember to always prioritize safety when photographing lightning. Stay indoors or inside a vehicle during a thunderstorm, and only venture outside when it is safe to do so. Use a lightning trigger to help capture lightning strikes without having to constantly press the shutter button.
Experiment with different camera settings and techniques, such as using a longer exposure time or multiple exposures, to create unique and dynamic lightning photos. Don’t be afraid to get creative and try new things.
Lastly, always be patient and persistent. Lightning can be unpredictable and fleeting, but with practice and determination, you can capture stunning and memorable lightning photos.
- Remember to prioritize safety when photographing lightning
- Use a lightning trigger to help capture lightning strikes
- Experiment with different camera settings and techniques to create unique photos
- Be patient and persistent in your efforts to capture striking lightning photos
With these tips and techniques, you’ll be well on your way to creating stunning and captivating lightning photos that will impress and inspire others.
