
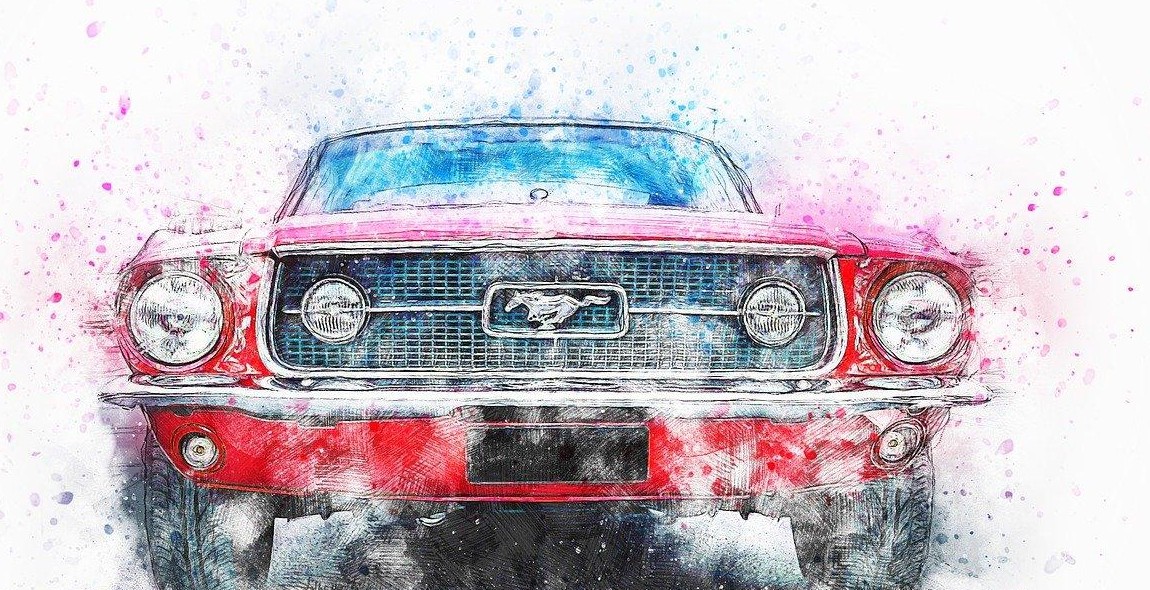
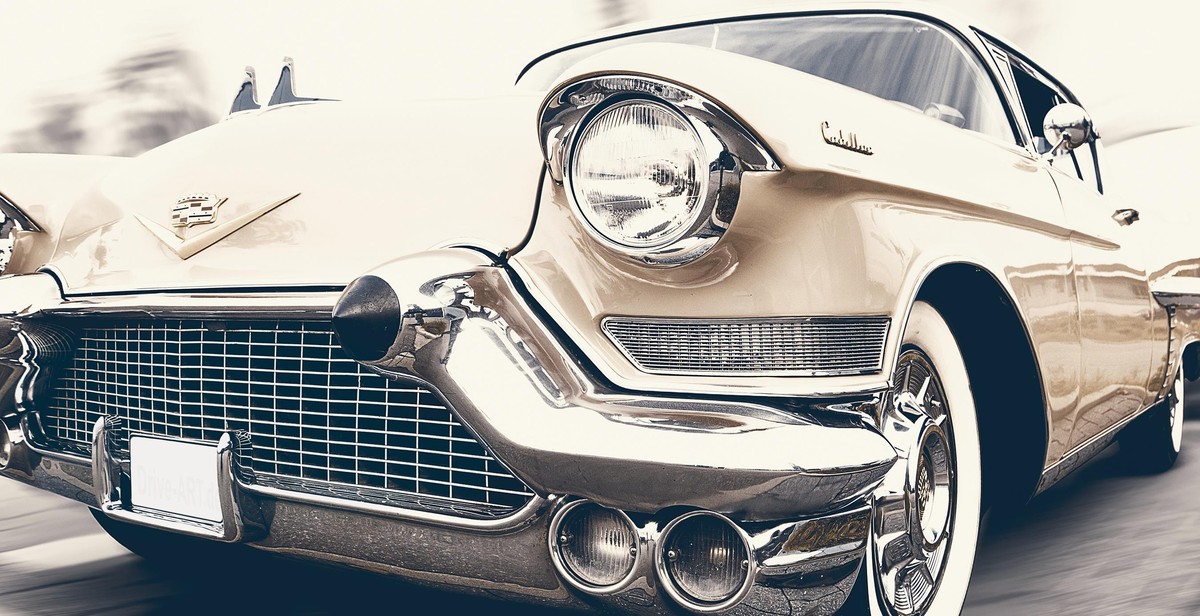
Introduction: Bodywork and Paint Restoration on Oldtimer Cars
Oldtimer cars, also known as classic cars, are vehicles that are over 20 years old and have historical, cultural, or aesthetic significance. These cars are a symbol of the past and are cherished by car enthusiasts and collectors. However, over time, the bodywork and paint on oldtimer cars can deteriorate due to wear and tear, weather conditions, and lack of maintenance.
What is Bodywork and Paint Restoration on Oldtimer Cars?
Bodywork and paint restoration on oldtimer cars is the process of repairing and restoring the body and paint of a classic car to its original condition. This process involves removing rust, dents, scratches, and other imperfections from the car’s body and applying a fresh coat of paint to restore its original shine and luster.
Why is Bodywork and Paint Restoration Important for Oldtimer Cars?
Bodywork and paint restoration is important for oldtimer cars for several reasons. Firstly, it helps to preserve the car’s historical and cultural significance by maintaining its original appearance. Secondly, it can increase the car’s value and desirability among collectors and enthusiasts. Finally, restoring the bodywork and paint can also improve the car’s safety and performance by repairing any structural damage and improving aerodynamics.
Overall, bodywork and paint restoration on oldtimer cars is a crucial process that can help to maintain the beauty, value, and safety of these cherished vehicles for generations to come.
Preparing Your Oldtimer Car for Bodywork and Paint Restoration
Assessing the Condition of Your Oldtimer Car
Before you start any bodywork or paint restoration project on your oldtimer car, it is important to assess the condition of the car. Check for any rust, dents, scratches, or other damages that need to be repaired. Take note of the areas that require attention and prioritize them according to their severity.
It is also important to determine what type of paint your car has. This will help you choose the right type of paint for the restoration project. If you are unsure about the type of paint, consult an expert or take a sample to a paint supplier for analysis.
Removing Rust and Dents
Rust and dents are common problems in oldtimer cars. To remove rust, use a wire brush or sandpaper to remove the rust from the affected area. Use a rust converter to neutralize the rust and prevent it from spreading. If the rust is severe, you may need to replace the affected panel.
Dents can be removed using a dent removal tool or by using a plunger. If the dent is too large or deep, it may need to be filled with body filler and sanded down to create a smooth surface.
Cleaning and Sanding the Car
Before painting your oldtimer car, it is important to clean and sand the car to create a smooth surface. Use a degreaser to remove any dirt or grease from the car. Sand the car using a sanding block or orbital sander to remove any imperfections and create a smooth surface.
After sanding, clean the car again to remove any dust or debris. Use a tack cloth to wipe down the car and remove any remaining dust. This will ensure that the paint adheres properly to the car.
By following these steps, you can prepare your oldtimer car for bodywork and paint restoration. Remember to take your time and prioritize the areas that require attention. This will ensure that your restoration project is a success.
Performing Bodywork Restoration on Your Oldtimer Car
Oldtimer cars are classic automobiles that require proper maintenance and care to keep them in good condition. One of the most important aspects of maintaining an oldtimer car is bodywork restoration. Over time, the body of your car may develop holes, gaps, and other defects that can affect its appearance and performance. Here are some tips on how to perform bodywork restoration on your oldtimer car:
Filling Holes and Gaps
If your oldtimer car has holes or gaps in its body, you’ll need to fill them to restore the car’s appearance and prevent further damage. To fill small holes and gaps, you can use a body filler. This is a type of putty that can be applied to the affected areas. Once the filler dries, you can sand it down to create a smooth surface. For larger holes and gaps, you may need to use a patch panel.
Replacing Panels
If your oldtimer car has severe body damage, such as rust or dents, you may need to replace entire panels. This requires some expertise and specialized tools, so it’s recommended to seek professional help. However, if you have experience with bodywork restoration, you can replace panels yourself. First, you’ll need to remove the damaged panel and then install the new one. You’ll also need to weld the new panel into place and grind it down to create a smooth surface.
Applying Body Filler
Body filler is a versatile material that can be used to fix a variety of body defects, such as dents, scratches, and rust. To apply body filler, you’ll need to clean the affected area and then mix the filler according to the manufacturer’s instructions. Once the filler is mixed, you can apply it to the affected area and then sand it down to create a smooth surface. You may need to apply multiple layers of filler and sanding to achieve the desired result.
Performing bodywork restoration on your oldtimer car can be a challenging task, but with the right tools and expertise, it can be done successfully. By following these tips, you can restore your oldtimer car’s body to its former glory and keep it looking great for years to come.
Painting Your Oldtimer Car
If you want to give your oldtimer car a new lease of life, painting it can be one of the most effective ways to achieve this. However, before you start painting, you need to ensure that you have chosen the right paint, prepared the car for painting, and applied the primer and paint correctly.
Choosing the Right Paint
Choosing the right paint is crucial for a successful paint job. You need to ensure that the paint you choose is compatible with the type of metal used in your oldtimer car. There are many different types of paint available, including acrylic, enamel, and urethane. Acrylic paints are water-based, easy to apply, and dry quickly. Enamel paints are oil-based, durable, and provide a glossy finish. Urethane paints are a popular choice for classic cars because they provide a smooth finish and are resistant to chipping and fading.
Preparing the Car for Painting
Before you start painting your oldtimer car, you need to prepare the surface properly. This involves cleaning the car thoroughly, removing any rust or dents, and sanding the surface to create a smooth base for the primer and paint. You also need to mask off any areas that you don’t want to paint, such as windows and trim.
Cleaning the Car
Cleaning the car is the first step in preparing it for painting. You need to remove any dirt, grease, or grime from the surface of the car. Use a degreaser to remove any oil or grease, and then wash the car with soap and water.
Removing Rust and Dents
If your oldtimer car has any rust or dents, you need to remove them before you start painting. Use a rust remover to remove any rust from the surface of the car, and then fill in any dents with body filler.
Sanding the Surface
After the car is clean and free of rust and dents, you need to sand the surface to create a smooth base for the primer and paint. Use a fine-grit sandpaper to sand the surface of the car, and then wipe it down with a tack cloth to remove any dust.
Applying Primer and Paint
Once the car is prepared, you can start applying the primer and paint. Apply a coat of primer to the surface of the car, and then wait for it to dry. Once the primer is dry, you can apply the paint. Apply the paint in thin, even coats, and wait for each coat to dry before applying the next one. Once you have applied the final coat of paint, wait for it to dry completely before removing the masking tape.
| Step | Description |
|---|---|
| 1 | Clean the car |
| 2 | Remove rust and dents |
| 3 | Sand the surface |
| 4 | Apply primer |
| 5 | Apply paint |
Painting your oldtimer car can be a challenging task, but with the right preparation and technique, you can achieve a professional-looking finish. By choosing the right paint, preparing the car properly, and applying the primer and paint correctly, you can give your oldtimer car a new lease of life and make it look as good as new.
Finishing Touches
After completing the bodywork and paint restoration on your oldtimer car, it’s time to apply the finishing touches to bring out the best in your work. This involves applying clear coat, buffing, and polishing to give your car the perfect shine and protection.
Applying Clear Coat
Clear coat is a transparent layer of paint that is applied on top of the base coat to protect it from damage and give it a glossy finish. To apply clear coat, you will need to:
- Clean the surface of the car thoroughly.
- Mix the clear coat and hardener according to the manufacturer’s instructions.
- Apply the clear coat using a spray gun, making sure to apply it evenly and in thin layers.
- Allow the clear coat to dry for at least 24 hours before moving on to the next step.
Buffing
Buffing is the process of using a buffing machine and compound to remove any imperfections and bring out the shine in the clear coat. To buff your car, you will need to:
- Choose the right buffing pad and compound for your car’s paint.
- Apply the compound to the buffing pad.
- Using the buffing machine, work the compound into the clear coat in circular motions, applying light pressure.
- Wipe off any excess compound with a microfiber cloth.
Polishing
Polishing is the final step in the process of restoring your oldtimer car’s paint. It involves using a polishing compound to remove any remaining imperfections and bring out the shine in the clear coat. To polish your car, you will need to:
- Choose the right polishing pad and compound for your car’s paint.
- Apply the compound to the polishing pad.
- Using the polishing machine, work the compound into the clear coat in circular motions, applying light pressure.
- Wipe off any excess compound with a microfiber cloth.
Conclusion
By following these steps, you can give your oldtimer car a new lease on life and make it look as good as new. With the right tools and techniques, you can achieve a professional-looking finish that will last for years to come.
Conclusion
Restoring an oldtimer car can be a challenging yet rewarding experience. Bodywork and paint restoration are crucial steps in the process that require attention to detail and patience. To ensure a successful restoration, it is important to follow the proper steps and techniques.
Tips for Successful Bodywork and Paint Restoration
- Start with a thorough inspection of the car’s body and identify any areas that require repair or replacement.
- Use quality materials and tools to ensure a professional finish.
- Take your time and don’t rush the process. Allow for proper drying and curing times between coats.
- Ensure that the car is properly prepped before painting to avoid any issues with adhesion or finish quality.
- Consider seeking professional assistance for complex repairs or if you are unsure about a particular step in the process.
Benefits of Bodywork and Paint Restoration
Restoring an oldtimer car’s bodywork and paint not only improves its appearance but also helps to preserve its value. A well-restored car can also provide a sense of pride and satisfaction for the owner. Additionally, a restored car can attract attention and admiration from fellow enthusiasts and the general public.
| Pros | Cons |
|---|---|
| Improved appearance | Costly |
| Preserves value | Time-consuming |
| Sense of pride and accomplishment | Requires specialized tools and materials |
| Attracts attention and admiration | Requires expertise and experience |
In conclusion, bodywork and paint restoration are essential steps in the process of restoring an oldtimer car. By following the proper steps and techniques, and using quality materials and tools, you can achieve a professional finish and preserve the car’s value and appearance.