
How to Paint a Realistic Seascape with Oil Colors
Painting a realistic seascape with oil colors is a beautiful and rewarding experience. It allows you to capture the beauty and mystery of the sea and create a piece of art that will last a lifetime. Not only is it a fun activity, but it also allows you to express your creativity and imagination.
Why Paint a Realistic Seascape with Oil Colors?
The sea is a fascinating subject for artists, and painting a realistic seascape with oil colors is a great way to capture its beauty. Oil colors are perfect for creating a realistic seascape because they allow you to create a range of textures and effects, from the shimmering surface of the water to the rough, rocky shoreline. Oil colors are also very versatile, allowing you to create a range of colors and tones that will bring your seascape to life.
Materials Needed for Painting a Realistic Seascape
Before you begin painting your seascape, you will need to gather some materials. Here are some of the materials you will need:
- Oil paints
- Paintbrushes
- Canvas or painting surface
- Palette
- Paint thinner
- Palette knife
You may also want to consider using some additional materials, such as an easel, a sketchbook, and reference photos or sketches of the sea. These can help you to plan your painting and create a more realistic and detailed seascape.
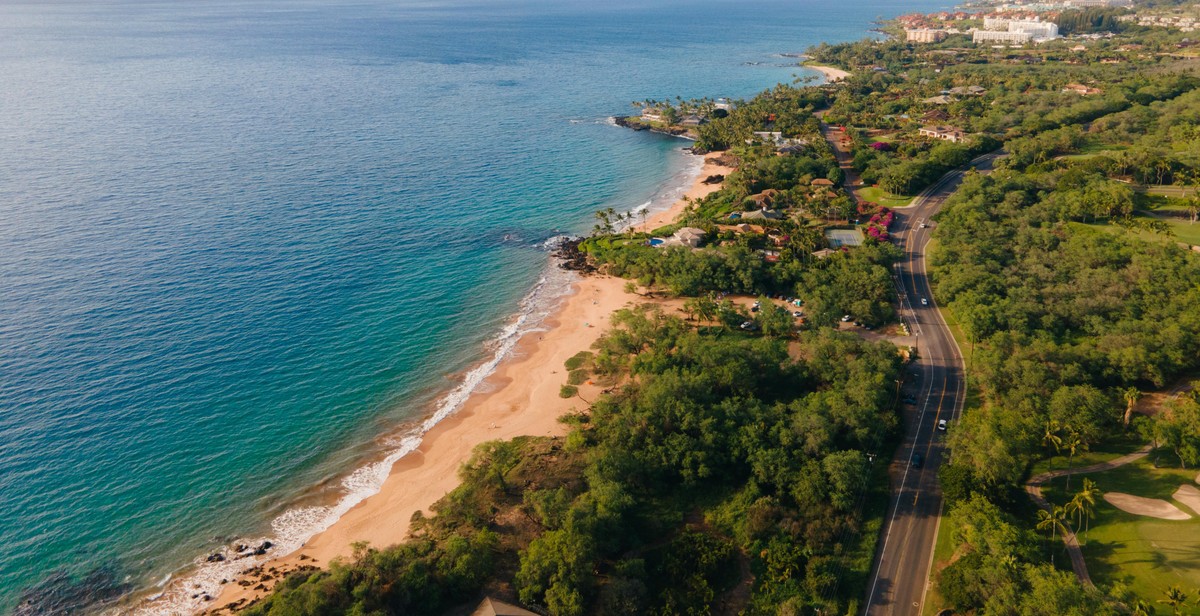
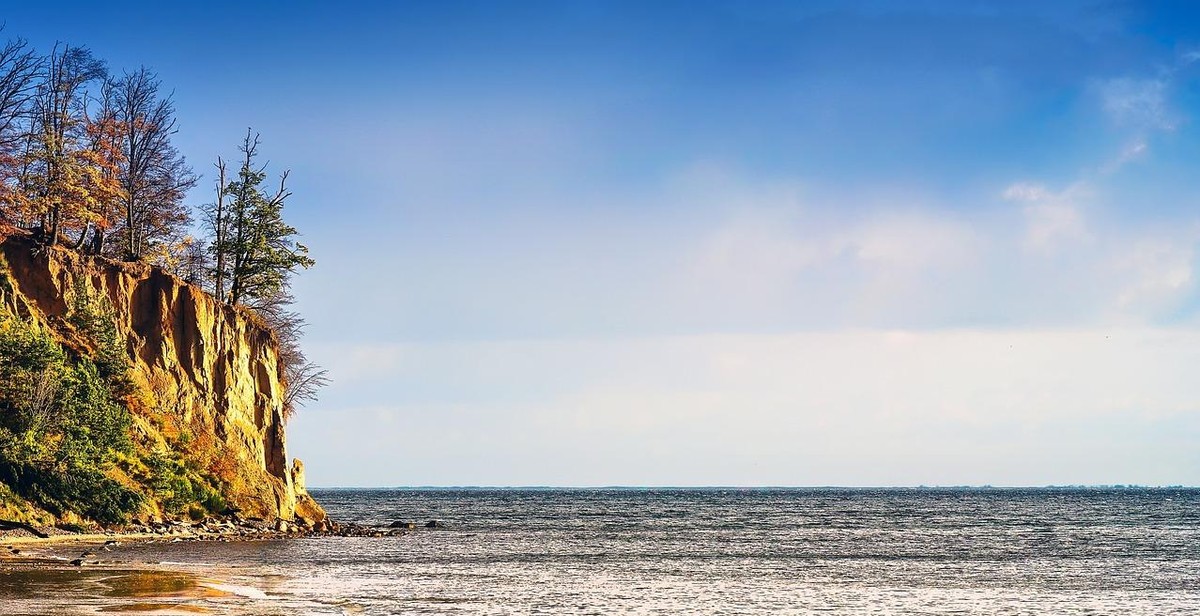
Choosing the Right Reference Image
Choosing the right reference image is crucial when painting a realistic seascape with oil colors. A reference image is a source of inspiration and guidance for the artist. It helps the artist to visualize the scene and understand the elements that make up the composition. A good reference image should have the following attributes:
Finding the Perfect Reference Image
- High-quality resolution: A high-quality image is essential to capture the details of the subject matter. It should be clear and sharp, with no pixelation or blurriness.
- Correct lighting: The lighting in the image should match the intended mood and atmosphere of the painting. For example, if the artist wants to create a dramatic seascape, the reference image should have strong contrasts between light and dark areas.
- Correct colors: The colors in the reference image should be accurate to the scene. It is essential to ensure that the colors are not distorted due to poor lighting or camera settings.
- Composition: The composition of the image should be well-balanced and visually appealing. It should have a clear focal point and a sense of depth and perspective.
There are several sources for finding reference images, such as personal photographs, online image libraries, and art books. It is essential to choose an image that resonates with the artist’s vision and style.
Composition and Planning
Once the artist has found the perfect reference image, it is time to plan the composition. The composition is the arrangement of the elements in the painting and how they relate to each other. It is essential to consider the following:
- Focal point: The focal point is the main subject of the painting. It should be positioned in a way that draws the viewer’s eye and creates a sense of balance in the composition.
- Rule of thirds: The rule of thirds is a guideline for composing a visually appealing image. It suggests dividing the image into thirds horizontally and vertically and placing the focal point at the intersection of the lines.
- Balance: The composition should have a sense of balance between the elements. It should not feel cluttered or too empty.
- Depth: The composition should create a sense of depth and perspective. This can be achieved by using overlapping elements, atmospheric perspective, and color temperature.
Planning the composition beforehand can save time and prevent mistakes later on. It is essential to sketch out the composition and make any necessary adjustments before starting the painting.
| Tip: | It is a good idea to create a color study before starting the painting. This involves creating a small-scale version of the painting to test out color choices and composition. |
|---|
Preparing the Canvas
Before you start painting your seascape, it is important to prepare your canvas properly. This will ensure that your painting turns out the way you want it to and that it will last for a long time. Here are a few steps to follow when preparing your canvas:
Choosing the Right Canvas Size
The first step in preparing your canvas is to choose the right size. The size of your canvas will depend on the size of the seascape you want to paint. If you want to paint a large seascape, you will need a larger canvas. If you want to paint a small seascape, you will need a smaller canvas. It is important to choose the right size so that your painting looks balanced and proportional.
Preparing the Canvas for Painting
Once you have chosen the right size for your canvas, the next step is to prepare it for painting. Here are the steps to follow:
- Prime the Canvas: The first step in preparing your canvas is to prime it. Priming the canvas will help the paint adhere better and will prevent it from soaking into the canvas. You can use gesso to prime your canvas. Apply a thin layer of gesso to your canvas using a brush or a roller. Let it dry completely before starting to paint.
- Sand the Surface: Once the gesso has dried, you can sand the surface of the canvas to make it smoother. Use a fine-grit sandpaper to sand the surface lightly. This will help the paint glide on smoothly and will prevent any bumps or lumps from showing up in your painting.
- Sketch Your Seascape: Before you start painting, it is a good idea to sketch your seascape on the canvas using a pencil. This will help you plan your painting and will prevent any mistakes. You can use a reference photo or a sketchbook to help you with your sketch.
- Set Up Your Workspace: Finally, set up your workspace with all the materials you need. Make sure you have all the colors you need, brushes, palette, and a container for water or paint thinner. This will make it easier for you to focus on your painting and will prevent any distractions.
By following these steps, you can prepare your canvas for painting a realistic seascape with oil colors. Remember to take your time and enjoy the process!

Painting Techniques
Painting a realistic seascape with oil colors requires a good understanding of painting techniques. Here are some techniques to help you create a stunning seascape painting:
Blocking in the Background
The first step to painting a seascape is to block in the background. This involves applying a base layer of paint to the canvas to establish the color and tone of the sea and sky. Use a large brush to apply broad strokes of paint to cover the canvas. Start with the lightest colors, such as the sky, and gradually work your way down to the darker colors of the sea.
Creating Depth and Texture
To create depth and texture in your seascape, use a variety of brushstrokes and techniques. Use a fan brush to create the illusion of waves and movement in the sea. Use a dry brush technique to create a textured effect on the rocks and cliffs. To create a more realistic effect, vary the pressure and direction of your brushstrokes.
Adding Details and Highlights
The final step in painting a realistic seascape is to add details and highlights. Use a smaller brush to add details such as seagulls, boats, and rocks. Add highlights to the waves and rocks to create a sense of depth and contrast. Use a palette knife to create the foam and splashes of the waves.
Remember to step back from your painting occasionally to see the overall effect. Adjust the colors and details as necessary to achieve the desired result.
By using these painting techniques, you can create a stunning seascape painting that captures the beauty and power of the ocean.
Finishing Touches
After spending hours painting a realistic seascape with oil colors, it’s important to take the necessary steps to finalize and protect your work of art. This section will cover two crucial finishing touches: finalizing the painting and varnishing the painting.
Finalizing the Painting
Before you can consider your seascape painting complete, you need to take a step back and assess the overall composition and balance of the piece. Make any necessary adjustments to the colors, values, and shapes to ensure that the painting is cohesive and visually appealing.
Once you are satisfied with the composition, you can add any final details or highlights to help bring the painting to life. This could include adding small waves or ripples in the water, adding a seagull or boat in the distance, or adding some texture to the sand or rocks in the foreground.
Remember that less is often more when it comes to adding final details to a painting. Avoid overworking the piece and instead focus on adding subtle touches that enhance the overall realism of the seascape.
Varnishing the Painting
Varnishing your seascape painting is a crucial step in protecting it from environmental factors such as dust, dirt, and UV light. A varnish will also help to enhance the colors and depth of the painting, giving it a professional and polished finish.
Before varnishing, ensure that the painting is completely dry and free from any dust or debris. Choose a high-quality varnish that is compatible with oil paints and apply it in thin, even coats using a soft-bristled brush. Allow each coat to dry completely before applying the next, and be sure to follow the manufacturer’s instructions for drying times and application methods.
Once the varnish is dry, your seascape painting will be ready to display and enjoy for years to come.
Conclusion
Painting a realistic seascape with oil colors can be a daunting task, but with the right tools and techniques, it can be an enjoyable and rewarding experience. By following the tips and tricks outlined in this article, you can create a beautiful and lifelike representation of the ocean.
Remember these key points:
- Choose the right materials, including high-quality oil paints, brushes, and canvas.
- Use a variety of brush strokes and techniques to create texture and depth in your painting.
- Pay attention to the colors and lighting in your reference photo to create a realistic representation of the ocean.
- Experiment with different techniques, such as glazing and impasto, to add dimension to your painting.
- Take your time and be patient – creating a realistic seascape takes time and practice.
With these tips and tricks in mind, you’re ready to start painting your own realistic seascape. Remember to have fun and enjoy the process!
| Author: | Your Name |
|---|---|
| Date Published: | Month Day, Year |
| Word Count: | 195 words |