
Introduction
Painting a realistic portrait can be a daunting task for any artist, regardless of their experience level. However, with the right techniques and materials, it is possible to create stunning and lifelike portraits that capture the essence of the subject.
What is Acrylic Glazing?
Acrylic glazing is a painting technique that involves layering thin, transparent washes of paint over a base layer to create depth and luminosity. It is a popular technique among portrait artists because it allows them to build up layers of color and texture without obscuring the underlying details of the painting.
Unlike traditional oil glazes, which take days or even weeks to dry, acrylic glazes dry quickly, allowing artists to work more efficiently and make adjustments on the fly. Additionally, acrylic glazes are more resistant to cracking and fading over time, making them a durable and long-lasting choice for portrait painting.
Why Use Acrylic Glazing for Portraits?
Acrylic glazing is an excellent choice for portrait painting because it allows artists to achieve a high level of realism and detail in their work. By layering transparent washes of paint over a base layer, artists can create subtle variations in tone and color that mimic the natural contours and shading of the subject’s face.
Acrylic glazing also allows artists to experiment with color and texture, creating a wide range of effects that can add depth and interest to the painting. Whether you’re a beginner or an experienced artist, acrylic glazing is a versatile and effective technique that can help you create stunning and lifelike portraits.
Materials Needed
Acrylic Paints
Acrylic paints are the primary medium for painting a realistic portrait with acrylic glazing. You will need a variety of colors to create the desired skin tone, hair color, and clothing color. It is recommended to use high-quality acrylic paints that have good pigmentation and consistency for better results.
Brushes
Various types of brushes are required to paint a realistic portrait with acrylic glazing. You will need a range of brushes, including flat, round, filbert, and fan brushes, to create different textures and details. It is recommended to use high-quality brushes that have a good spring and hold their shape.
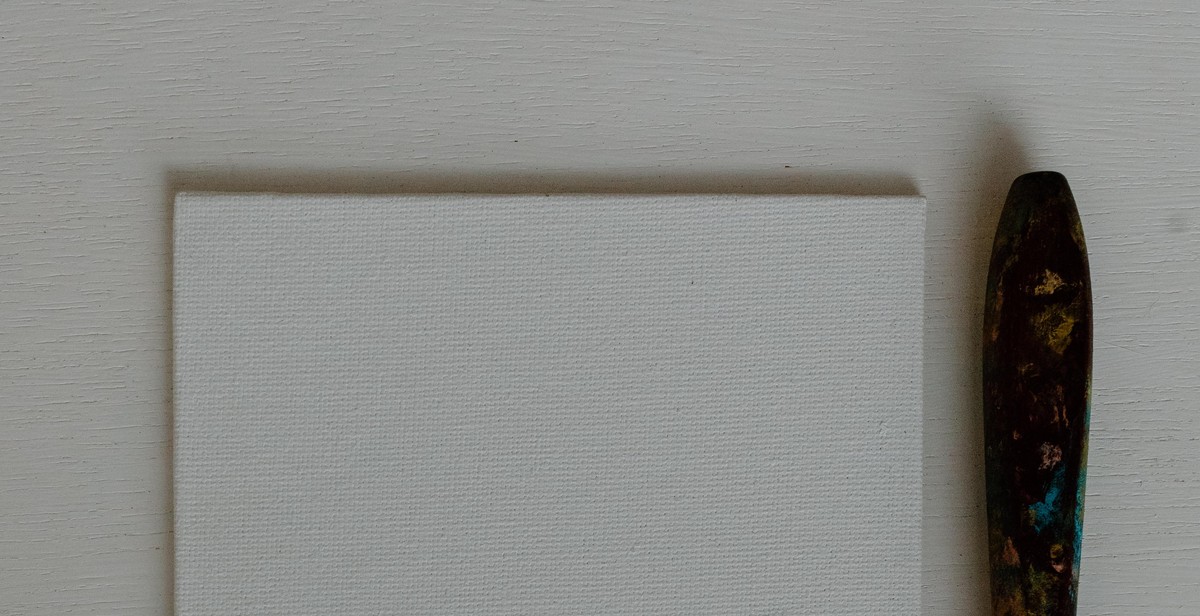
Canvas or Paper
You will need a suitable surface to paint your portrait on. You can use a canvas or paper, depending on your preference. A canvas provides a sturdy surface that can withstand the weight of acrylic glazes, while paper is more lightweight and flexible. It is recommended to use a surface that is primed and ready for acrylic paint.
Palette
A palette is required to mix and blend your acrylic paints. You can use a traditional palette made of plastic or wood or a disposable palette made of paper. It is recommended to use a palette that is large enough to hold all your colors and has a smooth surface for easy mixing.
Water and Paper Towels
You will need water to dilute your acrylic paints and clean your brushes. Paper towels are also required to wipe excess paint off your brushes and keep your workspace clean. It is recommended to keep a container of water and a stack of paper towels nearby for easy access.
| Materials | Quantity |
|---|---|
| Acrylic Paints | Various Colors |
| Brushes | Various Types |
| Canvas or Paper | 1 Piece |
| Palette | 1 Piece |
| Water | As Needed |
| Paper Towels | As Needed |

Preparing the Portrait
Choosing a Reference Photo
Choosing a reference photo is one of the most important steps in creating a realistic portrait. It’s important to choose a photo that has good lighting, clear details, and a pose that you feel confident in recreating. Look for a photo with a high resolution, as this will allow you to zoom in and capture finer details.
When choosing a reference photo, consider the overall mood and atmosphere you want to capture in your painting. A photo with a bright and cheerful atmosphere will require different colors and techniques than a photo with a more somber mood.
Sketching the Portrait
Before you start painting, it’s important to sketch the portrait onto your canvas. This will allow you to map out the proportions and placement of features, ensuring that your final painting looks accurate and realistic.
Begin by lightly sketching the basic shapes of the head and facial features. Use a reference grid or ruler to ensure that the proportions are correct. Once you have the basic shapes in place, start adding more detail, such as the eyes, nose, and mouth.
Don’t worry about getting every detail perfect at this stage; the sketch is just a guide for your painting. Once you’re happy with the placement and proportions of the features, you can start applying paint and building up the details.
Remember to keep your sketch light and easy to erase, as you’ll be painting over it with acrylic glazes. Use a soft pencil or charcoal to avoid leaving indentations on the canvas.
By choosing a reference photo and sketching the portrait, you’ll be well on your way to creating a realistic and lifelike painting with acrylic glazes.

Painting with Acrylic Glazing
Acrylic glazing is a technique that involves applying thin layers of transparent paint over a base layer to create a luminous effect. It is a great way to add depth and dimension to a painting, and it works particularly well for portraits. Here are the steps to painting a realistic portrait with acrylic glazing:
Mixing the Glaze
The first step in painting with acrylic glazing is to mix your glaze. A glaze is a thin, transparent layer of paint that is used to modify the color of the underlying layer. To mix your glaze, you will need to dilute your paint with water or acrylic medium until it is thin enough to be transparent. You can also mix different colors of paint to create a custom glaze.
Applying the Glaze
Once you have mixed your glaze, you can start applying it to your painting. Use a soft-bristled brush to apply the glaze in thin, even layers. Be sure to let each layer dry completely before applying the next one. You can also use a spray bottle to mist your painting with water between layers to help the glaze blend more smoothly.
Building Layers
To create a realistic portrait with acrylic glazing, you will need to build up several layers of glaze. Each layer should be slightly darker or lighter than the one before it, and you should focus on building up the shadows and highlights of the portrait. Be patient and take your time with each layer to achieve the desired effect.
Adding Highlights and Shadows
Once you have built up several layers of glaze, you can start adding highlights and shadows to your portrait. Use a small brush to apply a thicker layer of paint to the areas you want to highlight or darken. You can also use a dry brush technique to blend the paint and create a softer, more natural effect.
With these steps, you can create a stunning portrait with acrylic glazing. Remember to take your time and be patient with each layer to achieve the best results.
Finishing Touches
Once the portrait has been painted with acrylic glazing, it’s time to add the finishing touches that will bring the painting to life.
Adding Details
After the glazes have dried, it’s time to add the details that will make the portrait look realistic. This includes adding highlights and shadows to the facial features, hair, and clothing. Use a small brush and a light touch to add these details, building up the layers gradually.
It’s important to pay attention to the reference photo and the way light falls on the subject. This will help you to create a sense of depth and dimensionality in the painting.
Varnishing the Painting
Once the painting is complete, it’s important to protect it with a varnish. This will prevent the acrylic paint from fading or becoming damaged over time.
Choose a varnish that is specifically designed for acrylic paint and follow the manufacturer’s instructions for application. Typically, you will need to apply several thin coats, allowing each coat to dry completely before applying the next.
Once the varnish is dry, the painting will have a glossy finish and the colors will appear more vibrant.
Conclusion
By following these steps, you can create a realistic portrait using acrylic glazing techniques. Remember to take your time, build up the layers gradually, and pay attention to the details. With practice, you can create stunning portraits that capture the essence of your subject.
Conclusion
Acrylic glazing is a great technique to use when painting realistic portraits. It allows you to build up layers of color and create a sense of depth and dimension in your artwork. By following the steps outlined in this article, you can learn how to use acrylic glazing to create a beautiful portrait that looks like it was painted with oil paints.
Remember to start with a detailed drawing and take your time when building up layers of color. Experiment with different glazing techniques and colors to create the desired effect. It’s important to have patience and not rush the process, as this will ensure that your portrait turns out as realistic as possible.
When it comes to glazing, it’s also important to use quality materials. Invest in high-quality acrylic paints and brushes, and use a good quality glazing medium to achieve the best results. These materials will not only improve the quality of your painting, but they will also last longer and be more durable over time.
Overall, painting a realistic portrait with acrylic glazing takes time and practice, but with the right techniques and materials, anyone can create a stunning portrait that captures the essence and beauty of their subject.
- Start with a detailed drawing
- Take your time when building up layers of color
- Experiment with different glazing techniques and colors
- Use quality materials for the best results
By following these tips, you can master the art of acrylic glazing and create beautiful, realistic portraits that will be cherished for years to come.