
How to Paint a Realistic Landscape with Soft Pastel Pencils
Soft pastel pencils are a versatile medium that can be used to create stunning landscapes. Whether you are a beginner or an experienced artist, painting a realistic landscape with soft pastel pencils can be a rewarding experience. In this article, we will guide you through the process of painting a realistic landscape with soft pastel pencils.
Materials
Before you begin, you will need the following materials:
- Soft pastel pencils (various colors)
- Paper (preferably pastel paper or sandpaper)
- Reference photo of a landscape
- Fixative spray
- Eraser
- Blending tools (optional)
Steps
Follow these steps to create a realistic landscape with soft pastel pencils:
- Choose your reference photo and sketch the basic composition.
- Start with the sky and work your way down to the foreground.
- Layer the colors, starting with the lightest and gradually building up to the darker tones.
- Use blending tools to create smooth transitions between colors.
- Add details and highlights using a white pastel pencil.
- Fix the drawing with a fixative spray.
With these steps and materials, you can create a stunning landscape with soft pastel pencils. Practice and experimentation will help you develop your skills and create unique and beautiful artworks.
Materials Needed
Soft Pastel Pencils
Soft pastel pencils are a must-have when it comes to painting a realistic landscape with soft pastels. These pencils come in a range of colors and are perfect for creating fine details and textures. Some popular brands of soft pastel pencils include Faber Castell, Derwent, and Caran d’Ache.
Paper
Choosing the right paper is crucial when it comes to creating a realistic landscape with soft pastel pencils. A good quality paper with a toothy surface is ideal for holding the pastel pigment and allowing for blending and layering. Some popular choices for soft pastel paper include Canson Mi-Teintes, Strathmore 400 Series, and Fabriano Tiziano.
Blending Tools
Blending tools are essential when it comes to creating smooth transitions and blending colors in a realistic landscape painting. Some popular blending tools for soft pastels include tortillons, blending stumps, and foam applicators.
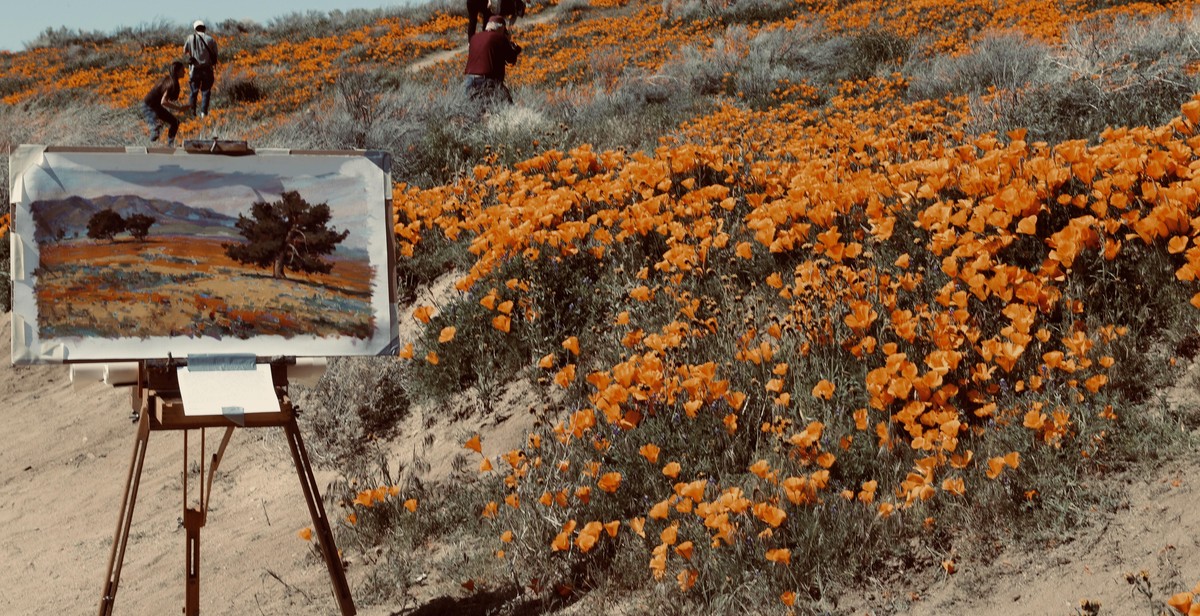
Reference Image
A reference image is a crucial element when it comes to creating a realistic landscape with soft pastel pencils. A good reference image will provide inspiration for color choices and details, as well as a guide for composition and placement of elements in the painting.
Summary
| Materials | Brands |
|---|---|
| Soft Pastel Pencils | Faber Castell, Derwent, Caran d’Ache |
| Paper | Canson Mi-Teintes, Strathmore 400 Series, Fabriano Tiziano |
| Blending Tools | Tortillons, Blending Stumps, Foam Applicators |
| Reference Image | N/A |
Choosing a Reference Image
Before you start painting a realistic landscape with soft pastel pencils, you need to choose a reference image. The reference image will guide you in terms of composition, color, and lighting. Here are some tips to help you choose the right reference image:
1. Look for High-Quality Images
The quality of your reference image will have a significant impact on the outcome of your painting. Look for high-quality images that are clear, sharp, and have a good resolution. This will help you see the details and nuances of the landscape, which is essential for creating a realistic painting.
2. Choose an Image with Good Composition
The composition of your reference image is also important. Look for images that have a strong focal point and a clear sense of depth and perspective. This will help you create a painting that is visually engaging and interesting to look at.
3. Consider the Lighting
The lighting in your reference image is crucial for creating a realistic painting. Look for images that have interesting lighting, such as a sunset or sunrise, or a landscape with shadows and highlights. This will help you create depth and dimension in your painting.
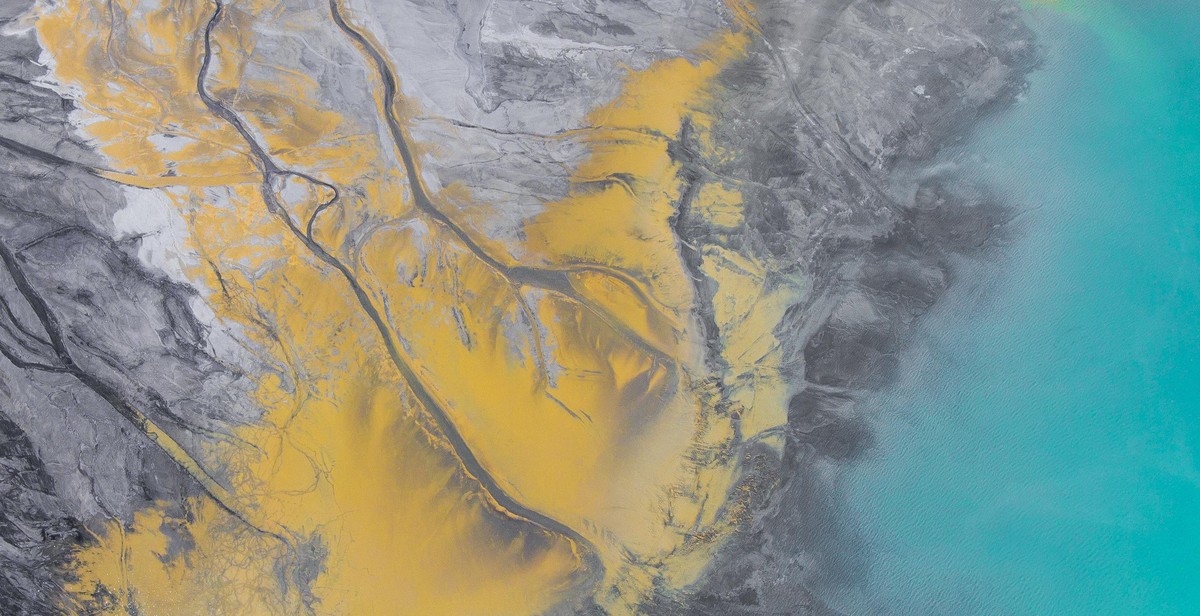
4. Look for Interesting Colors
The colors in your reference image will also play a significant role in your painting. Look for images that have interesting and varied colors, such as a landscape with fall foliage or a beach with blue-green water. This will help you create a painting that is vibrant and visually appealing.
5. Choose an Image You Connect With
Finally, choose a reference image that resonates with you. This could be a landscape that reminds you of a special place or a scene that inspires you. When you connect with your reference image, you will be more motivated to create a beautiful painting.
By following these tips, you can choose a reference image that will help you create a realistic landscape painting with soft pastel pencils.

Sketching the Landscape
The first step in painting a realistic landscape with soft pastel pencils is to sketch out the composition of the scene. This involves deciding on the placement of the horizon line, the focal point, and any major elements such as trees or buildings.
Composition
When composing the landscape, it is important to consider the rule of thirds. This means dividing the scene into thirds both horizontally and vertically, and placing the main elements of the composition at the intersections of these lines. This creates a sense of balance and harmony in the painting.
Another important consideration when composing the landscape is the use of leading lines. These are lines within the scene that draw the viewer’s eye towards the focal point. Examples of leading lines in a landscape might include a path, a river, or a row of trees.
Block in Shapes
Once the composition has been sketched out, the next step is to block in the shapes of the major elements of the landscape. This involves using light, loose strokes with the soft pastel pencils to create a rough outline of the scene.
It is important to keep the shapes simple and to focus on the overall structure of the scene rather than getting caught up in details at this stage. This will help to establish the basic framework for the painting and ensure that everything is in the correct position.
Values
After the shapes have been blocked in, the next step is to establish the values of the landscape. This involves determining the light and dark areas of the scene and using the soft pastel pencils to create a range of tones.
It is important to pay close attention to the values in the landscape as this will help to create depth and dimension in the painting. Areas that are in shadow will be darker, while areas that are in direct sunlight will be lighter.
By blocking in the shapes and establishing the values of the landscape, the artist can create a strong foundation for the painting. This will make it easier to add details and refine the scene in later stages of the painting process.
Layering Colors
Layering colors is an essential technique in creating a realistic landscape with soft pastel pencils. By layering colors, you can achieve depth and dimension in your artwork. Here are some tips on how to layer colors effectively:
Choosing Colors
Before you start layering colors, it’s important to choose the right colors for your landscape. Look at your reference photo and identify the dominant colors in the scene. Then, choose a base color that matches the dominant color. For example, if the dominant color in your landscape is green, choose a light green or yellow-green as your base color.
Next, choose a darker shade of your base color to use as your shadow color. This will add depth and dimension to your artwork. Finally, choose a few accent colors that complement your base color. These accent colors can be used to add interest and detail to your artwork.
Building Layers
Once you have chosen your colors, it’s time to start layering. Start by applying your base color lightly over the entire area you want to cover. Then, gradually build up the color by adding more layers. Use a slightly darker shade of your base color to create shadows and add depth to your artwork.
As you add more layers, be sure to blend the colors together using a blending tool or your finger. This will create a smooth transition between colors and prevent harsh lines from forming.
Once you have built up your base color and shadow color, you can start adding accent colors. Use these colors sparingly to add interest and detail to your artwork. Remember to blend the colors together to create a seamless transition.
Table: Tips for Layering Colors
| Tip | Description |
|---|---|
| Choose a base color | Choose a color that matches the dominant color in your landscape |
| Add shadow color | Use a slightly darker shade of your base color to create shadows and add depth |
| Add accent colors | Use accent colors sparingly to add interest and detail |
| Blend colors | Blend the colors together to create a seamless transition |
Creating Depth and Texture
One of the key elements in creating a realistic landscape with soft pastel pencils is to understand how to create depth and texture in your artwork. There are three main areas to focus on when creating depth in a landscape: foreground, middle ground, and background.
Foreground
The foreground is the area closest to the viewer and is typically the most detailed and textured area of the landscape. To create depth in the foreground, use darker colors and apply them with more pressure to create a heavier texture. You can also use a variety of strokes, such as cross-hatching and stippling, to add additional texture and dimension to the area.
Middle Ground
The middle ground is the area between the foreground and background and typically contains less detail and texture than the foreground. To create depth in the middle ground, use lighter colors and apply them with less pressure than the foreground. You can also use fewer strokes and blend the colors together to create a smoother transition between the foreground and background.
Background
The background is the furthest area from the viewer and typically contains the least amount of detail and texture. To create depth in the background, use lighter colors and apply them with even less pressure than the middle ground. You can also use fewer strokes and blend the colors together to create a smooth transition between the middle ground and background.
Another technique to create depth and texture in your landscape is to use contrast. By placing light colors next to dark colors, you can create a sense of depth and dimension in your artwork. Additionally, using complementary colors, such as blue and orange or purple and yellow, can add visual interest and depth to your landscape.
By understanding how to create depth and texture in your landscape, you can take your soft pastel pencil artwork to the next level and create a realistic and visually stunning piece of art.

Blending and Smudging
Blending and smudging are crucial techniques in soft pastel pencil painting. They help to create a realistic and seamless transition between colors and shades. There are several blending tools and techniques that you can use to achieve different effects in your painting.
Blending Tools
There are several tools that you can use to blend your soft pastel pencils:
- Fingers: Your fingers are the most readily available blending tool. They are great for blending large areas of color and creating a soft, diffused effect.
- Blending stumps: Blending stumps are made of tightly rolled paper and are available in different sizes. They are perfect for blending small areas and creating fine details.
- Blending brushes: Blending brushes have soft, natural bristles that are ideal for blending colors and creating a smooth transition between them.
Blending Techniques
Here are some blending techniques that you can use in your soft pastel pencil painting:
| Technique | Description |
|---|---|
| Layering | Layering colors on top of each other and blending them together to create a new color or shade. |
| Cross-hatching | Creating criss-crossing lines of different colors to create a blended effect. |
| Feathering | Using a light touch to blend colors together with short, light strokes. |
| Scumbling | Using a light touch to apply layers of color over each other to create a textured effect. |
Smudging
Smudging is another technique that you can use to blend your soft pastel pencils. It involves using your fingers or a blending tool to gently smudge the colors together. This technique is great for creating a soft, diffused effect and for blending colors together seamlessly.
When smudging, it’s important to be gentle and not to apply too much pressure. Too much pressure can cause the colors to become muddy and can ruin the effect that you’re trying to achieve.
Final Details
Now that the basic structure and color of the landscape is complete, it’s time to add the final details to refine the painting and give it a realistic look. Here are some tips to help you add those finishing touches:
1. Adding Details
Start by adding details to the foreground of the painting. This is where the viewer’s eye will be drawn, so it’s important to make it interesting and detailed. Use a sharp pastel pencil to add texture and depth to the grass, rocks, and trees. You can also add small details like flowers or fallen leaves to add interest to the scene.
Next, move on to the middle ground and background of the painting. Use lighter shades of pastel pencils to create depth and distance. Add details like distant trees, mountains, or clouds to give the painting a sense of scale and perspective.
2. Refining the Painting
Now that the details have been added, it’s time to refine the painting. Use a blending tool like a paper stump or your finger to blend the colors together and create a smooth transition between the different areas of the painting. This will help give the painting a more realistic and cohesive look.
Take a step back and look at the painting from a distance. This will help you see any areas that need more work or refinement. Make any necessary adjustments and continue to refine the painting until you are satisfied with the final result.
Remember, painting with soft pastel pencils is a process of layering and building up color and texture. Don’t be afraid to experiment and try new techniques to achieve the look you want. With practice and patience, you can create beautiful and realistic landscape paintings with soft pastel pencils.
Conclusion
Painting a realistic landscape with soft pastel pencils can be a challenging task, but with the right techniques and tools, it can also be a rewarding experience. The key to creating a realistic landscape is to observe the natural world and translate it onto your paper.
Before you start, choose a reference photo that inspires you and plan out your composition. Then, use light pressure to sketch out your initial drawing and build up layers of color to create depth and dimension. Experiment with blending techniques and different types of paper to find what works best for you.
Remember to take breaks and step back from your work to assess your progress. Don’t be afraid to make mistakes – they can often lead to happy accidents and unique effects.
Lastly, practice makes perfect. Keep painting and experimenting with different techniques and subjects to hone your skills and develop your own style. With patience and perseverance, you can create beautiful and realistic landscapes with soft pastel pencils.
Additional Tips:
- Invest in high-quality soft pastel pencils and paper for best results.
- Use a fixative spray to protect your finished work from smudging and fading.
- Experiment with different types of pastels, such as hard pastels and pastel sticks, to add texture and variety to your work.
Now that you have the knowledge to paint a realistic landscape with soft pastel pencils, it’s time to put it into practice and create your own masterpiece. Happy painting!