
Introduction
Scratchboard is a unique and intricate art form that involves using a sharp tool to scratch away a layer of ink or paint on a board to reveal a contrasting layer underneath. This technique allows for the creation of highly detailed and realistic images, making it a popular choice for artists looking to create animal portraits.
What is Scratchboard?
Scratchboard is a type of board made from a thin layer of white clay that is coated with black ink or paint. The artist then uses a sharp tool, such as a scalpel or a scratchboard knife, to scratch away the black layer to reveal the white layer underneath. This creates an image with intricate details and textures.
Scratchboard art is often used to create portraits of animals, as the technique allows for the creation of realistic fur, feathers, and scales. It can also be used to create landscapes, still lifes, and other types of art.
Why Paint a Realistic Animal Portrait with Scratchboard?
Painting a realistic animal portrait with scratchboard allows artists to create highly detailed and intricate images that capture the essence of the animal. It also allows for the creation of textures and details that are difficult to achieve with other painting techniques.
Scratchboard art is also a popular choice for artists looking to create artwork that is both visually stunning and highly collectible. The unique nature of the technique and the level of skill required to create a scratchboard piece make it a highly sought-after form of art.
Materials Needed
Before you start painting a realistic animal portrait with scratchboard, it is important to gather all the necessary materials. Here is a list of the materials you will need:
Scratchboard
The first and most important material you will need is scratchboard. Scratchboard is a surface made of a thin layer of white clay coated with black ink. It is used for creating intricate and detailed illustrations. You can buy scratchboard in various sizes and thicknesses, depending on your preference.
Scratchboard Tools
Next, you will need scratchboard tools. These tools are used to scratch away the black ink, revealing the white clay underneath. There are various types of scratchboard tools available, including knives, needles, and fiberglass brushes. You can choose the tools that work best for you.
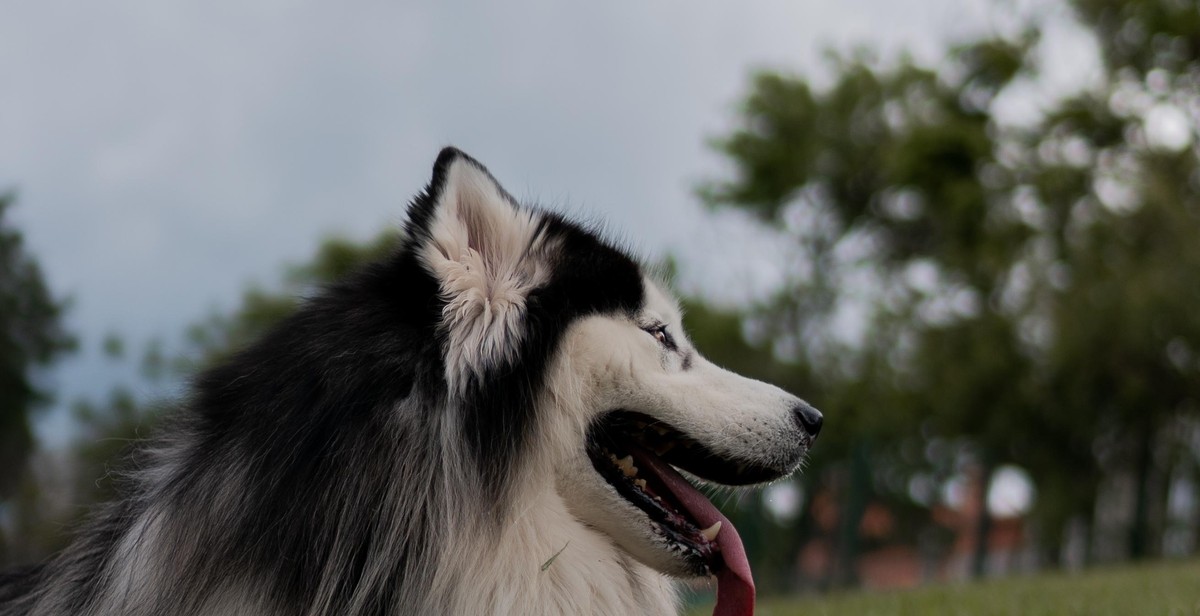
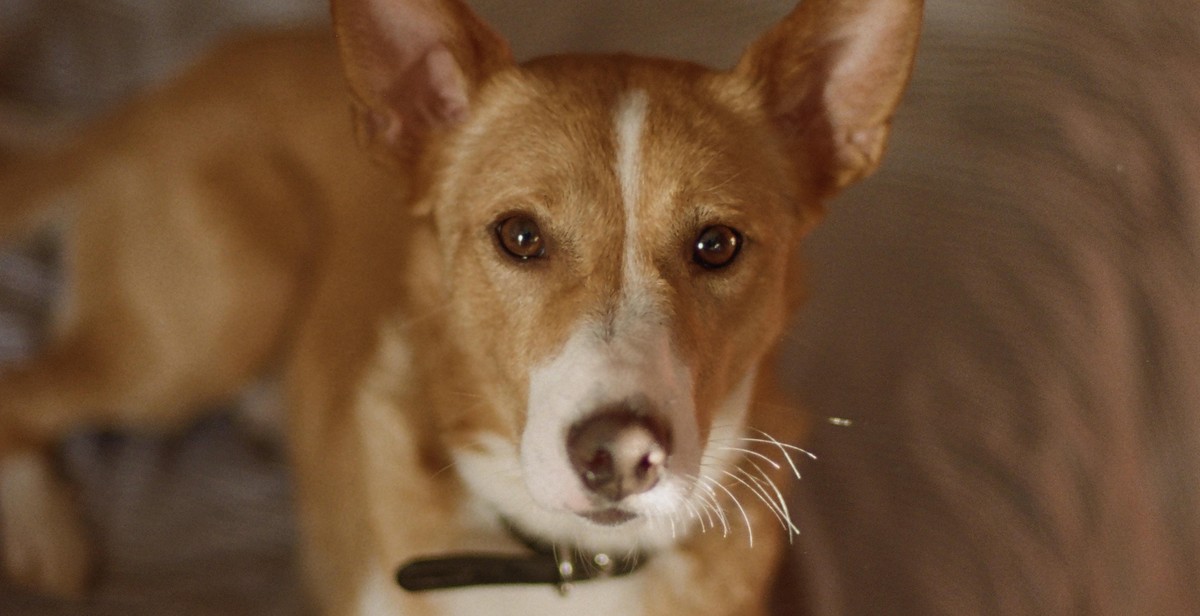
Reference Image
A reference image is also important when painting a realistic animal portrait with scratchboard. You can use a photograph or a drawing as a reference. Make sure the image is clear and detailed, and that it shows the animal from the angle you want to draw it.
Other materials you may need include a pencil for sketching, a ruler for measuring, and a soft cloth for cleaning the scratchboard surface.
Preparing the Scratchboard
Before you start creating your masterpiece, it is essential to prepare your scratchboard properly. The following steps will guide you through the process:
Cleaning the Board
The first step is to clean the scratchboard thoroughly. Use a soft-bristled brush or a cloth to remove any dust, dirt, or debris from the board’s surface. Ensure that the board is free from any scratches or damages that might affect your artwork’s quality.
Transferring the Image
Once you have cleaned the scratchboard, it’s time to transfer your image onto it. You can use a variety of methods to transfer the image, including:
- Tracing: Trace the image onto a piece of tracing paper, then place the paper onto the scratchboard and trace over the lines with a pencil.
- Transfer paper: Place the transfer paper onto the scratchboard, then place the image on top of the transfer paper and trace over the lines with a pencil.
- Carbon paper: Place the carbon paper onto the scratchboard, then place the image on top of the carbon paper and trace over the lines with a pencil.
Regardless of the method you choose, ensure that the image is transferred accurately onto the scratchboard before you start scratching.
Scratching Techniques
Scratchboard is a unique medium that requires specific techniques to achieve a realistic animal portrait. Below are some of the most commonly used scratching techniques:
Hatching and Cross-Hatching
Hatching is a technique where the artist creates parallel lines to create shading and texture. Cross-hatching is a similar technique where the artist creates intersecting lines to add more depth and dimension to the artwork. These techniques are great for creating fur and adding shading to the animal portrait.
Scraping and Cutting
Scraping involves using a sharp tool to remove layers of ink from the scratchboard. This technique is useful for creating highlights and adding texture to the artwork. Cutting involves using a sharp blade to remove larger areas of ink to create deeper shadows and contrast.
Stippling
Stippling is a technique where the artist creates small dots to add texture and shading to the artwork. This technique is useful for creating the appearance of scales, feathers, and other intricate details on the animal.
By using a combination of these techniques, an artist can create a highly detailed and realistic animal portrait on scratchboard.
Starting the Portrait
Before you begin painting a realistic animal portrait with scratchboard, it’s important to start with the basics. The first step in creating a portrait is to block in the basic shapes of the animal. This will give you a solid foundation to build upon as you add more details.
Blocking in the Basic Shapes
To block in the basic shapes, start by sketching the outline of the animal using a pencil. You can use reference photos or sketches to help you get the proportions and shape right. Once you have the outline, start adding in the basic shapes of the animal’s body, such as the head, body, and legs.
Use light lines to sketch in the shapes, and don’t worry too much about getting everything perfect at this stage. The goal is to create a rough outline that you can refine as you add more details.
Adding Details
Once you have the basic shapes blocked in, it’s time to start adding details. This is where the real magic happens, as you start to bring your portrait to life.
Begin by adding in the animal’s eyes, nose, and mouth. These features are often the most expressive parts of the animal’s face, so take your time to get them just right.
Next, start adding in the texture and details of the animal’s fur or skin. This is where scratchboard really shines, as you can use a variety of tools to create different textures and effects.
Remember to work slowly and carefully, building up the details gradually. This will help you create a more realistic portrait that truly captures the essence of the animal.
Fur and Texture
Creating realistic fur and adding texture to your animal portrait is crucial to making it look lifelike. Scratchboard is an excellent medium for creating a variety of textures, from soft fur to rough skin.
Creating Realistic Fur
When creating fur, it’s essential to pay attention to the direction of the hair growth. Start by lightly scratching in the direction of the fur with a fine-tipped tool. Then, gradually build up the layers of scratches to create depth and texture. Vary the pressure and angle of your tool to create different lengths and thicknesses of fur.
Another technique for creating realistic fur is to use cross-hatching. This involves making a series of overlapping scratches in different directions to create a more textured look.
Adding Texture
Adding texture to your animal portrait can help bring it to life. To create texture, use a variety of tools and techniques to create different effects. For example, use a fine-tipped tool to create small scratches for a rough texture, or a wider tool for a smoother texture.
You can also create texture by using a stippling technique. This involves making a series of small dots or dashes to create a textured effect. Vary the size and spacing of your dots to create different textures.
| Tool | Effect |
|---|---|
| Fine-tipped tool | Rough texture |
| Wide tool | Smooth texture |
| Stippling tool | Textured effect |
Experiment with different tools and techniques to find the ones that work best for your animal portrait. Remember to pay attention to the direction of the fur and to vary the pressure and angle of your tool to create a realistic look.
Finishing Touches
After refining the details of your animal portrait, it’s time to finalize the painting. This is the stage where you can add the finishing touches that will make your artwork stand out.
Refining Details
Before finalizing your painting, take a step back and examine the details. Make sure that you have captured the essence of your subject and that all the elements are in harmony. Use a magnifying glass to check for any imperfections and make necessary adjustments.
Consider adding highlights to bring out the texture of the fur or feathers. Use a white scratchboard tool to create tiny scratches that will give your painting a three-dimensional look. You can also add shadows to create depth and dimension.
Finalizing the Portrait
Once you’re satisfied with the details, it’s time to finalize your animal portrait. Use a black scratchboard tool to darken the areas that need more contrast. Create sharp edges to make the painting look crisp and clean.
Consider the overall composition of the painting. Make sure that the background complements the subject and doesn’t distract from it. You can also add a signature or title to the painting to make it look more professional.
Finally, step back and admire your work. You’ve created a beautiful and realistic animal portrait with scratchboard!
Conclusion
Scratchboard is a unique art medium that requires a lot of patience and dedication to master. However, with the right tools, techniques, and guidance, anyone can learn how to create stunning, realistic animal portraits using this medium.
In this article, we have discussed the step-by-step process of creating a realistic animal portrait with scratchboard. From choosing the right reference photo to creating a detailed sketch and using different scratchboard tools to create texture and depth, every step is crucial in achieving a realistic and lifelike animal portrait.
It’s important to remember that scratchboard is a forgiving medium, and mistakes can be corrected with careful planning and attention to detail. Taking breaks and stepping back from your work can also help you gain a fresh perspective and identify areas that need improvement.
Whether you’re a beginner or an experienced artist, scratchboard is a challenging and rewarding medium that can help you hone your skills and create beautiful works of art. With practice and dedication, you can master the art of scratchboard and create stunning animal portraits that capture the beauty and essence of the natural world.
So, grab your scratchboard tools and start creating your own masterpiece today!