Introduction: Mastering the Art of Latte Art
Latte art is a skill that has been gaining popularity over the years, especially with the rise of specialty coffee shops and cafes. It involves creating intricate designs on the surface of a latte using steamed milk. The designs can range from simple hearts and leaves to more complex shapes like swans and rosettas.
Latte art is not just about making a pretty design on a latte, it also requires a deep understanding of the science behind milk steaming and espresso extraction. In order to create perfect microfoam for latte art, baristas need to master the art of steaming milk to the right texture and temperature. They also need to know how to pull the perfect shot of espresso to create a strong base for the latte.
Why Learn Latte Art?
Learning latte art can be a fun and rewarding experience for coffee enthusiasts and professionals alike. It allows baristas to showcase their creativity and adds an extra touch of elegance to their drinks. For coffee shop owners, offering latte art can set their shop apart from competitors and attract more customers.
Moreover, mastering latte art can also improve the overall quality of a latte. When milk is steamed to the right texture and temperature, it creates a smooth and velvety texture that enhances the flavor of the espresso. This means that not only does latte art look great, it can also taste great.
Getting Started
If you’re interested in learning latte art, there are plenty of resources available online and in-person. You can start by watching tutorials on YouTube or taking classes at a local coffee shop. However, the most important thing is to practice consistently. With time and patience, anyone can master the art of latte art.
The Importance of Milk Texturing
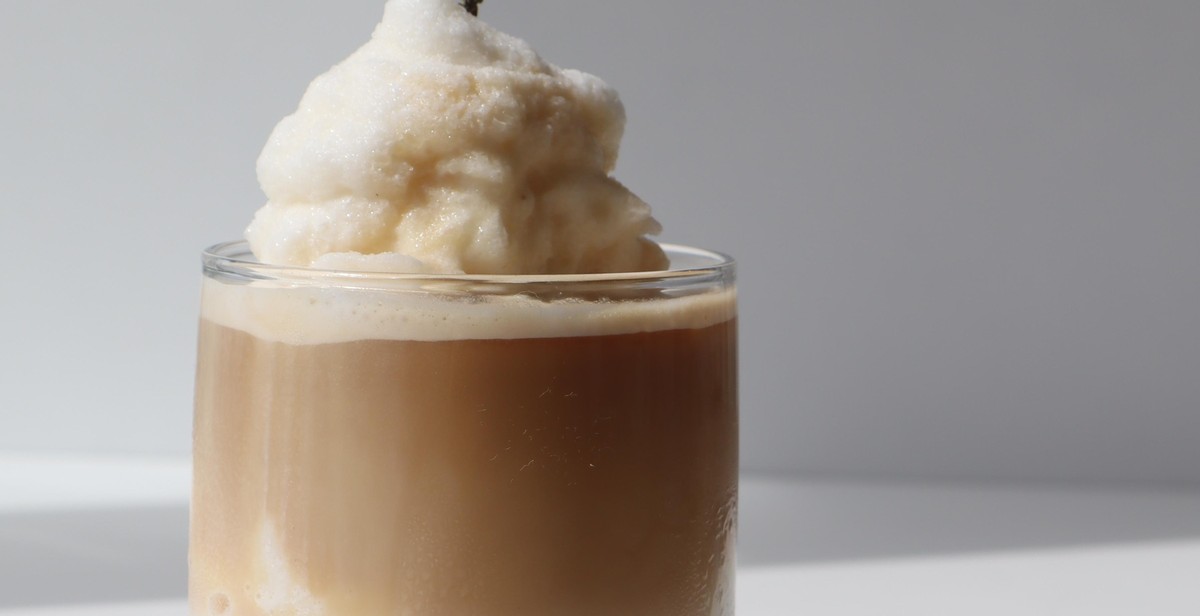
Milk texturing is a crucial element of latte art that is often overlooked by many baristas. However, it is an essential step in creating the perfect latte, cappuccino, or any other milk-based coffee drink. Proper milk texturing not only enhances the taste and texture of the coffee, but it also plays a significant role in the presentation of latte art.
Why is Milk Texturing Important?
The texture of milk is what creates the velvety, creamy texture that is essential in latte art. Properly textured milk also helps to create a stable microfoam that allows baristas to create intricate designs on the surface of the coffee. Without properly textured milk, latte art can be nearly impossible to achieve.
Additionally, milk texturing can also affect the taste of the coffee. Overheating or underheating the milk can result in a burnt or bland taste, respectively. Properly textured milk enhances the sweetness and creaminess of the coffee, making it more enjoyable to drink.
How to Texture Milk Properly
There are several steps to follow to ensure proper milk texturing:
- Start with cold milk and a cold pitcher to prevent scorching.
- Purge the steam wand to ensure there is no water or milk residue inside.
- Submerge the steam wand into the milk and turn on the steam until the milk begins to swirl.
- Position the wand so that it creates a vortex in the milk, which helps to create a microfoam.
- Stop steaming the milk once it reaches the desired temperature (between 140°F and 155°F).
- Tap the pitcher on a flat surface to break any large bubbles and swirl the milk to create a smooth texture.
Mastering the art of milk texturing takes practice, but it is a crucial skill for any barista who wants to create beautiful latte art and delicious coffee drinks.

Mastering the Espresso Shot
Latte art requires a well-pulled espresso shot as its base. Without a proper espresso shot, it’s impossible to create the perfect latte art. Here are some tips to help you pull the perfect espresso shot:
Grind the Beans
The first step to pulling the perfect espresso shot is to grind your coffee beans to the right consistency. A fine grind is ideal for espresso. The grind should be just fine enough to create resistance when you press down on the coffee grounds with a tamper.
Use the Right Amount of Coffee
Using the right amount of coffee is crucial to pulling a perfect espresso shot. A standard shot of espresso requires about 7 grams of coffee. However, you can adjust the amount to suit your taste.
Control the Water Temperature
The water temperature is another critical factor in pulling the perfect espresso shot. The ideal water temperature is between 195°F and 205°F. If the water is too hot, it can burn the coffee, resulting in a bitter taste. If the water is too cold, it can result in a weak espresso shot.
Time the Shot
The ideal time for pulling a shot of espresso is between 25 and 30 seconds. If the shot is too short, it will be weak and watery. If the shot is too long, it will be bitter and over-extracted.
By following these tips, you can pull the perfect espresso shot every time. A well-pulled espresso shot is the foundation for creating beautiful latte art.
| Grind | Coffee Amount | Water Temp | Shot Time |
|---|---|---|---|
| fine | 7g | 195°F – 205°F | 25-30 seconds |

Creating the Perfect Canvas
Before you can begin creating intricate designs with your milk, you need to start with a well-poured espresso shot. This is the foundation of your latte art canvas, so it’s important to get it right. Here are some tips for pouring the perfect shot:
1. Grind your beans fresh
The quality of your espresso shot is only as good as the coffee beans you use. To ensure a rich, flavorful shot, grind your beans fresh just before you make your latte. This will give the espresso a strong, bold flavor that can stand up to the milk.
2. Use the right amount of coffee
When making your espresso shot, it’s important to use the right amount of coffee grounds. This will vary depending on the size of your portafilter and the type of machine you’re using. As a general rule, aim for around 18-20 grams of coffee for a double shot.
3. Tamp the coffee evenly
After you’ve filled your portafilter with coffee, it’s important to tamp it evenly. This means applying firm, even pressure to the coffee grounds to create a level surface. This will ensure that the water flows evenly through the coffee, creating a balanced shot.
4. Time your shot
Timing is crucial when making espresso. You want to aim for a shot that takes around 25-30 seconds to pour. If it takes longer than this, it may be too bitter, and if it takes less time, it may be too weak.
5. Pour the milk slowly
Once you’ve poured your espresso shot, it’s time to add the milk. Start by pouring the milk slowly into the center of the shot. As the cup fills up, gradually move the pitcher back and forth to create a smooth, even layer of milk.
By following these tips, you’ll be well on your way to creating the perfect canvas for your latte art designs.

Basic Latte Art
Latte art is the process of creating designs on the surface of a latte using steamed milk. It’s a skill that takes time and practice to master, but the results are worth it. Latte art adds an extra touch of elegance and sophistication to a cup of coffee, making it even more enjoyable to drink.
The Heart
The heart is one of the simplest latte art designs to create. To make a heart, start by pouring a shot of espresso into a cup. Then, steam some milk until it’s hot and frothy. Hold the cup at an angle and pour the milk into the center of the espresso, creating a white dot. Then, pour the milk in a thin stream from the center of the dot to the edge of the cup, moving back and forth in a zigzag pattern. As you pour, the white dot will expand and create a heart shape.
Tips for Creating a Heart:
- Make sure the cup is tilted at a 45-degree angle
- Pour the milk in a thin stream
- Move the pitcher back and forth in a zigzag pattern
- Pour slowly
The Rosetta
The Rosetta is a more complex latte art design that requires some skill and practice. To make a Rosetta, start by pouring a shot of espresso into a cup. Then, steam some milk until it’s hot and frothy. Hold the cup at an angle and pour the milk into the center of the espresso, creating a white dot. Then, pour the milk in a thin stream from the center of the dot to the edge of the cup, moving back and forth in a zigzag pattern. As you pour, move the pitcher in a circular motion to create the Rosetta pattern.
Tips for Creating a Rosetta:
- Make sure the cup is tilted at a 45-degree angle
- Pour the milk in a thin stream
- Move the pitcher back and forth in a zigzag pattern
- Move the pitcher in a circular motion to create the Rosetta pattern
- Practice, practice, practice!
| Design | Description |
|---|---|
| Heart | A simple design that adds an elegant touch to a latte. |
| Rosetta | A more complex design that requires some skill and practice to master. |

Advanced Latte Art Techniques
The Tulip
The tulip is a beautiful and intricate latte art design that requires a steady hand and a lot of practice. To create a tulip, you will need to start with a base of steamed milk and espresso. Begin by pouring the milk into the center of the espresso, then slowly move the pitcher back and forth while continuing to pour. As the milk begins to form a circle on top of the espresso, start to move the pitcher in a circular motion to create a swirl.
Next, use a small, thin stream of milk to draw a line through the center of the swirl, creating a stem for the tulip. Then, using a slightly thicker stream of milk, create small circles around the stem to form the petals of the tulip. Continue to pour the milk in a circular motion, gradually moving the pitcher up and down to create layers of petals.
The Swan
The swan is a more advanced latte art design that requires precision and attention to detail. To create a swan, start by pouring a base of steamed milk and espresso into the cup. Then, using a small stream of milk, draw a line through the center of the cup to create the swan’s neck. Next, use a thicker stream of milk to create the swan’s body, gradually increasing the amount of milk as you move towards the back of the cup.
Once you have created the body, use a small stream of milk to create the swan’s head, using a circular motion to create a round shape. Then, use a toothpick or a latte art pen to draw in the beak and the eyes of the swan. Finally, use a small stream of milk to create the swan’s wings, using a back-and-forth motion to create a feathered effect.
| Technique | Description | Difficulty |
|---|---|---|
| The Tulip | A latte art design that requires a steady hand and a lot of practice, creating a tulip shape using steamed milk and espresso. | Intermediate |
| The Swan | A more advanced latte art design that requires precision and attention to detail, creating a swan shape using steamed milk and espresso. | Advanced |

Practice and Patience
Latte art is a skill that requires a lot of practice and patience. It is not something that you can master overnight, but with consistent practice and patience, you can become a latte art pro. Here are some tips for practicing latte art:
Tips for Practicing Latte Art
- Start with the basics: Before you start practicing more complex designs, make sure you have mastered the basics. Practice pouring simple designs like hearts and rosettas before moving on to more complex designs.
- Use the right equipment: Using the right equipment can make a huge difference in your latte art. Invest in a good quality espresso machine, milk frother, and pitcher to make the process easier.
- Watch tutorials: There are plenty of online tutorials available that can help you improve your latte art skills. Watch videos and learn from the experts.
- Practice consistently: Practice makes perfect. Set aside time each day to practice your latte art skills. The more you practice, the better you will become.
The Importance of Patience
Patience is key when it comes to latte art. It takes time and practice to perfect your skills, and you need to be patient with yourself. Don’t get discouraged if your designs don’t turn out perfectly at first. Keep practicing and you will get there.
Remember, latte art is a skill that requires time and effort to master. Practice consistently and be patient with yourself. With time, you will become a latte art pro.
