
How to Make Homemade Sourdough Bread: Recipes and Techniques for Tangy Loaves
There’s something special about the aroma of freshly baked sourdough bread filling your home. Making homemade sourdough bread is a rewarding and satisfying experience that requires patience, practice, and a bit of know-how. In this article, I’ll walk you through the steps to create tangy, delicious sourdough bread in your own kitchen.
What is Sourdough Bread?
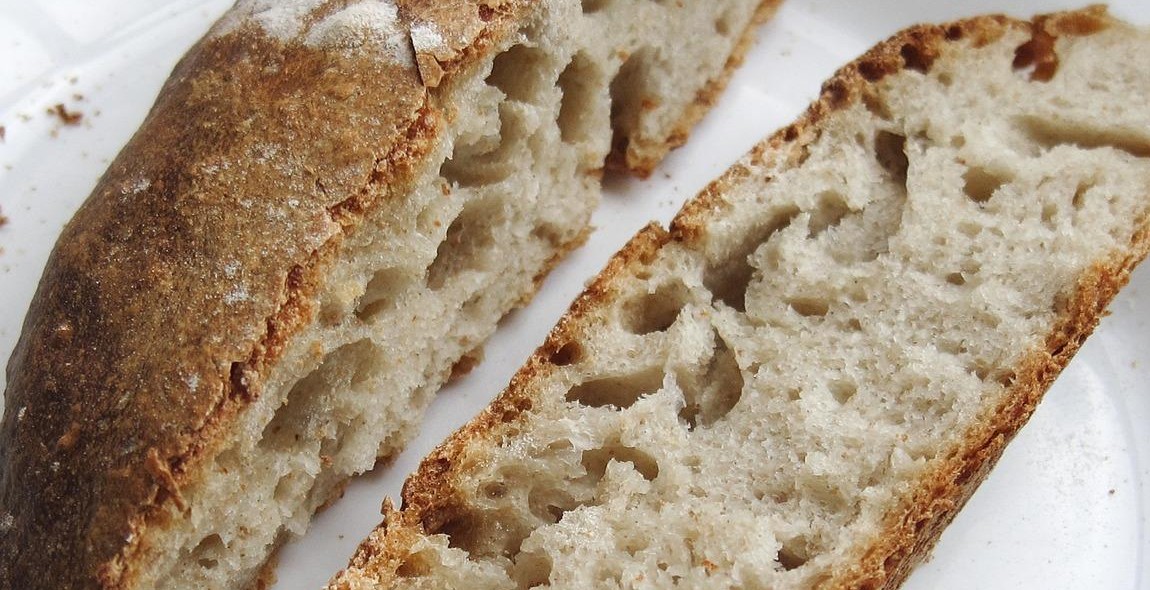
Sourdough bread is a type of bread made with a naturally fermented dough. The fermentation process is achieved by a combination of wild yeasts and bacteria present in the flour and the environment. This process gives sourdough bread its distinct tangy flavor and chewy texture.
Why Make Homemade Sourdough Bread?
There are many reasons to make your own sourdough bread. For one, it’s a great way to use up leftover flour and reduce food waste. Additionally, homemade sourdough bread is healthier and more nutritious than store-bought bread. It contains no preservatives or additives and is easier to digest due to the fermentation process.
What You’ll Need
To make sourdough bread, you’ll need a few basic ingredients:
- Flour
- Water
- Salt
- A sourdough starter
You’ll also need some basic kitchen tools, including a mixing bowl, a kitchen scale, and a Dutch oven or baking stone.
Getting Started
Before you can make sourdough bread, you’ll need to create a sourdough starter. This is a mixture of flour and water that has been allowed to ferment for several days. Once you have a sourdough starter, you can use it to make bread indefinitely.
Ready to get started? Let’s dive into the world of homemade sourdough bread!

What is Sourdough Bread?
Sourdough bread is a type of bread that is made by fermenting dough using naturally occurring lactobacilli and yeast. The dough is left to ferment for a period of time, which can range from a few hours to several days, depending on the recipe and the desired flavor profile. During this time, the lactobacilli and yeast consume the sugars in the dough, releasing carbon dioxide and other gases that cause the dough to rise.
The Basics of Sourdough
Sourdough is made using a combination of flour, water, and a sourdough starter. The starter is a mixture of flour and water that has been allowed to ferment for several days, or even weeks. During this time, the lactobacilli and yeast in the starter multiply, creating a culture that can be used to ferment dough.
When making sourdough bread, the starter is mixed with flour and water to create a dough. The dough is then left to ferment for a period of time, during which the lactobacilli and yeast in the starter consume the sugars in the dough, producing carbon dioxide and other gases that cause the dough to rise.
One of the key differences between sourdough and other types of bread is the use of a sourdough starter. This starter contains a mixture of lactobacilli and yeast that give sourdough bread its distinctive tangy flavor and chewy texture.
The Benefits of Sourdough
Sourdough bread has a number of benefits over other types of bread. One of the main benefits is the fact that it is easier to digest. The lactobacilli in sourdough starter help to break down the gluten in the dough, making it easier for our bodies to digest.
Sourdough bread also has a lower glycemic index than other types of bread. This means that it causes a slower and more steady rise in blood sugar levels, which can be beneficial for people with diabetes or other blood sugar-related conditions.
Finally, sourdough bread has a longer shelf life than other types of bread. This is due to the fact that the lactobacilli in the starter help to preserve the bread, preventing it from going stale as quickly as other types of bread.
| Benefits of Sourdough Bread |
|---|
| Easier to digest |
| Lower glycemic index |
| Longer shelf life |
Ingredients for Homemade Sourdough Bread
1. Flour:
Flour is the main ingredient for sourdough bread. It provides the structure and texture for the bread. Use high-quality bread flour or all-purpose flour for best results. You can also experiment with different types of flour such as rye, spelt, or whole wheat to add flavor and complexity to your bread.
2. Water:
Water is essential for activating the yeast in the starter and creating the right consistency for the dough. Use filtered or bottled water to avoid any chlorine or other chemicals that may affect the fermentation process. The temperature of the water is also crucial, as it can affect the fermentation time and the final texture of the bread.
3. Starter:
The starter is the heart of sourdough bread. It is a mixture of flour and water that has been fermented by wild yeast and bacteria. The starter provides the leavening for the bread and adds the distinctive tangy flavor. You can create your own starter by mixing flour and water and letting it ferment for several days, or you can get a starter from a friend or a reputable source.
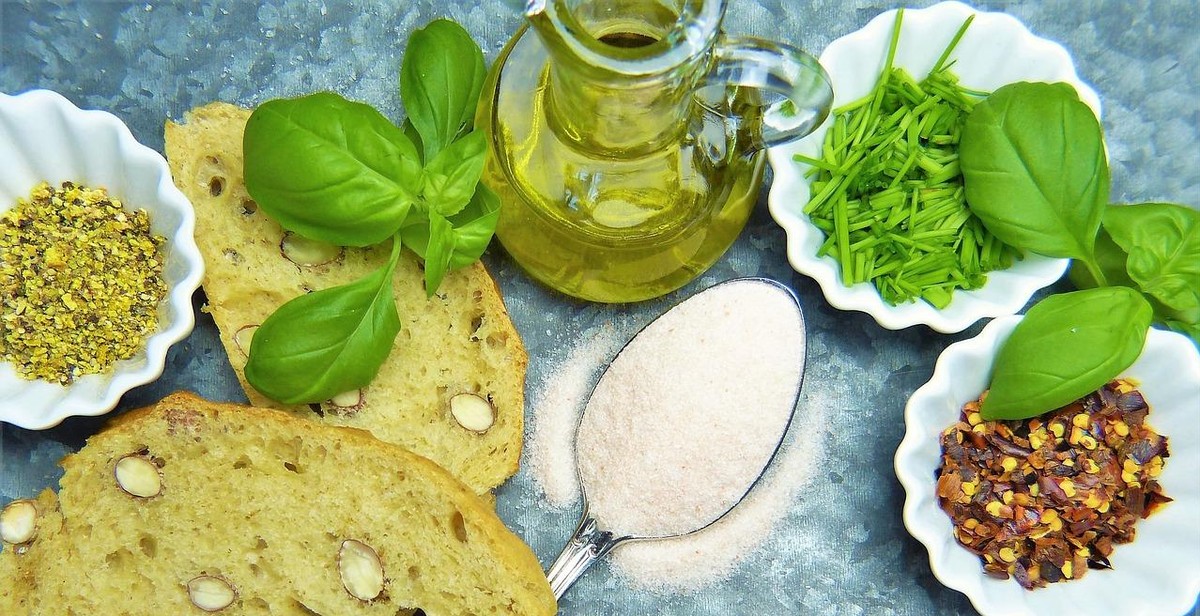
4. Salt:
Salt is essential for enhancing the flavor of the bread and controlling the fermentation process. It helps to slow down the activity of the yeast and bacteria, which allows the flavor to develop more fully. Use a high-quality sea salt or kosher salt for best results.
| Ingredient | Amount |
|---|---|
| Flour | 3 cups |
| Water | 1 1/2 cups |
| Starter | 1/2 cup |
| Salt | 1 teaspoon |
Making a Sourdough Starter
If you want to make homemade sourdough bread, you need a sourdough starter. A sourdough starter is a natural leavening agent that contains wild yeast and bacteria. It’s what gives sourdough bread its distinctive tangy flavor and chewy texture.
What is a Starter?
A sourdough starter is a mixture of flour and water that’s left to ferment for several days. During the fermentation process, wild yeast and bacteria from the flour and the air combine to create a bubbly, living culture. This culture is what you’ll use to leaven your bread dough instead of commercial yeast.
Creating a Starter
Creating a sourdough starter is easy, but it requires patience. You’ll need to feed your starter regularly to keep it alive and healthy.
- Start by mixing equal parts of flour and water in a clean, glass jar. Use room temperature water and unbleached flour. Whole wheat flour or rye flour works best, but you can use all-purpose flour if that’s all you have.
- Cover the jar with a clean kitchen towel or cheesecloth and let it sit in a warm spot in your kitchen, away from direct sunlight and drafts.
- After 24 hours, you should see some bubbles forming on the surface of the mixture. This means that the wild yeast and bacteria are starting to grow.
- Discard about half of the mixture and add more flour and water to feed the remaining culture. You should always discard and feed your starter at the same time every day to establish a routine.
- Repeat this process every day for 5-7 days, or until your starter is bubbly and has a pleasant sour smell. Your starter is now ready to use.
Feeding and Maintaining Your Starter
Once you’ve created your starter, you’ll need to feed it regularly to keep it alive and healthy. Here’s how:
| Ingredients | Instructions |
|---|---|
| 1 cup of starter | Discard all but 1/2 cup of your starter and transfer it to a clean jar. |
| 1 cup of flour | Add 1 cup of flour and 1/2 cup of room temperature water to the jar and stir well to combine. |
| 1/2 cup of water | Cover the jar with a clean kitchen towel or cheesecloth and let it sit in a warm spot in your kitchen for 12-24 hours, or until it’s bubbly and has doubled in size. |
Repeat this process every day, or every time you use your starter to bake bread. If you don’t plan on using your starter for a while, you can store it in the fridge. Just remember to feed it once a week to keep it alive.

Mixing and Kneading the Dough
Mixing and kneading are two of the most important steps in making sourdough bread. They help to develop the gluten in the dough, which gives the bread its structure and texture. Here’s how to do it:
Mixing the Dough
1. In a large mixing bowl, combine the sourdough starter, flour, salt, and water. Use a wooden spoon or your hands to mix the ingredients together until they form a shaggy, sticky dough.
2. Let the dough rest for 10-15 minutes to allow the flour to fully hydrate. This will make it easier to knead later on.
3. After the resting period, use your hands to knead the dough in the bowl for a few minutes. This will help to distribute the ingredients evenly throughout the dough.
4. Turn the dough out onto a clean, lightly floured surface and continue to knead for 10-15 minutes. Use the heel of your hand to push the dough away from you, then fold it back over itself and repeat. The dough should start to feel smooth and elastic.
Kneading the Dough
1. Once the dough is mixed, it’s time to start kneading. Kneading helps to develop the gluten in the dough, which gives the bread its structure and texture.
2. Turn the dough out onto a clean, lightly floured surface and knead for 10-15 minutes. Use the heel of your hand to push the dough away from you, then fold it back over itself and repeat. The dough should start to feel smooth and elastic.
3. As you knead, you may need to add more flour if the dough feels too sticky or more water if it feels too dry. The dough should be slightly tacky to the touch, but not overly sticky.
4. To test if the dough is ready, perform the “windowpane test.” Take a small piece of dough and stretch it out between your fingers. If it stretches thin enough to see light through it without tearing, the gluten has developed enough and the dough is ready to rise.
| Tips: |
| – Don’t over-knead the dough or it will become tough and chewy. |
| – If you don’t have a clean surface to knead on, you can use a large mixing bowl instead. |
| – If you’re new to bread making, it may take a few tries to get the hang of kneading. Don’t be discouraged if your first loaf doesn’t turn out perfectly! |
Proofing and Shaping the Loaf
Proofing is the process of allowing the dough to rise after it has been shaped. This is an important step in making sourdough bread because it allows the bread to develop its characteristic texture and flavor. Here are some tips for proofing your sourdough bread:
Proofing the Dough
1. After shaping the dough, place it in a lightly floured proofing basket or bowl. Cover the dough with a clean kitchen towel or plastic wrap to prevent it from drying out.
2. Let the dough rise at room temperature for 1-2 hours, or until it has doubled in size. The exact time will depend on the temperature of your kitchen and the strength of your sourdough starter.
3. To test if the dough is ready, gently press your finger into the dough. If the indentation remains, the dough is ready. If the dough springs back, it needs more time to proof.
4. You can also do a “float test” to see if the dough is ready. Fill a bowl with water and gently place a small piece of the dough on top. If the dough floats, it is ready to bake.
Shaping the Loaf
1. To shape the dough, gently remove it from the proofing basket or bowl and place it on a lightly floured surface.
2. Use your hands to gently stretch and fold the dough into a round or oval shape. You can also create a “boule” shape by pulling the sides of the dough towards the center and pinching them together.
3. Place the shaped dough into a floured banneton or proofing basket, seam side up. Cover the dough with a clean kitchen towel or plastic wrap and let it rest for 10-15 minutes.
4. Once the dough has rested, gently turn it out onto a piece of parchment paper or a floured baking sheet. Use a sharp knife or razor blade to score the top of the dough with a few shallow cuts.
5. Bake the bread in a preheated oven at 450°F for 30-40 minutes, or until the crust is golden brown and the bread sounds hollow when tapped on the bottom.
By following these tips for proofing and shaping your sourdough bread, you can create a delicious and tangy loaf that is perfect for sandwiches, toast, or just enjoying on its own.
Baking the Bread
After the bread has been proofed, it’s time to bake it. Baking the bread is a crucial step to achieving that perfect, tangy loaf. Here’s how you can do it:
Preparing the Oven
Preheat your oven to 450°F (230°C) for at least 30 minutes before baking the bread. You want your oven to be hot enough to create that beautiful crust on your sourdough bread.
If you have a baking stone or a cast-iron skillet, place it in the oven to preheat as well. This will help to evenly distribute the heat and create a crispy crust.
Baking the Bread
- Carefully remove the proofed dough from the banneton or bowl and place it onto a piece of parchment paper.
- Use a sharp knife or razor blade to score the top of the dough. This will allow the bread to expand as it bakes.
- Transfer the dough onto the preheated baking stone or cast-iron skillet.
- Spray some water onto the dough using a spray bottle or sprinkle some water onto the bottom of the oven to create steam. This will help to create a crispy crust.
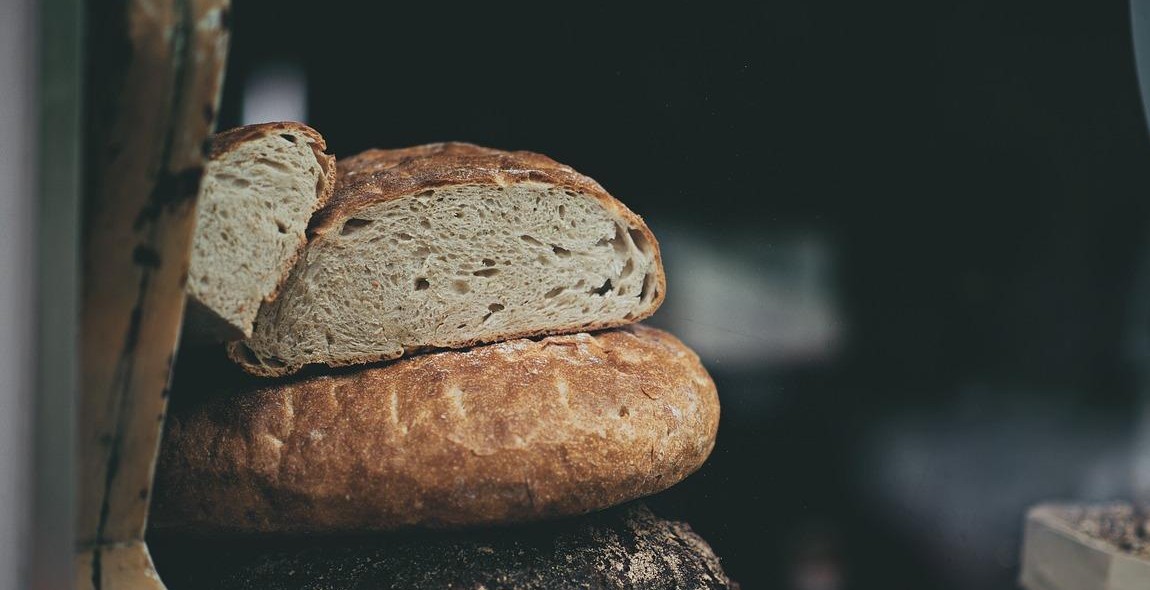
- Bake the bread for 25-30 minutes or until the crust is golden brown.
- Remove the bread from the oven and let it cool on a wire rack for at least 30 minutes before slicing.
Congratulations, you have just baked your own homemade sourdough bread!
| Tip | Why it Works |
|---|---|
| Score the Dough | Scoring the dough allows it to expand as it bakes and prevents it from cracking. |
| Create Steam | Steam helps to create a crispy crust by delaying the formation of a hard crust. |
| Let it Cool | Letting the bread cool allows the crumb to set and prevents it from becoming gummy. |
Troubleshooting Homemade Sourdough Bread
While making sourdough bread at home can be a rewarding experience, it’s not always a straightforward process. Here are some common issues you might encounter and how to troubleshoot them:
The Bread Didn’t Rise
If your sourdough bread didn’t rise, it could be due to a few different factors:
- The starter wasn’t active enough. Make sure your starter is healthy and active before using it in your dough. You can test this by dropping a spoonful of starter into a glass of water. If it floats, it’s ready to use.
- You didn’t give the dough enough time to rise. Sourdough bread takes longer to rise than bread made with commercial yeast. Make sure you’re giving your dough enough time to ferment and rise, especially if your kitchen is cooler.
- Your dough was too cold. Sourdough bread dough should be kept at a warm room temperature (around 70°F) to encourage fermentation. If your dough is too cold, it won’t rise properly.
The Bread is Too Dense
If your sourdough bread is coming out too dense, it could be due to a few different factors:
- You didn’t knead the dough enough. Sourdough bread dough needs to be kneaded thoroughly to develop gluten and create a light, airy texture. Make sure you’re kneading your dough until it’s smooth and elastic.
- You overproofed the dough. If you let your dough rise for too long, it can become overproofed and collapse in the oven. Pay attention to the dough’s rise and don’t let it go too far.
- Your oven temperature was too low. Sourdough bread needs a hot oven to create steam and give the bread a good rise. Make sure your oven is preheated to the correct temperature (usually around 450°F) before baking your bread.
The Bread is Too Sour
If your sourdough bread is too sour, it could be due to a few different factors:
- Your starter is too acidic. If your starter is very sour, it can make your bread sour as well. Try feeding your starter more frequently to reduce its acidity.
- You let the dough ferment for too long. If you let your dough ferment for too long, it can become overly sour. Pay attention to the dough’s rise and don’t let it go too far.
- Your kitchen is too warm. Sourdough bread ferments more quickly at warmer temperatures, which can lead to a more sour flavor. Try fermenting your dough in a cooler part of your kitchen to slow down the fermentation process.
| Issue | Possible Causes | Troubleshooting Tips |
|---|---|---|
| The Bread Didn’t Rise | Inactive starter, not enough rise time, dough too cold | Use an active starter, give the dough enough time to rise, keep the dough at a warm room temperature |
| The Bread is Too Dense | Not enough kneading, overproofing, oven temperature too low | Knead the dough thoroughly, watch the dough’s rise, preheat your oven to the correct temperature |
| The Bread is Too Sour | Acidic starter, too much fermentation time, warm kitchen | Feed your starter more frequently, monitor the dough’s rise, ferment the dough in a cooler part of your kitchen |
Conclusion
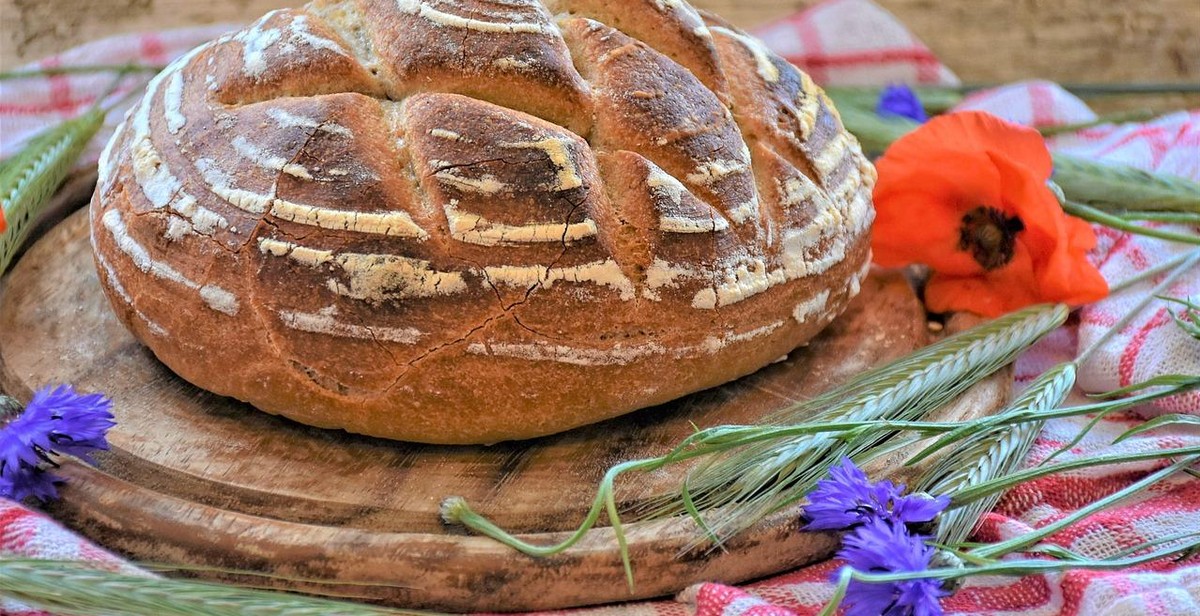
Making homemade sourdough bread is a rewarding and satisfying experience that allows you to enjoy the tangy, delicious taste of fresh-baked bread in the comfort of your own home. With the right ingredients, techniques, and equipment, anyone can become a master sourdough baker.
Tips for Successful Sourdough Baking
- Use high-quality ingredients, including organic flour and filtered water.
- Take your time and be patient with the process. Sourdough bread requires a longer fermentation period than traditional bread.
- Experiment with different recipes and techniques to find what works best for you.
- Invest in a quality Dutch oven or bread cloche to achieve a crispy crust and tender crumb.
- Don’t be afraid to make mistakes. Sourdough baking is a learning process, and even the most experienced bakers encounter challenges.
Final Thoughts
Homemade sourdough bread is a delicious and healthy alternative to store-bought bread. By following the recipes and techniques outlined in this article, you can create tangy, flavorful loaves that are sure to impress your friends and family. Whether you’re a seasoned baker or a beginner, the key to successful sourdough baking is practice, patience, and a deep love for the art of bread making.