
How to Make Homemade Soap: Recipes and Techniques for Crafting Natural Soaps
If you’re looking for a fun and rewarding DIY project, making homemade soap is a great place to start. Not only do you get to customize your soap with your favorite scents and ingredients, but you also get to avoid the harsh chemicals found in many commercial soaps.
Why Make Homemade Soap?
Commercial soaps often contain synthetic fragrances, preservatives, and detergents that can irritate sensitive skin and even cause allergic reactions. Homemade soap, on the other hand, is made with natural ingredients and can be tailored to meet your specific needs.
In addition to being better for your skin, making soap at home is also an eco-friendly option. By using natural ingredients and avoiding excess packaging, you can reduce your environmental impact and create a more sustainable home.
Getting Started
While making soap may seem intimidating at first, it’s actually a straightforward process that requires just a few key ingredients and tools. With a little bit of practice, you’ll be able to create beautiful, natural soaps that you can use and share with your loved ones.
- Choose your ingredients
- Gather your tools
- Follow a recipe
- Experiment and have fun!
In this article, we’ll walk you through the basics of making homemade soap, including the ingredients and equipment you’ll need, as well as some tried-and-true recipes to get you started.
Why Make Homemade Soap?
There are many reasons why making homemade soap can be a fun and rewarding experience. Here are a few:
1. Control Over Ingredients
When you make your own soap, you have complete control over the ingredients that go into it. This means that you can avoid harsh chemicals and synthetic fragrances, which can be irritating to the skin. Instead, you can use natural ingredients like essential oils, herbs, and botanicals to create a soap that is gentle and nourishing for your skin.
2. Cost-Effective
Buying natural soap from the store can be expensive, especially if you are looking for high-quality, artisanal products. Making your own soap can be a cost-effective alternative, as you can purchase ingredients in bulk and create large batches of soap at once. This can save you money in the long run, especially if you plan to make soap on a regular basis.
3. Creative Expression
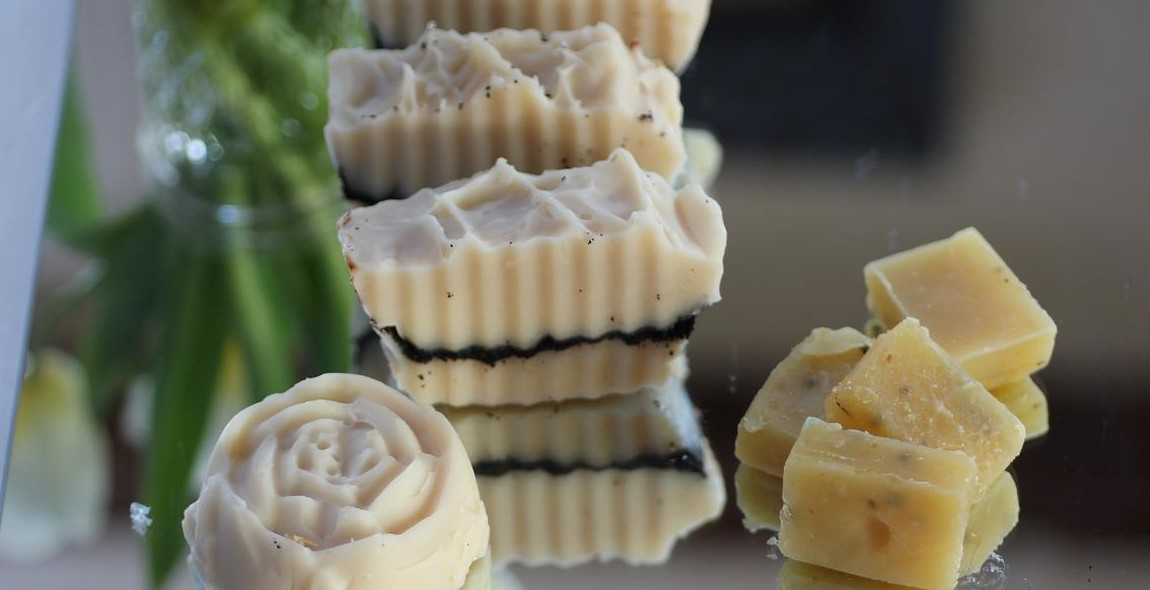
Making soap is a creative process that allows you to express your artistic side. You can experiment with different colors, scents, and textures to create unique soap creations that reflect your personal style and preferences. Soap making can also be a fun activity to do with friends and family, as you can share ideas and techniques to create beautiful and functional soap together.
4. Eco-Friendly
Making your own soap is an eco-friendly alternative to buying commercial soap, as it reduces packaging waste and promotes sustainability. By using natural ingredients and avoiding harsh chemicals, you can create a soap that is gentle on the environment and promotes a healthier lifestyle.
5. Health Benefits
Natural soap made with high-quality ingredients can provide numerous health benefits for your skin. Essential oils, for example, can promote relaxation and reduce stress, while herbs and botanicals can soothe and heal the skin. By making your own soap, you can tailor your recipes to meet your specific skin care needs and create a soap that supports your overall health and well-being.
Conclusion
As you can see, there are many reasons why making homemade soap can be a rewarding and beneficial experience. Whether you are looking for a cost-effective alternative to store-bought soap, a creative outlet, or a way to promote sustainability and natural living, making your own soap can be a fun and fulfilling activity. In the following sections, we will explore some popular soap making techniques and recipes to help you get started on your soap making journey.
Ingredients for Homemade Soap Making
Lye
Lye, also known as sodium hydroxide, is a crucial ingredient in soap making. It is used to create the chemical reaction that turns oils and fats into soap. When handling lye, it is important to wear protective gear like gloves and goggles, as it can be caustic and harmful if it comes into contact with skin or eyes. Always measure lye carefully and follow safety guidelines.
Oils and Fats
The oils and fats used in soap making are what give soap its unique properties. Different oils and fats have different properties, such as hardness, lather, and moisturizing abilities. Some popular oils and fats used in soap making include coconut oil, olive oil, shea butter, and cocoa butter. It is important to choose oils and fats that are high quality and suitable for your skin type.
Water
Water is used to dissolve the lye and create the chemical reaction that turns oils and fats into soap. Distilled water is often recommended for soap making, as it is free of impurities that can affect the final product. The amount of water used in soap making can also affect the final texture and hardness of the soap.
Additives
Additives are optional ingredients that can be added to soap to enhance its properties or add color and fragrance. Some popular additives include essential oils, herbs, clays, and colorants. It is important to choose additives that are safe for use in soap and to follow recommended usage rates.
| Oil/Fat | Properties |
|---|---|
| Coconut oil | Produces a hard, cleansing bar with good lather |
| Olive oil | Produces a soft, gentle bar with mild lather |
| Shea butter | Moisturizing and nourishing for the skin |
| Cocoa butter | Moisturizing and adds hardness to soap |
Equipment for Homemade Soap Making
Before you start making your own soap, it is important to have the right equipment. This will not only make your soap making process easier, but it will also ensure that you are making soap safely. Here are some essential equipment for homemade soap making:
Safety Equipment
Making soap involves working with lye, which is a caustic chemical that can cause serious burns if it comes into contact with your skin or eyes. Therefore, it is important to have the following safety equipment:
- Chemical-resistant gloves
- Safety goggles
- Long-sleeved shirt and pants
- Closed-toe shoes
- A well-ventilated workspace
Measuring Equipment
Accurate measurements are crucial when making soap. Here are some measuring equipment that you will need:
- Digital kitchen scale
- Glass measuring cups
- Measuring spoons
- Thermometer
Mixing Equipment
You will need mixing equipment to blend your soap ingredients together. Here are some mixing equipment that you will need:
- Stainless steel or heat-resistant plastic mixing bowls
- Stick blender (also known as an immersion blender)
- Whisk or spatula
Moulds
Finally, you will need moulds to shape your soap. You can use a variety of moulds, including:
- Silicone soap moulds
- Plastic containers
- Cardboard boxes lined with parchment paper
It is important to note that you should not use any equipment that has been used with food to make soap. This is because lye can react with certain metals, such as aluminum and copper, and cause a dangerous chemical reaction.
| Equipment | Examples |
|---|---|
| Safety Equipment | Chemical-resistant gloves, safety goggles, long-sleeved shirt and pants, closed-toe shoes, a well-ventilated workspace |
| Measuring Equipment | Digital kitchen scale, glass measuring cups, measuring spoons, thermometer |
| Mixing Equipment | Stainless steel or heat-resistant plastic mixing bowls, stick blender, whisk or spatula |
| Moulds | Silicone soap moulds, plastic containers, cardboard boxes lined with parchment paper |
Cold Process Soap Making
Cold process soap making is a traditional method of soap making that involves using lye, fats, and oils to create soap. The process of making cold process soap involves mixing lye and water to create a lye solution, which is then mixed with oils and fats. The mixture is then poured into molds and left to cure for several weeks before it can be used.
Ingredients:
- Lye
- Water
- Fats and oils
- Fragrance or essential oils (optional)
- Colorants (optional)
Steps:
- Mix lye and water in a well-ventilated area.
- Melt fats and oils in a separate container.
- Mix lye solution and melted fats and oils until they reach trace.
- Add fragrance or essential oils and colorants (optional).
- Pour mixture into molds and let cure for several weeks.
Hot Process Soap Making
Hot process soap making is similar to cold process soap making, but the process is accelerated by using heat. The soap mixture is heated in a slow cooker or on a stove until it reaches the desired consistency. Hot process soap making is a great option for those who want to use their soap immediately after making it.
Ingredients:
- Lye
- Water
- Fats and oils
- Fragrance or essential oils (optional)
- Colorants (optional)
Steps:
- Mix lye and water in a well-ventilated area.
- Melt fats and oils in a separate container.
- Mix lye solution and melted fats and oils until they reach trace.
- Add fragrance or essential oils and colorants (optional).
- Cook the soap mixture in a slow cooker or on a stove until it reaches the desired consistency.
- Pour mixture into molds and let cure for several weeks.
Melt and Pour Soap Making
Melt and pour soap making is a quick and easy method of soap making that involves melting pre-made soap base and adding fragrance, colorants, and other additives. The soap base is melted in a microwave or on a stove, and then poured into molds.
Ingredients:
- Pre-made soap base
- Fragrance or essential oils (optional)
- Colorants (optional)
Steps:
- Melt pre-made soap base in a microwave or on a stove.
- Add fragrance or essential oils and colorants (optional).
- Pour mixture into molds and let cool and harden.
| Method | Pros | Cons |
|---|---|---|
| Cold Process Soap Making | Allows for more control over ingredients and final product. | Requires longer cure time. |
| Hot Process Soap Making | Allows for immediate use of soap. | Can be more difficult to achieve desired consistency. |
| Melt and Pour Soap Making | Quick and easy method. | Less control over ingredients and final product. |
Basic Soap Recipes
Simple Olive Oil Soap
If you’re looking for a basic and easy soap recipe, this simple olive oil soap is a great place to start. It requires only three ingredients and is gentle on the skin.
| Ingredients | Measurements |
|---|---|
| Olive oil | 1 pound |
| Water | 6 ounces |
| Lye | 2.2 ounces |
To make this soap, start by measuring out the water and lye in separate containers. Slowly pour the lye into the water while stirring constantly. Be sure to wear gloves and protective eyewear when working with lye.
Next, heat the olive oil in a pot on the stove until it reaches about 100 degrees Fahrenheit. Once the lye mixture has cooled to the same temperature, slowly pour it into the pot with the olive oil, stirring constantly.
Continue stirring until the mixture thickens and reaches a trace. This is when the mixture has thickened enough to leave a visible trail or “trace” when you drizzle some of it back into the pot.
Pour the mixture into a soap mold and let it sit for 24 hours. After that, remove the soap from the mold and let it cure for 4-6 weeks before using.
Castile Soap
Castile soap is a traditional soap made from olive oil and is known for its mild and gentle properties. It’s a great option for those with sensitive skin.
| Ingredients | Measurements |
|---|---|
| Olive oil | 2 pounds |
| Water | 10 ounces |
| Lye | 4.4 ounces |
To make Castile soap, follow the same steps as the simple olive oil soap recipe above.
Coconut Oil Soap
Coconut oil soap is a great option for those looking for a harder bar of soap with a rich lather. It’s also known for its moisturizing properties and is a popular choice for soap makers.
| Ingredients | Measurements |
|---|---|
| Coconut oil | 1 pound |
| Water | 4.4 ounces |
| Lye | 2.2 ounces |
To make coconut oil soap, follow the same steps as the simple olive oil soap recipe above.
- Remember to always wear gloves and protective eyewear when working with lye.
- Be sure to measure your ingredients accurately for best results.
- Curing your soap for 4-6 weeks will help it to harden and become milder.
Adding Fragrance and Color to Homemade Soap
One of the most exciting aspects of making homemade soap is customizing it to your liking. Adding fragrance and color to your soap can make it more appealing and enjoyable to use. There are several options for adding fragrance and color to your soap, including essential oils, fragrance oils, natural colorants, and synthetic colorants.
Essential Oils
Essential oils are a popular choice for adding fragrance to homemade soap. They are derived from plants and offer a natural and pleasant scent. Some popular essential oils for soap making include lavender, peppermint, and eucalyptus. When using essential oils, it’s important to add them at the right time in the soap making process to ensure that the scent is not lost.
Fragrance Oils
Fragrance oils are synthetic scents that are specifically designed for use in soap making. They offer a wide range of scents and are often more affordable than essential oils. When using fragrance oils, it’s important to choose high-quality oils that are specifically formulated for soap making. Additionally, it’s important to follow the recommended usage rates to ensure that the fragrance is not overpowering.
Natural Colorants
Natural colorants are derived from plants, minerals, and other natural sources. They offer a range of colors and can add a unique touch to your soap. Some popular natural colorants for soap making include turmeric, spirulina, and beetroot powder. When using natural colorants, it’s important to keep in mind that the final color may vary depending on the pH of the soap and other factors.
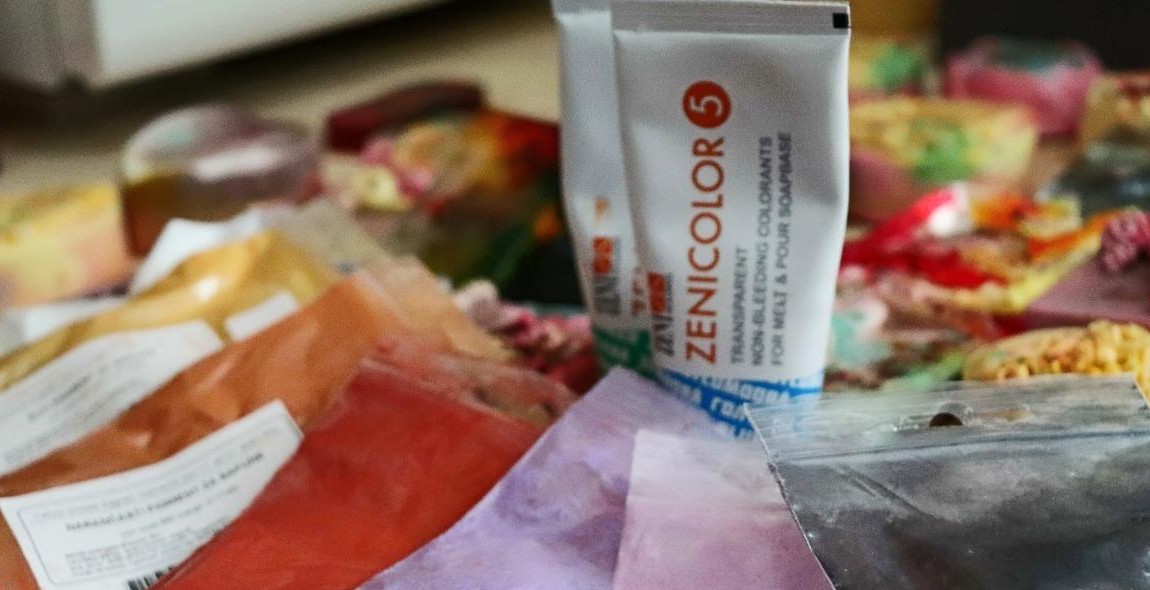
Synthetic Colorants
Synthetic colorants are man-made colors that offer a wide range of vibrant and consistent colors. They are often more affordable than natural colorants and can be used to create a range of effects. When using synthetic colorants, it’s important to choose high-quality colors that are specifically formulated for soap making. Additionally, it’s important to follow the recommended usage rates to ensure that the color is not too intense.
| Option | Pros | Cons |
|---|---|---|
| Essential Oils | Natural, pleasant scent | Can be expensive, may fade over time |
| Fragrance Oils | Wide range of scents, affordable | Synthetic, may contain irritants |
| Natural Colorants | Natural, unique colors | May be unpredictable, may fade over time |
| Synthetic Colorants | Consistent, vibrant colors | Synthetic, may contain irritants |
Overall, adding fragrance and color to homemade soap can be a fun and creative process. Whether you choose to use natural or synthetic options, it’s important to follow recommended usage rates and to choose high-quality ingredients for the best results.
Troubleshooting Homemade Soap Making
Homemade soap making can be a fun and rewarding experience, but it can also be frustrating when things don’t go as planned. Here are some common soap making problems and how to troubleshoot them.
Soda Ash
Soda ash is a white, powdery substance that can form on the surface of your soap. It’s caused by the reaction of the soap with carbon dioxide in the air. While it’s not harmful, it can be unsightly and affect the texture of your soap. To prevent soda ash, try spritzing your soap with alcohol as soon as you pour it into the mold.
Seizing
Seizing is when your soap mixture suddenly thickens and becomes difficult to work with. This can happen if you add your fragrance or essential oils too quickly or if you overmix your soap. To prevent seizing, add your fragrance or essential oils slowly and mix gently.
Separation
Separation is when your soap mixture separates into layers or oil pools on top. This can happen if you don’t mix your ingredients well enough or if you add your fragrance or essential oils too quickly. To prevent separation, make sure you mix your ingredients thoroughly and add your fragrance or essential oils slowly.
Ricing
Ricing is when your soap mixture develops little lumps that resemble rice. This can happen if you’re using ingredients that don’t blend well together or if you’re mixing your soap too vigorously. To prevent ricing, try using a stick blender instead of a whisk and make sure your ingredients are at the same temperature before you mix them.
Acceleration
Acceleration is when your soap mixture thickens and sets up too quickly. This can happen if you’re using ingredients that cause your soap to accelerate or if you’re mixing your soap too vigorously. To prevent acceleration, try using ingredients that are known to be slow-moving and mix your soap gently.
Overheating
Overheating is when your soap mixture gets too hot and starts to crack or develop a hard, lumpy texture. This can happen if you’re using too much heat or if you’re leaving your soap in the mold for too long. To prevent overheating, make sure you’re using the right temperature and remove your soap from the mold as soon as it’s set.
| Problem | Cause | Prevention |
|---|---|---|
| Soda Ash | Reaction with carbon dioxide | Spritz with alcohol |
| Seizing | Adding fragrance too quickly, overmixing | Add fragrance slowly, mix gently |
| Separation | Not mixing well enough, adding fragrance too quickly | Mix thoroughly, add fragrance slowly |
| Ricing | Ingredients not blending well, mixing too vigorously | Use stick blender, mix at same temperature |
| Acceleration | Using ingredients that accelerate, mixing too vigorously | Use slow-moving ingredients, mix gently |
| Overheating | Using too much heat, leaving in mold too long | Use right temperature, remove from mold when set |

Conclusion
Making homemade soap is a fun and rewarding experience that not only saves you money but also allows you to customize your soap to your preferences and needs. With the right ingredients, equipment, and techniques, you can create high-quality and natural soaps that are gentle, nourishing, and fragrant.
In this article, we have shared some of the best recipes and techniques for making homemade soap, including cold process, hot process, and melt and pour methods. We have also provided tips and tricks for choosing the right oils, herbs, and additives, as well as safety precautions and troubleshooting advice.
Whether you are a beginner or an experienced soap maker, there is always something new to learn and explore in the world of soap crafting. So why not give it a try and see for yourself how easy and fun it can be?
Key takeaways
- Making homemade soap is a cost-effective and customizable way to create natural and nourishing soaps.
- There are different methods of soap making, including cold process, hot process, and melt and pour.
- Choosing the right ingredients, equipment, and techniques is crucial for making high-quality and safe soap.
- Experimenting with different oils, herbs, and additives can help you create unique and fragrant soaps.
- Always follow safety precautions and consult reliable sources for guidance and inspiration.
| Resources | Description |
|---|---|
| Soap Queen | A popular blog and YouTube channel by Anne-Marie Faiola, a soap maker and author who shares tutorials, tips, and inspiration for soap crafting. |
| The Spruce Crafts | A comprehensive guide to soap making, including recipes, techniques, and troubleshooting advice, by experienced soap maker and author David Fisher. |
| Bramble Berry | A leading supplier of soap making ingredients, tools, and molds, as well as a source of inspiration and education for soap makers of all levels. |
Remember, making soap is not only a practical skill but also a creative and enjoyable hobby that can bring you joy and satisfaction. So why not give it a try and see what you can create?