
Introduction: How to Make Cheese at Home
As a professional article writer and content creator, I have had the opportunity to explore various topics and share my knowledge with others. However, one topic that has always fascinated me is cheese making. Having grown up in a family that loved cheese, I was always curious about the process of making it. So, I decided to learn it myself.
My Personal Experience with Cheese Making
After many trials and errors, I finally mastered the art of cheese making. I have experimented with different types of cheese, from soft and creamy to hard and aged, and have come up with some delicious recipes. Making cheese at home is not only fun and rewarding but also allows you to customize the flavors and textures to your liking.
In this article, I will be sharing the basic cheese-making process and some easy-to-follow recipes that you can try at home. Whether you are a cheese lover or just looking for a new hobby, this guide will provide you with everything you need to know to make cheese like a pro.
Why Make Cheese at Home?
There are many reasons why making cheese at home is a great idea. Firstly, it is a fun and rewarding hobby that allows you to create something delicious from scratch. Secondly, homemade cheese is healthier and more natural than store-bought cheese, as you have control over the ingredients and the process. Lastly, it is a great way to impress your friends and family with your culinary skills.

The Basic Cheese-Making Process
If you’re new to cheese-making, it can seem overwhelming at first. But don’t worry, the basic process is fairly simple and can be done with just a few tools and ingredients. Here are the seven steps to making cheese at home:
Step 1: Heating the Milk
The first step in making cheese is to heat the milk. This is done to pasteurize the milk and to prepare it for the addition of the culture and rennet. To heat the milk, you’ll need a large pot and a thermometer. Heat the milk to the temperature specified in your recipe.
Step 2: Adding the Culture
After heating the milk, the next step is to add the culture. A culture is a bacteria that helps to ferment the milk and give it its unique flavor. You can buy cheese-making cultures online or at specialty stores. Add the culture to the milk and stir well to distribute it evenly.
Step 3: Adding Rennet
The next step is to add rennet. Rennet is an enzyme that helps to coagulate the milk and form curds. You can buy rennet online or at specialty stores. Add the rennet to the milk and stir well. Let the milk sit undisturbed for about an hour to allow the rennet to do its job.
Step 4: Cutting the Curd
After the milk has coagulated, it’s time to cut the curd. Use a long knife to cut the curd into small pieces. The size of the curds will depend on the type of cheese you’re making.
Step 5: Draining the Whey
Once the curd is cut, it’s time to drain the whey. Use a cheesecloth or a fine mesh strainer to separate the curds from the whey. You can save the whey for other uses, such as making bread or feeding animals.
Step 6: Pressing the Cheese
After draining the whey, it’s time to press the cheese. This is done to remove any excess moisture from the cheese and to help it form a solid shape. You can use a cheese press or a heavy weight to press the cheese.
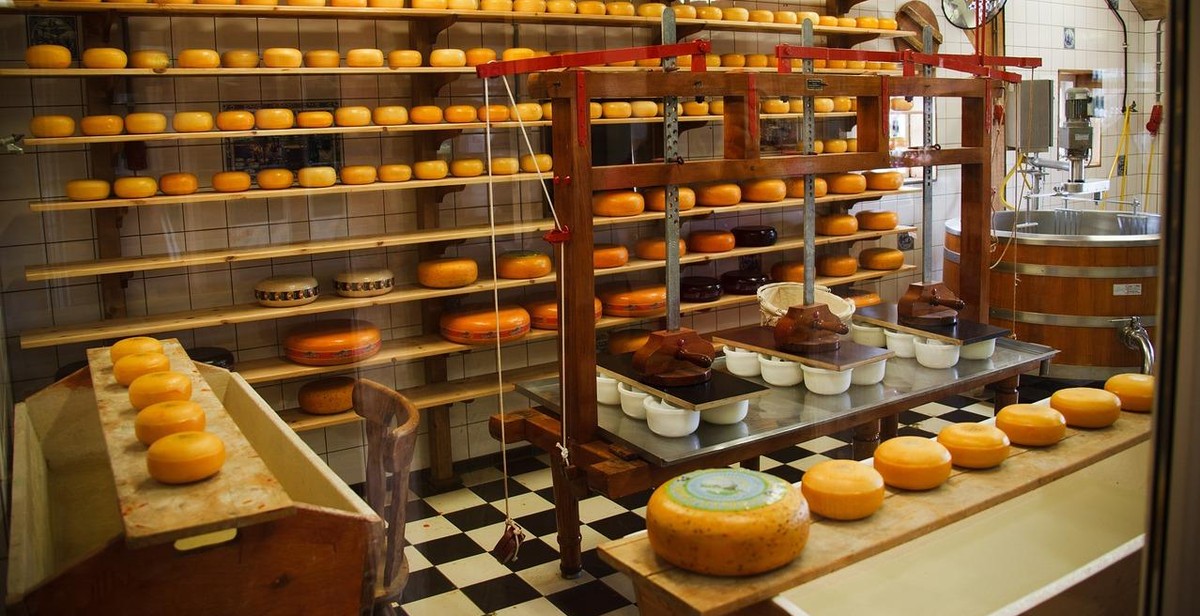
Step 7: Aging the Cheese
The final step in making cheese is to age it. Aging allows the flavors to develop and gives the cheese its unique taste and texture. The length of time you age the cheese will depend on the type of cheese you’re making. Some cheeses can be aged for months or even years.
- Step 1: Heat the milk
- Step 2: Add the culture
- Step 3: Add rennet
- Step 4: Cut the curd
- Step 5: Drain the whey
- Step 6: Press the cheese
- Step 7: Age the cheese
Now that you know the basic cheese-making process, it’s time to try it out for yourself. With a little practice, you’ll be making delicious homemade cheese in no time!
Cheese-Making Ingredients
When it comes to making cheese at home, there are four essential ingredients you’ll need: milk, culture, rennet, and salt. Let’s take a closer look at each one:
Milk
High-quality milk is the foundation of any good cheese. While you can use any type of milk to make cheese, it’s important to choose a milk that is fresh and free from additives or preservatives. Many home cheese makers prefer to use raw milk, which has not been pasteurized, as it contains more of the natural enzymes and beneficial bacteria that are important for the cheese-making process. However, if you can’t find raw milk or prefer to use pasteurized milk, that will work just fine. Just make sure to choose a milk with a high fat content, as this will result in a creamier and richer cheese.
Culture
Culture refers to the bacteria that are added to the milk to start the fermentation process. These bacteria consume the lactose in the milk and produce lactic acid, which is what gives cheese its tangy flavor. There are many different types of cheese cultures available, each with its own unique flavor and characteristics. Some common types of cultures include mesophilic (which work at lower temperatures and are used for soft cheeses like feta and camembert) and thermophilic (which work at higher temperatures and are used for harder cheeses like cheddar and parmesan).
Rennet
Rennet is an enzyme that is used to coagulate the milk and turn it into curds and whey. There are two main types of rennet: animal rennet (which is derived from the stomach lining of young cows or sheep) and vegetable rennet (which is derived from plants like thistle or nettles). While animal rennet is traditional and often preferred by cheese makers, many vegetarians and vegans opt for vegetable rennet instead.
Salt
Salt is added to the cheese during the aging process to help preserve it and enhance its flavor. The amount of salt you use will depend on the type of cheese you are making and your personal preference. Some cheeses, like feta and halloumi, are brined in a salt solution, while others, like cheddar and gouda, are simply rubbed with salt and allowed to age.
| Culture Type | Flavor Profile | Common Cheeses |
|---|---|---|
| Mesophilic | Mild, buttery, tangy | Feta, camembert, brie |
| Thermophilic | Sharp, nutty, complex | Cheddar, parmesan, gouda |

Cheese-Making Equipment
Before starting the cheese-making process, it is essential to have the right equipment. Here are some of the must-have cheese-making equipment:
Cheese Pot
A cheese pot is a large stainless steel pot used for heating and cooking the milk. It is essential to have a pot with a thick bottom to prevent scorching of the milk. The pot should also be large enough to hold the milk without overflowing when it starts to boil. A pot with a capacity of 8-12 quarts is ideal for making cheese at home.
Thermometer
A thermometer is a crucial tool for cheese-making. It helps to monitor the temperature of the milk and ensure that it is heated to the right temperature. A digital thermometer with a range of 0-220°F is recommended for cheese-making. It is also essential to have a thermometer that can be easily sterilized to prevent contamination of the milk.
Cheese Cloth
Cheese cloth is a finely woven cloth that is used to strain the curds from the whey during the cheese-making process. It is made of 100% cotton and is available in different grades. A grade 90 cheese cloth is ideal for making cheese as it allows the whey to drain while retaining the curds.
Cheese Press
A cheese press is used to press the curds into a solid block of cheese. It helps to remove excess whey and shape the cheese. A cheese press can be made at home using a heavy weight and a mold or purchased online. A cheese press with a capacity of 20-25 pounds is ideal for home cheese-making.
| Equipment | Recommended Capacity |
|---|---|
| Cheese Pot | 8-12 quarts |
| Thermometer | 0-220°F |
| Cheese Cloth | Grade 90 |
| Cheese Press | 20-25 pounds |
Having the right cheese-making equipment is crucial for making high-quality cheese at home. With the right equipment, you can ensure that your cheese-making process is smooth and successful.
Easy Cheese Recipes for Beginners
If you’re a cheese lover like me, you’ll definitely want to try making your own cheese at home. It’s not as difficult as it may seem, and the results are absolutely delicious! Here are three easy cheese recipes for beginners:
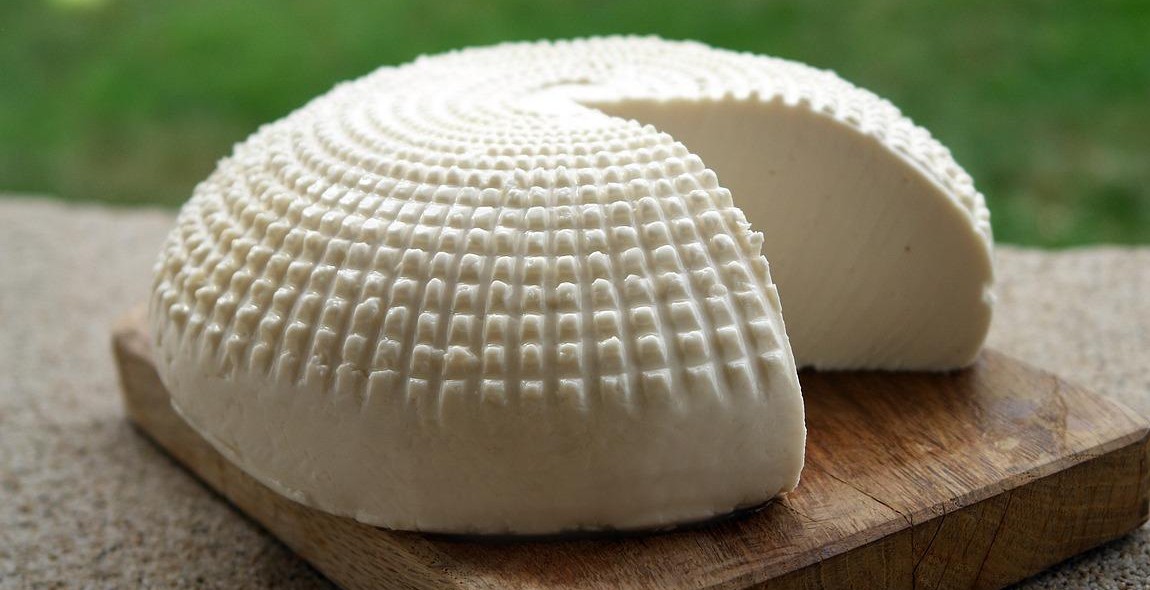
Fresh Ricotta Cheese
Ricotta cheese is a fresh, creamy cheese that’s perfect for adding to pasta dishes, spreading on toast, or using as a dip. Here’s how to make it:
- Heat 1 gallon of whole milk in a large pot until it reaches 185°F.
- Add 1/4 cup of white vinegar and stir gently until the curds and whey separate.
- Let the mixture sit for 10 minutes, then strain it through a cheesecloth-lined colander.
- Season with salt to taste, and serve immediately or store in the refrigerator for up to a week.
Mozzarella Cheese
Mozzarella cheese is a classic pizza topping, but it’s also great for salads, sandwiches, and snacking. Here’s how to make it:
- Heat 1 gallon of whole milk in a large pot until it reaches 90°F.
- Add 1/4 teaspoon of citric acid and stir gently.
- Heat the milk to 105°F, then add 1/4 tablet of rennet diluted in 1/4 cup of water and stir gently for 30 seconds.
- Let the mixture sit for 5-10 minutes, or until the curd is firm.
- Cut the curd into small pieces and heat it to 105°F, stirring gently to prevent clumping.
- Drain the whey and microwave the curd for 1 minute, then knead it like dough until it becomes stretchy and smooth.
- Form the cheese into balls or other shapes, and store in a brine solution in the refrigerator for up to a month.
Cheddar Cheese
Cheddar cheese is a classic sharp cheese that’s perfect for snacking, grating, or melting. Here’s how to make it:
- Heat 2 gallons of whole milk in a large pot until it reaches 86°F.
- Add 1/4 teaspoon of mesophilic starter culture and stir gently.
- Heat the milk to 90°F, then add 1/4 teaspoon of rennet diluted in 1/4 cup of water and stir gently for 30 seconds.
- Let the mixture sit for 45-60 minutes, or until the curd is firm.
- Cut the curd into small pieces and heat it to 102°F, stirring gently to prevent clumping.
- Drain the whey and press the curd into a mold, applying pressure gradually over several hours.
- Remove the cheese from the mold and age it in a cool, humid place for several months, turning it regularly.
| Cheese Type | Ingredients | Instructions |
|---|---|---|
| Fresh Ricotta Cheese | Whole milk, white vinegar, salt | Heat milk, add vinegar, strain, season |
| Mozzarella Cheese | Whole milk, citric acid, rennet, salt | Heat milk, add citric acid, rennet, cut and heat curd, drain and knead, form and store |
| Cheddar Cheese | Whole milk, mesophilic starter culture, rennet, salt | Heat milk, add culture, rennet, cut and heat curd, press and age |
Conclusion
Making cheese at home may seem intimidating at first, but it is a fun and rewarding process that can yield delicious results. With the basic cheese-making process and recipes outlined in this article, you can start creating your own homemade cheeses in no time.
It is important to remember that cheese-making is a science and an art, and it may take some trial and error to perfect your technique. However, with practice and patience, you can create a variety of cheeses that are sure to impress your friends and family.
Tips for Success
- Start with simple recipes and work your way up to more complex ones.
- Invest in quality ingredients, including fresh milk and rennet.
- Be precise with your measurements and follow the recipe instructions carefully.
- Be patient and allow enough time for the cheese to age and develop its flavor.
- Experiment with different herbs, spices, and flavorings to customize your cheese.
Final Thoughts
Homemade cheese is a delicious and satisfying way to explore your culinary creativity and impress your guests. With a little bit of knowledge and practice, you can become a skilled cheese-maker and enjoy the fruits of your labor for years to come.
So go ahead and give it a try! Who knows, you might just discover your new favorite hobby.