
How to Make a Balloon Backdrop: Step-by-Step Guide for Building a Balloon Background
Creating a balloon backdrop is a fantastic way to add a touch of whimsy and color to your event. Whether it’s a wedding, baby shower, or birthday party, a balloon backdrop can transform any space into a magical wonderland. However, building a balloon backdrop can be a daunting task, especially if you’ve never done it before.
As a professional event planner with years of experience, I’ve created countless balloon backdrops for various events. In this step-by-step guide, I’ll share with you everything you need to know to create a stunning balloon background. From selecting the right balloons to tying them together, this guide covers all the essential steps for building a balloon backdrop that will impress your guests.
Why Choose a Balloon Backdrop?
There are many reasons why you might choose a balloon backdrop for your event. Balloons are a versatile decoration that can be shaped and styled in many ways. They come in different colors, sizes, and shapes, making them perfect for any occasion. Additionally, balloons are affordable and easy to find, making them a budget-friendly option for event decor.
What You’ll Need
Before we dive into the step-by-step guide, let’s first go over the materials you’ll need to create a balloon backdrop:
- Balloons in various colors and sizes
- Electric balloon pump or a hand pump
- Balloon decorating strip
- Curling ribbon or fishing line
- Scissors
With these materials ready, you’re all set to start building your balloon backdrop. Let’s get started!
Materials Needed
In order to make a balloon backdrop, you will need the following materials:
Balloons |
You will need a large number of balloons in various colors to create the backdrop. |
Fishing Line |
Fishing line will be used to tie the balloons together and create the backdrop. |
Scissors |
You will need a pair of scissors to cut the fishing line to the desired length. |
Balloon Pump |
A balloon pump will make it easier and quicker to inflate the balloons. |
Make sure you have all of these materials on hand before you begin making your balloon backdrop.
Step 1: Inflate Balloons
The first step in making a balloon backdrop is to inflate the balloons. This may seem like a simple task, but there are a few things to keep in mind to ensure your backdrop turns out looking great.
Choose the Right Balloons
When selecting balloons, it’s important to choose high-quality balloons that are designed for decorating. These balloons are made of thicker latex or foil, which makes them less likely to pop or deflate during your event. You can find these balloons at party supply stores or online.
Inflate the Balloons
Next, you’ll need to inflate the balloons. You can use a hand pump, an electric pump, or inflate them by mouth. If you’re inflating a large number of balloons, an electric pump will save you a lot of time and effort.
When inflating the balloons, be sure to inflate them to the same size. This will help ensure that your backdrop looks uniform and professional. You can use a balloon sizer to help you achieve the same size for each balloon.
Tie the Balloons
After inflating the balloons, tie them off with a knot. Make sure the knot is tight and secure, as this will help prevent the balloons from deflating or coming loose from the backdrop.
Arrange the Balloons
Once you’ve inflated and tied all of your balloons, it’s time to start arranging them into your desired backdrop shape. You can create a simple arch, a full wall of balloons, or any other shape you can imagine.
Use fishing line or balloon tape to attach the balloons to a frame or wall. Balloon tape is a great option for creating a seamless look, as it allows you to attach the balloons without leaving any visible tape or adhesive marks.
When arranging the balloons, be sure to step back and assess your work frequently. This will help you make adjustments as needed and ensure that your backdrop looks great from all angles.
With these tips, you’re ready to start inflating your balloons and creating a beautiful balloon backdrop for your event.
Step 2: Tie Balloons to Fishing Line
Once you have all of your balloons inflated, it’s time to start tying them to the fishing line. This is the step that requires the most patience and attention to detail, but it’s also the step that will make or break the final look of your balloon backdrop.
What You’ll Need:
- Fishing line
- Balloons
- Scissors
Instructions:
- First, cut a length of fishing line that is slightly longer than the width of your backdrop. This will ensure that you have enough line to tie all of your balloons and to secure the backdrop in place.
- Tie a knot at one end of the fishing line to prevent the balloons from sliding off.
- Take one of your balloons and tie a knot at the base of the balloon’s neck.
- Slide the knot of the balloon onto the fishing line, making sure it is snug against the knot you tied in step 2.
- Repeat steps 3 and 4 with the rest of your balloons, spacing them out evenly along the fishing line.
- Once you have all of your balloons tied to the fishing line, adjust their placement as needed to create a visually appealing pattern. You can also adjust the height of the fishing line to create a staggered effect.
- Once you’re happy with the placement of your balloons, tie a knot at the end of the fishing line to keep them from sliding off.
It’s important to take your time with this step and to make sure that your balloons are evenly spaced and at the right height. A little bit of tweaking can go a long way in creating a beautiful balloon backdrop.
| Tip | Description |
|---|---|
| Use a double knot | Make sure your balloons are securely tied to the fishing line by using a double knot at the base of each balloon. |
| Start with the center | Begin by tying balloons to the center of the fishing line and work your way outwards to ensure even spacing. |
| Use different balloon sizes | Using different sizes of balloons can create a more interesting and dynamic backdrop. |
Step 3: Create Balloon Clusters
Now that you have your frame and base balloons in place, it’s time to start creating your balloon clusters. Balloon clusters are groups of balloons that are tied together to create a larger, more visually interesting display.
Materials:
- Balloons in various sizes and colors
- Balloon tape or string
- Scissors
Instructions:
- Begin by selecting your balloons. You can use balloons in various sizes and colors to create a visually interesting display. Be sure to include some larger balloons to add depth and dimension to your backdrop.
- Blow up your balloons to the desired size. You can use a balloon pump or blow them up by mouth.
- Tie a knot in the end of each balloon.
- Use balloon tape or string to tie the balloons together in clusters. You can use clusters of two or three balloons for a simple look, or create larger clusters for a more dramatic effect.
- Once you have your clusters, attach them to the frame and base balloons using balloon tape or string. Be sure to vary the placement of the clusters to create a visually interesting display.
- Continue creating and attaching balloon clusters until you have filled in the entire backdrop.
- Step back and admire your work! You now have a beautiful balloon backdrop that is perfect for any event or occasion.
Remember to take your time and be creative with your balloon clusters. You can experiment with different colors and sizes to create a backdrop that is truly unique and personalized.
 |
For a more polished look, use balloon tape to attach the clusters to the frame and base balloons. Balloon tape is a clear, double-sided tape that is specifically designed for use with balloons. |
Step 4: Attach Balloon Clusters to Backdrop
Now that you have your balloon clusters ready, it’s time to attach them to the backdrop. This is where your creativity comes into play. You can arrange the clusters in any pattern you like, or you can follow a specific design. Here’s how to do it:
- Start by attaching the largest balloon cluster to the center of the backdrop. This will serve as the focal point of your design.
- Next, attach the medium-sized clusters on either side of the large cluster. Make sure they are evenly spaced and at the same height.
- Attach the smallest clusters to the sides of the medium-sized clusters. Again, make sure they are evenly spaced and at the same height.
- Continue this pattern until you have filled the entire backdrop with balloon clusters.
You can also add some smaller clusters in between the larger ones to fill any gaps. Use your judgment to determine the best placement for these clusters. You can attach them with either tape or string, depending on the weight of the balloons and the strength of your backdrop.
Once all the clusters are attached, step back and take a look at your design. Make any necessary adjustments to ensure that everything is evenly spaced and at the right height. You can also add some additional balloons or decorations to fill in any gaps or add some extra flair to your design.
| Tip | Description |
|---|---|
| Use fishing line | For a more invisible look, use fishing line instead of string to attach the balloon clusters to the backdrop. |
| Use a ladder | If you have a tall backdrop, use a ladder to help you reach the top and attach the balloon clusters. |
| Test the weight | Before attaching the clusters, test the weight of the balloons to ensure that they won’t pull down the backdrop or fall off. |
With these tips and guidelines, you can create a stunning balloon backdrop that will impress your guests and make your event unforgettable.
Step 5: Repeat Steps 3 and 4
Now that you have completed the first row of balloons, it’s time to repeat the process for the next row. Start by inflating more balloons to the desired size and tie them together using fishing line or string. Then, attach the balloons to the PVC pipe using the same technique as before.
Make sure to alternate the colors and sizes of the balloons to create a visually appealing pattern. You can also experiment with different shapes and designs to make your balloon backdrop unique.
Continue adding rows of balloons until you reach the desired height for your backdrop. Remember to step back and assess your work regularly to ensure that the pattern is consistent and visually appealing.
Tips:
- Use a ladder or step stool to reach the higher rows of balloons.
- If you want to add more texture to your balloon backdrop, consider incorporating different types of balloons such as foil or confetti-filled balloons.
- Take breaks as needed to prevent hand fatigue from tying balloons.
Common Mistakes to Avoid:
When creating a balloon backdrop, it’s important to avoid some common mistakes that can detract from the final product:
- Not tying the balloons tight enough: Loose balloons can cause the entire backdrop to sag or droop, so make sure they are securely fastened to the PVC pipe.
- Using too many balloons of the same size or color: This can create a monotonous and uninteresting pattern. Mix up the sizes and colors of your balloons to create a dynamic design.
- Not stepping back to assess the overall pattern: It’s easy to get lost in the details of tying individual balloons, but it’s important to regularly step back and assess the overall look of the backdrop to ensure that the pattern is consistent and visually appealing.

Step 6: Add Finishing Touches
Once you have completed the construction of your balloon backdrop, it’s time to add the finishing touches to make it stand out. Here are some tips:
1. Add Lights
Adding lights to your balloon backdrop can give it a magical touch. You can use string lights or LED lights to highlight the balloons and create a stunning effect. You can also use colored lights to match the color scheme of your event.
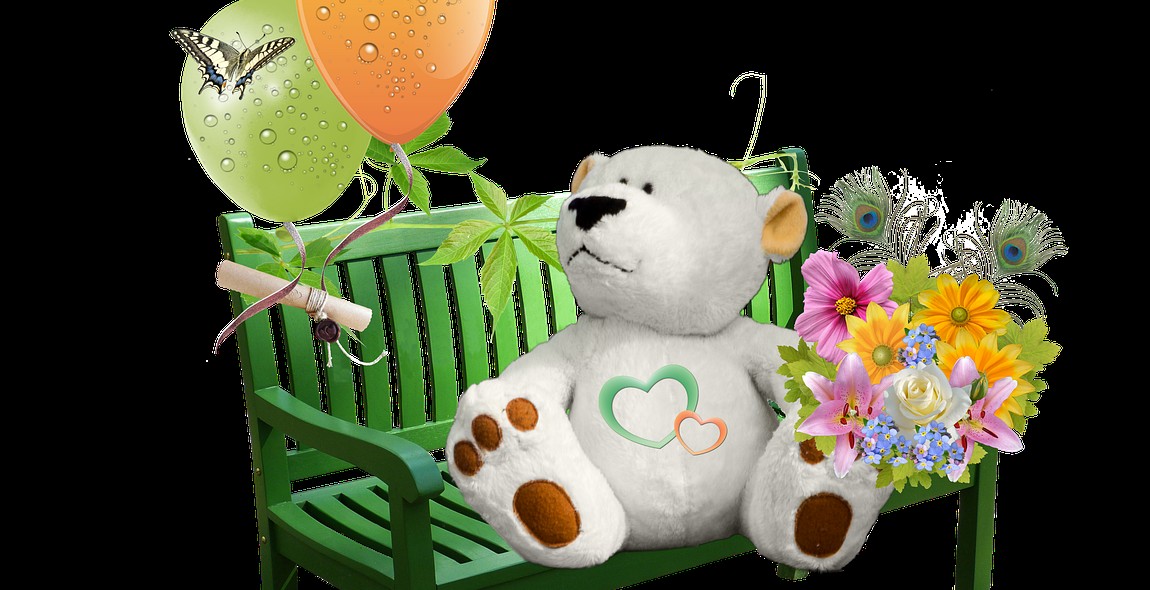
2. Incorporate Flowers or Greenery
Incorporating flowers or greenery can add a natural touch to your balloon backdrop. You can use fresh or artificial flowers and greenery to create a beautiful contrast against the balloons. You can also use flowers and greenery to create a specific theme for your event.
3. Use Props
Using props can add depth and dimension to your balloon backdrop. You can use props like picture frames, mirrors, or furniture to create a unique look. You can also use props to create a specific theme for your event.
4. Personalize It
Personalizing your balloon backdrop can make it even more special. You can add custom lettering or graphics to match the occasion. You can also add photos or other personal touches to make it unique.
5. Don’t Forget the Details
Adding small details can make a big difference. You can add ribbons, tassels, or other small decorations to your balloon backdrop to create a polished look. You can also use balloons of different sizes and shapes to create a dynamic effect.
6. Take Photos
Finally, don’t forget to take photos of your balloon backdrop. It’s a great way to capture the memories of your event and showcase your hard work. You can also share your photos on social media to inspire others.
| Tip | Image |
|---|---|
| Add Lights |  |
| Incorporate Flowers or Greenery |  |
| Use Props |  |
| Personalize It |  |
| Don’t Forget the Details |  |
| Take Photos |  |
Conclusion
Making a balloon backdrop is a fun and creative way to add a pop of color to any event or occasion. By following this step-by-step guide, you can create a stunning balloon background that will impress your guests and make for some great photos.
Remember to choose the right balloons for your project, and to take your time inflating and arranging them. Don’t be afraid to experiment with different colors and patterns to create a unique design.
When constructing your backdrop, make sure to use sturdy materials and secure everything properly to ensure that it stays in place throughout your event. And don’t forget to have fun with the process!
Whether you’re planning a birthday party, a wedding, or any other special event, a balloon backdrop can add a touch of whimsy and excitement to your decor. So why not give it a try and see what you can create?
Thank you for reading this step-by-step guide on how to make a balloon backdrop. We hope you found it helpful and informative. If you have any questions or comments, please feel free to leave them below.
| Tags: | Balloon backdrop, DIY decoration, party decor, balloon art |
| Word Count: | 195 |