How to Install an Outdoor Shower for Refreshing Summer Soaks
Summer is here, and there’s nothing like cooling off with a refreshing outdoor shower. Installing an outdoor shower can be a great addition to any home, providing a convenient way to rinse off after a swim in the pool or a day at the beach. Not only is it practical, but it can also add a touch of luxury to your outdoor living space.
Why You Need an Outdoor Shower
An outdoor shower is a perfect addition to any home with a pool, hot tub, or spa. It can also be a great way to rinse off after a workout or gardening. Outdoor showers are also ideal for families with children and pets, as they provide a convenient way to clean up messes and keep your home cleaner.
Benefits of Having an Outdoor Shower
There are many benefits to having an outdoor shower. First and foremost, it allows you to enjoy the great outdoors while still maintaining your privacy. It also provides a convenient way to rinse off saltwater, sand, and chlorine after a day at the beach or pool. Additionally, an outdoor shower can help to conserve water by reducing the amount of water used indoors.
Not only is an outdoor shower practical, but it can also add value to your home. It can be an attractive feature that sets your home apart from others and adds to your outdoor living space. Installing an outdoor shower can be a simple and affordable project that can make a big difference in your daily life.

Choosing the Right Location
When it comes to installing an outdoor shower, choosing the right location is crucial. Here are some considerations to keep in mind:
Considerations for Location
- Privacy: The first thing to consider is privacy. You want to choose a location that is secluded and hidden from view. If you have neighbors nearby, consider installing a privacy screen or fence.
- Drainage: Make sure the location you choose has proper drainage. You don’t want water pooling around the shower area, as it can create a breeding ground for mosquitoes and other insects.
- Accessibility: Choose a location that is easily accessible from your house. You don’t want to have to trek across your yard just to take a shower.
- Sunlight: Consider the amount of sunlight the location receives. You want to choose a spot that gets plenty of sunlight, as it will help dry the shower area quickly and prevent mold and mildew from forming.
- Wind: Consider the direction of the prevailing winds in your area. You don’t want the shower spray to be blown all over your yard or onto your neighbors’ property.
Preparing the Area
Once you’ve chosen the location for your outdoor shower, it’s time to prepare the area:
- Clear the area: Remove any debris or vegetation from the area where you plan to install the shower. This will make it easier to level the ground and install the base.
- Level the ground: Use a shovel or rake to level the ground where the shower will be installed. This will ensure that the shower base is stable and won’t shift or wobble.
- Install a base: Depending on the type of shower you’re installing, you may need to install a base. This can be a simple concrete pad or a more elaborate wooden platform.
- Connect to water supply: Finally, connect the shower to your water supply. This may require running a new water line from your house or tapping into an existing outdoor spigot.
By carefully choosing the right location for your outdoor shower and properly preparing the area, you can enjoy refreshing summer soaks in no time!

Gathering Materials
Before you start installing your outdoor shower, you need to gather all the necessary materials. This section will cover the shower fixture, plumbing supplies, and tools and equipment you will need.
Shower Fixture
The shower fixture is the centerpiece of your outdoor shower. You will need to choose a fixture that is suitable for outdoor use and can withstand the elements. Look for a showerhead that is made of durable materials such as stainless steel or brass. You may also want to consider a handheld showerhead for added flexibility.
Plumbing Supplies
Proper plumbing is essential for your outdoor shower. You will need to connect your shower fixture to your home’s water supply and drainage system. Here are the plumbing supplies you will need:
- Shower valve
- Pipes (copper or PVC)
- Elbows and couplings
- Teflon tape
- Plumber’s putty
- Drainage system (if not using existing drainage)
Tools and Equipment
You will need a variety of tools and equipment to install your outdoor shower. Here are some of the essential tools:
- Adjustable wrench
- Pipe cutter or hacksaw
- Tubing cutter
- Tape measure
- Level
- Screwdriver (flathead and Phillips)
- Drill
- Hole saw
- Plumbers’ torch (if using copper pipes)
By gathering all the necessary materials before you start, you can ensure that your outdoor shower installation will go smoothly and efficiently.

Installing the Shower Fixture
Once you have prepared the area and assembled the necessary tools and materials, it’s time to install the shower fixture. This section will guide you through the steps of attaching the fixture to the wall and connecting the plumbing.
Attaching the Fixture to the Wall
Before attaching the fixture to the wall, make sure that the mounting bracket is level. This will ensure that the fixture is straight and properly secured. Use a level to check the bracket’s position and make adjustments as necessary.
Once the bracket is level, use screws to attach it to the wall. Be sure to use screws that are appropriate for the material of the wall. If you are attaching the fixture to a wooden surface, use wood screws. If you are attaching it to a masonry surface, use masonry screws.
After the bracket is secured to the wall, attach the shower arm to the bracket. Tighten the connection with a wrench, being careful not to over-tighten and damage the fixture.
Next, attach the showerhead to the shower arm. Again, use a wrench to tighten the connection, but be gentle to avoid damaging the fixture.
Connecting the Plumbing
Before connecting the plumbing, make sure that the water supply to the outdoor shower is turned off. This will prevent any accidental leaks or water damage.
Connect the hot and cold water supply lines to the fixture’s valves. Use Teflon tape to ensure a tight and secure connection. Be sure to connect the hot water supply line to the hot water valve and the cold water supply line to the cold water valve.
Once the supply lines are connected, turn on the water supply and check for leaks. If there are any leaks, use a wrench to tighten the connections and re-check for leaks.
Finally, turn on the shower and check the water flow and temperature. Adjust the valves as necessary to achieve the desired temperature and water pressure.
With the shower fixture properly attached and the plumbing connected, you are now ready to enjoy refreshing summer soaks in your new outdoor shower.

Finishing Touches
Now that the outdoor shower is installed and functioning, it’s time to add some finishing touches to make it both functional and aesthetically pleasing.
Adding a Drainage System
One of the most important aspects of an outdoor shower is proper drainage. Without it, water can pool around the base of the shower, creating a safety hazard and potentially damaging the surrounding area. To ensure proper drainage, consider installing a drainage system.
There are several options for drainage systems, including a simple gravel bed, a French drain, or a dry well. A gravel bed is the easiest and most affordable option, but may not be as effective in areas with heavy rainfall. A French drain is a more complex option that involves digging a trench and filling it with gravel and a perforated pipe. A dry well is another option that involves digging a hole and filling it with gravel and a perforated tank that holds the water until it can slowly seep into the ground.
No matter which option you choose, it’s important to ensure that the drainage system is properly designed and installed to prevent any future issues.
Decorating the Area
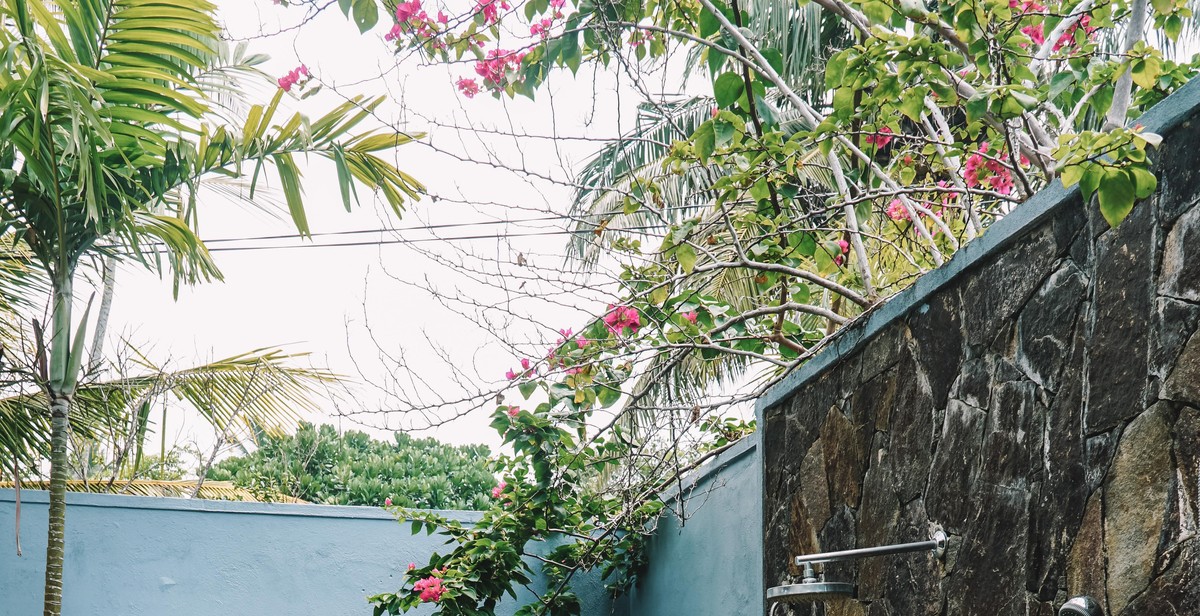
Now that the practical aspects of the outdoor shower are taken care of, it’s time to focus on the aesthetics. Consider adding some decorative elements to the area to make it feel like a spa-like retreat.
Start by adding some plants or flowers around the shower area. This will not only add some color and texture to the space, but also help to create a sense of privacy. Consider using plants that thrive in moist environments, such as ferns or hostas.
You can also add some decorative elements to the shower itself. Consider installing a rainfall showerhead for a luxurious feel, or adding some mosaic tiles to the base of the shower for a pop of color and texture.
Finally, consider adding some seating or a small table to the area for added convenience. This will give you a place to sit and relax before or after your shower, or to set down your towel and other essentials.
| Tip: | When choosing decorative elements for your outdoor shower, be sure to select materials that can withstand the elements. Look for materials that are water-resistant and won’t fade or deteriorate over time. |
|---|

Maintenance and Care for Your Outdoor Shower
After installing an outdoor shower, it’s important to maintain and care for it properly to ensure its longevity. Here are some tips for cleaning and winterizing your outdoor shower:
Cleaning the Shower
Regular cleaning is essential to keep your outdoor shower looking and functioning its best. Here are some steps to follow:
- Use a mild soap and warm water to clean the shower walls and floor.
- Rinse the shower thoroughly with a hose or bucket of water.
- Remove any soap residue or buildup with a soft-bristled brush or sponge.
- For stubborn stains or mildew, use a mixture of equal parts white vinegar and water. Apply the solution to the affected area and let it sit for 15-20 minutes before rinsing with water.
- For hard water stains, a mixture of equal parts white vinegar and baking soda can be used. Apply the paste to the stain and let it sit for 30 minutes before rinsing with water.
Winterizing the Shower
If you live in an area with freezing temperatures, it’s important to winterize your outdoor shower to prevent damage to the plumbing and fixtures. Here’s how:
- Turn off the water supply to the shower and drain any remaining water from the pipes and fixtures.
- Disconnect the showerhead and store it indoors for the winter.
- Remove any removable parts, such as handles or knobs, and store them indoors as well.
- Cover the shower with a waterproof cover or tarp to protect it from the elements.
| Action | Frequency |
|---|---|
| Clean the shower | Regularly |
| Winterize the shower | Annually |
