
Introduction
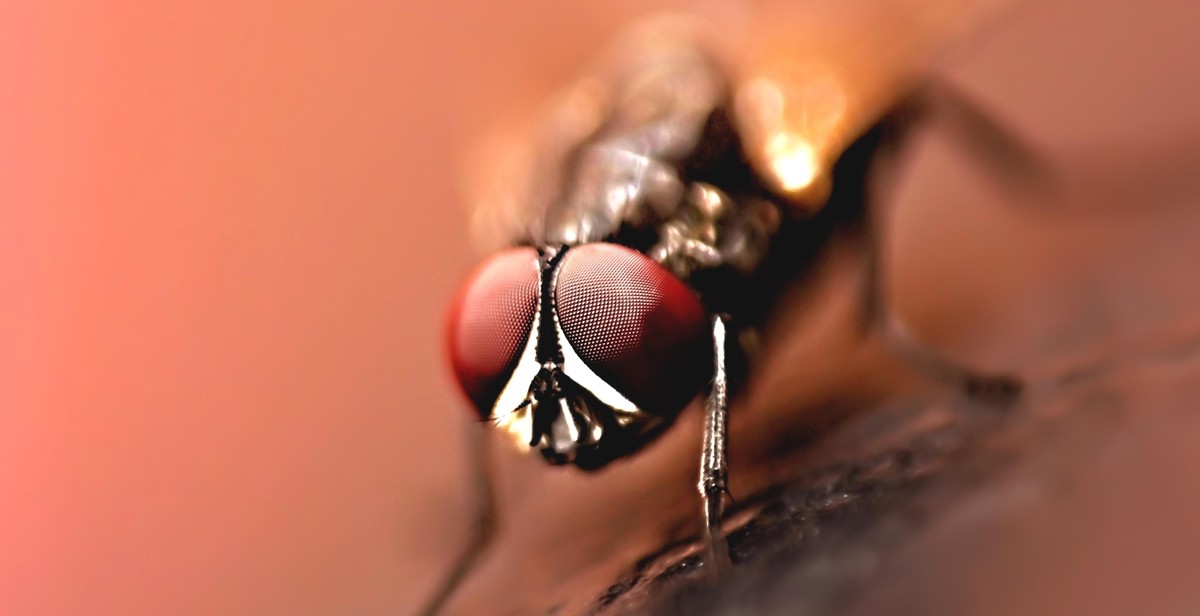
Macro photography is the art of capturing small objects and intricate details that are not visible to the naked eye. Macro photography requires a specialized lens capable of producing a magnification ratio of 1:1 or greater. This means that the image produced on the camera sensor is the same size or larger than the object being photographed.
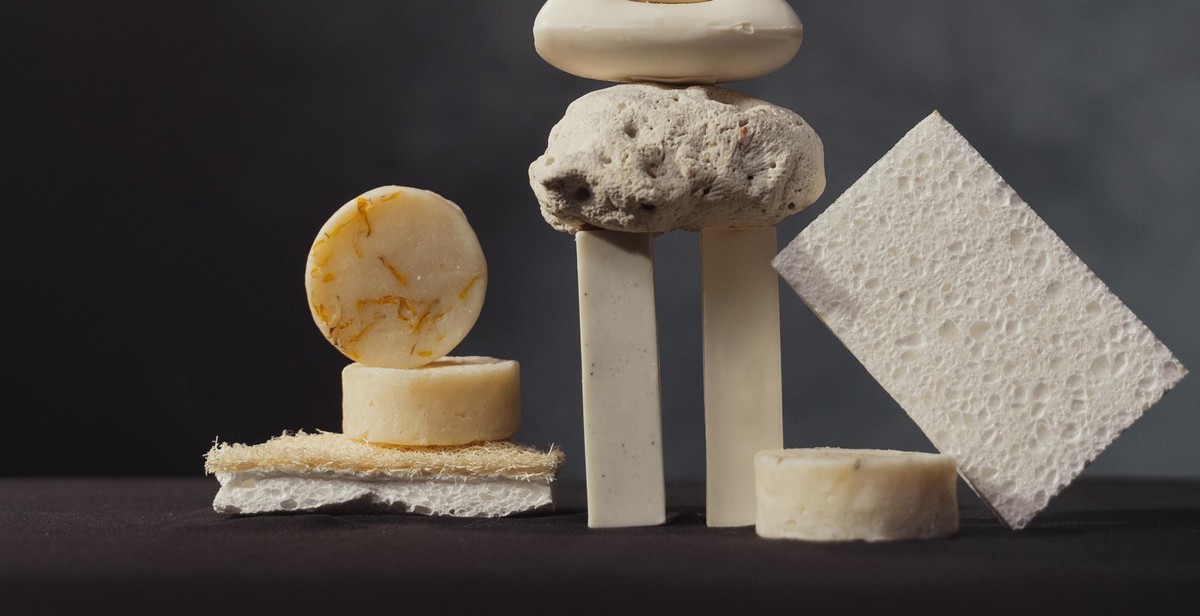
Macro photography is popular among nature photographers who want to capture the beauty of insects, flowers, and other small creatures. It is also popular in product photography, where small details are important to showcase the product’s features.
What is Macro Photography?
Macro photography is a type of close-up photography that captures small objects and details with high magnification. It is different from regular photography because it requires a specialized lens, which can focus on objects that are very close to the camera.
Macro photography is used to capture the intricate details of small objects, such as the texture of a flower petal or the wings of a butterfly. It is also used in product photography to showcase small details of a product, such as the stitching on a garment or the texture of a fabric.
Macro photography requires a lot of patience and skill. It is important to have a steady hand and to be able to focus precisely on the subject. In this article, we will discuss how to edit and enhance macro photography to bring out the best in your images.
Preparing for Macro Photography
Macro photography is all about capturing intricate details of small subjects, such as insects, flowers, and other tiny objects. However, before you start taking macro shots, you need to prepare yourself and your equipment to ensure that you get the best possible results. Here are some tips to help you prepare for macro photography:
Choosing the Right Equipment
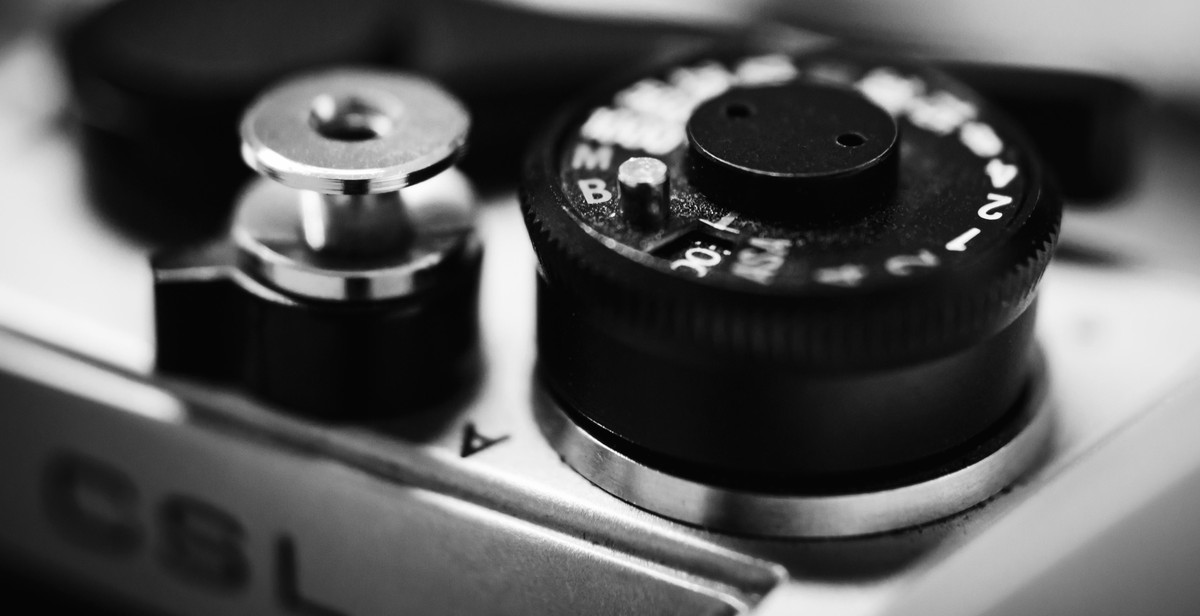
One of the most important things to consider when preparing for macro photography is choosing the right equipment. You’ll need a camera that has a macro mode or a dedicated macro lens. A macro lens is specifically designed to produce sharp and detailed images of small subjects. Additionally, you may want to invest in a tripod to keep your camera steady and reduce the risk of blurry images.
When choosing a macro lens, consider the focal length. A longer focal length will allow you to work from a greater distance and still get a close-up shot. However, a shorter focal length will enable you to get even closer to your subject, which can be useful for capturing tiny details.
Understanding Your Subject
Before you start taking macro shots, take some time to understand your subject. This will help you to anticipate its movements and behavior, and capture the best possible shot. For example, if you’re photographing an insect, you may want to study its behavior and learn about its preferred habitats. This will help you to find the best location and lighting for your shot.
Controlling Your Environment
Another important aspect of preparing for macro photography is controlling your environment. You’ll want to create a stable and controlled environment to ensure that your subject stays in focus and that you get the best possible shot. This may involve using a diffuser or reflector to control the lighting, or using a backdrop to create a clean and uncluttered background.
Additionally, you may want to use a remote trigger or cable release to reduce camera shake and ensure that your shots are sharp and detailed. Finally, be patient and take your time when setting up your shot. Macro photography requires a lot of patience and attention to detail, but with the right preparation and equipment, you can capture stunning and intricate images of even the smallest subjects.
Capturing Macro Photography
Macro photography is the art of capturing intricate details of small objects. It requires a lot of patience and skill, but with the right camera settings, focusing techniques, and composition, you can capture stunning macro photographs. Here are some tips to help you capture macro photography:
Camera Settings
When shooting macro photography, it’s important to use the right camera settings to ensure that you capture the details you need. Here are some recommended settings:
| Setting | Recommended Value |
|---|---|
| Aperture | f/8 to f/16 |
| ISO | 100 to 400 |
| Shutter Speed | 1/125 to 1/250 |
These settings will give you a good starting point, but remember that you may need to adjust them based on the lighting conditions and the specific subject you’re photographing.
Focusing Techniques
Focusing is critical when it comes to macro photography. Here are some focusing techniques to help you capture sharp and detailed images:
- Use manual focus: In macro photography, using manual focus will give you more control over the focus point and ensure that you capture the details you need.
- Use focus stacking: Focus stacking is a technique where you capture multiple images with different focus points and then blend them together in post-processing to create a final image with a greater depth of field.
- Use a tripod: A tripod will help you keep the camera steady and ensure that your images are sharp.
Composition
Composition is also important when it comes to macro photography. Here are some tips to help you compose your shots:
- Use the rule of thirds: The rule of thirds is a composition guideline that suggests dividing the frame into thirds both horizontally and vertically and placing your subject at the intersection of these lines.
- Experiment with angles: Macro photography offers a lot of opportunities to experiment with different angles. Try shooting from a low angle or a high angle to create a unique perspective.
- Pay attention to the background: The background can make or break a macro photograph. Look for a background that complements your subject and doesn’t distract from it.
Editing Macro Photography
After capturing your macro photographs, the next step is to edit and enhance them to bring out their intricate details. Editing macro photography involves using specialized software to adjust various parameters such as exposure, contrast, and sharpness. In this section, we will discuss the key steps involved in editing and enhancing macro photography.
Selecting the Right Editing Software
The first step in editing macro photography is selecting the right editing software. There are numerous photo editing software options available in the market, with each offering varying levels of features and capabilities. Some of the most popular editing software options include Adobe Photoshop, Lightroom, and GIMP.
When selecting editing software, consider your editing needs and budget. Adobe Photoshop and Lightroom are premium options that offer a wide range of features and capabilities. GIMP, on the other hand, is a free and open-source software that offers many of the features found in premium editing software.
Cropping and Resizing
After selecting your editing software, the next step is to crop and resize your macro photographs. Cropping involves removing unwanted parts of the image, while resizing involves adjusting the image size. Cropping and resizing are crucial steps in editing macro photography as they help to focus on the subject and remove distractions.
Adjusting Exposure and Contrast
Exposure and contrast are essential parameters in macro photography editing. Exposure refers to the brightness of the image, while contrast refers to the difference between the brightest and darkest parts of the image. Adjusting exposure and contrast helps to bring out the intricate details in macro photographs.
Sharpening and Detail Enhancement
The final step in editing macro photography is sharpening and detail enhancement. Sharpening involves increasing the sharpness of the image, while detail enhancement involves bringing out the fine details in the photograph. These steps help to enhance the overall quality of the macro photograph and bring out its intricate details.
- Select the right editing software
- Crop and resize your macro photographs
- Adjust exposure and contrast
- Sharpen and enhance details
By following these steps, you can edit and enhance your macro photographs to bring out their intricate details and capture the beauty of the subject.
Conclusion
Macro photography is a fascinating genre that allows you to capture intricate details that are not visible to the naked eye. However, to achieve great results, you need to have the right equipment, techniques, and editing skills. In this article, we have discussed several tips and tricks that can help you edit and enhance your macro photos.
Practice Makes Perfect
Editing and enhancing macro photography requires a lot of practice and experimentation. You need to try different techniques and tools to see what works best for your photos. Don’t be afraid to make mistakes or try new things. The more you practice, the better you will become.
Keep it Simple
When editing macro photos, it’s easy to get carried away with all the options and tools available. However, it’s important to remember that less is often more. Keep your editing simple and focus on enhancing the natural beauty of your photos.
Stay Patient
Editing macro photos can be a time-consuming process, especially if you want to achieve professional results. It’s important to stay patient and take your time with each photo. Don’t rush the process, and remember that the end result will be worth the effort.
Final Thoughts
Macro photography is a rewarding and challenging genre that requires a lot of skill and patience. By following the tips and techniques outlined in this article, you can edit and enhance your macro photos to create stunning and unique images that capture the beauty of the natural world.
| Tip | Description |
|---|---|
| Use a tripod | A tripod will help you stabilize your camera and keep your photos sharp. |
| Experiment with lighting | Try different lighting setups to see what works best for your photos. |
| Shoot in RAW format | RAW format gives you more control over the editing process and allows you to recover more detail in your photos. |