
How to Develop X-ray Films: Techniques and Processes for Developing X-ray Images
As a professional with over a decade of experience in radiology, I have developed numerous X-ray films using various techniques and processes. Developing X-ray images requires careful attention to detail and a thorough understanding of the equipment and chemicals involved.
In this article, I will share my expertise and guide you through the step-by-step process of developing X-ray films. We will cover the necessary equipment, chemicals, and safety precautions required for successful X-ray film development. Additionally, we will discuss some common challenges and how to overcome them.
Why Develop X-ray Films?
X-ray films are an essential component in diagnostic imaging. They capture images of bones, organs, and other internal structures, enabling healthcare professionals to diagnose and treat a wide range of medical conditions. Developing X-ray films plays a crucial role in ensuring accurate and high-quality images that aid in patient care.
What You Need to Develop X-ray Films
Before we dive into the development process, let’s go over the equipment and chemicals you need to get started:
- X-ray film
- Darkroom
- Processing tank
- Developer
- Fixer
- Wash water
- Thermometer
- Timer
With the right equipment and knowledge, you can develop X-ray films with ease and confidence. Let’s get started!

Understanding the Process of X-ray Film Development
X-ray film is a specialized type of photographic film that is used to capture images of the internal structures of the human body. The film is coated with a layer of silver halide crystals that are sensitive to X-rays, allowing them to capture the radiation that passes through the body.
How does X-ray Film Work?
The process of X-ray film development begins with the exposure of the film to X-rays. When X-rays pass through the body, they are absorbed by the tissues and bones, and the remaining radiation passes through to the X-ray film. The silver halide crystals in the film become energized by the X-rays, creating a latent image.
During the development process, the film is immersed in a series of chemical baths that cause the silver halide crystals to reduce to metallic silver, resulting in a visible image. The unexposed silver halide crystals are removed from the film during the fixing process, leaving behind a permanent image of the internal structures of the body.
The Importance of Proper X-ray Film Development
Proper X-ray film development is essential for producing accurate and high-quality images. Improper development can result in a number of issues, including poor image quality, low contrast, and inaccurate readings. In some cases, improper development can even lead to misdiagnosis or delayed treatment.
There are several factors that can affect the quality of X-ray film development, including temperature, agitation, and chemical concentration. It is important to follow the manufacturer’s instructions carefully and to use high-quality chemicals to ensure consistent and accurate results.
Additionally, regular maintenance and calibration of X-ray equipment can help to ensure that the images produced are of the highest quality. This includes regular cleaning of the X-ray machine, regular replacement of worn or damaged parts, and routine calibration to ensure accurate exposure and processing times.
Conclusion
Overall, X-ray film development is a complex process that requires specialized knowledge and expertise. By understanding how X-ray film works and the importance of proper development techniques, healthcare professionals can ensure that their patients receive the most accurate and reliable diagnostic information possible.

Preparing for X-ray Film Development
Before you begin developing your X-ray films, it is important to gather all the necessary materials. This will ensure that you have everything you need at hand and can work efficiently without any interruptions.
Gathering the Necessary Materials
Here is a list of materials you will need for X-ray film development:
- X-ray films
- Developer solution
- Fixer solution
- Water
- Graduated cylinder
- Thermometer
- Tongs
- Timer
- Darkroom light
- Tray
- Measuring beaker
- Gloves
Make sure that all your materials are clean and in good condition before you begin. Any dirt or damage can affect the quality of your X-ray images.
Setting Up the Darkroom
X-ray film development requires a darkroom to prevent any light from reaching the films during the process. Here are the steps to set up a darkroom:
- Choose a room that can be completely sealed off from any light sources.
- Cover any windows or other sources of light with black plastic or cardboard.
- Install a red light bulb or use a red safelight to provide minimal illumination in the darkroom.
- Make sure that all your materials are within easy reach and that you have enough space to work comfortably.
- Wear gloves to prevent any contamination of the films.
By following these steps, you can create a suitable environment for X-ray film development and ensure that your films are not damaged by exposure to light.
| Material | Quantity |
|---|---|
| X-ray films | As needed |
| Developer solution | 1 gallon |
| Fixer solution | 1 gallon |
| Water | As needed |
| Graduated cylinder | 1 |
| Thermometer | 1 |
| Tongs | 2 pairs |
| Timer | 1 |
| Darkroom light | 1 |
| Tray | As needed |
| Measuring beaker | 1 |
| Gloves | 1 pair |
With these materials and a properly set up darkroom, you can begin the process of developing your X-ray films.
The X-ray Film Development Process
The process of developing X-ray films is a crucial part of producing clear and accurate images. Here is a step-by-step guide on how to develop X-ray films:
Step 1: Pre-Development Procedures
Before beginning the development process, it is important to ensure that the X-ray film is properly loaded into the cassette and that the cassette is securely closed. The cassette should then be marked with the patient’s information and any other relevant details.
Next, the developer solution should be mixed according to the manufacturer’s instructions and the temperature of the solution should be checked with a thermometer. The ideal temperature for most developer solutions is around 68-72°F (20-22°C).
Step 2: Developing the Film
The X-ray film can now be placed in the developer solution. The film should be gently agitated in the solution to ensure even development. The length of time that the film should be left in the developer solution will depend on the type and brand of solution being used, as well as the temperature of the solution and the desired level of image contrast.
After the film has been developed for the appropriate length of time, it should be removed from the developer solution and placed in the stop bath.
Step 3: Stop Bath
The stop bath is a dilute solution of acetic acid or citric acid that is used to halt the development process and prevent over-development of the X-ray film. The film should be agitated in the stop bath for the recommended amount of time, again depending on the specific solution being used.
Step 4: Fixer Bath
The fixer solution is used to remove any unexposed silver halide crystals from the X-ray film, making the image permanent and stable. The film should be placed in the fixer solution and agitated for the recommended amount of time.
Step 5: Final Rinse
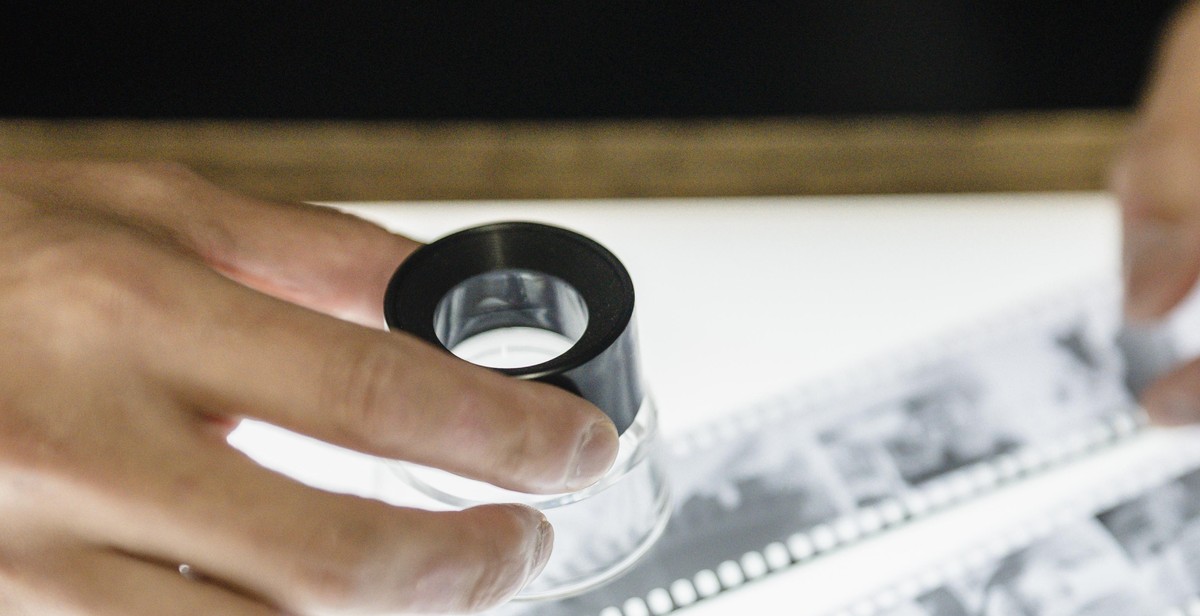
After the film has been fixed, it should be thoroughly rinsed in water to remove any residual chemicals. The film can then be dried and inspected for quality.
Following these steps will ensure that the X-ray film is properly developed and produces clear and accurate images.
Troubleshooting X-ray Film Development
Developing X-ray films can be a tricky process, and even the most experienced technicians can run into problems. Here are some common issues that can arise during the development process and how to troubleshoot them:
Film Fogging
Film fogging occurs when the film is exposed to light before or during the development process. This can happen due to improper storage, accidental exposure, or a light leak in the darkroom. To prevent this issue, make sure to store your film in a cool, dry place away from any sources of light. Additionally, check your darkroom for any potential light leaks and fix them immediately.
Underdeveloped Film
Underdeveloped film occurs when the film is not processed for the correct amount of time or at the correct temperature. To avoid this issue, make sure to follow the manufacturer’s recommended development times and temperatures. If you are unsure, it is better to slightly overdevelop the film rather than underdevelop it.
Overdeveloped Film
Overdeveloped film occurs when the film is processed for too long or at too high of a temperature. This can result in a loss of detail in the image and an increase in film grain. To prevent this issue, make sure to closely monitor the development time and temperature and avoid overprocessing.
Uneven Development
Uneven development occurs when the developer solution does not evenly cover the film, resulting in areas of overdeveloped and underdeveloped sections. To avoid this issue, make sure to agitate the film during the development process to ensure that the developer solution is evenly distributed. Additionally, make sure that the developer solution is fresh and has not been contaminated by other chemicals.
By following these troubleshooting tips, you can ensure that your X-ray films are developed correctly and produce high-quality images.