
How to Cut Your Own Hair: Step-by-Step Guide for DIY Haircuts
With the current pandemic situation, going to a hair salon may not be the safest or most convenient option for everyone. But that doesn’t mean you have to sacrifice your hairdo. Cutting your own hair at home can save you time and money, and with the right tools and technique, you can achieve a salon-worthy look.
Why Cut Your Own Hair?
Aside from the practical reasons mentioned above, cutting your own hair can also be a fun and creative experience. You have full control over your hairstyle and can experiment with different lengths, layers, and textures. Plus, you can personalize your haircut to suit your face shape, hair type, and personal style.
What You’ll Need
Before you start cutting, make sure you have the right tools on hand:
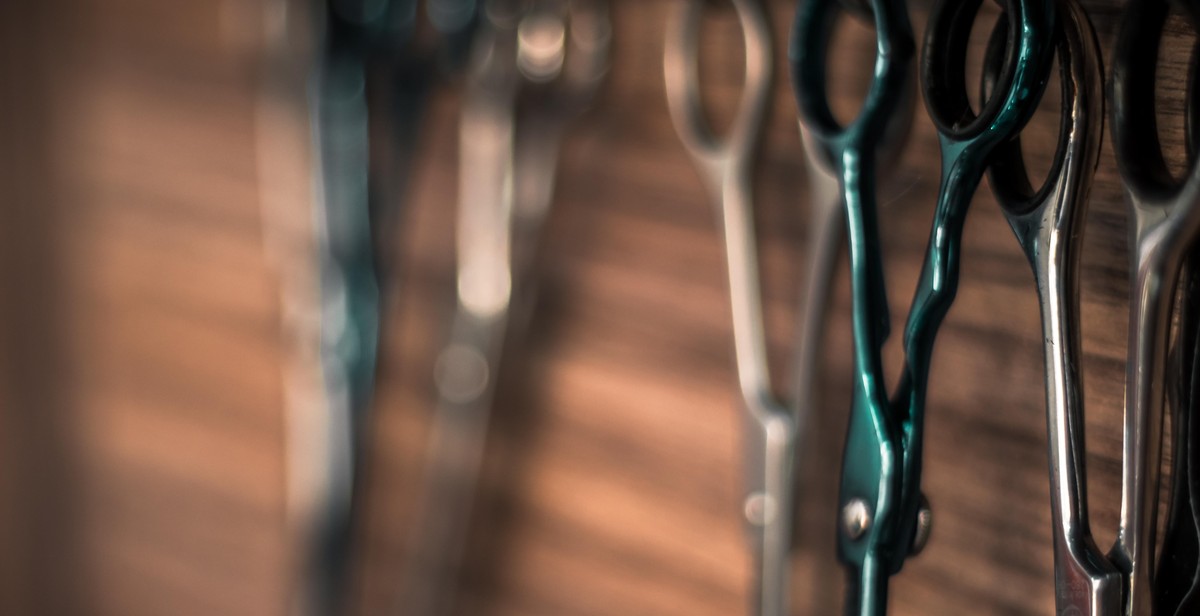
- Sharp scissors
- Clipper or trimmer (optional)
- Comb
- Hair ties or clips
- Mirror
- Towel or cape to catch hair
Step-by-Step Guide
Follow these simple steps for a successful DIY haircut:
- Start with clean, dry hair
- Section your hair and clip or tie it out of the way
- Trim the ends or create layers, depending on your desired style
- Blend the layers and check for symmetry
- Trim the bangs, if applicable
- Style and admire your new haircut!
With a little practice and patience, cutting your own hair can become a regular part of your beauty routine. So why not give it a try?
Why Cut Your Own Hair?
Cutting your own hair may seem daunting, but it can be an empowering and cost-effective solution. Here are some reasons why you might consider cutting your own hair:
- Save money: Going to a salon or barbershop can be expensive, especially if you need frequent trims or touch-ups. Cutting your own hair can save you money in the long run.
- Convenience: You can cut your hair at any time, without having to schedule an appointment or leave your home.
- Experimentation: Cutting your own hair allows you to experiment with different styles and techniques without the pressure of a professional stylist.
- Control: You have complete control over the length and style of your hair, which can be a confidence booster.
- Privacy: Some people prefer to cut their own hair for privacy reasons, rather than having a stranger touch their head.
While cutting your own hair may not be for everyone, it can be a rewarding and empowering experience. With the right tools and techniques, you can achieve a professional-looking haircut from the comfort of your own home.
Tools You Need
Before you start cutting your own hair, it is essential to have the right tools. Here are the must-have tools you need:
| Tool | Description |
|---|---|
| Scissors | You need a good pair of hair cutting scissors that are sharp and designed for hair cutting. Do not use regular scissors as they can damage your hair. |
| Comb | Use a fine-toothed comb to help you section your hair and ensure even cutting. |
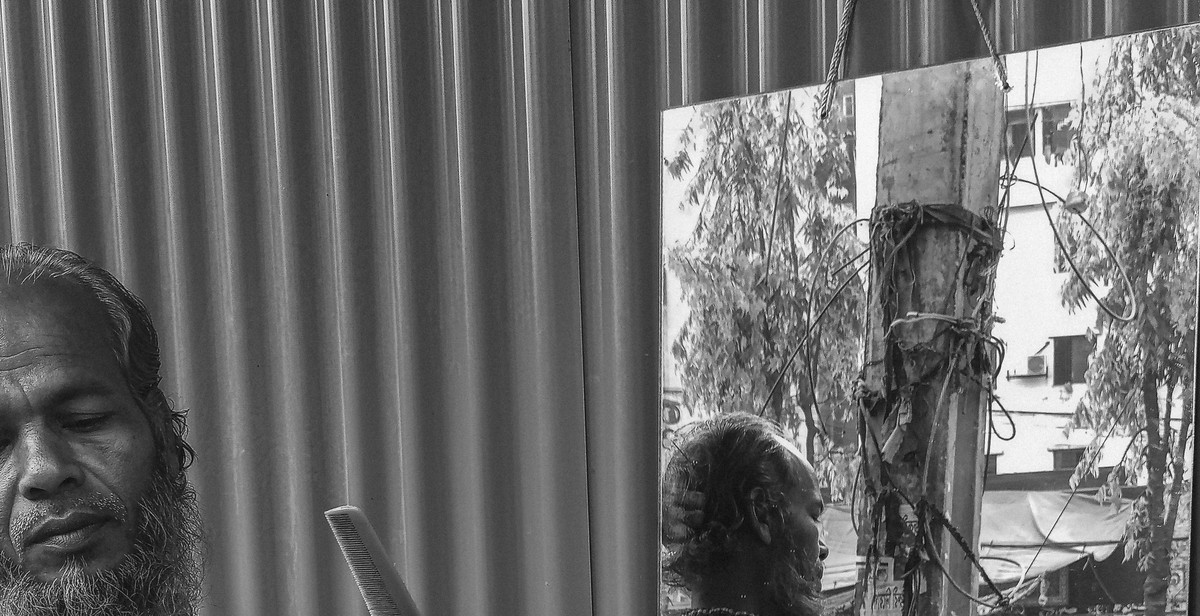
| Mirror | A mirror is essential to help you see the back of your head and make sure you are cutting your hair evenly. |
| Clippers (optional) | If you want to cut your hair short, clippers can be a useful tool. However, they are not necessary for most haircuts. |
Make sure you have all these tools before you start cutting your hair. Using the right tools will help you achieve a professional-looking haircut.
Preparing Your Hair
Before you start cutting your hair, it’s important to properly prepare it to ensure the best results. Here are some steps to follow:
Wash Your Hair
Start by washing your hair with your regular shampoo and conditioner. This will help remove any product buildup, dirt, and oil from your hair, making it easier to cut and style. Rinse your hair thoroughly with warm water, and gently pat it dry with a towel.
Dry Your Hair
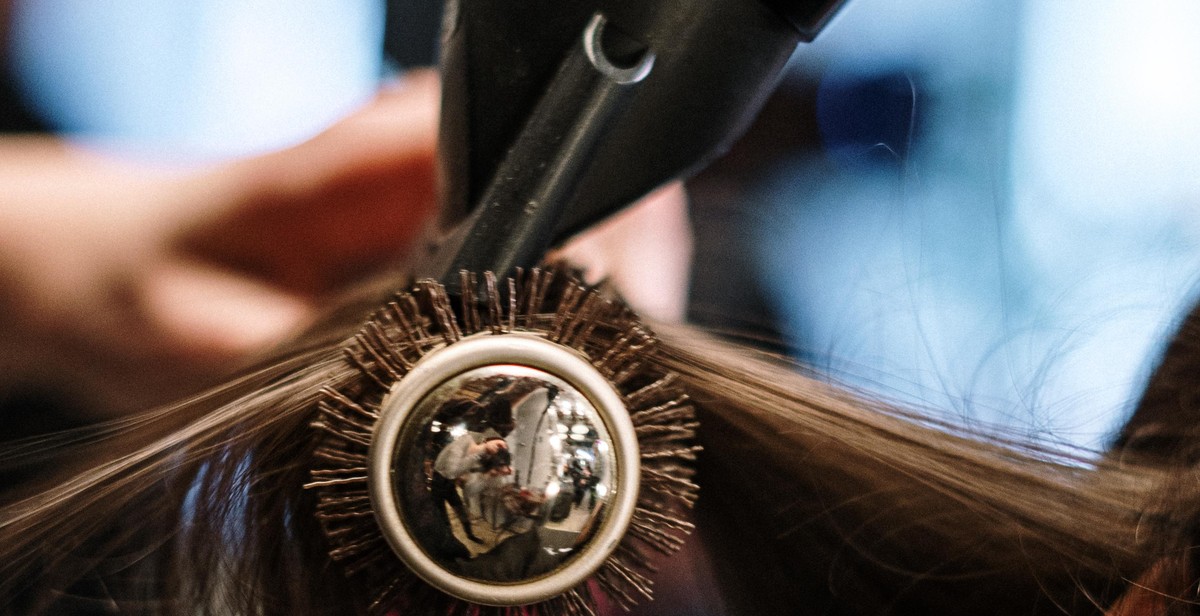
Next, use a hair dryer to completely dry your hair. This will help you see the natural shape and texture of your hair, making it easier to cut and style. Make sure to use a low heat setting and hold the dryer at least 6 inches away from your hair to avoid damage.
Brush Your Hair
Once your hair is dry, use a wide-tooth comb or brush to detangle it. Start at the ends and work your way up to the roots, gently removing any knots or tangles. This will help ensure that your hair is smooth and even, making it easier to cut.
By following these simple steps, you’ll be well on your way to cutting your own hair like a pro!

Choosing Your Haircut
Before you start cutting your hair, it’s important to decide on the right haircut for you. Here are some factors to consider:
Research Haircut Styles
Take some time to research different haircut styles that you like. Look online, in magazines, and on social media for inspiration. Consider the length, layers, and texture of each style.
Consider Your Face Shape
Your face shape can play a big role in determining which haircut will look best on you. For example, if you have a round face, a short bob or pixie cut can help elongate your face. If you have a square face, a layered cut with soft edges can help soften your features.
Think About Your Hair Type
Your hair type can also impact which haircut will work best for you. If you have thick, curly hair, a layered cut can help reduce bulk and add shape. If you have fine, straight hair, a blunt cut can create the illusion of thickness.
- Research different haircut styles
- Consider your face shape
- Think about your hair type
By taking these factors into consideration, you can choose a haircut that will flatter your features and work well with your hair type.
Step-by-Step Guide: How to Cut Your Own Hair
Section Your Hair
Before you start cutting your hair, you need to section it off. Start by parting your hair down the center and then from ear to ear. Clip the top section of your hair up and out of the way, leaving the bottom section loose.
Start Cutting
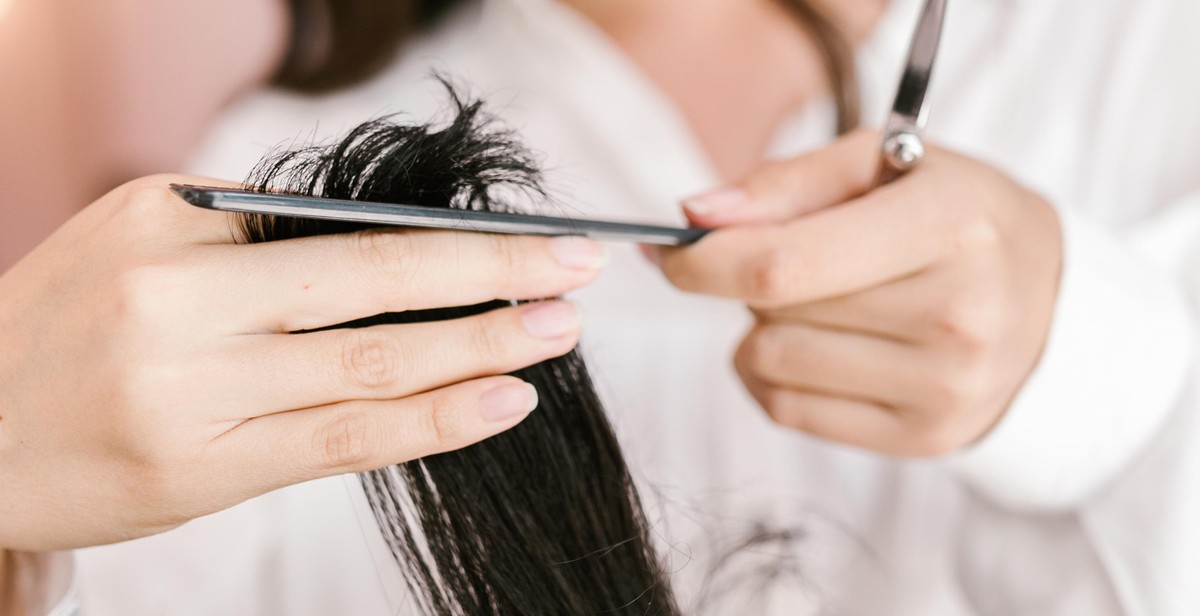
Begin cutting the bottom section of your hair first. Use a comb to hold your hair straight and then trim off the desired length. Be sure to cut in small sections and avoid cutting off too much at once.
Trim the Sides and Back
Next, move on to the sides and back of your hair. Use a mirror to check your progress and trim as needed. Again, cut in small sections and be careful not to cut off too much.
Cut the Top
Once you’ve finished trimming the sides and back, unclip the top section of your hair. Use a comb to hold your hair straight and then cut off the desired length. Cut in small sections and be sure to blend the top with the sides and back.
Blend the Layers
If you have layered hair, you’ll need to blend the layers. Use a comb to hold your hair straight and then cut into the layers, blending them together. Be sure to cut in small sections and take your time.
Trim the Bangs
Finally, trim your bangs. Use a comb to hold your hair straight and then cut off the desired length. Cut in small sections and be sure to blend the bangs with the rest of your hair.
And there you have it! A step-by-step guide to cutting your own hair at home. With a little practice, you’ll be a pro in no time!

Tips for a Successful DIY Haircut
Cutting your own hair can be a daunting task, but with the right tools and techniques, it can be done successfully. Here are some tips to help you achieve a great DIY haircut:
Take Your Time
Rushing through a DIY haircut can lead to mistakes and uneven cuts. Take your time and work in small sections to ensure you get the desired look. It’s better to take a little longer and get it right than to rush and end up with a botched haircut.
Cut Small Sections
When cutting your hair, it’s essential to work in small sections. This will help you maintain control over the cut and ensure that you don’t accidentally cut too much hair. Start with small snips and work your way up, making sure to check your progress frequently.
Check Your Progress
As you cut your hair, it’s important to step back and check your progress frequently. This will help you see any areas that need more attention and ensure that your cut is even. Use a mirror to check the back of your head and make any necessary adjustments.
Ask for Help
If you’re feeling unsure about cutting your hair, don’t be afraid to ask for help. A friend or family member can assist you and provide a second set of eyes to ensure that your cut is even and looks great.
- Take your time and work in small sections
- Cut small sections to maintain control
- Check your progress frequently
- Ask for help if you’re feeling unsure

Conclusion
Cutting your own hair might seem like a daunting task, but with the right tools, techniques, and a little bit of practice, it can be a great way to save money and achieve the look you want from the comfort of your own home. Remember to take your time, start with small cuts, and be patient with yourself as you learn.
Before you start cutting, make sure you have all the necessary tools, including sharp scissors, clippers, and a comb. It’s also important to have a clear plan in mind for the style you want to achieve, whether it’s a simple trim or a more complex layered cut.
As you begin cutting, be sure to follow the steps outlined in this guide, starting with the back of your head and moving forward. Take frequent breaks to check your progress and make adjustments as needed.
With a little bit of practice, you’ll soon be able to confidently cut your own hair and achieve the look you want. Remember to stay patient, take your time, and have fun with it!
- Start with small cuts and work your way up
- Have all the necessary tools ready
- Have a clear plan in mind for the style you want to achieve
- Follow the steps outlined in this guide
- Take frequent breaks to check your progress
- Stay patient, take your time, and have fun!
Thank you for reading this step-by-step guide on how to cut your own hair. We hope you found it helpful and informative. With these tips and techniques, you can achieve a great haircut without ever leaving your home.