
Introduction
Nighttime long exposure photography is a fascinating technique that allows photographers to capture stunning images of the night sky, cityscapes, and landscapes. It involves using a slow shutter speed to capture the movement of light over an extended period, resulting in dreamy light trails and a sense of motion in an otherwise static scene.
Creating beautiful nighttime long exposure photography requires a combination of technical skill and creativity. Photographers must have a good understanding of camera settings, such as aperture, shutter speed, and ISO, as well as the composition and lighting of the scene they are photographing.
What is Nighttime Long Exposure Photography?
Nighttime long exposure photography is a technique that involves using a slow shutter speed to capture the movement of light over an extended period. This technique is commonly used to capture the beauty of the night sky, cityscapes, and landscapes in low-light conditions.
When using this technique, the camera’s shutter remains open for several seconds or even minutes, allowing light to enter the lens and create an exposure. This results in stunning images that capture the movement of light in the scene, such as the headlights of cars on a busy street or the stars moving across the sky.
In this article, we will explore the technical aspects of nighttime long exposure photography, including camera settings and equipment needed, as well as some tips and tricks for creating stunning images.
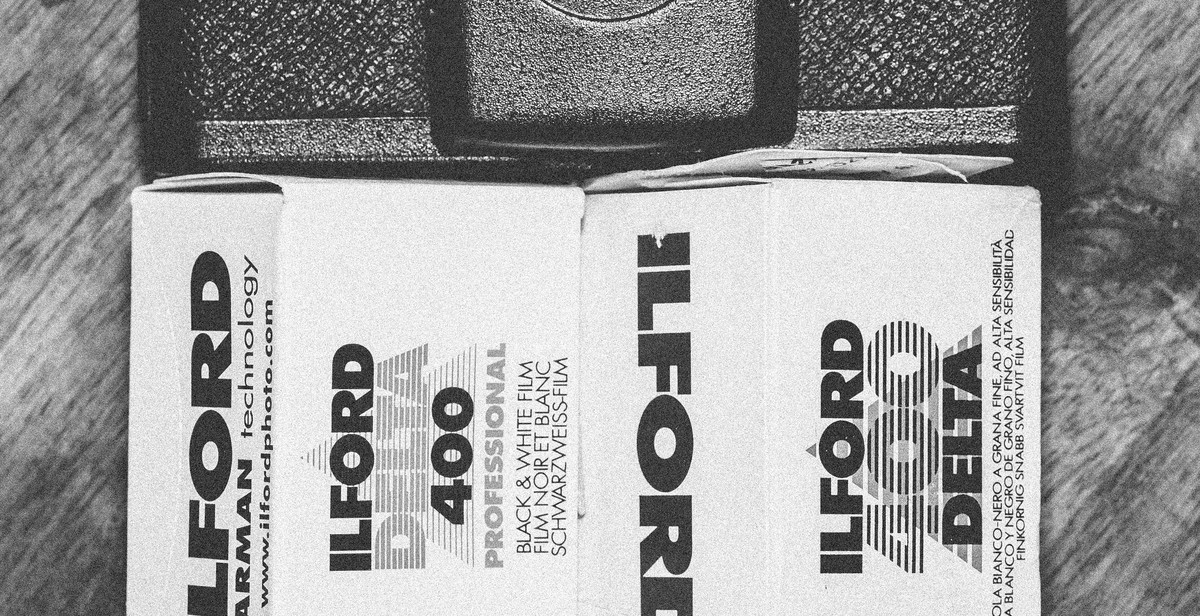
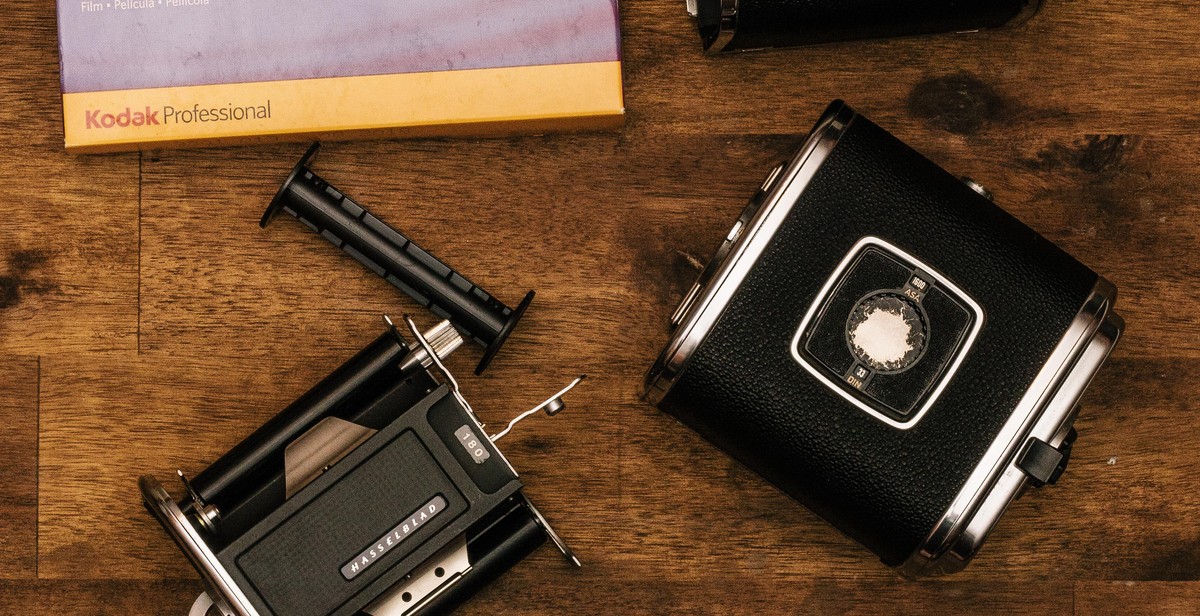
Equipment Needed
When it comes to capturing nighttime long exposure photography, having the right equipment is crucial to achieving the desired results. Here are the essential pieces of equipment you will need:
Camera
The camera is the most important piece of equipment you will need for nighttime long exposure photography. You will need a camera that allows you to shoot in manual mode, adjust the shutter speed, and has a bulb mode option. A full-frame camera is recommended for its superior low-light performance, but a crop-sensor camera can also work well.
Tripod
A sturdy tripod is essential for keeping your camera steady during long exposure shots. Look for a tripod that is tall enough for your height and can hold the weight of your camera and lens. A tripod with a ball head will make it easier to adjust the camera position.
Remote Shutter Release
A remote shutter release is necessary to prevent camera shake when taking long exposures. This device allows you to trigger the shutter without touching the camera, which can cause blur. You can choose between a wired or wireless remote shutter release.
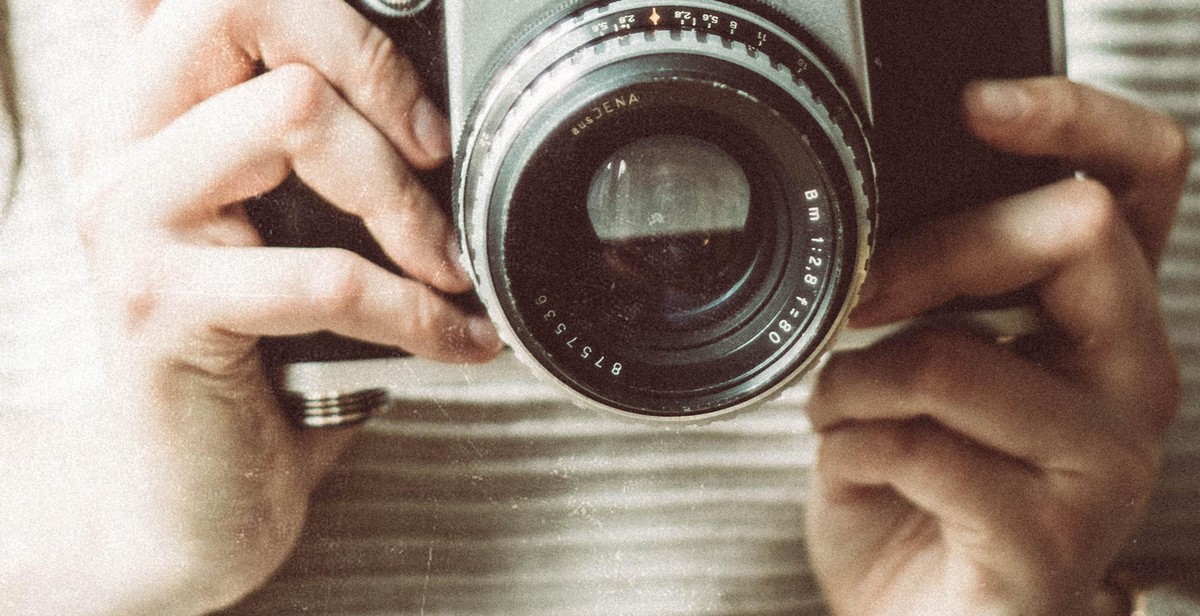
Lens
A wide-angle lens is ideal for capturing nighttime long exposure photography. Look for a lens with a wide aperture (f/2.8 or wider) to allow more light into the camera. A lens with image stabilization can also be helpful in reducing camera shake.
With these essential pieces of equipment, you will be well on your way to capturing stunning nighttime long exposure photography. Remember to always check your camera settings and take test shots before committing to a long exposure. Happy shooting!

Choosing the Right Location
When it comes to capturing nighttime long exposure photography, choosing the right location is crucial. Here are some factors to consider:
Scouting for Locations
Before heading out to shoot, it’s important to scout for locations during the daytime. Look for areas that have interesting features such as bridges, buildings, or bodies of water that can be used as foreground elements in your photos. Keep in mind that some locations may not be accessible at night or may require special permission to shoot.
Additionally, consider the composition of your shot. Look for leading lines or patterns that can guide the viewer’s eye through the image. Try to find locations that offer a variety of compositions to keep your shots interesting.
Considering Light Pollution
Light pollution can have a significant impact on the quality of your nighttime long exposure photos. Areas with high levels of light pollution can make it difficult to capture the stars or create a clear, dark sky. To avoid this, look for locations that are far away from urban areas or industrial zones.
Use websites like Dark Sky Finder or Light Pollution Map to find areas with low light pollution. These tools can help you identify the best locations for capturing clear, star-filled skies. Keep in mind that even small amounts of light pollution can affect your photos, so aim for the darkest locations possible.
Overall, choosing the right location is essential for capturing stunning nighttime long exposure photography. By scouting for locations and considering light pollution, you can find the perfect spot to create dreamy light trails and capture the stars in all their glory.
Setting Up Your Camera
Before capturing nighttime long exposure photography, it is important to set up your camera properly to ensure optimal results. Follow these steps to get started:
Setting Up Your Tripod
First, set up your tripod on a stable surface. A sturdy tripod is essential for capturing sharp and clear images. Make sure to use a level to ensure that your camera is perfectly horizontal.
Adjusting Your Camera Settings
Next, adjust your camera settings. Start by setting your camera to manual mode. This will give you complete control over the exposure time, aperture, and ISO. For nighttime long exposure photography, it is recommended to use a low ISO, a small aperture, and a long exposure time.
It is also important to turn off any automatic settings, such as autofocus and image stabilization. These settings can interfere with your final image and cause blur or distortion.
Experiment with different shutter speeds to capture the perfect light trails. A good starting point is a shutter speed of 10-30 seconds. However, depending on the amount of light available, you may need to adjust this accordingly.
Using Manual Focus
Finally, use manual focus to ensure that your subject is in sharp focus. Autofocus can struggle in low light conditions, so it is best to manually focus your lens. Use the live view mode on your camera to zoom in on your subject and adjust the focus until it is sharp.
By following these steps, you can set up your camera for nighttime long exposure photography and capture stunning light trails.
Taking the Shot
Now that you have set up your camera and found the perfect location, it’s time to take the shot. Follow these steps to capture stunning nighttime long exposure photography:
Using Bulb Mode
Switch your camera to Bulb mode to have full control over the exposure time. This mode allows you to keep the shutter open for as long as you want, which is essential for capturing light trails. To activate Bulb mode, set your camera to Manual mode, then turn the shutter speed dial past the maximum setting (usually 30 seconds) to Bulb mode.
Calculating Exposure Time
Calculating the exposure time can be tricky, but there are a few methods you can use. One way is to use the 500 rule, which involves dividing 500 by the focal length of your lens. For example, if you are using a 50mm lens, your exposure time would be 10 seconds (500 ÷ 50 = 10). Another method is to use a light meter or trial and error by taking test shots and adjusting the exposure time accordingly.
Using a Remote Shutter Release
To prevent camera shake and ensure sharp images, it’s essential to use a remote shutter release. This accessory allows you to trigger the shutter without physically touching the camera, which can cause vibrations. Use either a wired or wireless remote shutter release to take the shot.
Remember to review your images after each shot and make adjustments as needed. With practice and patience, you can capture stunning nighttime long exposure photography.
Post-Processing: Enhancing Your Nighttime Long Exposure Photos
Once you have captured your nighttime long exposure photos, it’s time to enhance them through post-processing. This will help bring out the best in your shots and make them truly stand out. Here are some steps you can follow:
1. Importing Your Photos
The first step is to import your photos into your preferred editing software. Lightroom and Photoshop are popular options for post-processing. Make sure to import all the photos you want to work on and organize them into a folder.
2. Adjusting Exposure and White Balance
Next, adjust the exposure and white balance of your photos. Nighttime shots can often come out too dark or too warm due to the lighting conditions. Use the exposure and white balance sliders to correct any issues and get a more balanced shot.
3. Enhancing Light Trails
Finally, enhance the light trails in your photos. You can use the adjustment brush tool in Lightroom to selectively brighten the light trails and make them stand out. You can also use the curves tool to add more contrast to the trails and make them pop. Be careful not to overdo it, as this can make the photo look unnatural.
By following these post-processing steps, you can take your nighttime long exposure photos to the next level and create stunning, dreamy light trails that will impress everyone who sees them.