
How to Build a Wooden Deck for Outdoor Entertaining
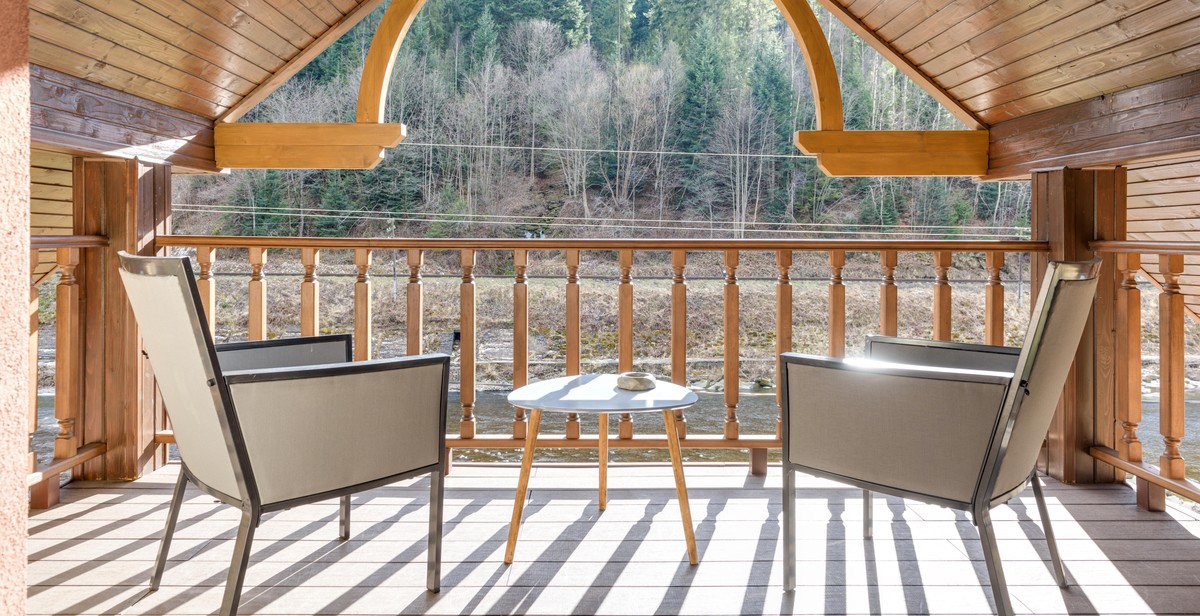
Outdoor entertaining is a great way to enjoy the outdoors with family and friends. Whether you are hosting a barbecue, a pool party, or just relaxing with a good book, a wooden deck can be a perfect addition to your outdoor living space. Not only does it provide a beautiful and functional area for entertaining, but it can also add value to your home.
Why Build a Wooden Deck?
A wooden deck is a popular choice for outdoor entertaining, and for good reason. Here are some of the benefits of building a wooden deck:
- Increased living space: A deck provides additional living space and can be used for dining, relaxing, and entertaining.
- Improved aesthetics: A well-designed deck can enhance the beauty of your outdoor space and add value to your home.
- Customizable: Wooden decks can be customized to fit your specific needs and design preferences.
- Low maintenance: Wooden decks require minimal maintenance and can last for many years with proper care.
- Budget-friendly: Wooden decks can be a cost-effective option for outdoor living spaces compared to other materials like stone or concrete.
Now that you know the benefits of building a wooden deck, it’s time to learn how to build one. In the following sections, we will guide you through the process of building a wooden deck for outdoor entertaining.

Step 1: Planning and Preparation
Building a wooden deck for outdoor entertaining can be a great addition to your home. It can provide a space for family and friends to gather, enjoy the outdoors, and create memories. However, before you start building, there are several factors to consider to ensure a successful project.
Choosing the Right Location
The first step in planning your deck is to choose the right location. Consider factors such as sun exposure, views, and proximity to your home. You want to create a space that is functional and enjoyable, so take the time to find the perfect spot.
Getting the Necessary Permits
Before you start building, you need to obtain the necessary permits. Check with your local building department to see what permits are required for your area. Failure to obtain the proper permits can result in fines and delays in your project.
Gathering Materials and Tools
Once you have chosen the location and obtained the necessary permits, it’s time to gather the materials and tools. Make a list of all the materials you will need, including the wood, screws, and any other hardware. You will also need a variety of tools, such as a circular saw, drill, level, and tape measure.
- Pressure-treated lumber is the most popular choice for decking material, as it is durable and resistant to rot and insects.
- Choose screws over nails, as they provide a stronger hold and are less likely to pop out over time.
- Other hardware, such as brackets and joist hangers, may be necessary for additional support.
Having all the necessary materials and tools on hand before you start building will make the process go more smoothly and efficiently.

Step 2: Building the Foundation
Building a wooden deck requires a solid foundation to ensure it will last for years to come. In this step, we will guide you through the process of excavating the area, laying the groundwork, and setting the posts.
Excavating the Area
The first step in building a deck is excavating the area where it will be installed. Use a shovel or a backhoe to dig out the soil to a depth of at least 6 inches. This will ensure that the deck will sit firmly and evenly on the ground.
Laying the Groundwork
After excavating the area, it is time to lay the groundwork. Start by lining the bottom of the excavation with landscaping fabric to prevent weeds from growing through the deck. Next, add a layer of gravel or crushed stone to the bottom of the excavation, followed by a layer of sand. Use a tamper to compress the sand and create a level surface.
Setting the Posts
Once the groundwork is in place, it is time to set the posts. The posts will support the weight of the deck and keep it level. To set the posts, dig holes at each corner of the deck and at intervals of no more than 8 feet along the sides. The holes should be at least 2 feet deep and 12 inches in diameter.
Next, place a post in each hole and use a level to ensure that the posts are plumb. Fill the holes with concrete and let it dry for at least 24 hours before proceeding to the next step.
By following these steps, you will have a solid foundation for your wooden deck that will ensure it lasts for many years to come.

Step 3: Installing the Frame and Beams
Before moving forward with the installation process, make sure that the ground is level and free from any debris. Once you have prepared the area, follow the steps below to install the frame and beams of your wooden deck:
Creating the Frame
- Start by measuring the dimensions of your wooden deck and marking the locations of the post holes. Use a post hole digger to dig holes at the marked locations. The depth of the holes should be at least one-third of the height of the posts.
- Place the posts into the holes and fill them with concrete. Use a level to ensure that the posts are straight and level. Allow the concrete to dry for at least 24 hours.
- Cut the joists to the appropriate length and attach them to the posts using metal joist hangers. The joists should be spaced at equal intervals and should be level.
- Install the ledger board along the house using lag screws. Make sure that the board is level and securely attached to the house.
Attaching the Beams
- Cut the beams to the appropriate length and attach them to the posts using metal brackets. The beams should be level and perpendicular to the joists.
- Install the cross beams perpendicular to the beams using metal brackets. The cross beams should be spaced at equal intervals and should be level.
- Attach the joist hangers to the ledger board and hang the joists from them. The joists should be spaced at equal intervals and should be level.
Once you have installed the frame and beams, you are ready to move on to the next step of building your wooden deck.

Step 4: Installing the Decking Boards
After laying the joists, it’s time to install the decking boards. The decking boards are the most visible part of your deck, so it’s important to choose the right type of decking boards and install them properly. Here’s how:
Choosing the Right Decking Boards
There are different types of decking boards available, each with its own advantages and disadvantages. The most common types of decking boards are:
- Pressure-treated lumber: This is the most affordable option, but it requires regular maintenance.
- Cedar: This is a popular option because it’s naturally resistant to rot and insects.
- Composite decking: This is a low-maintenance option that’s resistant to rot and insects, but it’s more expensive than other options.
When choosing your decking boards, consider the look you want to achieve, your budget, and the amount of maintenance you’re willing to do.
Laying the Decking Boards
Before laying the decking boards, make sure the joists are spaced properly and are level. Then, follow these steps:
- Start by laying the first decking board along the edge of the deck and flush with the outside joist. Use deck screws to secure it in place.
- Continue laying the decking boards, making sure to leave a small gap between each board for drainage. Use a spacer to ensure consistent spacing.
- Trim the last board to fit, leaving a small gap between the board and the edge of the deck.
- Finally, use a router or a saw to finish the edges of the decking boards.
Remember to stagger the joints of the decking boards for a more visually appealing look. Additionally, make sure to follow the manufacturer’s instructions for spacing and installation of the decking boards.
 |
Proper installation of the decking boards will ensure the longevity and beauty of your deck. |
Step 5: Adding the Finishing Touches
After completing the main construction of your wooden deck, it’s time to add the finishing touches that will make it look beautiful and last for many years to come. Here are two important steps to take:
Installing Railings
One of the most important finishing touches for a wooden deck is installing railings. Railings provide safety and security, especially for families with young children or pets. They also add a decorative touch to your deck and can make it look more polished and complete. When installing railings, be sure to use high-quality materials and follow building codes and regulations in your area. There are many different styles and materials to choose from, including wood, metal, and glass. Consider the overall design and aesthetic of your deck when selecting railings.
Staining or Sealing the Deck
Staining or sealing your wooden deck is another crucial step in the finishing process. This helps protect the wood from weathering, UV rays, and moisture, which can cause it to rot or warp over time. Staining or sealing also enhances the natural beauty of the wood and can help it last for many years without needing to be replaced. There are many different types of stains and sealers available, so be sure to choose one that is appropriate for your climate and the type of wood you used for your deck. Follow the manufacturer’s instructions carefully and apply the stain or sealer evenly to ensure a smooth and long-lasting finish.
By following these two important steps, you can add the finishing touches to your wooden deck and enjoy it for many years to come.
Conclusion
Building a wooden deck for outdoor entertaining can be a challenging but rewarding experience. With the right tools, materials, and guidance, you can create a beautiful and functional space that will enhance your outdoor living experience for years to come.
Remember the Importance of Planning
Before you embark on this project, take the time to carefully plan out every aspect of your deck. Consider the size, shape, and location, as well as any additional features you may want to incorporate, such as built-in seating or a grill station. By doing so, you can ensure that your deck meets your specific needs and preferences.
Choose High-Quality Materials
When it comes to building a deck, the quality of the materials you choose is crucial. Opt for high-quality, pressure-treated lumber that is resistant to rot and decay, and invest in sturdy hardware that will hold up to the elements. By choosing the best materials, you can ensure that your deck will stand the test of time.
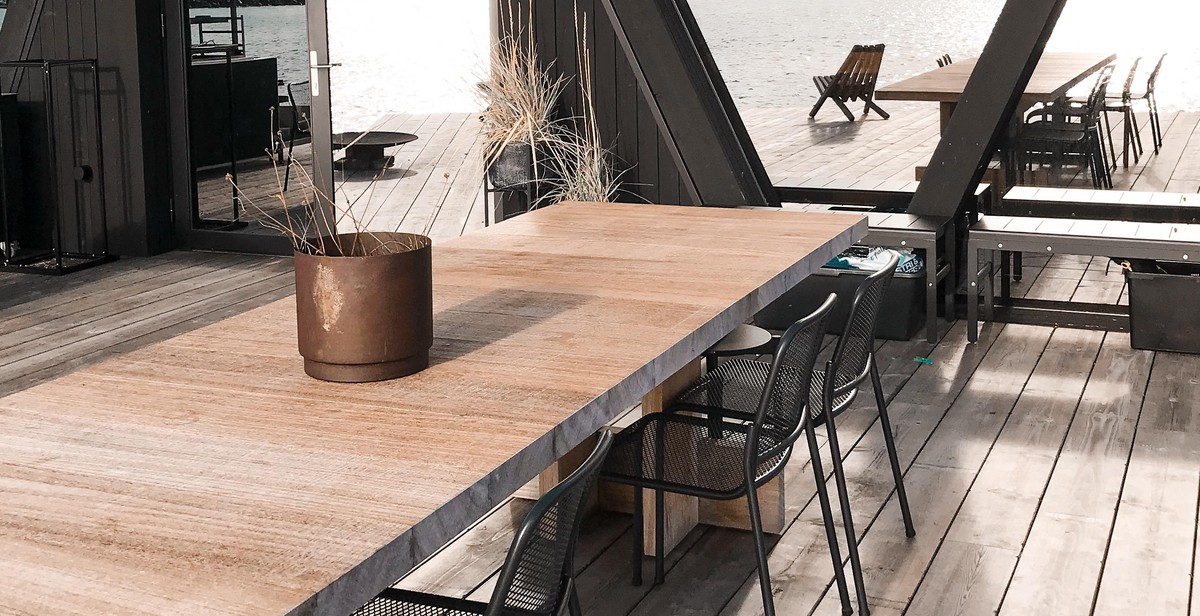
Enjoy Your New Deck
Once your deck is complete, take the time to enjoy it! Whether you’re hosting a barbecue with friends or simply relaxing with a good book, your new deck is sure to be a favorite spot in your home. So sit back, relax, and enjoy your beautiful new outdoor space!