
How to Build a Raised Planter Box for Flowers or Vegetables
If you’re looking for a way to grow flowers or vegetables without having to bend down or kneel on the ground, a raised planter box is the perfect solution. Not only does it provide a comfortable gardening experience, but it also allows you to control the soil quality, drainage, and overall environment for your plants.
Why Build a Raised Planter Box?
There are several reasons why you might want to consider building a raised planter box:
- Easier Maintenance: With a raised planter box, you can easily tend to your plants without having to strain your back or knees. This makes gardening more enjoyable and less physically taxing.
- Better Drainage: In a raised planter box, you can control the soil quality and ensure proper drainage. This prevents water from pooling and causing damage to your plants.
- Controlled Environment: By building a raised planter box, you can create the perfect environment for your plants. You can choose the right soil, add fertilizers and nutrients, and protect your plants from pests and other environmental factors.
In this article, we’ll walk you through the steps to build your own raised planter box for flowers or vegetables. With a few basic tools and materials, you can create a beautiful and functional garden space that will provide you with fresh produce and vibrant flowers for years to come.
Materials Needed
Building a raised planter box requires a few materials that are easily accessible. These materials include:
| Materials | Quantity |
| Wooden Boards | 4 pieces of 2×6 boards, 8ft long |
| Screws and Nails | 1 pound of 3-inch deck screws and 1 pound of 2-inch nails |
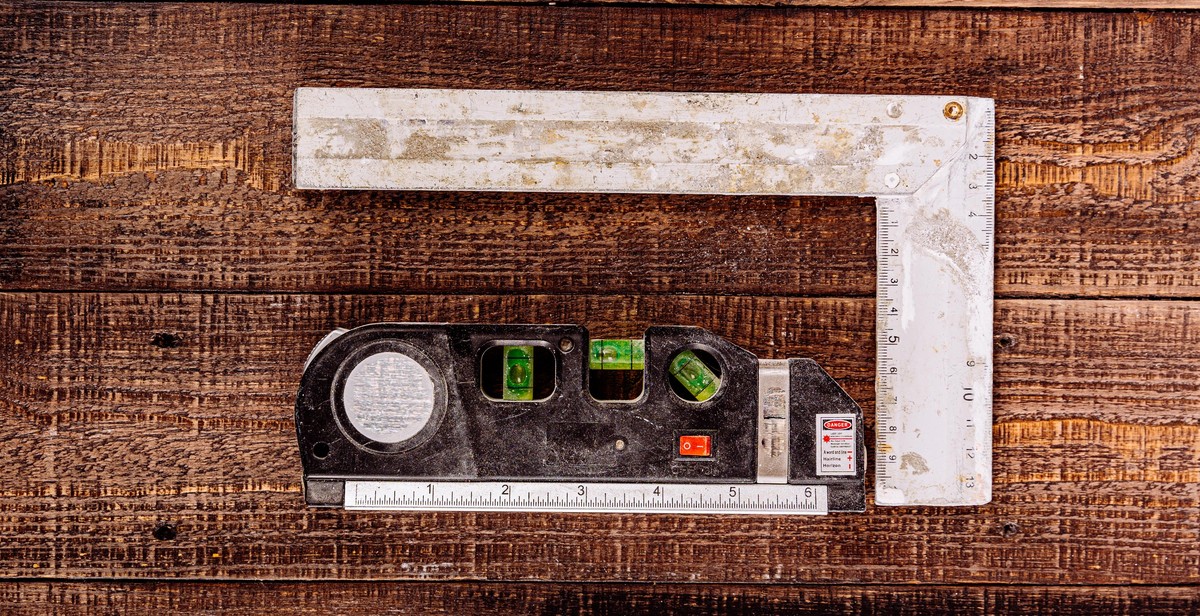
| Drill and Saw | 1 power drill and 1 circular saw |
| Measuring Tape and Pencil | 1 measuring tape and 1 pencil |
It is important to use high-quality materials to ensure the longevity and durability of the raised planter box. The wooden boards should be pressure-treated to prevent rot and decay. The screws and nails should be made of stainless steel to prevent rusting.
When selecting the wooden boards, it is important to choose boards that are straight and free of knots. The boards should be at least 8 feet long to ensure that there is enough material to build the planter box.
The power drill and circular saw are necessary tools for cutting and drilling holes in the wooden boards. The measuring tape and pencil are essential for measuring and marking the boards before cutting and drilling.
Overall, building a raised planter box requires a few basic materials that can be easily found at any home improvement store. With these materials and the right tools, anyone can build a beautiful and functional raised planter box for their flowers or vegetables.
Step-by-Step Guide: How to Build a Raised Planter Box for Flowers or Vegetables
Building a raised planter box is a great way to add some greenery to your outdoor space and grow your own vegetables or flowers. Here’s a step-by-step guide to help you build your own raised planter box:
Step 1: Cut the Boards
First, you’ll need to cut the boards to the appropriate size. You’ll need four boards for the sides of the box and four boards for the corners. The size of the boards will depend on the size of the planter box you want to build. Make sure to measure and mark the boards before cutting them to ensure they are all the same size.
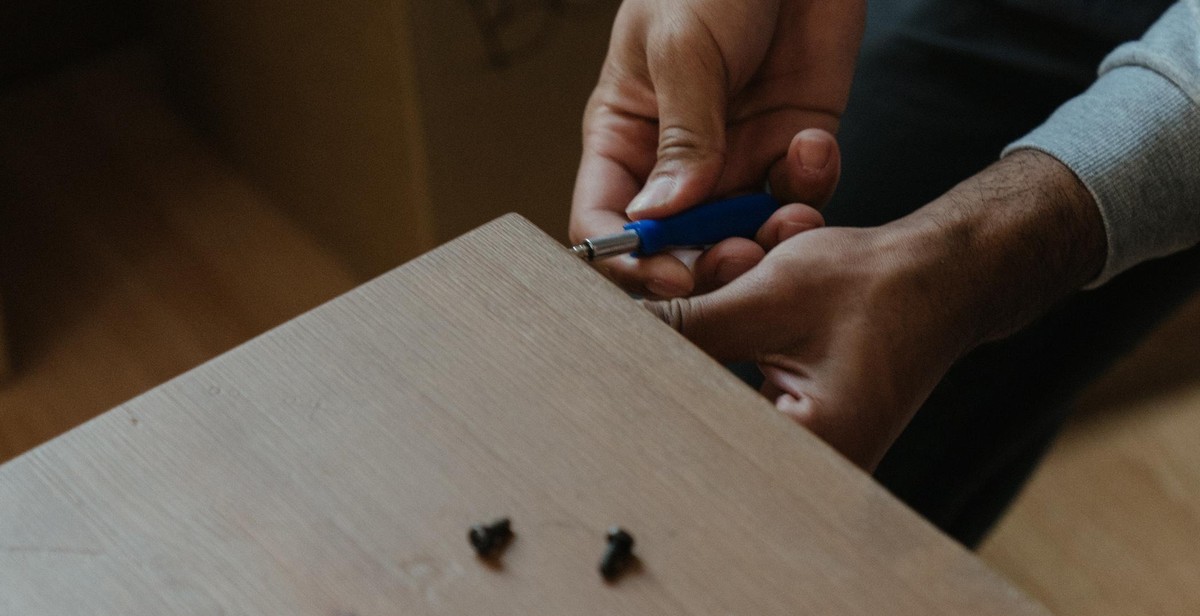
Step 2: Drill Holes for Screws
Next, drill pilot holes in the boards where you’ll be attaching them together with screws. This will prevent the boards from splitting when you screw them in.
Step 3: Assemble the Box
Now it’s time to assemble the box. Start by attaching the boards for the sides of the box to the corner boards. Use screws to attach the boards together, making sure they are flush with each other. Repeat this process for all four corners of the box.
Step 4: Add Legs (Optional)
If you want to raise your planter box off the ground, you can add legs to it. Cut four pieces of wood to the desired length for the legs and attach them to the bottom of the planter box using screws. Make sure the legs are level and secure before moving on to the next step.
Step 5: Add Soil and Plants
Finally, it’s time to add soil and plants to your raised planter box. Fill the box with soil, leaving some space at the top for your plants. Add your plants and water them thoroughly.
Building a raised planter box is a fun and rewarding project that can add beauty and functionality to your outdoor space. With these simple steps, you’ll be able to create your own raised planter box in no time!

Tips for Success
Choose the Right Location
When building a raised planter box, it’s important to choose the right location. Select a spot that receives plenty of sunlight and has good drainage. Avoid areas that are shaded or prone to flooding. The location should also be easily accessible for watering and maintenance.
Use Quality Materials
The materials you use to build your raised planter box will determine its durability and longevity. Use high-quality materials such as cedar or redwood, which are resistant to rot and decay. Avoid using pressure-treated wood, as it contains chemicals that can leach into the soil and harm your plants. If you choose to use metal or plastic materials, make sure they are food-safe and won’t release harmful chemicals into the soil.
Add Drainage Holes
Proper drainage is crucial for the health of your plants. When building your raised planter box, be sure to add drainage holes to prevent water from pooling at the bottom. You can also add a layer of gravel or sand at the bottom of the box to improve drainage.
Choose the Right Plants
The plants you choose to grow in your raised planter box will depend on several factors, including the amount of sunlight the location receives, the climate in your area, and your personal preferences. Some popular options for a raised planter box include herbs, vegetables, and flowers. Be sure to choose plants that are well-suited for the conditions in your area and that will thrive in a raised planter box environment.
By following these tips, you can ensure that your raised planter box is a success and provides you with a bountiful harvest or a beautiful display of flowers.

Conclusion
Building a raised planter box for your flowers or vegetables is a great way to improve your gardening experience. Not only does it provide a better growing environment, but it also makes gardening more accessible for those with physical limitations. By following the steps outlined in this article, you can easily build your own raised planter box in just a few hours.
Remember to choose the right materials for your planter box and to consider the size and location of your box before you start building. Also, make sure to properly prepare your soil and choose the right plants for your space to ensure a successful growing season.
Another important aspect to consider is maintenance. Regular watering, fertilizing, and pest control are essential for the health of your plants. Make sure to keep an eye on your planter box and address any issues as soon as they arise.
Overall, building a raised planter box is a fun and rewarding project that can provide years of enjoyment and fresh produce. With a little bit of planning and effort, you can create a beautiful and productive garden right in your own backyard.
- Choose the right materials for your planter box
- Consider the size and location of your box before building
- Prepare your soil and choose the right plants for your space
- Maintain your planter box with regular watering, fertilizing, and pest control
Thank you for reading and happy gardening!