
How to Build a Fence for Privacy and Security
Building a fence around your property can provide you with both privacy and security. A well-built fence can keep unwanted visitors out while also giving you a sense of seclusion and peace of mind. However, building a fence is not as simple as just putting up some posts and attaching some panels. There are a lot of factors to consider, such as the type of fence you want, the materials you’ll need, and the tools required to complete the job.
Types of Fences
There are several types of fences to choose from, including:
- Wooden fences
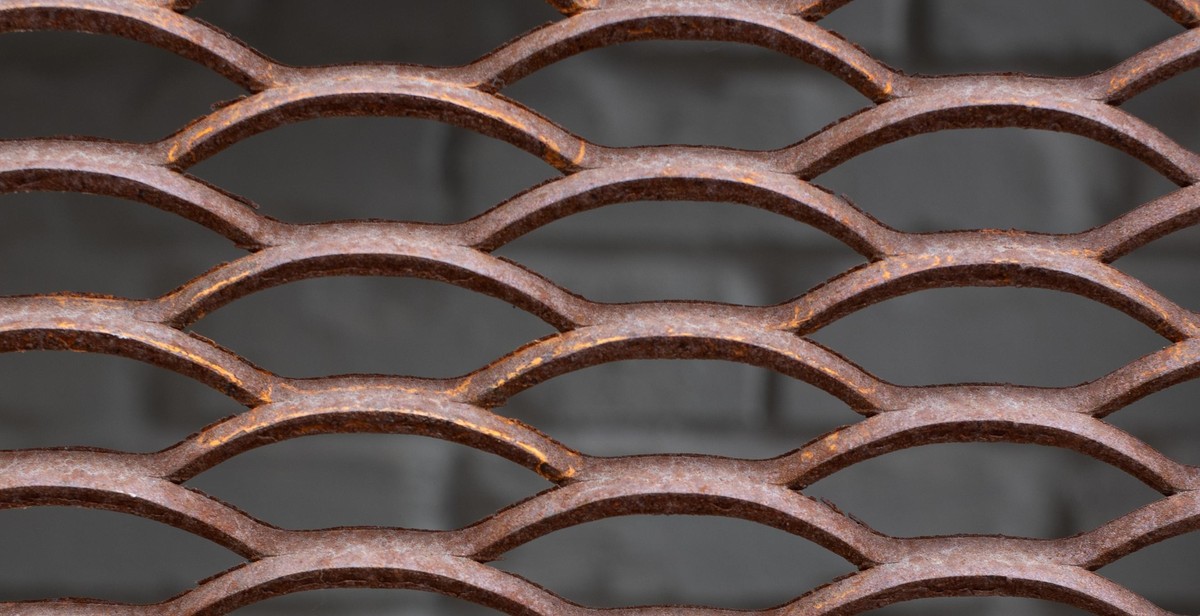
- Chain-link fences
- Vinyl fences
- Wrought iron fences
Each type of fence has its own advantages and disadvantages, so it’s important to research each one thoroughly before making a decision.
Materials
Once you’ve chosen the type of fence you want, you’ll need to decide on the materials you’ll use. Common materials include:
- Wood
- Metal
- Vinyl
- Composite
The materials you choose will depend on several factors, including your budget, the climate in your area, and the overall look you’re trying to achieve.
Tools
Finally, you’ll need to gather the necessary tools to build your fence. Some of the tools you’ll need include:
- Post hole digger
- Level
- Hammer
- Saw
- Drill
With the right tools, materials, and knowledge, you can build a fence that will provide you with privacy and security for years to come.
Step 1: Planning and Preparation
Building a fence for privacy and security requires careful planning and preparation. Before you start digging holes and setting posts, there are a few important steps you need to take to ensure your fence meets local regulations and serves its intended purpose. Here are the key steps to follow:
Determine your property line
The first step in building a fence is to determine the exact location of your property line. This is important because you don’t want to accidentally build your fence on your neighbor’s property or encroach on public land. To find your property line, you can check your property deed or hire a professional surveyor to mark the boundaries.
Check for local regulations and permits
Before you start building your fence, you need to check with your local government to see if there are any regulations or permits you need to obtain. Depending on where you live, there may be specific height restrictions, setback requirements, or design guidelines you need to follow. You may also need to obtain a building permit before you can start construction.
Some cities or homeowners associations may require a permit or permission before a fence can be installed. They may also have specific guidelines about the type of fence that can be installed or where it can be placed. It is important to do your research before starting to avoid any legal issues later on.
Choose the type of fence you want
Once you have determined the location of your property line and checked for any local regulations, you can start thinking about the type of fence you want. There are many different types of fences to choose from, including wood, vinyl, chain-link, and wrought iron. Each type has its own advantages and disadvantages, so it is important to consider your needs and budget before making a decision.
- Wood fences: These are a popular choice for their natural beauty and versatility. They can be painted or stained to match any outdoor décor, and they offer good privacy and security. However, they require regular maintenance to prevent rotting, warping, or insect damage.
- Vinyl fences: These are a low-maintenance alternative to wood that can mimic the look of wood or other materials. They are durable and resistant to weather and pests, but they can be more expensive than wood.
- Chain-link fences: These are a budget-friendly option that offer good security and visibility. They are easy to install and require minimal maintenance, but they may not provide as much privacy as other types of fences.
- Wrought iron fences: These are a classic and elegant choice that offer excellent security and durability. They can be customized with intricate designs and can last for many years, but they can be expensive and require regular maintenance to prevent rusting.
By considering these factors and doing your research, you can choose the right type of fence for your property and ensure that it serves its intended purpose for many years to come.

Step 2: Gather Tools and Materials
Before you start building your fence, it is important that you have all the necessary tools and materials. Here is a list of what you will need:
Tools you will need:
- Measuring tape
- Level
- Post hole digger
- Shovel
- Hammer
- Nail gun or screwdriver
- Saw
- Drill
- Safety glasses
- Gloves
Materials you will need:
| Material | Quantity |
|---|---|
| Fence posts | Number will depend on the length of your fence and the spacing between posts |
| Fence panels or pickets | Number will depend on the length of your fence |
| Concrete mix | Enough to fill each post hole |
| Gravel | Enough to fill the bottom of each post hole |
| Wood screws or nails | Enough to attach the fence panels or pickets to the posts |
| Gate hardware | Depends on the size and weight of your gate |
Make sure to purchase high-quality materials that are suitable for the climate in your area. Also, be sure to check with your local building codes and regulations to ensure that your fence meets the necessary requirements.

Step 3: Mark the Fence Line
Once you have determined the layout and measured the area where you want to build your fence, the next step is to mark the fence line. This is an important step as it will ensure that your fence is straight and in line with your property boundaries.
Use a String Line to Mark the Fence Line
One of the easiest ways to mark the fence line is to use a string line. This will give you a straight and even line to follow when installing the fence posts. Here’s how:
- Drive a stake into the ground at one corner of the fence line.
- Tie one end of the string line to the stake.
- Stretch the string line to the opposite corner of the fence line and tie it to another stake.
- Ensure the string line is pulled tight and level.
- Use a line level to check that the string line is level.
Once you have the string line in place, you can use it as a guide to mark the location of the fence posts.
Mark the Location of the Fence Posts
Using the string line as a guide, mark the location of the fence posts at intervals along the fence line. The spacing between the fence posts will depend on the type of fence you are building and the height of the fence.
For a standard privacy fence, the posts should be spaced no more than 8 feet apart. If you are building a taller fence, you may need to space the posts closer together to provide extra support.
When marking the location of the fence posts, be sure to use a measuring tape to ensure that they are spaced evenly. You can mark the location of the fence posts by driving stakes into the ground or using spray paint.
With the fence line marked and the location of the fence posts identified, you are now ready to start installing the fence posts.
Step 4: Dig the Post Holes
Now that you have planned out your fence and obtained all of the necessary materials, it is time to start digging the post holes. This is a crucial step in the fence building process, as the stability and strength of your fence depend on the quality of the holes you dig.
Choose the Right Post Hole Digger
Choosing the right post hole digger can make all the difference when it comes to digging efficient and effective holes. There are a variety of options to choose from, including manual post hole diggers, gas-powered augers, and hydraulic augers. Each option has its own pros and cons, so it is important to consider your specific needs and budget before making a decision.
- Manual post hole diggers are the most affordable option and are suitable for smaller fence projects. They require physical labor and can be time-consuming, but they are also quiet and environmentally friendly.
- Gas-powered augers are a more efficient option for larger fence projects or tougher soil conditions. They are faster and more powerful than manual diggers, but can be noisy and emit fumes.
- Hydraulic augers are the most powerful and efficient option, but they are also the most expensive. They are ideal for commercial or industrial fence projects or very hard soil conditions.
Dig the Holes to the Correct Depth and Diameter
Once you have chosen your post hole digger, it is time to start digging the holes. The depth and diameter of the holes will vary depending on the height and type of fence you are installing, as well as the climate and soil conditions in your area. As a general rule, the holes should be at least one-third the height of the fence and the diameter should be two to three times the width of the post.
It is important to make sure that the holes are dug to the correct depth and diameter to ensure that the posts are stable and secure. Use a tape measure and level to ensure that the holes are uniform and level with each other. It may be helpful to mark the holes with spray paint or stakes to ensure that they are in the correct location.
| Fence Height | Post Depth | Post Diameter |
|---|---|---|
| 4 feet | 2 feet | 4 inches |
| 6 feet | 3 feet | 5 inches |
| 8 feet | 4 feet | 6 inches |
It is also important to consider the spacing of the holes. The distance between each hole will depend on the length of the fence panels and the width of the posts. As a general rule, the holes should be spaced evenly and no more than 8 feet apart.
By following these guidelines and taking the time to dig quality post holes, you can ensure that your fence will be strong, stable, and secure for years to come.

Step 5: Install the Fence Posts
Now that you have determined the layout of your fence, it is time to install the fence posts. This step is crucial as it determines the stability and longevity of your fence. Here’s how to install fence posts:
Materials:
- Fence posts
- Concrete
- Water
- Level
- Post hole digger
- Tape measure
- Stakes
- String
Instructions:
- Using stakes and string, mark the locations where you want to install the fence posts.
- Use a post hole digger to dig holes for the fence posts. The depth of the holes should be at least one-third the length of the fence post.
- Place the fence posts in the holes and make sure they are level and plumb. Use a level to ensure that the posts are straight and a plumb line to ensure that they are vertical.
- Mix the concrete according to the manufacturer’s instructions. Pour the concrete into the holes around the fence posts. Use a trowel to smooth the surface of the concrete.
- Allow the concrete to dry completely before attaching the fence panels to the posts.
Tips:
- Make sure the fence posts are set firmly in the ground to prevent the fence from leaning or falling over.
- Use a spirit level to ensure that the fence posts are level and a plumb line to ensure that they are vertical.
- Make sure the fence posts are spaced evenly apart to ensure that the fence panels fit properly.
| Fence Type | Post Spacing |
|---|---|
| Privacy fence | 6-8 feet |
| Picket fence | 6-8 feet |
| Split rail fence | 8-10 feet |
| Chain link fence | 10-15 feet |
By following these steps, you can install fence posts that will provide the necessary stability and support for your fence. Remember to take your time and ensure that the posts are level and plumb before pouring the concrete. This will ensure that your fence is sturdy and long-lasting.
Step 6: Install the Fence Panels
Now that you have completed the previous steps, it’s time to install the fence panels. This step involves attaching the panels to the posts that you have already installed. Here’s how to do it:
1. Attach the panels to the posts
Start by placing the first panel against the first two posts. Use a level to ensure that the panel is straight and then attach it to the posts using screws or nails. Repeat this process for the remaining panels until all the panels are attached to the posts.
It’s important to ensure that the panels are attached securely to the posts. This will prevent them from falling off or being blown away by strong winds. Use galvanized screws or nails to attach the panels to the posts. These are more resistant to rust and corrosion, which will ensure that your fence lasts longer.
2. Make sure the panels are level
As you attach the panels to the posts, it’s important to ensure that they are level. Use a level to check the panels and make any necessary adjustments. If the panels are not level, they will look uneven and this can compromise the security and privacy of your fence.
3. Secure the panels
Once you have attached and leveled the panels, it’s time to secure them. Use brackets or clips to secure the panels to the posts. This will prevent them from moving or swaying in the wind. You can also add a cap to the top of the fence to give it a finished look and to prevent water from seeping into the panels.
Overall, installing fence panels is a crucial step in building a fence for privacy and security. By following these simple steps, you can ensure that your fence is level, secure, and will last for many years to come.

Step 7: Add Finishing Touches
Now that your fence is up, it’s time to add the finishing touches that will make it both beautiful and functional. Here are two important steps to take:
Add a Gate
A gate is an essential part of any fence, as it allows you to easily enter and exit your property. You can either purchase a pre-made gate or build one yourself. If you choose to build your own gate, make sure it matches the style and height of your fence.
When installing the gate, make sure it is level and swings freely. You may want to add a latch or lock to keep it secure.
Stain or Paint the Fence
Staining or painting your fence is an important step in protecting it from the elements and ensuring it lasts for many years. Not only does it add a layer of protection, but it also enhances the look of your fence.
When choosing a stain or paint, make sure it is designed for use on outdoor wood. Apply the stain or paint in thin, even coats, and allow it to dry completely before adding a second coat.
Before staining or painting, make sure your fence is clean and free of debris. You may want to pressure wash it or use a wood cleaner to remove any dirt or grime.
Conclusion
By following these seven steps, you can build a fence that provides both privacy and security for your property. Whether you choose to hire a professional or do it yourself, take the time to plan and prepare for the project. With the right tools and materials, you can create a fence that will last for many years to come.

Conclusion
Building a fence for privacy and security is a great way to enhance the value and security of your property. Whether you are looking to keep pets and children safe or keep out unwanted visitors, a well-designed fence can provide an effective barrier.
Consider Your Needs and Budget
Before starting your fence project, it is important to consider your needs and budget. Determine the purpose of your fence, the materials you want to use, and your budget. This will help you to choose the right design and materials for your project.
Get Professional Help
If you are not an experienced DIYer, it is recommended to get professional help. A professional fencing contractor can help you to choose the right materials, design your fence, and ensure that it is installed correctly.
Maintain Your Fence
To ensure that your fence remains effective and attractive, it is important to maintain it properly. Regular cleaning, painting, and repairs can help to extend the life of your fence.
Final Thoughts
Building a fence for privacy and security can be a great investment for your property. By following the steps outlined in this guide, you can build a fence that meets your needs and budget. Remember to consider your needs, get professional help if needed, and maintain your fence properly to ensure that it remains effective and attractive for years to come.