
How to Build a DIY Vertical Wall Shelf
Wall shelves are a great way to add extra storage space to your home while also showcasing your favorite items. While there are plenty of pre-made options available, building your own vertical wall shelf can be a fun and rewarding DIY project.
Benefits of Building Your Own Vertical Wall Shelf
- Customizable to fit your specific needs and space
- Cost-effective compared to purchasing pre-made shelves
- Opportunity to learn new woodworking skills
- Satisfaction of creating something with your own hands
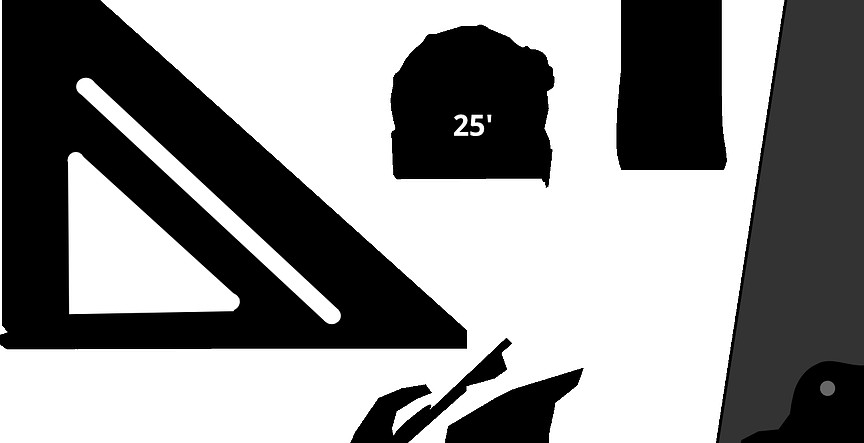
Materials Needed
Before you get started, you will need to gather the necessary materials:
- Wooden boards (size and amount dependent on your design)
- Saw
- Drill
- Screws
- Sandpaper
- Paint or stain (optional)
Step-by-Step Instructions
Follow these simple steps to build your own vertical wall shelf:
- Measure and cut your wooden boards to the desired length and width.
- Using a drill and screws, attach the boards together to create the frame of the shelf.
- Sand the edges and surfaces of the shelf to create a smooth finish.
- If desired, paint or stain the shelf to match your home decor.
- Attach the shelf to the wall using appropriate hardware.
Conclusion
Building your own vertical wall shelf can be a fun and rewarding DIY project that adds both storage and style to your home. With just a few materials and some basic woodworking skills, you can create a custom piece that perfectly fits your space and needs.
Choosing the Right Materials
When building a DIY vertical wall shelf, choosing the right materials is crucial. The materials you select will affect the durability, appearance, and functionality of your shelf. Here are some factors to consider when selecting materials:
Wood Selection
The type of wood you choose will depend on your personal preference, budget, and the look you are trying to achieve. Some popular options for DIY vertical wall shelves include:
- Pine: Pine is an affordable and lightweight option that is easy to work with. However, it may not be as durable as other types of wood.
- Oak: Oak is a strong and durable hardwood that can withstand heavy weight. It is also more expensive than other types of wood.
- Maple: Maple is a durable and attractive hardwood that is often used in furniture making. It is more expensive than pine but less expensive than oak.
When selecting wood, it’s important to consider the grade of the wood. Higher-grade wood is typically more expensive but has fewer knots and blemishes, resulting in a smoother and more attractive finish.
Tools and Equipment
Aside from wood selection, having the right tools and equipment is also crucial to building a DIY vertical wall shelf. Here are some tools you’ll need:
| Tool | Function |
|---|---|
| Saw | To cut the wood to size |
| Drill | To create pilot holes and attach screws |
| Screwdriver | To attach screws and hardware |
| Sandpaper | To smooth out rough edges and surfaces |
| Level | To ensure the shelf is straight and level when mounted on the wall |
Having the right tools and equipment can make the building process much smoother and efficient. If you don’t have all the necessary tools, consider borrowing or renting them to save money.
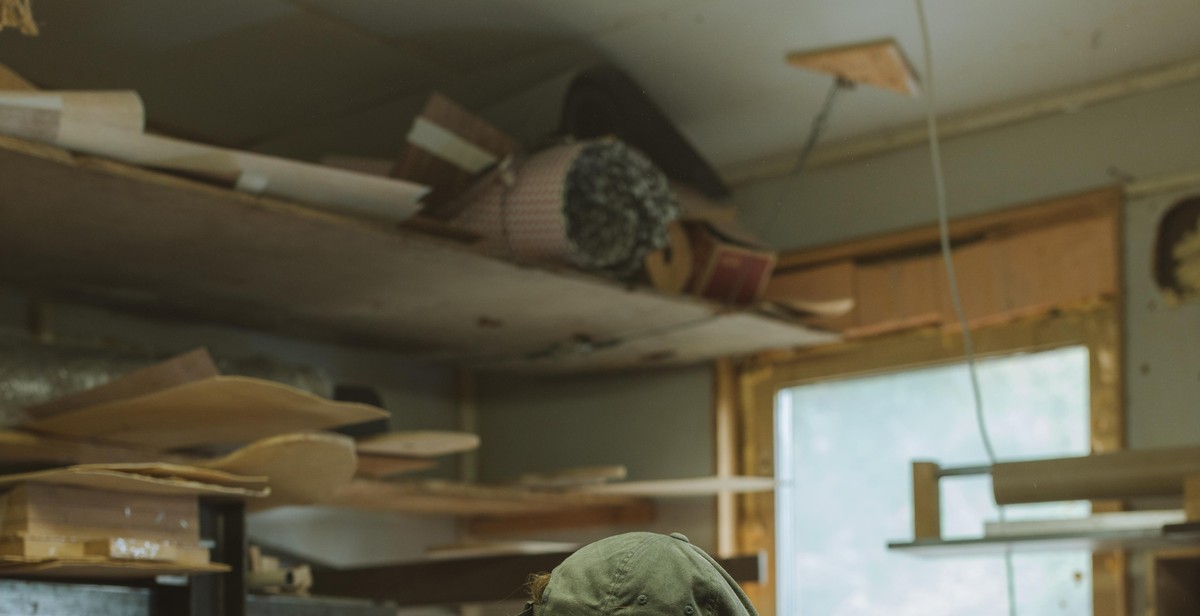
Measuring and Cutting
Measuring and cutting the wood is an essential part of building a DIY vertical wall shelf. It is important to measure accurately to ensure that the shelves fit together perfectly. Here are the steps to follow when measuring and cutting the wood for your vertical wall shelf:
Measuring the Wood
The first step is to measure the wood you will be using. You will need to measure the length, width, and thickness of each piece of wood you will be using. It is important to measure each piece of wood individually, as they may vary in size.
Once you have measured each piece of wood, you can then calculate the total length of wood you will need for your shelf. It is always a good idea to add a little extra to your measurements to account for any mistakes or discrepancies.
Cutting the Wood
Once you have measured the wood, it is time to cut it to the correct size. You will need a saw for this step, and it is important to use a saw that is appropriate for the type of wood you are using.
Before you start cutting, make sure you have marked the wood properly. Use a ruler or straight edge to draw a line where you need to cut, and double-check your measurements before making any cuts.
When cutting the wood, it is important to use slow, steady strokes. Do not rush the process, as this can result in uneven cuts or even damage to the wood.
After cutting each piece of wood, use sandpaper to smooth down any rough edges or splinters. This will ensure that your shelves look neat and professional.
Conclusion
Measuring and cutting the wood is a crucial part of building a DIY vertical wall shelf. By following these steps and taking your time, you can ensure that your shelves fit together perfectly and look great in your home.
Assembly
Once you have cut and sanded all of your wooden pieces, it’s time to start assembling your vertical wall shelf. Here are the steps to follow:
Sanding and Finishing
Before you start assembling your shelf, you should sand all of the wooden pieces to ensure a smooth finish. Start with a coarse sandpaper and work your way up to a finer grit. Be sure to sand all edges and corners to prevent any splinters.
Once you have finished sanding, you can apply a finish to your wooden pieces. There are several options for finishes, including paint, stain, or a clear coat. If you choose to paint or stain your shelf, be sure to do so before assembling it.
Mounting the Shelf
Before mounting your shelf, decide where you want to place it on your wall. Use a level to ensure that it is straight. Once you have determined the placement, mark the location of the top and bottom of the shelf on the wall with a pencil.
Next, attach the brackets to the wall using screws and a drill. Make sure the brackets are level and secure. Then, place the wooden pieces onto the brackets, ensuring that they fit snugly. If necessary, you can use wood glue to secure them in place.
Finally, attach the back piece to the wooden pieces using screws and a drill. Make sure it is flush with the top and sides of the shelf. Once you have completed these steps, your DIY vertical wall shelf is complete and ready to use!
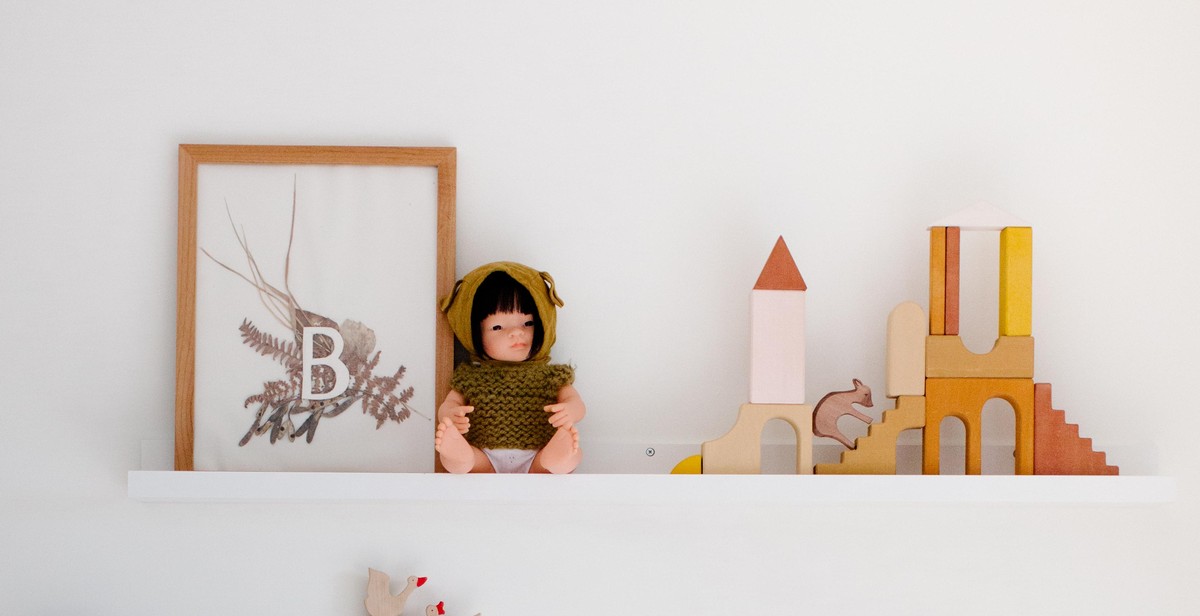
Decorating Your Shelf
Once you have built your DIY vertical wall shelf, it’s time to decorate it to fit your style and personality. Here are some tips on how to decorate your shelf:
Adding Paint or Stain
If you want to add some color or texture to your shelf, consider adding paint or stain. Choose a color that complements your existing decor and apply it evenly to the shelf using a paintbrush or roller. Alternatively, you can use a wood stain to enhance the natural beauty of the wood. Make sure to follow the manufacturer’s instructions and allow the paint or stain to dry completely before adding any accessories to your shelf.
Accessorizing Your Shelf
Accessorizing your shelf is an opportunity to showcase your favorite decor items and add a personal touch to your space. Here are some ideas for accessorizing your shelf:
- Add some greenery with potted plants or succulents.
- Showcase your favorite books or magazines.
- Display some decorative vases or jars.
- Hang some wall art or picture frames.
- Include some candles or other small decor items.
Conclusion
Decorating your DIY vertical wall shelf is a fun and creative way to add some personality to your space. Whether you choose to add some color with paint or stain or accessorize with your favorite decor items, your shelf is sure to be a focal point in any room.