
Introduction: How to Build a DIY Vertical Garden for Small Spaces
If you live in a small apartment or have limited outdoor space, building a vertical garden can be a great way to add some greenery and beauty to your surroundings. Vertical gardens are becoming increasingly popular, as they allow you to grow plants in a space-efficient and visually appealing manner.
Why Build a Vertical Garden?
There are many benefits to building a vertical garden, including:
- Space-saving: A vertical garden can be built on a wall or fence, which means you can grow plants without taking up valuable floor space.
- Aesthetically pleasing: A well-designed vertical garden can be a beautiful addition to any indoor or outdoor space.
- Fresh produce: You can grow herbs, vegetables, and fruits in a vertical garden, which means you can have fresh produce on hand whenever you need it.
- Cleaner air: Plants help to purify the air by absorbing pollutants and emitting oxygen, which means a vertical garden can improve the air quality in your home or office.
In this article, we will show you how to build your own DIY vertical garden for small spaces. We will provide step-by-step instructions, as well as tips and tricks to ensure your vertical garden is a success. Let’s get started!
Step 1: Choose Your Location
Before you start building your DIY vertical garden, it is important to choose the right location. Consider the following factors:
Sunlight
Plants need sunlight to grow, so it is important to choose a location that receives adequate sunlight. Look for a spot that receives at least 6 hours of direct sunlight per day. If you live in an area with hot summers, consider a location that provides some shade during the hottest part of the day.
Drainage
Good drainage is essential for a healthy garden. Make sure that your chosen location has proper drainage. If the area tends to get waterlogged or has poor drainage, consider building a raised bed or adding drainage channels.
Once you have identified a suitable location, consider the size of your vertical garden. Think about the number of plants you want to grow and the space required for each plant. This will help you determine the size and shape of your vertical garden.
Remember, the success of your vertical garden depends on choosing the right location. Take the time to find the perfect spot before you start building.
Step 2: Determine Your Design
Now that you have selected the ideal location for your vertical garden, it’s time to determine the design. Here are two essential elements to consider:
Choose Your Materials
The materials you choose will significantly impact the design and overall look of your vertical garden. For the frame, you can use wood, metal, or PVC pipes. If you prefer a more rustic look, reclaimed wood is an excellent option. Metal frames, on the other hand, offer a sleek and modern look. PVC pipes are lightweight and easy to work with, making them a popular choice for DIY vertical gardens.
For the containers, you can use anything from plastic bottles, mason jars, or even old gutters. Ensure that the containers you choose are durable and have proper drainage to prevent waterlogging.
Decide on Plant Placement
When deciding on plant placement, consider the amount of sunlight your vertical garden will receive. Choose plants that thrive in the available lighting conditions. Additionally, consider the size of the plant and the container it will be planted in. Taller plants should be placed towards the top of the garden, while trailing plants should be placed at the bottom.
Creating a design plan beforehand will help you visualize the final product and ensure that you have all the necessary materials before starting the project.
Step 3: Build Your Frame
Now that you have planned your vertical garden and chosen the right plants for your space, it’s time to build your frame. This step requires some basic carpentry skills, but it’s relatively easy to do with the right tools and materials.
Gather Your Tools and Materials
Before you start building your frame, make sure you have all the necessary tools and materials. Here’s what you’ll need:
- Wooden boards (2×4 or 2×6)
- Screws
- Drill
- Saw
- Tape measure
- Pencil
Assemble Your Frame
Once you have all your tools and materials, it’s time to assemble your frame. Follow these steps:
- Measure and cut your wooden boards to the desired length for your frame.
- Arrange the boards in a rectangular shape and screw them together at the corners.
- Make sure your frame is level and sturdy.
- If you’re building a larger frame, you may want to add additional support beams in the middle.
|
|
For a more polished look, you can sand and stain your frame or paint it to match your decor. |
Once your frame is assembled, you’re ready to move on to the next step: installing your planters.
Step 4: Add Your Planters
Now that you have your frame and irrigation system set up, it’s time to add your planters. Here’s how:
Choose Your Planters
When choosing planters for your vertical garden, there are a few things to consider:
- Size: Make sure your planters fit the space you have available and are deep enough to accommodate your plants’ root systems.
- Material: Consider the material of your planters based on the look you want to achieve and the plants you will be growing. For example, if you’re growing herbs, you might want to choose clay or ceramic planters that will help keep the soil moist.
- Drainage: Make sure your planters have drainage holes to prevent water from pooling and potentially damaging your plants.
Secure Your Planters
Once you have chosen your planters, it’s important to secure them in place to prevent them from falling or shifting. Here are a few ways to do this:
- Zip Ties: Use zip ties to attach your planters to the frame. This is a quick and easy method that allows you to adjust the height of your planters if necessary.
- Screws: If you want a more permanent solution, you can use screws to attach your planters to the frame. This will ensure that they stay in place even in windy conditions.
- Velcro Strips: Velcro strips can also be used to attach your planters to the frame. This method is less permanent than screws but still provides a secure hold.
Once your planters are securely in place, you can start adding your plants and watch your vertical garden come to life!
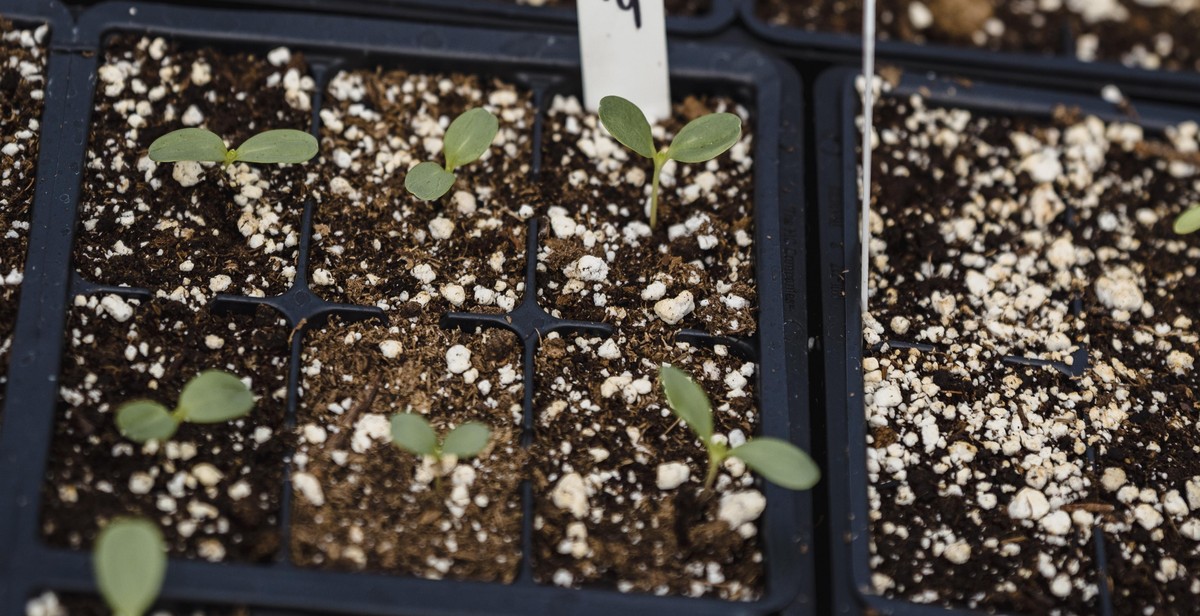
Step 5: Plant Your Garden
Now that you have constructed your vertical garden, it’s time to choose the plants that will thrive in your small space. Here are some tips to help you make the right choices:
Choose Your Plants
- Consider the amount of light: Before selecting your plants, it’s important to know how much sunlight your vertical garden will receive. Some plants require full sun, while others prefer partial shade. Make sure you choose plants that will thrive in the amount of light your garden receives.
- Choose plants that fit your space: Since you are working with a small space, it’s important to choose plants that won’t outgrow your garden. Look for plants that are compact or have a trailing habit.
- Think about the purpose of your garden: Are you looking to grow herbs, flowers or vegetables? Choose plants that serve your purpose and will thrive in your garden.
Plant Your Garden
- Prepare your soil: Make sure your soil is nutrient-rich and well-draining. You can use a pre-made potting mix or create your own using compost and vermiculite.
- Plant your plants: Carefully plant your chosen plants in the pockets of your vertical garden. Make sure to space them out evenly and follow the planting instructions for each plant.
- Water your garden: After planting, give your garden a thorough watering. Make sure to water your plants regularly, especially during hot and dry weather.
| Plant | Light Requirements | Watering Needs | Special Considerations |
|---|---|---|---|
| Herbs (basil, parsley, thyme) | Full sun | Regular watering | Harvest regularly to promote growth |
| Succulents (sedum, echeveria) | Partial shade | Sparse watering | Well-draining soil is a must |
| Flowers (petunias, pansies, impatiens) | Partial to full sun | Regular watering | Deadhead regularly to promote growth |

Step 6: Maintenance
Now that your DIY vertical garden is complete, it’s important to properly maintain it to ensure it thrives and continues to be a beautiful addition to your small space. Maintenance involves watering and fertilizing, pruning, and harvesting.
Watering and Fertilizing
It’s important to keep your vertical garden well-watered, especially during hot and dry weather. Water the plants thoroughly, making sure the water reaches all levels of the garden. You can also use a drip irrigation system to make watering easier and more efficient. Fertilizing is also important to keep your plants healthy and growing. Use a balanced fertilizer, following the instructions on the package.
Pruning
Regular pruning is necessary to keep your vertical garden looking neat and to promote healthy growth. Remove any dead or yellowing leaves, as well as any stems that are damaged or diseased. Pinch back any leggy growth to encourage bushier growth.
Harvesting
As your plants grow, you’ll be able to start harvesting them. Harvesting regularly will encourage more growth and keep your plants from becoming too crowded. Harvest leafy greens when they are young and tender, and pick fruit and vegetables as soon as they are ripe.
By following these maintenance tips, you’ll be able to enjoy your DIY vertical garden for years to come.
Conclusion
Building a DIY vertical garden is a great way to add greenery to your small space without taking up too much room. With the right materials and some creativity, you can create a beautiful and functional garden that will not only enhance the look of your space but also improve your air quality.
When building your vertical garden, it’s important to choose the right plants for your space and to ensure that they are getting enough sunlight and water. You should also consider the weight of your garden and make sure that it is securely attached to the wall or structure it is leaning against.
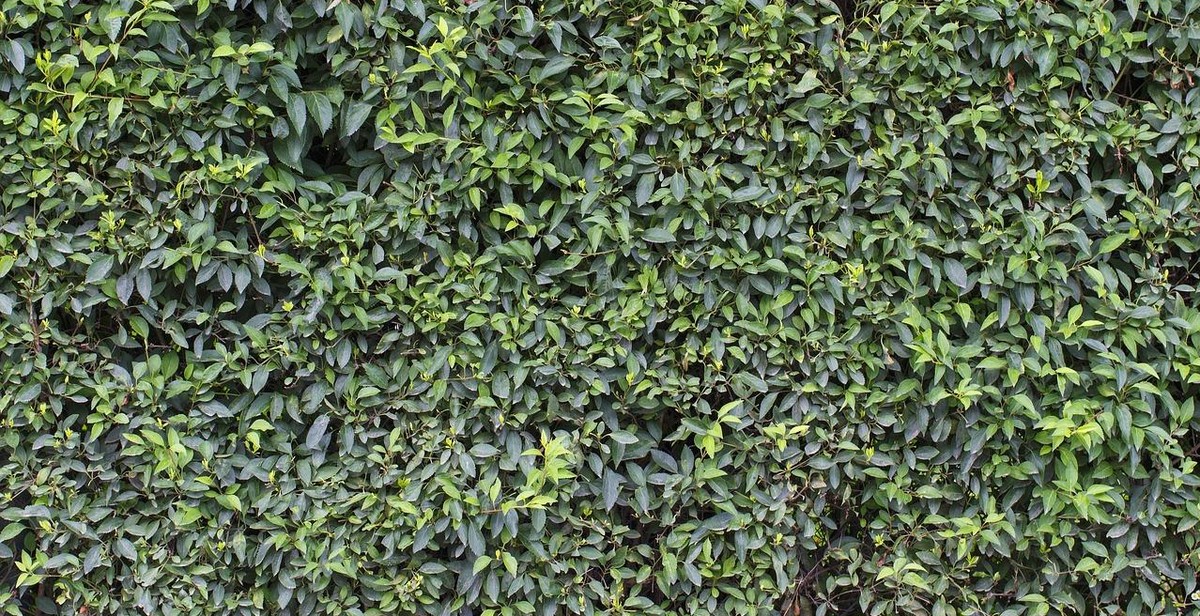
There are many different types of vertical gardens you can create, from simple wall-mounted planters to elaborate structures that incorporate multiple tiers and materials. The key is to find a design that works for your space and your needs.
Overall, building a DIY vertical garden is a fun and rewarding project that can transform your small space into a lush and vibrant oasis. With a little bit of time and effort, you can create a beautiful garden that you can enjoy for years to come.
| Pros | Cons |
|---|---|
|
|