How to X-ray Welds: Techniques and Best Practices for Inspecting Welds with X-ray Imaging
As a professional welder, I know firsthand the importance of ensuring the quality of welded joints. Welding is a complex and challenging process that requires a high level of skill and expertise. While visual inspection is an essential part of the welding process, it is not always enough to detect hidden flaws or defects that can compromise the integrity of the weld. This is where X-ray imaging comes into play.
X-ray imaging is a non-destructive testing (NDT) method that uses radiation to create images of the inside of materials. In welding, X-ray imaging is used to inspect the quality of the weld and identify any defects that may be present. This technique is particularly useful for inspecting critical welds, such as those in pressure vessels, pipelines, and aerospace components.
The Benefits of X-ray Weld Inspection
The use of X-ray imaging for weld inspection offers several advantages:
- Non-destructive testing method
- Highly accurate and reliable results
- Can detect hidden flaws or defects that may not be visible to the naked eye
- Can help prevent costly repairs and downtime
In this article, I will share with you some of the best practices and techniques for inspecting welds with X-ray imaging. Whether you are a professional welder or simply interested in learning more about the welding process, this guide will provide you with valuable insights into this important aspect of welding quality control.

What is X-ray Weld Inspection?
X-ray weld inspection is a non-destructive testing (NDT) technique that uses x-rays to produce images of the internal structure of welded joints. The technique is widely used in various industries to ensure the quality and integrity of welded joints.
Definition
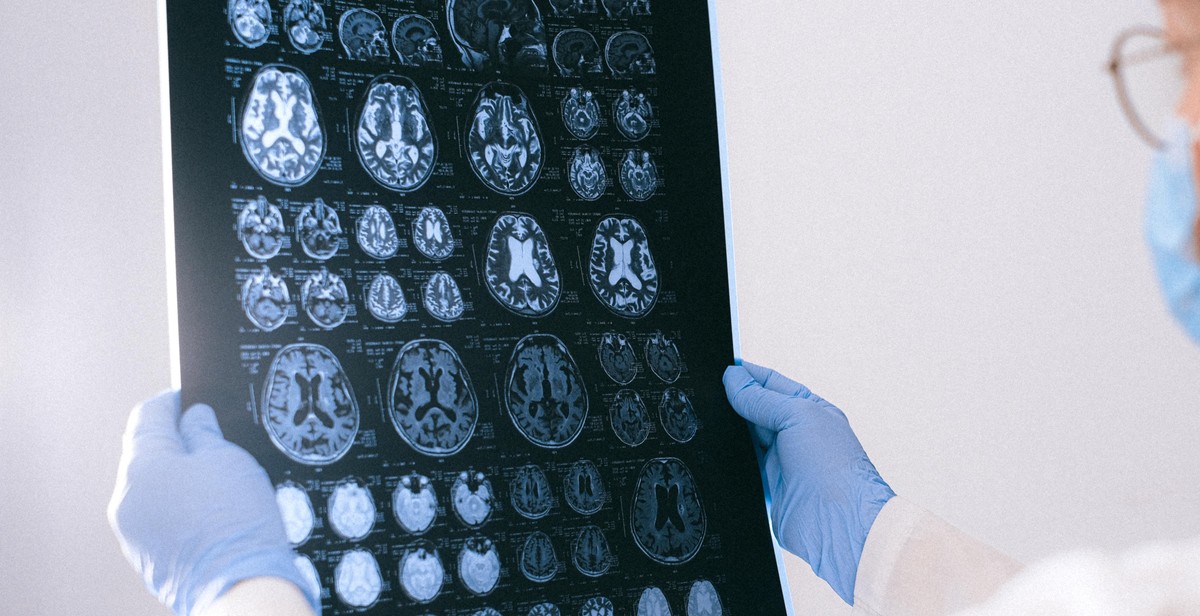
X-ray weld inspection involves passing x-rays through the welded joint and detecting the radiation that passes through it. The detected radiation is used to create an image of the internal structure of the joint, which can then be analyzed for defects such as cracks, porosity, and inclusions.
Uses
X-ray weld inspection is commonly used in the oil and gas, aerospace, automotive, and construction industries, among others. The technique is particularly useful for inspecting critical welds that are difficult or impossible to access with conventional inspection methods.
Some of the common uses of x-ray weld inspection include:
- Detecting defects in welds such as cracks, porosity, and inclusions
- Verifying the quality and integrity of welds
- Ensuring compliance with industry standards and regulations
- Identifying potential problems before they lead to costly failures
Overall, x-ray weld inspection is a valuable tool for ensuring the quality and safety of welded joints in various industries.

X-ray Weld Inspection Techniques
When it comes to inspecting welds, X-ray imaging is one of the most effective methods. There are three main X-ray techniques used for weld inspection:
Real-Time Radiography (RTR)
Real-Time Radiography (RTR) is a type of X-ray imaging that produces images in real-time. It’s commonly used for weld inspection because it allows the inspector to view the weld as it’s being made. This can help identify any defects or issues as they occur, allowing for immediate corrective action.
Computed Radiography (CR)
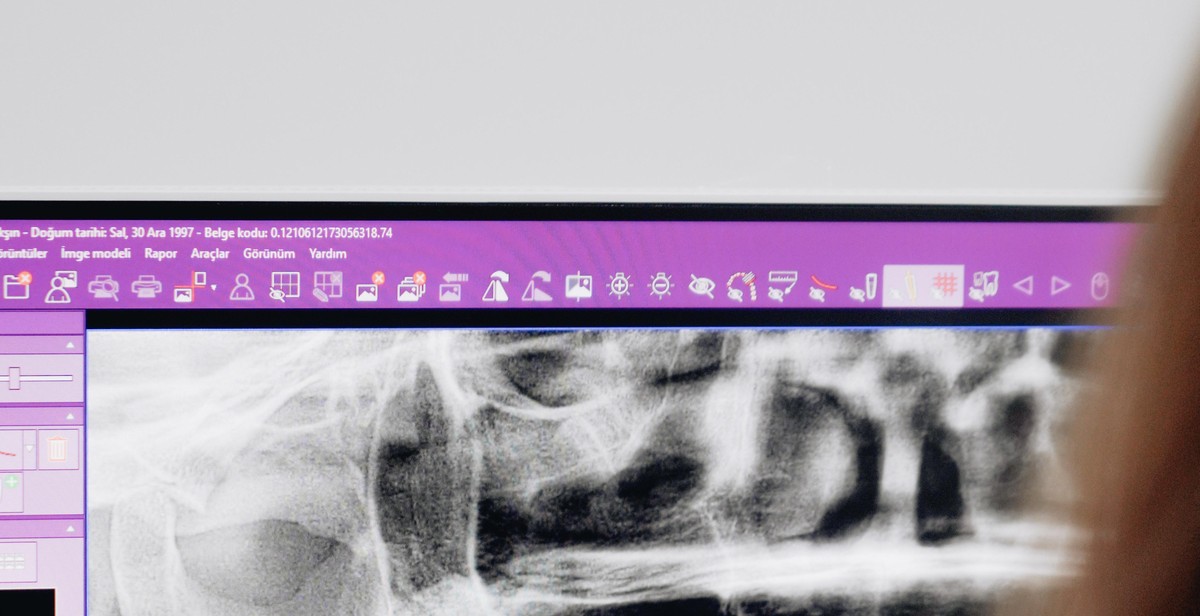
Computed Radiography (CR) is a digital X-ray imaging technique that uses a special imaging plate to capture the X-ray image. The plate is then scanned and the image is displayed on a computer screen. This technique is often used for weld inspection because it allows for easy storage and retrieval of images, as well as the ability to manipulate the image for better analysis.
Film Radiography
Film Radiography is the traditional X-ray imaging technique that uses a film to capture the X-ray image. The film is then developed and inspected for any defects or issues. While this method is still widely used for weld inspection, it can be time-consuming and requires more storage space for the film.
When choosing an X-ray technique for weld inspection, it’s important to consider the specific needs of the project. Real-Time Radiography (RTR) is ideal for identifying issues as they occur, while Computed Radiography (CR) and Film Radiography offer more detailed images for analysis.

Preparing for X-ray Weld Inspection
Before conducting an X-ray weld inspection, it is essential to prepare the weld surface to ensure accurate results. Here are some best practices to follow:
Cleaning the Weld Surface
Start by cleaning the weld surface thoroughly. Remove any debris, dirt, oil, or other contaminants that may interfere with the X-ray inspection. Use a wire brush or grinder to remove any rust or scale buildup on the surface. This step is crucial to ensure that the X-ray can penetrate the weld and provide an accurate image.
Positioning the Weld
The positioning of the weld is also critical for a successful X-ray inspection. The weld should be in a flat position to allow for even penetration of the X-ray beam. If the weld is positioned at an angle, it may result in a distorted image. Use fixtures or clamps to secure the weld in place during the inspection.
Choosing the Right X-ray Equipment
Choosing the right X-ray equipment is crucial for obtaining accurate results. Consider the thickness of the material being inspected and the weld type. For thicker materials, higher energy X-ray machines may be required. For smaller welds, portable X-ray machines may be more suitable. Consult with a qualified X-ray technician to determine the appropriate equipment for your inspection needs.
By following these best practices, you can ensure that your X-ray weld inspection is successful and provides accurate results.

Best Practices for X-ray Weld Inspection
Train Personnel on X-ray Safety
Before using X-ray equipment, it is essential to provide adequate training to personnel to ensure they understand the safety procedures and precautions. X-ray radiation can be harmful to human health, and employees must be aware of the risks and how to prevent exposure. Training should cover the proper use of personal protective equipment, such as lead aprons and gloves, and how to properly handle and store X-ray equipment. Personnel should also be trained on how to recognize and respond to potential safety hazards.
Calibrate the X-ray Equipment
Calibrating X-ray equipment is crucial to ensure accurate and reliable results. Proper calibration helps to minimize errors in the imaging process, which can lead to misinterpretation of the X-ray images. Calibration should be performed regularly and documented to ensure that the equipment is functioning optimally. Additionally, regular maintenance and servicing of the X-ray equipment should be carried out to prevent malfunctions and ensure consistent performance.
Properly Interpret the X-ray Images
Interpreting X-ray images is a highly specialized skill that requires extensive training and experience. When analyzing X-ray images, it is essential to consider the weld’s geometry and the type of material being inspected. Personnel should be able to identify weld defects, such as porosity, lack of fusion, and cracks, and understand how they may affect the weld’s integrity. It is also important to have a clear understanding of the relevant industry standards and codes to ensure that the weld meets the required criteria.
- Train personnel on X-ray safety
- Calibrate the X-ray equipment
- Properly interpret the X-ray images
| Best Practices for X-ray Weld Inspection |
|---|
| Train personnel on X-ray safety |
| Calibrate the X-ray equipment |
| Properly interpret the X-ray images |

Benefits of X-ray Weld Inspection
X-ray weld inspection is a non-destructive testing (NDT) technique that uses X-ray imaging to examine the internal structure of welded components. This technique has several benefits that make it an essential tool for inspecting welds in various industries.
1. Detecting Defects
X-ray imaging can detect a wide range of defects in welds, including porosity, cracks, and inclusions. These defects can compromise the integrity of the weld and the overall structure, leading to catastrophic failure. X-ray inspection can identify these defects early, allowing for corrective action to be taken before they cause any harm.
2. Precision
X-ray imaging is a highly precise technique that can detect defects as small as a few microns. This precision allows for accurate identification and classification of defects, which is essential for determining the severity of the defect and the appropriate corrective action.
3. Non-Destructive
X-ray inspection is a non-destructive technique, meaning it does not damage the weld or the component being inspected. This makes it an ideal technique for inspecting critical components where destructive testing is not an option.
4. Cost-Effective
X-ray inspection is a cost-effective technique for inspecting welds. It is faster and less expensive than destructive testing methods, and it can identify defects that may otherwise go undetected, saving time and money in the long run.
5. Versatile
X-ray inspection can be used to inspect welds in a wide range of materials, including metals, plastics, and ceramics. It is also effective for inspecting welds in complex shapes and sizes, making it a versatile technique for inspecting welds in various industries.

Conclusion
Inspecting welds with x-ray imaging is a crucial step in ensuring the safety and integrity of structures and equipment. By following the techniques and best practices outlined in this article, weld inspectors can improve their ability to detect defects and make accurate assessments of weld quality.
It is important to remember that x-ray inspection requires specialized equipment and training. Weld inspectors should work closely with certified radiographers and follow all safety protocols to ensure the safety of themselves and others.
Additionally, staying up-to-date with advancements in x-ray technology can improve the accuracy and efficiency of weld inspections. As new techniques and tools are developed, weld inspectors should be willing to adapt and incorporate them into their practices.
Overall, x-ray imaging is a valuable tool for weld inspection, and using it effectively requires a combination of knowledge, skill, and attention to detail. By following the guidelines outlined in this article, weld inspectors can improve their ability to identify defects and ensure the safety and reliability of welded structures and equipment.
