
How to Paint a Realistic Portrait with Charcoal: An Introduction
Painting a realistic portrait with charcoal is an art form that has been practiced for centuries. Charcoal is a versatile medium that allows artists to create a wide range of textures and tones, from soft and subtle to bold and dramatic. It is a popular choice among artists because of its affordability, ease of use, and ability to create stunning, lifelike portraits.
Why Paint with Charcoal?
Charcoal is a popular medium for portrait painting because it allows artists to create a range of values, from light to dark, with ease. It is a forgiving medium that can be easily corrected or erased, making it an ideal choice for beginners. Charcoal also allows for quick and expressive mark-making, which can be used to capture the essence of the subject.
What is a Realistic Portrait?
A realistic portrait is a work of art that captures the likeness, personality, and character of the subject. It is a representation of the subject that is true to life, with accurate proportions, shading, and details. To create a realistic portrait, an artist must have a deep understanding of the subject’s features, including their bone structure, facial expressions, and skin texture.
In this article, we will explore the techniques and tools necessary to create a realistic portrait with charcoal. From selecting the right materials to mastering the art of shading and blending, we will guide you through the process of creating a stunning portrait that captures the essence of your subject.
Materials Needed
Before starting your portrait, you will need to gather a few essential materials. These materials include:
Charcoal Pencils
Charcoal pencils are made of compressed charcoal and are available in different grades, ranging from hard to soft. Harder pencils are used for lighter shading, while softer pencils are used for darker shading. It is recommended to have a set of charcoal pencils with different grades to achieve the desired effect.
Erasers
Erasing is an essential part of charcoal portrait drawing. You will need a kneaded eraser to lift off charcoal and create highlights. A vinyl eraser is also useful for correcting mistakes and fine-tuning details.
Paper
Choose a high-quality drawing paper that is suitable for charcoal. A heavier paper with a rough texture will hold the charcoal better and allow for more blending. Some recommended options include Strathmore 400 Series Drawing Paper, Canson Mi-Teintes Paper, and Fabriano Artistico Paper.
Other Optional Materials
While the above materials are essential, there are other optional materials that you may find useful in your portrait drawing, including:
- Blending stumps or tortillons for blending and smudging charcoal
- Fixative spray to prevent smudging and preserve the drawing
- Charcoal powder or vine charcoal for large areas of shading
- White charcoal or pastel pencil for highlights and details
| Materials | Description |
|---|---|
| Charcoal Pencils | Compressed charcoal pencils in different grades for shading |
| Erasers | Kneaded eraser for lifting off charcoal and vinyl eraser for correcting mistakes |
| Paper | High-quality drawing paper suitable for charcoal |
| Other Optional Materials | Blending stumps, fixative spray, charcoal powder, white charcoal, or pastel pencil |
Preparing to Paint
Before you start painting your realistic portrait with charcoal, there are a few important steps you need to take to ensure you have a successful outcome. These include choosing a reference image, setting up your workspace, and sketching your portrait.
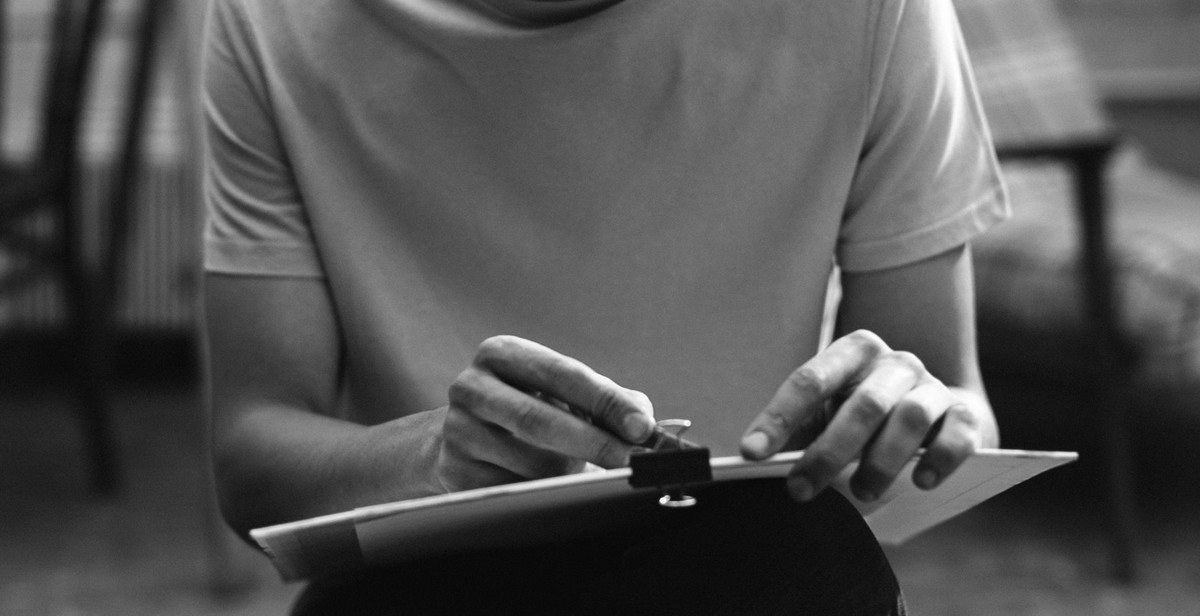
Choosing a Reference Image
The first step in preparing to paint your portrait is to choose a reference image. This image will serve as the basis for your painting, so it’s important to choose one that is clear and high quality. Look for an image that has good lighting and contrasts, as this will make it easier to capture the details of your subject’s face.
It’s also a good idea to choose an image that you are passionate about. If you are inspired by the image, you will be more motivated to put in the time and effort needed to create a realistic portrait.
Setting up Your Workspace
Once you have chosen your reference image, it’s time to set up your workspace. Make sure you have a clean and well-lit area to work in. Natural light is best, but if you are working at night or in a dimly lit room, consider using a lamp with a daylight bulb to simulate natural light.
You will also need to gather your materials. In addition to your charcoal pencils and paper, you may want to have a blending tool, eraser, and fixative spray on hand. Make sure your materials are organized and easily accessible, so you don’t waste time searching for what you need.
Sketching Your Portrait
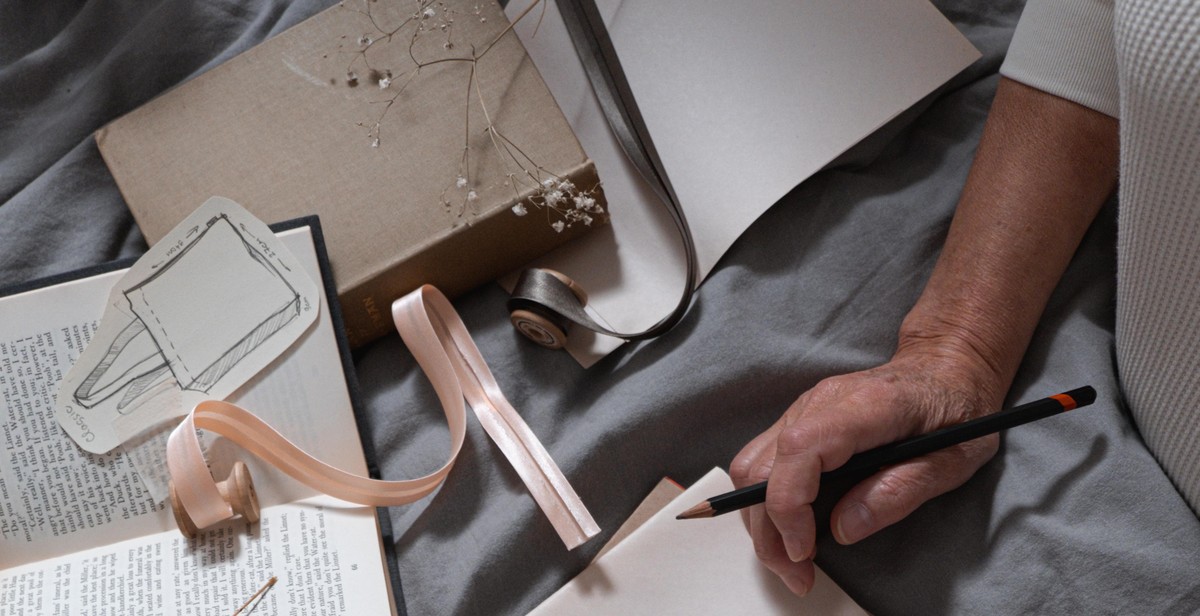
Before you start painting, it’s important to sketch out your portrait. This will help you get a feel for the proportions and placement of your subject’s features, and ensure that everything is in the right place before you start adding details.
Start by lightly sketching out the basic shapes of your subject’s face, using your reference image as a guide. Pay attention to the placement of the eyes, nose, and mouth, as these are the most important features of the face. Once you have the basic shapes in place, you can start adding more details and shading to create a more realistic portrait.
By following these steps and taking the time to prepare properly, you will be well on your way to creating a beautiful and realistic portrait with charcoal.
Painting Your Portrait
Once you have prepared your materials and set up your workspace, it’s time to start painting your portrait. Here are the steps you should follow to create a realistic portrait with charcoal:
Blocking in the Major Shapes
Start by blocking in the major shapes of your subject’s face. Use light strokes to sketch out the basic shape of the head, as well as the placement of the eyes, nose, and mouth. It’s important to get the proportions and placement of these features correct at this stage, as they will serve as the foundation for the rest of your drawing.
Adding Details and Shadows
Once you have the basic shapes in place, you can start adding more details and shading. Use darker strokes to create shadows and define the contours of the face. Pay close attention to the subtle variations in tone and texture, as well as the way light falls on the face.
Creating Highlights and Texture
To create highlights and texture, use an eraser to remove some of the charcoal. This will create lighter areas that will stand out against the darker shading. You can also use the eraser to create texture, such as the highlights on hair or the texture of clothing.
Blending and Smudging
To create a smoother, more realistic look, use a blending tool to blend and smudge the charcoal. This will help to soften harsh lines and create a more natural-looking transition between light and dark areas.
Fixing Mistakes
If you make a mistake or want to make changes to your drawing, use an eraser to remove the unwanted charcoal. You can also use a kneaded eraser to lift off small amounts of charcoal and create highlights.
By following these steps, you can create a realistic portrait with charcoal that captures the unique features and personality of your subject.
Finishing Your Portrait
After you have completed the main structure and details of your portrait, it’s time to add the final touches that will bring your work to life.
Highlights and Shadows
Use a kneaded eraser to gently lift off highlights in areas such as the nose, forehead, and cheeks. This will give your portrait a three-dimensional look. Similarly, use charcoal to darken the shadows and add depth to the eyes, nostrils, and mouth.
Texture and Detail
To add texture and detail to your portrait, use a variety of charcoal pencils and sticks. Choose a harder pencil for fine lines and details, and a softer one for shading and blending. Experiment with crosshatching, stippling, and smudging techniques to create different textures and tones.
Spraying with Fixative
Once you are satisfied with your portrait, it’s important to protect it from smudging and fading. Use a fixative spray to seal the charcoal and prevent it from rubbing off. Hold the can about 10 inches away from your portrait and spray in a well-ventilated area. Wait for the fixative to dry before handling your portrait.
- Choose a workable or final fixative depending on whether you want to make further adjustments or not
- Apply multiple thin layers of fixative instead of one thick layer to avoid pooling and dripping
- Test the fixative on a small area of your portrait before applying it to the entire piece
With these final touches and proper protection, your realistic charcoal portrait is now complete and ready to be displayed or given as a gift.
Conclusion
Painting a realistic portrait with charcoal can be a challenging task, but it is also a rewarding experience. With the right techniques, tools, and a bit of patience, anyone can create a stunning piece of art that captures the essence of their subject.
Final Thoughts
When it comes to charcoal portrait painting, practice makes perfect. Don’t be discouraged if your first attempts don’t turn out the way you want them to. Keep practicing and experimenting with different techniques until you find the ones that work best for you.
Remember to take breaks when you need them and to step back and look at your work from a distance to get a better perspective. Don’t be afraid to make mistakes, as they can often lead to happy accidents and unexpected results.
Recommended Tools
Here is a list of some of the best tools for painting a realistic portrait with charcoal:
- High-quality charcoal pencils in various grades
- A kneaded eraser for lifting and blending
- A blending stump for creating smooth transitions
- A fixative spray to protect your finished work
Final Words
Painting a realistic portrait with charcoal takes time, effort, and dedication, but the end result is worth it. Whether you are a beginner or an experienced artist, there is always something new to learn and discover in the world of art. So, grab your tools and start creating today!