
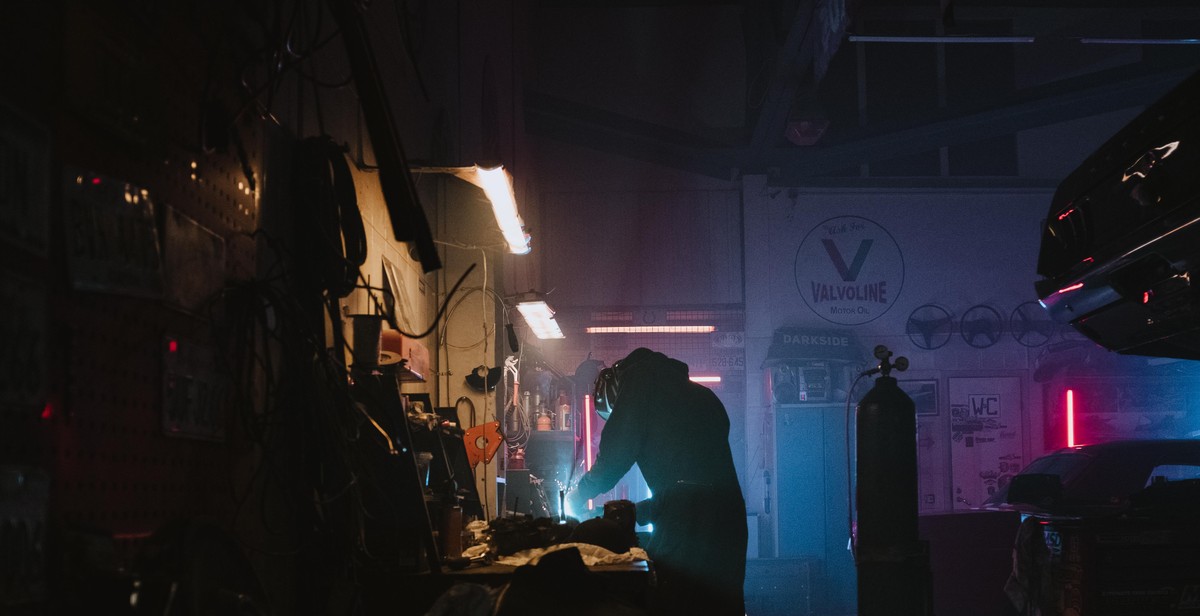
Introduction
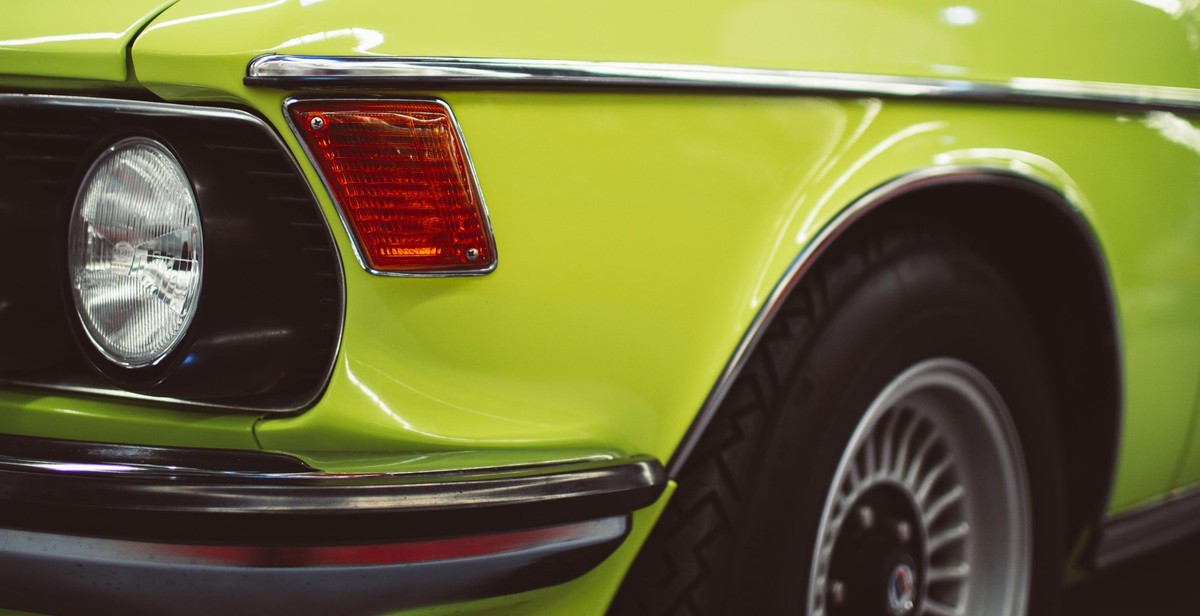
Oldtimer cars are a classic beauty that many car enthusiasts still love to drive today. However, the electrical systems in these cars can be quite complex and difficult to maintain, especially for those who are not well-versed in car mechanics. Troubleshooting and repairing oldtimer car electrical systems require a certain level of knowledge and expertise.
In this article, we will discuss the common issues that arise with oldtimer car electrical systems and how to troubleshoot and repair them. We will cover everything from basic electrical concepts to advanced repair techniques, so even those with little experience can follow along.
Why Troubleshooting Oldtimer Car Electrical Systems is Important
Oldtimer car electrical systems are often the most neglected part of these classic cars. However, they play a crucial role in keeping the car running smoothly. A malfunctioning electrical system can cause a variety of issues, from minor inconveniences to major safety hazards.
By troubleshooting and repairing oldtimer car electrical systems, you can ensure that your car is running at its best and avoid potential breakdowns on the road. Additionally, maintaining the electrical system can increase the lifespan of your car and help preserve its value.
What You’ll Learn in This Article
In this article, we will cover the following topics:
- Basic electrical concepts
- Tools and equipment needed for troubleshooting and repair
- Common issues with oldtimer car electrical systems
- Step-by-step troubleshooting and repair techniques
- Tips for maintaining oldtimer car electrical systems
By the end of this article, you should have a good understanding of how to troubleshoot and repair oldtimer car electrical systems, as well as how to maintain them for optimal performance. Let’s get started!

Understanding Oldtimer Car Electrical Systems
Oldtimer car electrical systems are made up of several components that work together to power the vehicle. Understanding these components is essential for troubleshooting and repairing common electrical problems in oldtimer cars.
Basic Components of Oldtimer Car Electrical Systems
The basic components of an oldtimer car electrical system include:
- Battery: The battery is responsible for providing power to the starter motor and ignition system.
- Starter Motor: The starter motor is responsible for turning the engine over when the key is turned in the ignition.
- Alternator: The alternator is responsible for charging the battery and powering the electrical systems when the engine is running.
- Distributor: The distributor is responsible for sending high voltage electricity to the spark plugs, which ignite the fuel in the engine.
- Spark Plugs: The spark plugs ignite the fuel in the engine, which powers the vehicle.
- Fuses: Fuses protect the electrical system from damage caused by power surges and short circuits.
Common Electrical Problems in Oldtimer Cars
Oldtimer cars are prone to a number of electrical problems, including:
- Dead Battery: A dead battery is a common problem in oldtimer cars. This can be caused by a faulty alternator, loose or corroded battery connections, or a battery that has reached the end of its life.
- Starter Motor Failure: A faulty starter motor can prevent the engine from turning over when the key is turned in the ignition.
- Distributor Cap and Rotor Failure: The distributor cap and rotor can wear out over time, which can cause misfires and engine performance issues.
- Ignition Coil Failure: The ignition coil is responsible for providing high voltage electricity to the spark plugs. A faulty ignition coil can cause the engine to misfire and run poorly.
- Fuses: Fuses can blow due to power surges or short circuits, which can cause individual electrical components to stop working.
| Problem | Cause | Solution |
|---|---|---|
| Dead Battery | Faulty alternator, loose or corroded battery connections, or end of battery life | Replace alternator, clean or tighten battery connections, or replace battery |
| Starter Motor Failure | Faulty starter motor | Replace starter motor |
| Distributor Cap and Rotor Failure | Worn out distributor cap and rotor | Replace distributor cap and rotor |
| Ignition Coil Failure | Faulty ignition coil | Replace ignition coil |
| Fuses | Blown fuses due to power surges or short circuits | Replace blown fuses |

Tools and Equipment Required for Troubleshooting and Repairing Oldtimer Car Electrical Systems
Working on oldtimer car electrical systems requires a specific set of tools and equipment to ensure that the job is done correctly. Here are some essential tools and equipment that you will need:
Multimeter
A multimeter is a must-have tool for troubleshooting and repairing oldtimer car electrical systems. It is used to measure voltage, current, and resistance in the electrical system. With a multimeter, you can easily identify faulty components and diagnose electrical issues.
Wire Strippers and Crimpers
Wire strippers and crimpers are used to remove the insulation from wires and crimp connectors onto the wire. These tools are essential for repairing broken wires or replacing damaged connectors.
Soldering Iron
A soldering iron is used to join two pieces of metal together using solder. It is an essential tool for repairing damaged wires or replacing broken components. A good quality soldering iron will last for years and will make your repairs look professional.
Wire Brushes and Sandpaper
Wire brushes and sandpaper are used to clean and prep metal surfaces before soldering or crimping. They are also useful for removing rust and corrosion from electrical components.
Test Light
A test light is a simple tool that is used to check for voltage in the electrical system. It is an essential tool for diagnosing electrical issues and identifying faulty components.
Circuit Tester
A circuit tester is used to test electrical circuits for continuity. It is an essential tool for identifying broken wires or damaged components.
Battery Charger
A battery charger is used to charge the car battery and keep it in good condition. It is an essential tool for maintaining the electrical system and ensuring that the car starts reliably.
Diagnostic Scanner
A diagnostic scanner is a specialized tool that is used to diagnose complex electrical issues. It is an essential tool for troubleshooting modern cars with complex electrical systems.
Conclusion
Having the right tools and equipment is essential for troubleshooting and repairing oldtimer car electrical systems. With the right tools, you can diagnose electrical issues quickly and accurately and make repairs that will stand the test of time.

Steps to Troubleshoot Oldtimer Car Electrical Systems
Oldtimer cars have a unique charm that many car enthusiasts love. However, these cars come with their challenges, especially when it comes to their electrical systems. Troubleshooting oldtimer car electrical systems requires a systematic approach. Here are the steps to follow:
Step 1: Inspect the Battery
The battery is the heart of the electrical system. Start by visually inspecting the battery for any signs of corrosion or damage. Check the battery terminals and cables for tightness and corrosion. Use a multimeter to check the battery voltage. A fully charged battery should read between 12.6 and 12.8 volts.
Step 2: Check the Alternator
The alternator is responsible for charging the battery and powering the electrical system. With the engine running, use a multimeter to check the alternator’s output voltage. It should read between 13.5 and 14.5 volts. Check the alternator belt for wear and tension.
Step 3: Test the Starter Motor
The starter motor is responsible for turning the engine over. If the engine doesn’t crank, the starter motor may be faulty. Check the starter motor connections for tightness and corrosion. Use a multimeter to check the voltage at the starter motor terminals. It should read between 10 and 12 volts.
Step 4: Check the Ignition System
The ignition system is responsible for igniting the fuel in the engine. Check the ignition coil, distributor, spark plugs, and spark plug wires for any signs of wear or damage. Use a spark tester to check for spark at the spark plugs.
Step 5: Inspect the Wiring
The wiring connects all the components in the electrical system. Check the wiring for any signs of wear, corrosion, or damage. Use a wiring diagram to trace the wiring and check for any loose or disconnected connections.
By following these steps, you can troubleshoot and repair the electrical system in your oldtimer car. Remember to take safety precautions when working with electricity and always consult a professional if you’re unsure about any step in the process.
Repairing Oldtimer Car Electrical Systems
Oldtimer car electrical systems can be a bit tricky to troubleshoot and repair. However, with proper knowledge and tools, you can handle the repairs yourself and save some money. Here are some common electrical systems in oldtimer cars that need repair:
Replacing the Battery
The battery is the heart of the electrical system, and if it’s not working correctly, your car won’t start. If you suspect your battery is failing, you can test it with a voltmeter or take it to a professional for testing. If it’s time for a replacement, choose a battery with the correct size and specifications for your car.
Replacing the Alternator
The alternator is responsible for charging the battery while the car is running. If you notice dimming headlights or other electrical issues, it might be time to replace the alternator. Before replacing it, you should test it with a voltmeter and make sure it’s the problem.
Replacing the Starter Motor
The starter motor is responsible for turning the engine over when you turn the key. If you hear a clicking sound when you turn the key, but the engine doesn’t start, it could be a problem with the starter motor. Before replacing it, make sure it’s the problem by testing it with a voltmeter.
Replacing the Ignition System
The ignition system includes the spark plugs, ignition coil, and distributor. If you’re having trouble starting your car or notice a decrease in power, it could be a problem with the ignition system. You can test the ignition system with a spark tester and replace any faulty components.
Replacing the Wiring
The wiring in an oldtimer car can become brittle and break over time, causing electrical issues. If you notice frayed or broken wires, you should replace them with new wiring. Make sure to use wiring with the correct gauge and color coding for your car.
Overall, repairing oldtimer car electrical systems requires patience, knowledge, and the right tools. With proper care, your car’s electrical system can last for many years.
Conclusion
Oldtimer cars are a valuable part of our automotive heritage. However, their electrical systems can be a challenge to troubleshoot and repair. By following the steps outlined in this article, you can diagnose and fix common electrical problems in your oldtimer car.
Key Takeaways
- Start with the basics when troubleshooting electrical problems in your oldtimer car.
- Use a multimeter to test for voltage, continuity, and resistance.
- Check the battery, alternator, and starter for proper functioning.
- Inspect the wiring and connections for signs of wear, damage, or corrosion.
- Replace faulty components and repair damaged wiring as needed.
Expert Help
If you’re still having trouble with your oldtimer car’s electrical system, consider seeking help from an expert. A qualified mechanic or auto electrician can diagnose and repair complex issues that may be beyond your skill level.
Remember
When working on your oldtimer car’s electrical system, always prioritize safety. Disconnect the battery and wear protective gear to avoid injury. With patience, persistence, and the right tools, you can keep your classic car running smoothly for years to come.