How to Start a Cut Flower Garden for Fresh Floral Arrangements
There is nothing quite like the beauty and fragrance of a fresh flower arrangement. Whether for a special occasion or simply to brighten up your home, cut flowers are a wonderful addition to any space. However, buying fresh flowers regularly can be expensive. That’s where starting your own cut flower garden comes in.
Starting a cut flower garden may seem daunting, but it is actually quite simple. With a little bit of planning and preparation, you can have a beautiful garden that produces fresh flowers all season long. In this article, we will guide you through the process of starting a cut flower garden, from selecting the right location to choosing the best flowers to grow.
Location
The first step in starting a cut flower garden is selecting the right location. Cut flowers require plenty of sunlight, so choose a spot that gets at least six to eight hours of direct sunlight per day. Additionally, you’ll want to choose a spot that has well-draining soil, as cut flowers don’t like to have “wet feet.”
Choosing the Right Flowers
When selecting flowers for your cut flower garden, consider the colors and types of flowers you like best. You’ll also want to choose flowers that are easy to grow and have a long vase life. Some popular cut flower options include zinnias, sunflowers, dahlias, and cosmos.
By following these simple tips, you can start your own cut flower garden and enjoy beautiful, fresh flowers all season long.
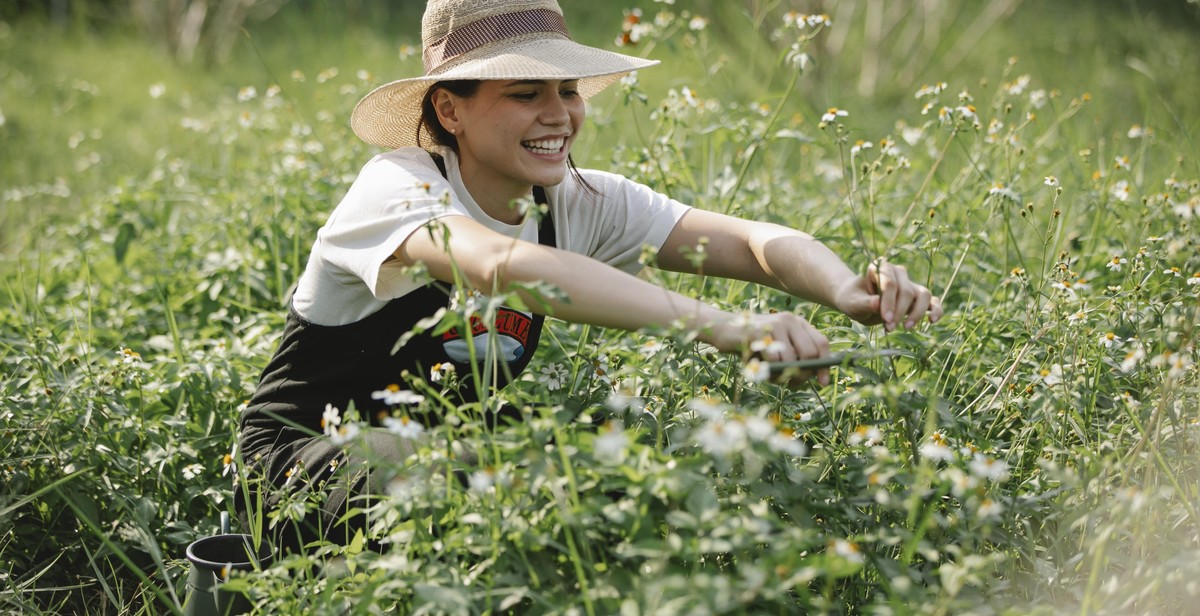
Why Start a Cut Flower Garden?
Starting a cut flower garden is a great way to add beauty and color to your outdoor space while also providing fresh flowers for your home. There are many benefits to growing your own cut flowers, including:
1. Benefits of Having a Cut Flower Garden
- Health Benefits: Studies have shown that being around flowers can have a positive impact on mental health and well-being. Having a cut flower garden can help reduce stress, anxiety, and depression.
- Decorative Purposes: Cut flowers make great additions to any home or event. Having a cut flower garden allows you to have fresh flowers on hand for all of your decorating needs.
- Environmental Benefits: Growing your own cut flowers can help reduce your carbon footprint. By not relying on imported flowers, you are reducing the amount of fuel needed for transportation.
- Supporting Local Wildlife: Your cut flower garden can attract bees, butterflies, and other pollinators, which are essential to local ecosystems.
2. Cost Savings from Growing Your Own Flowers
One of the biggest benefits of having a cut flower garden is the cost savings. Buying fresh flowers from a florist can be expensive, especially if you want high-quality blooms. By growing your own flowers, you can save money and have access to a wider variety of flowers.
Additionally, having a cut flower garden allows you to control the quality of your flowers. You can ensure that your flowers are grown without harmful chemicals and are of the highest quality.
| Expense | Cost Savings from Growing Your Own Flowers |
|---|---|
| Florist Bouquet | $$ – $$$ |
| Cut Flower Garden | $ – $$ |
Overall, starting a cut flower garden is a rewarding experience that can provide many benefits. Whether you are looking to add beauty to your outdoor space, save money on fresh flowers, or support local wildlife, a cut flower garden is a great investment.
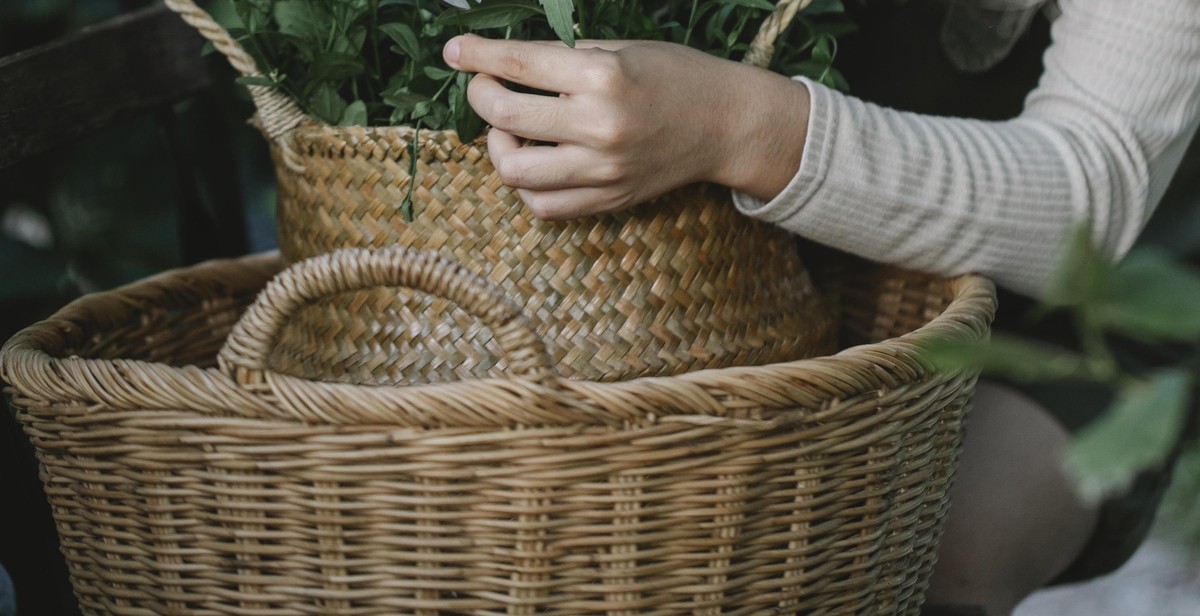
Choosing the Right Location for Your Cut Flower Garden
One of the most important considerations when starting a cut flower garden is choosing the right location. This will have a significant impact on the growth and health of your plants, and ultimately, the quality of the flowers you’ll be able to harvest.
Sunlight and Soil Requirements
Most cut flowers require at least six hours of direct sunlight each day to thrive. When choosing a location for your garden, look for an area that receives ample sunlight, preferably in the morning and early afternoon. Avoid areas that are shaded by buildings, trees, or other structures.
Soil quality is another important factor to consider. Cut flowers require well-draining soil that is rich in nutrients. Avoid areas with heavy clay soil or soil that is constantly waterlogged, as this can lead to root rot and other issues. Instead, look for areas with loamy or sandy soil that drains well and can be easily amended with compost or other organic matter.
Watering and Drainage
Proper watering and drainage are crucial for the health of your cut flower garden. While cut flowers require regular watering, it’s important not to overwater them, as this can lead to root rot and other issues. The frequency of watering will depend on a variety of factors, including the climate, soil type, and the specific needs of the plants you’re growing.
When choosing a location for your cut flower garden, look for an area that is easily accessible to a water source. Consider installing a drip irrigation system or soaker hose to ensure that your plants receive consistent, deep watering without wasting water or damaging the foliage.
Finally, proper drainage is essential for the health of your cut flower garden. Avoid areas with poor drainage, such as low-lying areas or areas with compacted soil. If necessary, consider amending the soil or installing a drainage system to ensure that excess water can drain away from the plants.
| Sunlight Requirements | Soil Requirements | Watering and Drainage |
|---|---|---|
| At least six hours of direct sunlight each day | Well-draining soil that is rich in nutrients | Regular watering without overwatering, proper drainage |
By choosing the right location for your cut flower garden and providing adequate sunlight, soil, and water, you’ll be well on your way to growing beautiful, healthy flowers for your fresh floral arrangements.
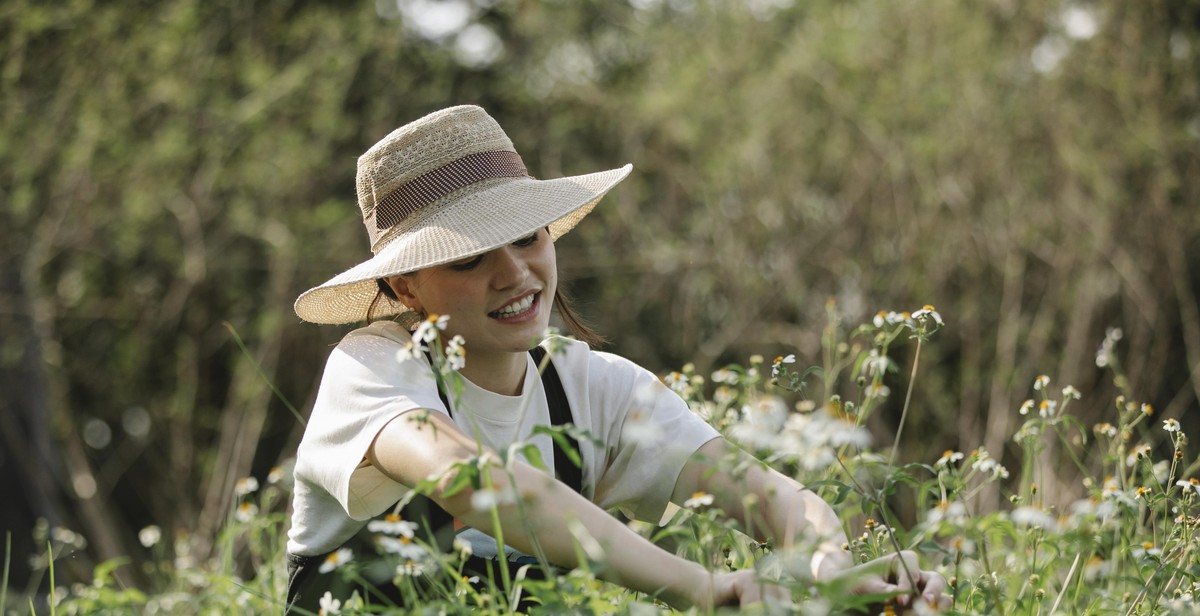
Selecting the Best Cut Flowers for Your Garden
When it comes to starting a cut flower garden, choosing the right flowers to grow is crucial. Not all flowers are created equal when it comes to vase life and durability, so it’s important to select the right ones to ensure your arrangements look beautiful for as long as possible.
Popular Cut Flowers to Grow
Some of the most popular cut flowers to grow include:
- Roses – These classic flowers come in a variety of colors and are perfect for romantic arrangements.
- Lilies – These elegant flowers have large blooms and a sweet fragrance.
- Dahlias – These flowers come in a wide range of colors and shapes, making them a versatile choice for any arrangement.
- Sunflowers – These cheerful flowers are perfect for adding a pop of color to any arrangement.
- Zinnias – These colorful flowers come in a variety of shapes and sizes, making them a popular choice for gardeners.
Choosing Flowers for Different Seasons
When selecting flowers for your cut flower garden, it’s important to consider which flowers will bloom during different seasons. This will ensure that you have a steady supply of fresh flowers throughout the year.
Some popular flowers for different seasons include:
| Season | Flowers |
|---|---|
| Spring | Tulips, daffodils, hyacinths, lilacs, peonies |
| Summer | Roses, dahlias, sunflowers, zinnias, gladiolus |
| Fall | Asters, mums, dahlias, sunflowers, zinnias |
| Winter | Poinsettias, amaryllis, holly, evergreens |
By selecting a variety of flowers that bloom during different seasons, you can ensure that your cut flower garden provides you with fresh flowers throughout the year.
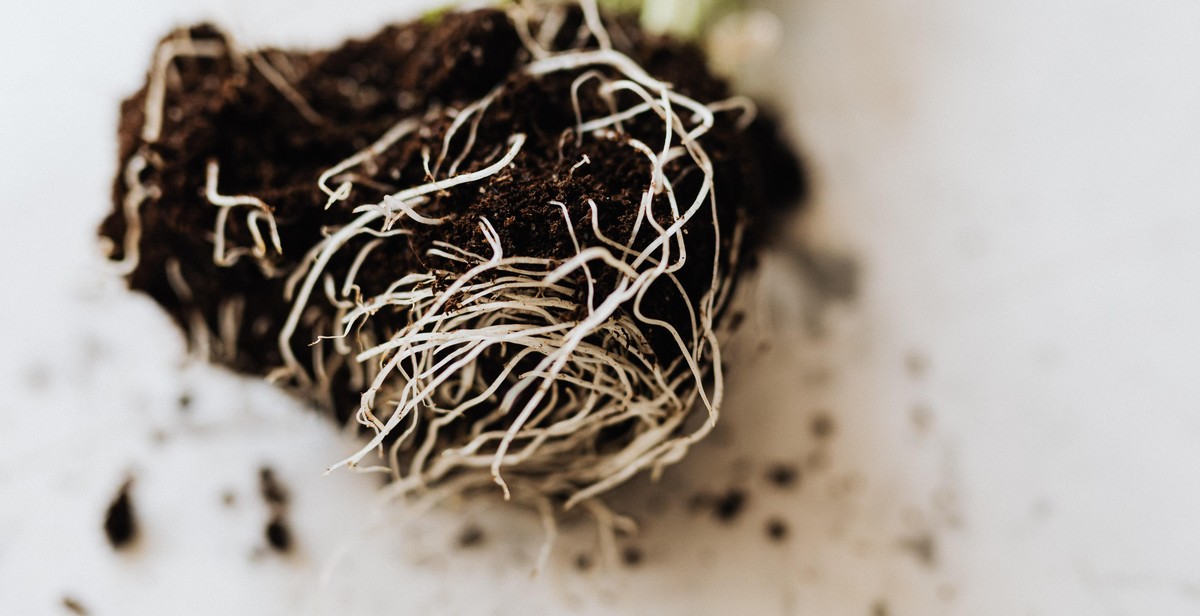
Preparing the Soil for Your Cut Flower Garden
Before planting your cut flower garden, it is important to prepare the soil to ensure healthy growth and abundant blooms. This involves soil testing, amendments, tilling, and adding compost. Here is a step-by-step guide on how to prepare the soil for your cut flower garden:
Soil Testing and Amendments
The first step in preparing your soil is to test it for pH levels and nutrient deficiencies. This can be done through a soil testing kit or by sending a sample to a local extension service. Based on the results, you may need to add amendments to adjust the pH levels and provide essential nutrients for your flowers.
Common amendments include:
- Lime to raise pH levels
- Sulfur to lower pH levels
- Blood meal or bone meal for nitrogen
- Rock phosphate for phosphorus
- Potassium sulfate for potassium
Tilling
Once you have added the necessary amendments, it is time to till the soil. Tilling helps to loosen compacted soil and create a smooth surface for planting. Use a tiller or garden fork to loosen the soil to a depth of at least 6 inches. Remove any rocks, roots, or weeds that may hinder plant growth.
Adding Compost
After tilling, it is important to add compost to your soil. Compost is a rich source of organic matter that provides essential nutrients and improves soil structure. Spread a 2-3 inch layer of compost over the soil surface and mix it in well with a garden fork or tiller. This will help to improve drainage, water retention, and soil fertility.
By following these steps, you can create a healthy and productive soil environment for your cut flower garden. With proper soil preparation, you can enjoy an abundance of beautiful blooms for fresh floral arrangements.
Planting Your Cut Flowers
Now that you have selected the cut flowers you want to grow, it is time to start planting. Here are some planting techniques to help ensure that your cut flower garden thrives:
Spacing
When it comes to spacing, it is important to give your cut flowers enough room to grow and flourish. Overcrowding can lead to stunted growth and poor quality blooms. A good rule of thumb is to space plants according to their mature size. Small plants like snapdragons and bachelor buttons should be spaced 6-8 inches apart, while larger plants like sunflowers and dahlias may need up to 2 feet of space between them.
Planting Depth
Planting depth is another important factor to consider when planting your cut flowers. Most plants should be planted at a depth that is two to three times the height of the bulb or seed. This will help ensure that the plant has enough room to grow roots and establish a strong foundation. Be sure to read the planting instructions for each specific plant, as some may require different depths.
Soil Preparation
Before planting, it is important to prepare the soil. Cut flowers thrive in well-draining soil that is rich in organic matter. You can improve the quality of your soil by adding compost or aged manure to it. This will help provide the necessary nutrients for your plants to grow and produce high-quality blooms.
Watering
After planting, be sure to water your cut flowers regularly. Most plants require about an inch of water per week, but this can vary depending on the specific plant and the climate in your area. Be careful not to overwater, as this can lead to root rot and other problems.
Conclusion
By following these planting techniques, you can help ensure that your cut flower garden thrives and produces beautiful blooms for you to enjoy.
Caring for Your Cut Flower Garden
Starting a cut flower garden is one thing, but maintaining it is another. Here are some tips on how to care for your cut flower garden:
Watering and Fertilizing
Watering is essential for the growth and survival of your cut flower garden. Make sure to water your plants regularly, especially during hot and dry weather. However, be careful not to overwater as it can lead to root rot and other plant diseases.
When it comes to fertilizing, it’s important to choose the right type of fertilizer for your cut flower garden. A balanced fertilizer with equal amounts of nitrogen, phosphorus, and potassium is recommended. You can also use organic fertilizers, such as compost or manure, to improve soil quality and promote healthy plant growth.
Weeding
Weeding is an essential part of maintaining a cut flower garden. Weeds compete with your plants for nutrients and water, and can also attract pests and diseases. To keep your garden weed-free, be sure to remove any weeds as soon as you see them.
You can also use mulch to help prevent weeds from growing in your garden. Organic mulches, such as straw or shredded leaves, not only help suppress weeds but also retain moisture in the soil.
Pest Control
Pests can be a major problem for cut flower gardens, and can damage or even kill your plants. To prevent pests from infesting your garden, it’s important to keep your plants healthy and strong. This can be achieved through proper watering, fertilizing, and weeding.
If you do notice pests in your garden, try using organic pest control methods, such as neem oil or insecticidal soap. These methods are effective and safe for both your plants and the environment.
| Task | Tips |
|---|---|
| Watering and Fertilizing | Water regularly, but do not overwater. Use a balanced fertilizer or organic fertilizers. |
| Weeding | Remove weeds as soon as you see them. Use organic mulch to help prevent weed growth. |
| Pest Control | Keep plants healthy and strong. Use organic pest control methods if necessary. |

Harvesting Your Cut Flowers
Harvesting your cut flowers is an essential step in ensuring that your garden produces the best quality flowers for your floral arrangements. It is important to know when to harvest, how to cut, and how to store your flowers.
When to Harvest
The best time to harvest your cut flowers is in the morning, just after the dew has dried. The flowers should be fully open, but not yet wilted. Avoid harvesting during the heat of the day as the flowers will be stressed and will not last as long in your arrangements.
It is also important to harvest your flowers at the right stage of growth. For example, sunflowers should be harvested when the petals have just started to open, but before the center disk has fully matured. Dahlias should be harvested when the center of the flower is still firm to the touch.
Cutting Your Flowers
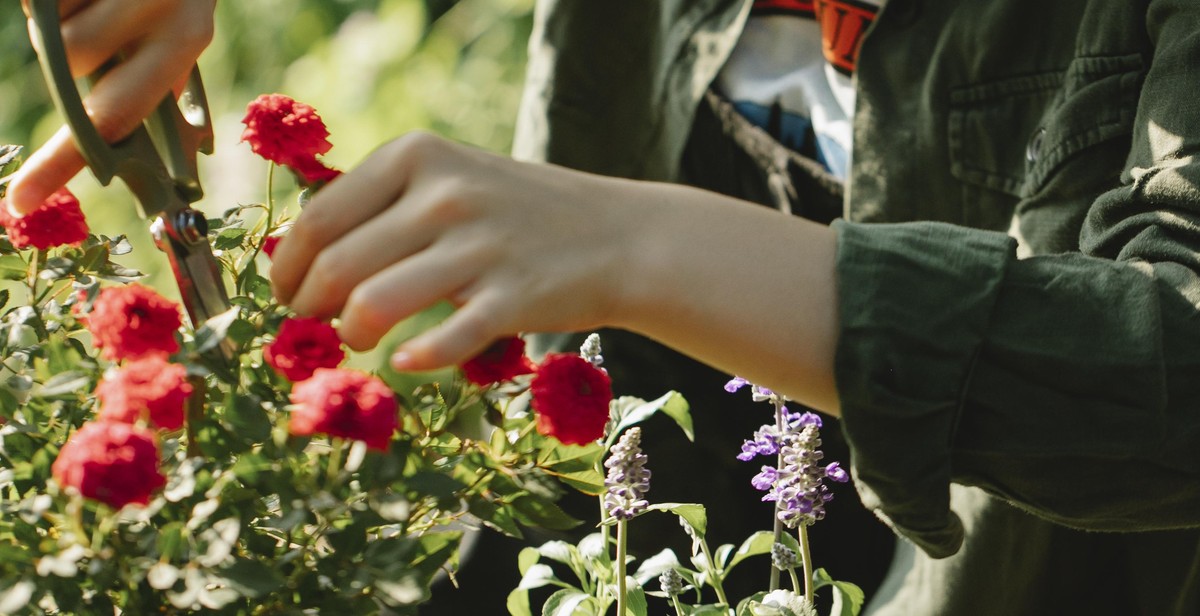
When cutting your flowers, use a sharp pair of scissors or pruning shears to make a clean cut. Avoid using dull tools as they can crush the stem, making it more difficult for the flower to take up water.
Cut the stem at an angle to increase the surface area for water uptake. For woody stems, such as those of roses, make a vertical slit at the base of the stem to allow for better water absorption.
Storing Your Flowers
Once you have harvested your flowers, it is important to store them properly to ensure that they last as long as possible in your arrangements.
Remove any leaves that will be below the water line in your vase, as they will rot and create bacteria that can damage the flowers. Place the flowers in a clean vase filled with fresh, cool water. Change the water every two days and recut the stems at an angle to keep them fresh.
If you are not going to use your flowers immediately, store them in a cool, dark place, such as a refrigerator. Wrap them loosely in paper or plastic to prevent them from drying out, but be careful not to crush them.
Conclusion
By following these simple tips for harvesting, cutting, and storing your cut flowers, you can ensure that your garden produces the best quality blooms for your floral arrangements.
Conclusion
Starting a cut flower garden can be a highly rewarding experience, both in terms of the beauty it brings to your home and the fresh floral arrangements you can create. By following the tips outlined in this article, you can ensure that your cut flower garden is a success.
Remember the basics
When starting your cut flower garden, it is important to remember the basics of gardening: choose a suitable location, prepare the soil properly, and select the right plants for your climate and soil type. By doing so, you will give your flowers the best chance to grow and thrive.
Plan ahead
Planning ahead is also crucial for a successful cut flower garden. Think about what types of flowers you want to grow, how much space you have available, and when you want your flowers to bloom. This will help you choose the right plants and ensure that your garden is always full of beautiful blooms.
Stay organized
Finally, it is important to stay organized when maintaining your cut flower garden. Keep track of watering and fertilizing schedules, deadhead your flowers regularly, and harvest your blooms at the right time. By doing so, you will be able to enjoy a beautiful, bountiful garden all season long.
Starting a cut flower garden may seem daunting at first, but with the right tools and knowledge, anyone can do it. Follow the tips in this article and enjoy the beauty and fragrance of fresh floral arrangements from your own backyard.
