
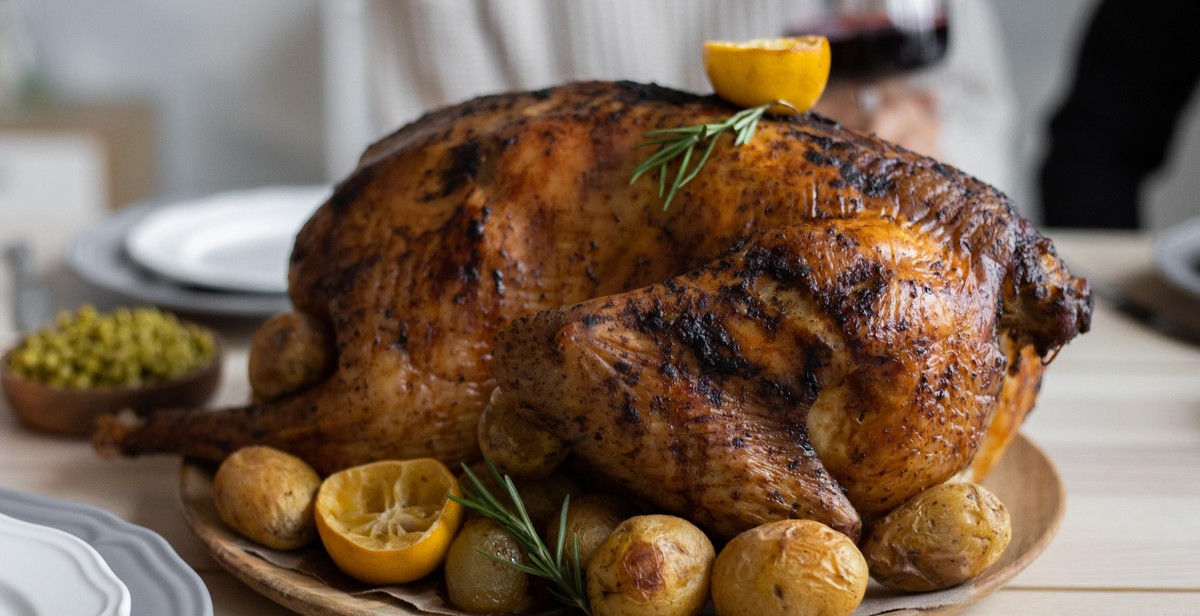
How to Smoke Turkey: Flavorful and Juicy Thanksgiving Main Course
Thanksgiving is a special occasion when families come together to celebrate and share a delicious meal. Turkey is the centerpiece of the Thanksgiving feast, and there are many ways to prepare it. One of the most popular methods is smoking, which infuses the meat with a rich, smoky flavor and keeps it juicy and tender.
Why Smoke Turkey?
Smoking turkey is a great way to add flavor and moisture to the meat. The slow cooking process allows the smoke to penetrate deep into the turkey, infusing it with a delicious smoky flavor. Smoking also helps to keep the meat moist and juicy, as the smoke and heat create a barrier that locks in the moisture.
Another benefit of smoking turkey is that it frees up oven space, which is essential on Thanksgiving Day. By smoking the turkey, you can use your oven to cook other dishes, such as casseroles, pies, and rolls.
Whether you’re a seasoned pro or a beginner, smoking turkey is a great way to impress your guests and elevate your Thanksgiving feast. In this article, we’ll walk you through the steps to smoke turkey to perfection, from preparing the bird to serving it up with all the fixings.
Choosing the Right Turkey
Thanksgiving is just around the corner, and it’s time to start thinking about the star of the show: the turkey. But with so many options available, it can be overwhelming to choose the right one. Here are some things to consider when selecting your Thanksgiving turkey:
Fresh or Frozen?
One of the first decisions you’ll need to make is whether to buy a fresh or frozen turkey. Fresh turkeys are never frozen, have a shorter shelf life, and tend to be more expensive. However, they offer a more natural flavor and texture. Frozen turkeys are typically less expensive and can be purchased well in advance, but they require thawing time and can sometimes have a slightly drier texture.
Size Matters
When it comes to turkey, size matters. Plan on about 1 pound of turkey per person, or 1.5 pounds if you want leftovers. Keep in mind that larger turkeys will take longer to cook, so plan accordingly. If you’re cooking for a smaller group, consider buying a turkey breast instead of a whole bird.
Brined or Unbrined?
Brining is the process of soaking the turkey in a saltwater solution to help it stay moist during cooking. Some turkeys come pre-brined, while others are unbrined. If you choose an unbrined turkey, you can brine it yourself or opt for a dry brine, which involves rubbing the turkey with a salt and herb mixture.
| Fresh Turkey | Frozen Turkey |
|---|---|
| Shorter shelf life | Longer shelf life |
| More expensive | Less expensive |
| More natural flavor and texture | Slightly drier texture |
- Consider the number of guests you’re cooking for when selecting a turkey size
- Brining can help keep the turkey moist during cooking
- Opt for a dry brine if you don’t want to soak the turkey in a saltwater solution

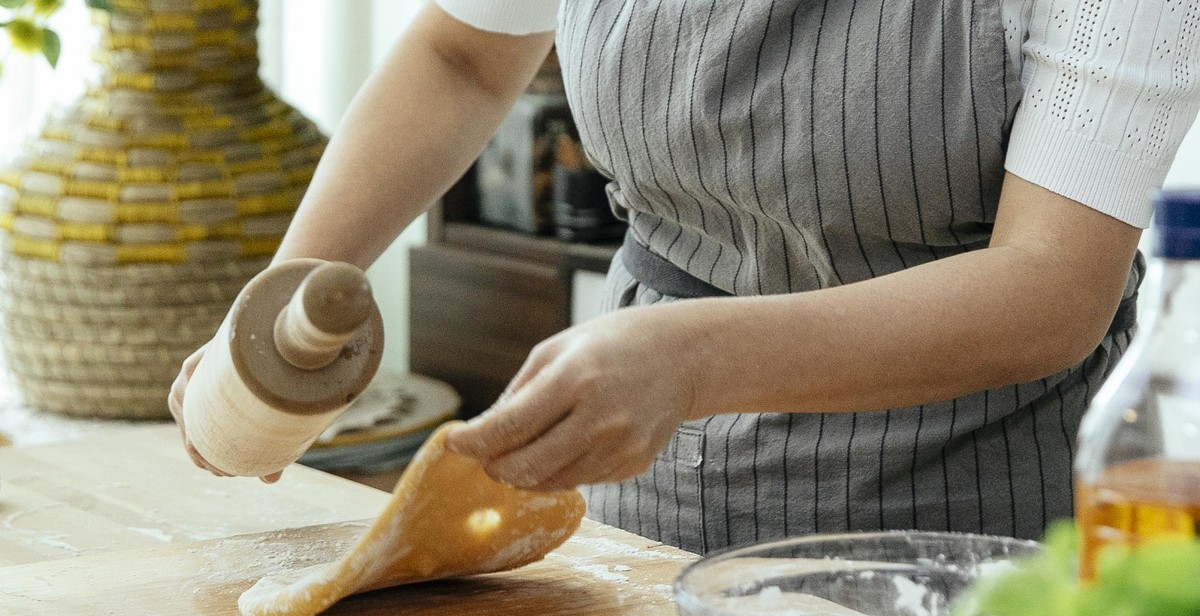
Preparing the Turkey
Before smoking your turkey, there are a few steps that you need to take to ensure that it is properly prepared. These steps include thawing the turkey, cleaning it, removing giblets and neck, and brining it.
Thawing the Turkey
It is essential to thaw the turkey properly to avoid any bacterial growth. The best way to thaw a turkey is to place it in the refrigerator for 24 hours per 4-5 pounds of turkey. Alternatively, you can use the cold-water method by placing the turkey in a sink or large container of cold water and changing the water every 30 minutes. This method takes approximately 30 minutes per pound of turkey to thaw.
Cleaning the Turkey
Before preparing the turkey, make sure to clean it thoroughly. Rinse the turkey inside and out with cold water and pat it dry with paper towels. This will help remove any bacteria or debris that may be on the turkey.
Removing Giblets and Neck
Most turkeys come with giblets and neck inside the cavity. Remove these parts from the turkey before smoking it. You can use the giblets and neck to make a delicious gravy or stock.
Brining the Turkey
Brining is a process of soaking the turkey in a mixture of salt, sugar, and water to enhance its flavor and keep it moist during cooking. To brine the turkey, mix 1 cup of salt, 1 cup of sugar, and 1 gallon of water in a large container. Submerge the turkey in the brine and refrigerate for at least 8 hours or overnight. Rinse the turkey thoroughly with cold water before smoking it.
Following these steps will ensure that your turkey is properly prepared for smoking and will result in a flavorful and juicy Thanksgiving main course.

Setting up the Smoker
Before smoking your turkey, you need to set up your smoker and make sure it is ready to go. Here are the steps to follow:
Choosing the Wood Chips
The first step is to choose the right wood chips for the smoker. This is important because the type of wood will impact the flavor of the turkey. Some popular options include hickory, apple, cherry, and mesquite. If you’re not sure which wood to use, consider using a blend of different woods to create a unique flavor.
Preheating the Smoker
Once you have chosen the wood chips, it’s time to preheat the smoker. This will ensure that the smoker is at the right temperature when you add the turkey. Set the smoker to the desired temperature and let it heat up for at least 30 minutes before adding the turkey.
Adding Water to the Smoker
Adding water to the smoker will help regulate the temperature and keep the turkey moist during the smoking process. Fill the water pan with hot water and place it in the smoker. Make sure to check the water level periodically and add more as needed.
Adding the Wood Chips
When the smoker is preheated and the water is added, it’s time to add the wood chips. Spread a layer of wood chips on top of the hot coals or in the wood chip box, depending on the type of smoker you have. Make sure to follow the manufacturer’s instructions for adding the wood chips.
By following these steps, you’ll have your smoker set up and ready to smoke a delicious and juicy turkey for your Thanksgiving feast.

Smoking the Turkey
Once you have prepared your turkey for smoking, it’s time to get started with the smoking process. Here are the steps to follow:
Step 1: Preheat the Smoker
Preheat your smoker to a temperature of 225°F. This temperature is ideal for smoking a turkey and will ensure that it cooks evenly and retains its moisture.
Step 2: Add the Wood Chips
Add your preferred wood chips to the smoker’s wood chip box. If you want a mild flavor, go for fruit woods such as apple or cherry. For a stronger flavor, use hickory or mesquite wood chips.
Step 3: Place the Turkey in the Smoker
Place your prepared turkey on the smoker’s cooking grate, breast-side up. Make sure that there is enough space around the turkey for the smoke to circulate freely.
Step 4: Monitor the Temperature
Use a meat thermometer to monitor the temperature of the turkey. Insert the thermometer into the thickest part of the turkey’s thigh, without touching the bone. The turkey is ready when its internal temperature reaches 165°F.
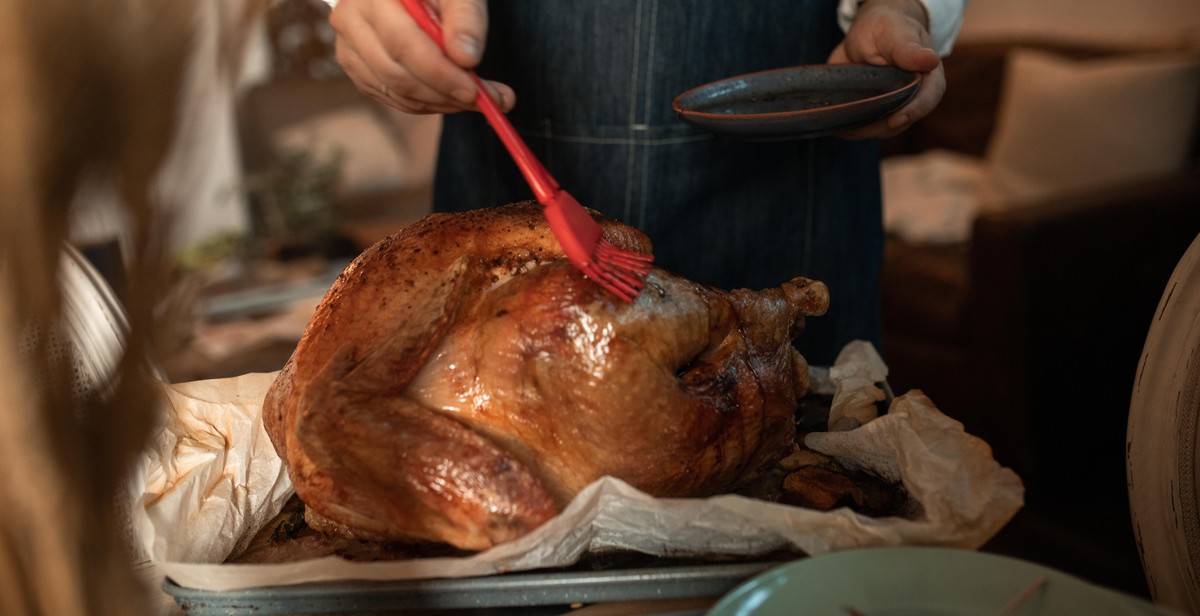
Step 5: Baste the Turkey
Every hour, baste the turkey with melted butter or your preferred basting sauce. This will help to keep the turkey moist and add flavor to the meat.
Step 6: Let the Turkey Rest
Once the turkey is fully cooked, remove it from the smoker and let it rest for 15-20 minutes before carving. This will allow the juices to redistribute throughout the meat and make it more flavorful and juicy.
Follow these simple steps to smoke a turkey that is flavorful, juicy, and sure to impress your guests this Thanksgiving!
Checking for Doneness
The best and most accurate way to check if your smoked turkey is done is by using a meat thermometer. Insert the thermometer into the thickest part of the turkey, making sure not to touch any bones as this can give a false reading. The temperature should reach 165°F (74°C) in the thickest part of the bird. Once the turkey reaches this temperature, it is safe to eat.
If you don’t have a meat thermometer, there are other ways to check if your turkey is done. One way is to pierce the turkey with a fork or knife. If the juices run clear and not pink, the turkey is cooked. Another way is to wiggle the turkey leg. If it moves easily and the joint is loose, the turkey is done.
It is important to note that the cooking time may vary depending on the size of your turkey and the temperature of your smoker. Therefore, it is essential to use a meat thermometer to ensure that your turkey is cooked to perfection.
| Doneness | Temperature |
|---|---|
| Uncooked | Less than 145°F (63°C) |
| Rare | 145°F to 150°F (63°C to 66°C) |
| Medium Rare | 150°F to 155°F (66°C to 68°C) |
| Medium | 155°F to 160°F (68°C to 71°C) |
| Medium Well | 160°F to 165°F (71°C to 74°C) |
| Well Done | Above 165°F (74°C) |
Remember, a perfectly smoked turkey is juicy, flavorful, and cooked to perfection. Using a meat thermometer is the best way to ensure that your turkey is fully cooked and safe to eat.
Resting and Carving the Turkey
After smoking the turkey, it is important to let it rest for at least 20 minutes before carving. This allows the juices to redistribute and settle, resulting in a more flavorful and juicy meat.
To rest the turkey, remove it from the smoker and place it on a cutting board. Cover it loosely with foil to keep it warm while it rests.
While the turkey is resting, it is a good time to make the gravy. Pour the drippings from the smoker into a saucepan and heat it over medium heat. Add flour and whisk until smooth. Cook for a few minutes until the mixture turns golden brown. Slowly add chicken or turkey broth, whisking constantly until the gravy thickens. Season with salt and pepper to taste.
Once the turkey has rested, it is time to carve it. Begin by removing the legs and wings. Cut through the skin and meat until you reach the joint. Then, use a sharp knife to cut through the joint and remove the leg or wing. Repeat on the other side.
Next, remove the breast meat. Cut along the breastbone, following the curve of the bone until you reach the bottom. Then, slice the meat against the grain into thin slices.
Arrange the carved turkey on a platter and serve with the gravy on the side.
| Step | Instructions |
|---|---|
| 1 | Remove the legs and wings by cutting through the skin and meat until you reach the joint. Use a sharp knife to cut through the joint and remove the leg or wing. Repeat on the other side. |
| 2 | Remove the breast meat by cutting along the breastbone, following the curve of the bone until you reach the bottom. Slice the meat against the grain into thin slices. |
| 3 | Arrange the carved turkey on a platter and serve with the gravy on the side. |