
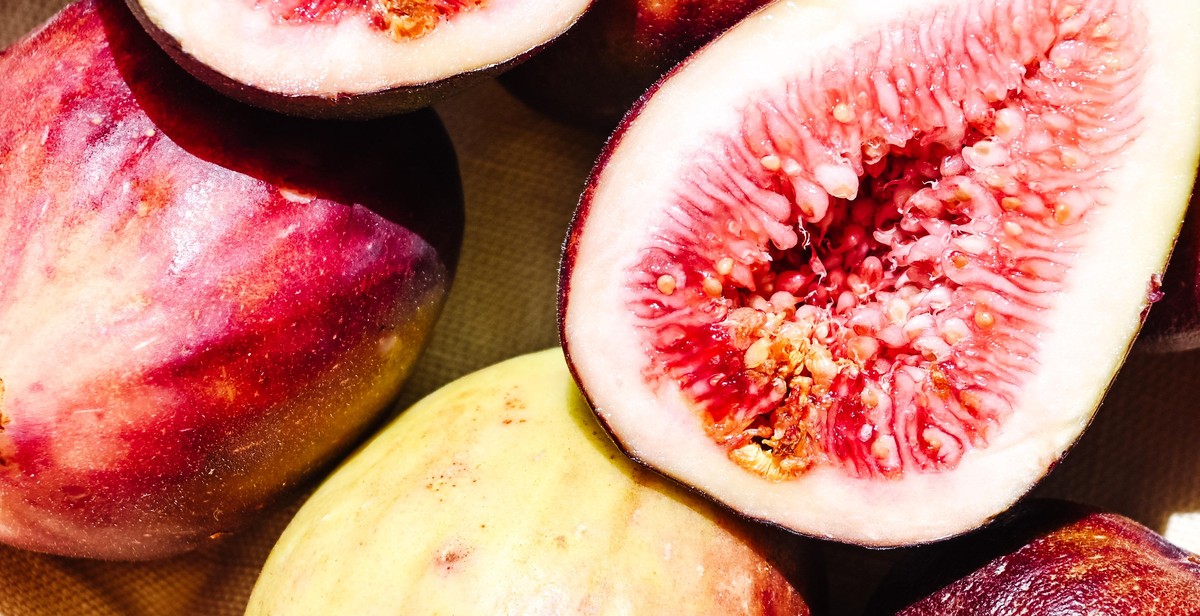
Introduction
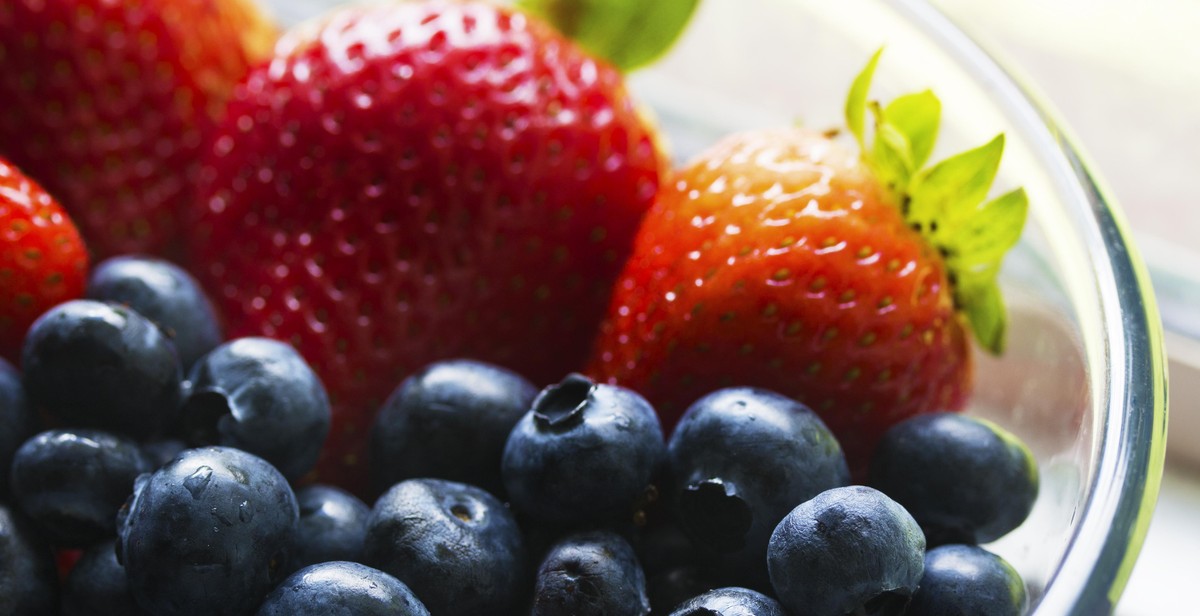
Fruits are an essential part of a healthy diet, providing essential nutrients and vitamins. However, the shelf life of fresh fruits is limited, and they tend to spoil quickly. Preserving fruits is an excellent way to prolong their shelf life and enjoy them all year round.
Preserving fruits involves using various techniques such as canning, freezing, and drying. Each technique has its advantages and disadvantages, and the choice of method depends on the type of fruit, personal preference, and available equipment.
Canning
Canning is a popular method of preserving fruits that involves heating the fruit and sealing it in airtight containers. This technique destroys bacteria and microorganisms that cause spoilage, making the fruit safe for consumption for an extended period. Canned fruits are ideal for making jams, jellies, and preserves, and they retain their flavor and texture for a long time.
Freezing
Freezing is another popular technique for preserving fruits. This method involves freezing the fruit at a low temperature, which slows down the ripening process and preserves its nutrients. Frozen fruits are ideal for making smoothies, desserts, and sauces, and they retain their flavor and texture for a long time.
Drying
Drying is a technique that involves removing all moisture from the fruit, which prevents the growth of bacteria and microorganisms. Dried fruits are ideal for snacking, baking, and cooking, and they have a long shelf life.
Overall, preserving fruits is an excellent way to enjoy them all year round and reduce food waste. In this article, we will discuss the various techniques for preserving fruits and provide tips on how to preserve different types of fruits.
Canning Fruits
Canning is a great way to preserve fruits for long-term storage. To start canning fruits, you will need some equipment.
Equipment Needed for Canning
The following are the essential equipment you will need for canning fruits:
- Canning jars with lids and bands
- Canning pot or large stockpot with a rack
- Canning funnel
- Lid lifter
- Jar lifter
- Bubble remover tool
- Timer
Preparing the Fruit
Before canning your fruit, you need to prepare it. Start by washing the fruit under running water and removing any stems, leaves, or pits. If necessary, peel the fruit and cut it into pieces of the desired size.
Preparing the Jars
Clean your jars and lids thoroughly with hot, soapy water, rinse, and dry them. Inspect the jars for any chips or cracks and discard any that are damaged. Heat the jars and lids in a pot of simmering water to sterilize them.
Packing the Jars
Using a canning funnel, pack the fruit into the jars, leaving a ½ inch headspace at the top. Add hot syrup or water to cover the fruit, leaving the same headspace. Use a bubble remover tool to remove any air bubbles from the jars.
Processing the Jars
Place the jars in a canning pot or large stockpot with a rack, making sure they are covered with at least 1 inch of water. Bring the water to a boil and process the jars according to the recipe’s instructions and the altitude chart. Use a jar lifter to remove the jars from the pot and place them on a towel-lined countertop.
Storing the Jars
Let the jars cool for 12 to 24 hours, undisturbed, and check the seals. The lids should be concave and not move when pressed. Store the jars in a cool, dry, dark place, away from direct sunlight, and use them within a year.
Freezing Fruits
Freezing is an excellent method for preserving fruits. It is a quick and easy process that helps to maintain the nutritional value and flavor of the fruit. Here are the steps to follow when freezing fruits:
Equipment Needed for Freezing
Before freezing fruits, ensure that you have the necessary equipment. You will need:
- Clean and sturdy freezer bags or airtight containers
- Labels and markers for labeling the fruits and the date of freezing
- A large bowl or sink for washing the fruits
- A colander or strainer for draining the fruits
- A sharp knife or fruit slicer for cutting the fruits into desired sizes
Preparing the Fruit
Wash the fruits thoroughly in cold water to remove any dirt or debris. Cut the fruits into desired sizes and remove any pits, seeds, or stems. For berries, leave them whole and remove any damaged or bruised ones.
Blanching the Fruit
Blanching is the process of boiling the fruits for a short period to stop enzyme activity. This helps to preserve the color, texture, and flavor of the fruits. To blanch fruits, bring a pot of water to a boil and immerse the fruits in the boiling water for 1-2 minutes. Remove the fruits from the boiling water and immediately immerse them in cold water to stop the cooking process. Drain the fruits thoroughly.
Freezing the Fruit
Place the prepared and blanched fruits in freezer bags or airtight containers. Remove as much air as possible to prevent freezer burn. Label the bags or containers with the name of the fruit and the date of freezing. Place the bags or containers in the freezer and freeze until solid.
Storing the Fruit
Frozen fruits can be stored in the freezer for up to 12 months. To use the fruits, remove the desired amount from the freezer and thaw in the refrigerator or at room temperature. They can be used in smoothies, jams, pies, and other recipes.
| Step | Description |
|---|---|
| Equipment Needed for Freezing | Ensure you have all the necessary equipment before starting the process |
| Preparing the Fruit | Wash the fruits, cut them into desired sizes, and remove any pits, seeds, or stems |
| Blanching the Fruit | Boil the fruits for 1-2 minutes, immerse them in cold water, and drain them thoroughly |
| Freezing the Fruit | Place the fruits in freezer bags or airtight containers, remove air, label them, and freeze until solid |
| Storing the Fruit | Store the frozen fruits in the freezer for up to 12 months and thaw before use |
Drying Fruits
Drying fruits is another popular method of preserving fruits, especially if you want to keep them for a longer period. Dried fruits are perfect for snacking, baking, and adding to your breakfast cereal. Here are the steps to follow when drying fruits:
Equipment Needed for Drying
Before you start drying your fruits, you need to ensure that you have the right equipment. Here are the essential tools you need:
- A dehydrator or an oven with a low-temperature setting
- Sharp knife or a mandoline slicer
- Clean kitchen towels or paper towels
- Baking sheets or dehydrator trays
Preparing the Fruit
Before drying your fruits, you need to prepare them properly. Here are the steps to follow:
- Wash the fruits and pat them dry using a clean kitchen towel or paper towel.
- Cut the fruits into uniform slices or pieces, depending on the type of fruit.
- If you’re drying fruits with pits, such as peaches or plums, remove the pits before slicing.
- If you’re drying fruits with seeds, such as grapes or berries, remove the seeds before slicing.
- Arrange the sliced fruits in a single layer on the dehydrator trays or baking sheets.
Drying the Fruit
Once you’ve prepared the fruits, it’s time to dry them. Here’s how:
- Set the dehydrator or oven temperature to the appropriate setting. Most fruits dry well at around 135°F to 140°F.
- Place the trays or baking sheets in the dehydrator or oven and let the fruits dry for several hours or until they’re completely dry.
- Check the fruits occasionally and rotate the trays or baking sheets to ensure even drying.
- The drying time varies depending on the type of fruit, thickness of the slices, and humidity levels in your area.
Storing the Fruit
Once the fruits are completely dry, it’s time to store them. Here’s how:
- Let the fruits cool completely before storing them.
- Store the dried fruits in airtight containers such as glass jars, plastic containers, or resealable bags.
- Label the containers with the type of fruit and the date of drying.
- Store the containers in a cool, dry, and dark place such as a pantry or cupboard.
- The dried fruits can last for several months or even a year if stored properly.
| Advantages of Drying Fruits | Disadvantages of Drying Fruits |
|---|---|
| Dried fruits are easy to store and transport. | Dried fruits may lose some of their nutrients during the drying process. |
| Dried fruits are perfect for snacking, baking, and adding to your breakfast cereal. | Dried fruits may contain added sugars and preservatives, especially if bought from the store. |
| Dried fruits have a longer shelf-life compared to fresh fruits. | Drying fruits requires time and effort. |
Conclusion
Preserving fruits is an excellent way to enjoy your favorite seasonal fruits throughout the year. Whether you choose to can, freeze, or dry your fruits, each method has its unique advantages and disadvantages.
Canning
Canning is a great option for preserving fruits that have a high water content, such as peaches and pears. It is a simple and economical method that involves boiling the fruit in a sugar syrup and sealing it in a jar. Canned fruits can last for up to a year, and they are perfect for making pies, jams, and other desserts.
Freezing
Freezing is a quick and easy way to preserve fruits without losing their flavor and nutritional value. It is ideal for fruits that are not suitable for canning, such as berries and grapes. Frozen fruits can last for up to six months and can be used in smoothies, baked goods, and other recipes.
Drying
Drying is a traditional method of preserving fruits that involves removing the water content from the fruit. It is ideal for fruits that have a low water content, such as apples and bananas. Dried fruits can last for up to a year and are perfect for snacking and adding to trail mixes.
Whichever method you choose, make sure to follow the proper safety guidelines and use the right equipment. With a little practice, you can become an expert in preserving fruits and enjoy the taste of your favorite fruits all year long.
| Method | Advantages | Disadvantages |
|---|---|---|
| Canning | Long shelf life, great for making jams and desserts | Requires special equipment, can be time-consuming |
| Freezing | Quick and easy, preserves nutritional value and flavor | Requires freezer space, not suitable for all fruits |
| Drying | Long shelf life, great for snacking and adding to trail mixes | Requires special equipment, can be time-consuming |