
Introduction: How to Perform Basic Car Maintenance and Save Money
Keeping your car in good condition is important for your safety and the longevity of your vehicle. Basic car maintenance is crucial to ensure that your car runs smoothly and efficiently, and it also helps you save money in the long run. Regular maintenance can prevent costly repairs and keep your car running for years to come.
Why Basic Car Maintenance is Important
Basic car maintenance includes simple tasks such as changing the oil, checking the tire pressure, and replacing the air filter. These tasks may seem small, but they can make a big difference in the performance of your car. Regular maintenance can:
- Improve fuel efficiency
- Extend the life of your car
- Prevent breakdowns
- Ensure safety on the road
By performing basic car maintenance yourself, you can save money on expensive repairs and avoid the hassle of taking your car to a mechanic. With a few basic tools and some knowledge, you can perform these tasks at home and keep your car in top shape.
In this article, we will provide you with a step-by-step guide on how to perform basic car maintenance and save money in the process.
Checking and Changing Fluids
Regularly checking and changing your car’s fluids is an essential part of basic car maintenance. It can help prolong the life of your vehicle and prevent costly repairs. Here are the fluids you should check and change:
Checking and Changing Engine Oil
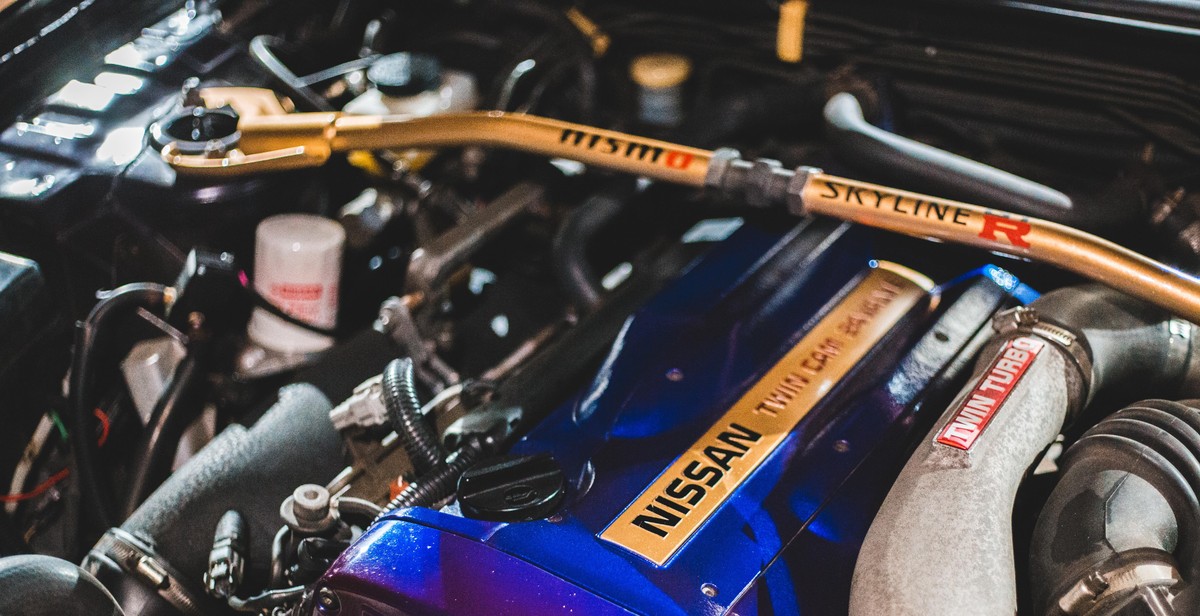
Engine oil lubricates the engine’s moving parts and helps keep the engine cool. It’s essential to check and change the oil regularly to ensure the engine runs smoothly. To check the oil level, park your car on a level surface, turn off the engine, and wait a few minutes for the oil to settle. Pull out the dipstick, wipe it clean, reinsert it, and pull it out again. The oil level should be between the two marks on the dipstick. If it’s low, add the recommended oil type and amount. Change the oil and filter every 5,000 to 7,500 miles or as recommended by the manufacturer.
Checking and Adding Coolant
Coolant, also known as antifreeze, circulates through the engine to regulate its temperature. It’s essential to check the coolant level regularly and add more if it’s low. To check the coolant level, wait for the engine to cool down, then locate the coolant reservoir and check the level against the markings on the side. If it’s low, add a 50/50 mixture of coolant and water to the reservoir. Change the coolant every 30,000 to 50,000 miles or as recommended by the manufacturer.
Checking and Adding Brake Fluid
Brake fluid transfers the force from the brake pedal to the brakes. It’s essential to check the brake fluid level regularly and add more if it’s low. To check the brake fluid level, locate the brake fluid reservoir under the hood and check the level against the markings on the side. If it’s low, add the recommended brake fluid type and amount. Change the brake fluid every 30,000 to 50,000 miles or as recommended by the manufacturer.
Checking and Adding Power Steering Fluid
Power steering fluid helps make it easier to turn the steering wheel. It’s essential to check the power steering fluid level regularly and add more if it’s low. To check the power steering fluid level, locate the power steering fluid reservoir under the hood and check the level against the markings on the side. If it’s low, add the recommended power steering fluid type and amount. Change the power steering fluid every 50,000 to 100,000 miles or as recommended by the manufacturer.
Checking and Adding Transmission Fluid
Transmission fluid lubricates the transmission’s moving parts and helps keep it cool. It’s essential to check the transmission fluid level regularly and add more if it’s low. To check the transmission fluid level, park your car on a level surface, turn on the engine, and shift through all the gears before putting it back in park. Wait a few minutes for the oil to settle, then locate the transmission dipstick, pull it out, wipe it clean, reinsert it, and pull it out again. The oil level should be between the two marks on the dipstick. If it’s low, add the recommended transmission fluid type and amount. Change the transmission fluid every 30,000 to 60,000 miles or as recommended by the manufacturer.
Inspecting Tires
Regular tire inspections are crucial to ensure that your vehicle is safe to drive and to prevent costly repairs. Here are the three essential aspects of inspecting your car’s tires:
Checking Tire Pressure
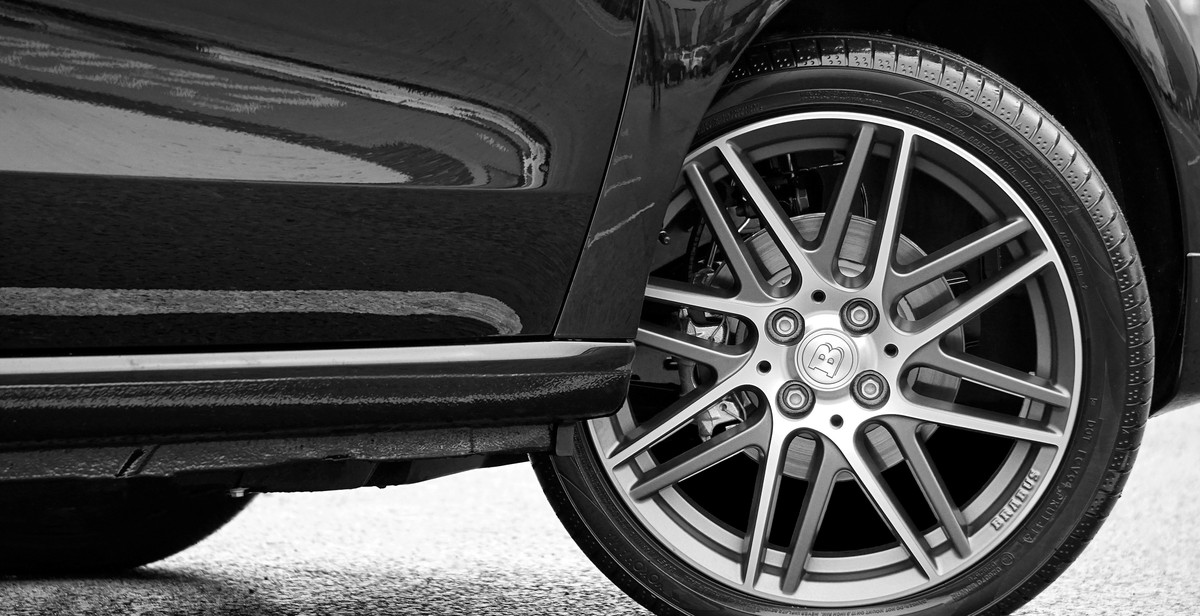
One of the most crucial aspects of tire maintenance is checking tire pressure. Underinflated tires can cause poor fuel economy, uneven wear, and reduced handling, while overinflated tires can lead to blowouts and a harsh ride. Check your tire pressure at least once a month using a tire pressure gauge. The recommended tire pressure for your car can be found in the owner’s manual or on a placard located on the driver’s side door jamb.
Inspecting Tire Tread
The tread on your tires is what provides traction and grip on the road, making it essential to inspect them regularly. The simplest way to check the tread depth is to use a penny. Insert the coin into the tread with Lincoln’s head facing down. If you can see the top of Lincoln’s head, it’s time to replace your tires. Another option is to use a tread depth gauge, which can provide a more accurate measurement.
Rotating Tires
Rotating your tires is essential to ensure even wear and prolong the life of your tires. The recommended rotation pattern can vary depending on the type of vehicle and tires. However, a general rule of thumb is to rotate the tires every 5,000 to 7,500 miles. Consult your owner’s manual or a trusted mechanic for the recommended rotation pattern for your vehicle.
| Aspect | What to Check | Frequency |
|---|---|---|
| Tire Pressure | Check tire pressure with a gauge | At least once a month |
| Tire Tread | Check tread depth with a penny or tread depth gauge | At least once a month |
| Tire Rotation | Rotate tires according to recommended pattern | Every 5,000 to 7,500 miles |

Replacing Wiper Blades
Wiper blades are an essential component of your car’s safety system. They help to clear the windshield of rain, snow, and debris, providing a clear view of the road ahead. Over time, wiper blades can become worn and ineffective, reducing your visibility and making driving in inclement weather more dangerous. Regularly replacing your wiper blades is an important part of basic car maintenance.
When to Replace Wiper Blades
There are a few signs that indicate it’s time to replace your wiper blades:
- Streaking or smearing on the windshield
- Squeaking or chattering noises when the wipers are in use
- Visible cracks or tears in the rubber blade
- Bent or damaged wiper frames
If you notice any of these signs, it’s time to replace your wiper blades.
How to Replace Wiper Blades
Replacing wiper blades is a simple process that can be done at home with just a few tools:
- Measure the length of your existing wiper blades to ensure you purchase the correct replacement size
- Lift the wiper arm away from the windshield and press the small tab on the underside of the wiper blade to release it from the arm
- Attach the new wiper blade to the wiper arm, making sure it clicks into place
- Lower the wiper arm back onto the windshield
It’s important to replace both wiper blades at the same time to ensure even wear and consistent performance. Depending on the climate and driving conditions where you live, you may need to replace your wiper blades every 6-12 months.
| Step | Description |
|---|---|
| 1 | Measure the length of your existing wiper blades to ensure you purchase the correct replacement size |
| 2 | Lift the wiper arm away from the windshield and press the small tab on the underside of the wiper blade to release it from the arm |
| 3 | Attach the new wiper blade to the wiper arm, making sure it clicks into place |
| 4 | Lower the wiper arm back onto the windshield |
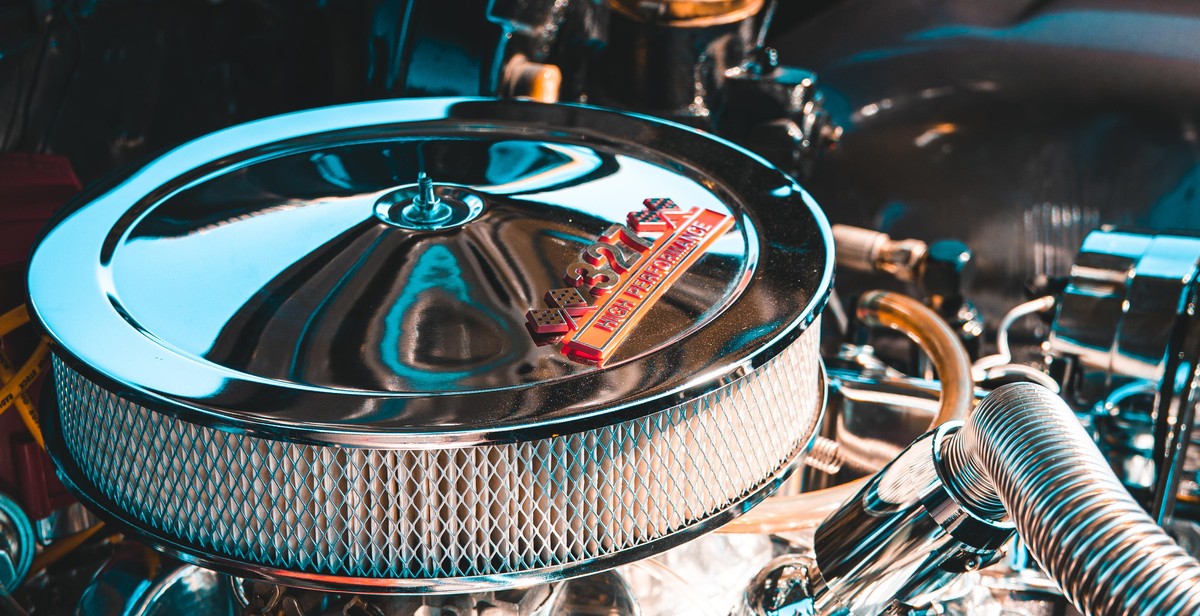
Replacing Air Filters
Air filters are an essential part of your car’s engine system. They help to keep dirt, dust, and other particles from entering the engine and causing damage. Over time, air filters can become clogged and need to be replaced. Here’s what you need to know about replacing air filters.
When to Replace Air Filters
Most car manufacturers recommend replacing the air filter every 12,000 to 15,000 miles or once a year, whichever comes first. However, if you frequently drive on dirt roads or in dusty conditions, you may need to replace the air filter more often. A clogged air filter can reduce your car’s performance and fuel efficiency.
How to Replace Air Filters
Replacing an air filter is a relatively simple task that you can do yourself. Here are the basic steps:
- Locate the air filter housing. It’s usually a black plastic box with clips or screws holding the cover in place.
- Remove the cover and take out the old air filter. If the filter is dirty, you’ll see a layer of dust and debris on it.
- Clean the air filter housing with a damp cloth or vacuum. Make sure there’s no debris or dirt left inside.
- Insert the new air filter into the housing. Make sure it’s the right size and fits snugly.
- Replace the cover and secure it with the clips or screws.
It’s important to use the right air filter for your car’s make and model. You can find this information in your car’s owner’s manual or by consulting with a mechanic.
| Benefits of Replacing Air Filters |
|---|
| Improved engine performance |
| Increased fuel efficiency |
| Reduced emissions |
| Extended engine life |
Replacing your car’s air filter is a simple and inexpensive way to keep your engine running smoothly. By doing it yourself, you can save money on labor costs and ensure that the job is done right.

Replacing Spark Plugs
Spark plugs are a crucial component of a car’s engine ignition system. They ignite the fuel and air mixture inside the engine’s cylinders, providing the power to move the vehicle. Over time, spark plugs can wear out and cause engine performance issues. It’s important to know when to replace spark plugs and how to do it properly to ensure your car runs smoothly and efficiently.
When to Replace Spark Plugs
Most manufacturers recommend replacing spark plugs every 30,000 to 50,000 miles, but this can vary depending on the make and model of your vehicle. Signs that it’s time to replace your spark plugs include:
- Difficulty starting the engine
- Engine misfires or runs rough
- Poor fuel economy
- Lack of acceleration or power
If you notice any of these symptoms, it’s time to check your spark plugs and replace them if necessary.
How to Replace Spark Plugs
Replacing spark plugs is a relatively simple process that can be done at home with a few basic tools. Here’s a step-by-step guide:
- Locate the spark plugs. They are typically located on the top or side of the engine and are connected to thick wires.
- Remove one spark plug at a time using a spark plug socket and ratchet. Make sure to keep track of which plug goes where.
- Inspect the spark plug for signs of wear or damage. If it looks worn or the electrode is damaged, it’s time to replace it.
- Install the new spark plug by hand, then tighten it with the socket and ratchet. Be careful not to overtighten.
- Repeat for each spark plug, making sure to reconnect the wires properly.
- Start the engine and make sure it’s running smoothly.
Replacing spark plugs is an important part of basic car maintenance that can help save you money in the long run. By keeping your engine running smoothly, you’ll get better fuel economy and avoid costly repairs down the road.

Conclusion
Performing basic car maintenance is essential to keeping your vehicle running smoothly and saving money in the long run. By following the tips outlined in this article, you can easily perform basic maintenance tasks at home without having to spend a fortune on professional services.
Regular Maintenance is Key
Regular maintenance is key to keeping your car in good condition. By performing regular oil changes, checking your tire pressure, and keeping your fluids topped up, you can prevent costly repairs down the road.
Check Your Owner’s Manual
Checking your owner’s manual is essential to understanding the specific maintenance needs of your vehicle. Every car is different, and your manual will provide you with the information you need to keep your car running smoothly.
DIY vs. Professional Services
While some tasks can be easily performed at home, others require the expertise of a professional. If you’re unsure about how to perform a task, it’s always best to seek the help of a professional.
Remember:
- Perform regular maintenance tasks to keep your car running smoothly
- Check your owner’s manual for specific maintenance needs
- Know your limits and seek professional help when needed
| Task | Frequency |
|---|---|
| Oil Change | Every 5,000 to 7,500 miles |
| Tire Rotation | Every 5,000 to 7,500 miles |
| Air Filter Replacement | Every 12,000 to 15,000 miles |
| Brake Inspection | Every 20,000 miles |
By following these basic maintenance tasks and keeping up with your vehicle’s needs, you can save money and ensure that your car runs smoothly for years to come.